

THIS POST MAY CONTAIN AFFILIATE LINKS. PLEASE READ MY DISCLOSURE FOR MORE INFO.
That fuzzy rim around the bathroom fan is easy to miss while you are cleaning the sink. Once you notice it, though, the job can feel awkward: the cover is overhead, the fan contains electrical parts, and it is not always obvious what comes apart.
For routine dust, the practical approach is to isolate the power, follow the instructions for your exact model, clean a removable washable cover separately, and gently remove accessible dry dust. Keep water away from the motor and electrical components. Stop if the job would involve wiring, unfamiliar disassembly, or an unsafe reach.
This guide walks through a manageable maintenance clean, with clear stopping points. You do not need to turn a dusty cover into a whole-bathroom project. Set aside an unhurried half hour for preparation and a straightforward clean, plus whatever drying time the cover needs. This is a planning allowance, not a guaranteed completion time; unfamiliar fittings or a complicated fan may need professional help instead.
Disclosure: This post may contain affiliate links. As an Amazon Associate, Clean Home Challenge earns from qualifying purchases. If you make a purchase through these links, we may earn a small commission at no extra cost to you. This helps us keep creating practical cleaning tips, routines and resources for busy families! 🧽
Know What You Can Safely Clean
Start by finding the fan’s model number and care instructions. Look in your appliance paperwork or the manufacturer’s official support pages. If you rent, check with your landlord or property manager before removing anything. Photograph the installed cover from floor level so you have a simple reminder of its orientation.
The visible cover is often called the grille. Covers can use spring clips, screws, or magnetic fittings, and some contain a light or other electronics. The same-looking square cover does not guarantee the same removal method. Broan-NuTone’s cover guide illustrates why model compatibility and mounting style matter.
Set a sensible boundary for this job
- Plain removable cover: Clean it using its specified care method. A plastic cover with no electrical components may be washable when the manual permits it.
- Cover with a light, sensor, speaker, or wiring: Follow its dedicated instructions. Do not assume the whole assembly belongs in the sink.
- Accessible dusty housing or blower area: Use only the cleaning access and method allowed by the manufacturer.
- Motor removal, electrical connections, damaged parts, or inaccessible ducting: Leave these to a qualified professional.
Heater-and-fan combinations, remote inline fans, and continuously running ventilation systems deserve their own manuals. This article does not replace those instructions or provide electrical repair steps.
Before starting, decide what a finished job looks like: loose dust removed, the cover clean and secure, the surrounding area tidied, and any fault written down for follow-up. A permanently yellowed cover does not have to become bright white to count as clean. Broan-NuTone notes that aging and discoloration can remain after washing. Avoid escalating to stronger chemicals simply to chase a cosmetic result.

Turn Off Power and Set Up Safely
Switch the fan off, then isolate the appropriate circuit at the service panel as the manufacturer’s instructions require. A timer, humidity sensor, or another person can restart a fan that has only been turned off at its wall switch. Broan-NuTone’s maintenance safety instructions require the power to be shut off at the service panel and protected against accidental restoration before cleaning.
Make sure everyone at home knows the fan is being cleaned. Follow the manual’s precautions for preventing the circuit from being switched back on. Check that the fan and associated light will not operate after isolation, as described by the Home Ventilating Institute. This is a routine functional check, not proof that exposed wiring is safe to touch. Do not open electrical compartments or touch wiring. If you cannot confidently identify or isolate the correct supply, stop and get help.
Let a fan/light or heater combination cool before approaching it. Arrange a battery-powered light if isolating the circuit leaves the room dim. Keep the sink and shower off while you work and start with a dry floor.
Make the reach comfortable
Move the bath mat, hamper, and loose items away. Use an undamaged step ladder of a suitable height on a firm, level surface, opened and locked as designed. Never balance on a toilet, bathtub edge, chair, or stacked objects. Keep your body between the side rails rather than stretching sideways.
The OSHA ladder safety guide emphasizes following ladder labels, stable placement, and three points of contact while climbing. Do not stand on a top step that is not designed for standing. If a fan above the tub cannot be reached from safe equipment, professional access is the sensible option.
Keep children and pets outside the work area. Put a towel over the closed toilet lid or counter to catch falling dust, while leaving the ladder’s feet on the dry floor. Lay out a safe place to put the cover before you take it down.

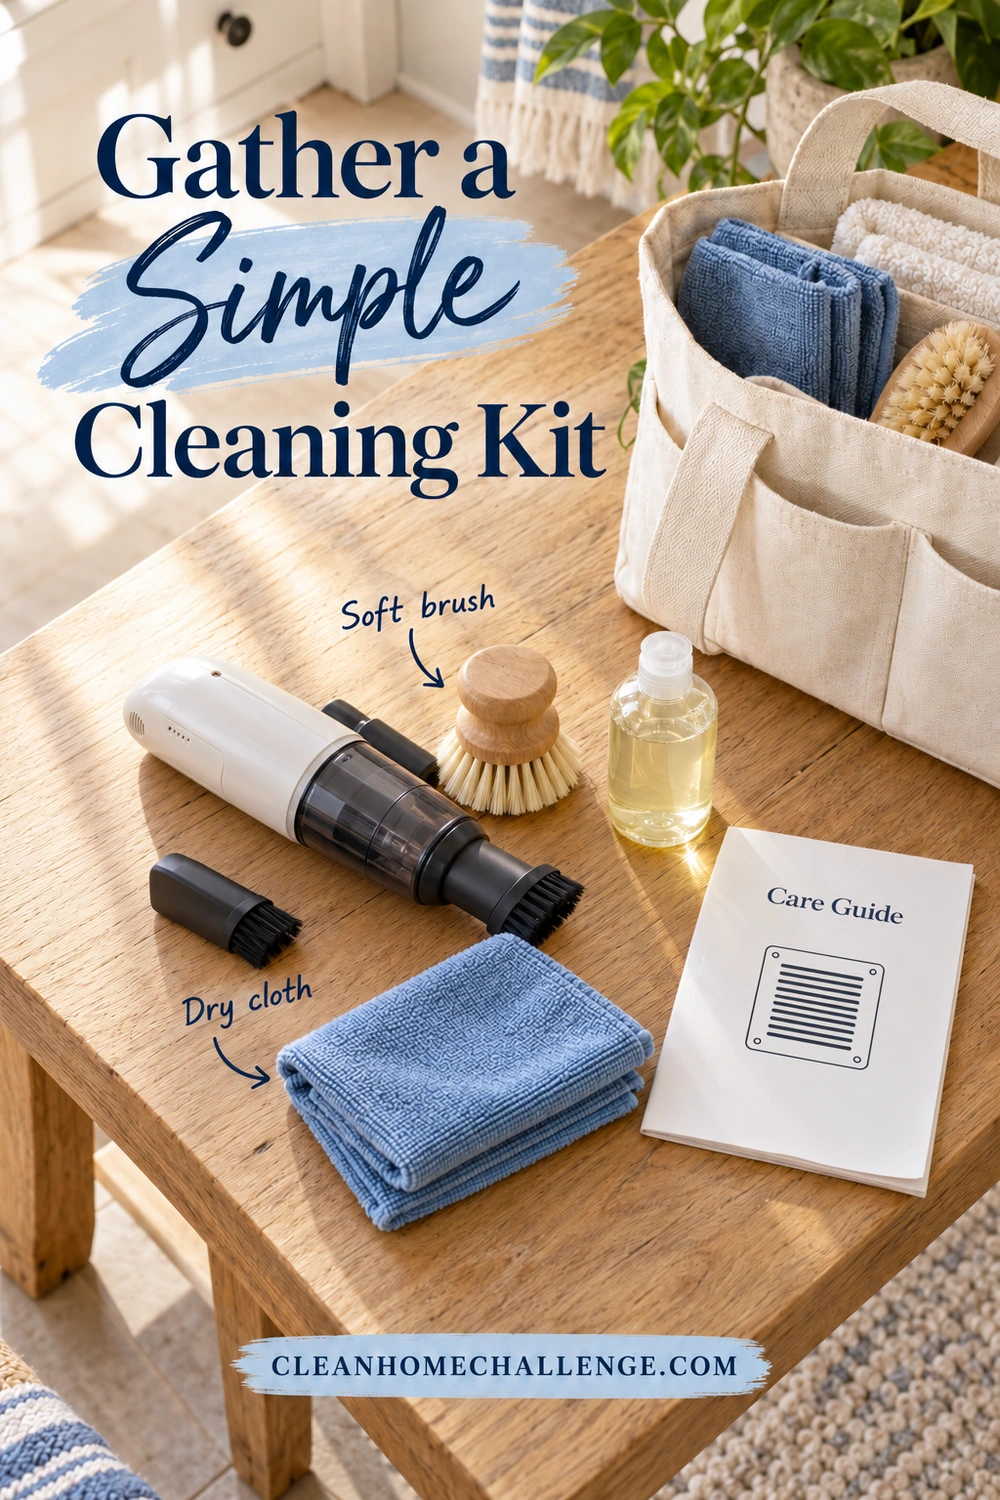
Gather a Simple Cleaning Kit
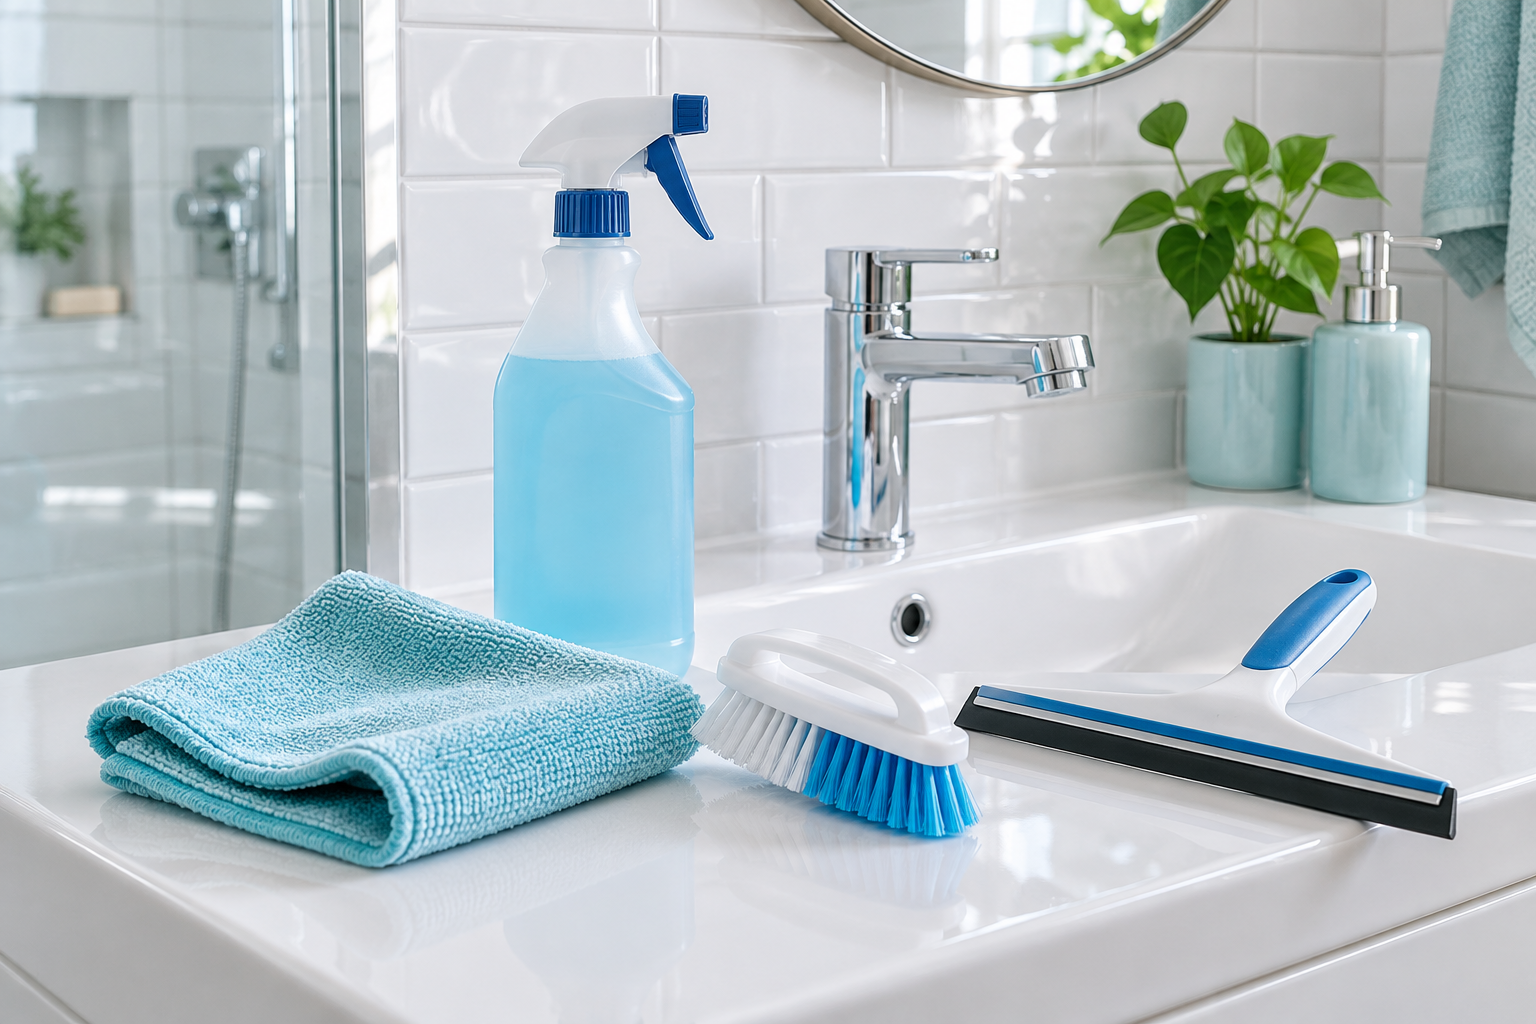
Pull together the tools you already own before buying anything special. A small, light setup is easier to manage than carrying a crowded cleaning caddy up a ladder.
- A vacuum with a clean, soft dusting-brush attachment
- A soft dry cloth and a separate towel for drying the cover
- A small soft-bristled brush for a washable grille’s corners
- Mild dish soap and lukewarm water, only for parts the manual allows you to wash
- Eye protection for overhead dust, and any protection specified by your fan or cleaning-product instructions
- A small container for cover screws, if your model uses them
- The model-specific instructions and enough light to read them
Panasonic’s exhaust-fan maintenance guidance supports gentle vacuuming and cover cleaning rather than a complicated chemical routine. For this general guide, keep the electrical unit dry; only use a damp cleaning method on an internal non-electrical surface if your exact manual explicitly permits it.
Set the vacuum body somewhere stable and make sure the hose will reach without pulling on you or the ladder. Plan where the hose and cord will run so you will not trip over them on the way down. Keep the bowl of wash water on the counter or in the sink, never perched on the ladder. If the bathroom outlet loses power with the fan circuit, a charged cordless vacuum may be the simpler option. Never restore the isolated fan circuit just to run a vacuum while the unit is open.
Leave disinfectants, bleach, vinegar, oven cleaner, abrasive powders, and fragrance sprays out of this job. Ordinary dust does not call for disinfecting an electrical appliance. Never mix products. Avoid compressed air, which can scatter dust deeper into the unit or around the room. A cleaning brush should lift dust gently, not pry against blades or fittings.
If you only have ten minutes today, finding the manual and gathering the right tools is a useful first step. Save removal and cleaning for a time when you can finish reassembly without rushing.
Remove and Clean the Cover
With the power isolated and safe access established, remove the cover exactly as your model’s instructions describe. Support it with one hand while releasing its fasteners. On many spring-clip models, the grille lowers slightly and the spring arms are squeezed to release them; other models work differently. Panasonic describes both clips and screws in its maintenance overview.
Do not pull hard against resistance or let a cover hang from a cable. If a light connection or unfamiliar part appears, stop and consult the manual before continuing. This guide does not ask you to disconnect electrical components.
Take the detached, approved washable cover to the sink. Remove loose fluff with the soft brush attachment first so you are not turning dry dust into muddy smears. For a plain plastic grille approved for washing:
- Use a small amount of mild dish soap in lukewarm water.
- Gently wash both faces and the slats with a soft cloth or brush.
- Rinse away soap without forcing or bending delicate parts.
- Towel off surface water, then leave it somewhere safe to dry fully, including the small recesses around clips.
The HVI care guidance cautions against getting water into motors, lamp holders, and connections, and against immersing metal parts. If your cover includes metal springs, electronics, or a light module, use the model’s instructions rather than treating it as an all-plastic washable piece. Do not put it in a dishwasher or use very hot water unless the manufacturer expressly allows it.
If the cover will not come off
Stop tugging and identify the fixing. Paint around an edge, a concealed screw, or a different mounting system can make a familiar-looking cover behave differently. Do not lever against the ceiling or cut around unknown components. An external dry dusting may be all you can do safely until you get model-specific help.
Give the drying cover its own space away from toothbrushes and clean towels. While it dries, finish the safe dry-dust work and collect the dust that fell below. Never use the fan or a hair dryer as a shortcut to dry its parts.

Clear Dust From Accessible Parts
Work slowly with the soft dusting attachment. Start around the opening, then lift loose dust from the housing and visible surfaces that the manual identifies as user-accessible. Keep the nozzle close enough to collect dust without bumping delicate parts. Do not push tools into hidden spaces, reach into wiring areas, or force the blower wheel to turn.
Broan-NuTone’s maintenance instructions recommend a vacuum dusting attachment for routine interior cleaning. They also state that the illustrated motor is permanently lubricated. Do not add oil or a spray lubricant as a general bathroom-fan fix; follow your unit’s exact instructions.
A dry cloth can catch the remaining loose dust on permitted, reachable surfaces. Use a gentle hand and keep the cloth out of slots where it could snag. The goal is to remove accessible dust without bending blades, loosening mountings, or changing any controls.
What if the dirt is sticky?
Hairspray and bathroom residues can leave a film that a light vacuum pass does not shift. Resist the temptation to spray cleaner overhead. Put the job on pause and look for a specific approved method for that part. If the manual does not describe a safe way to reach and clean it, ask the manufacturer or a service professional. Finishing with a little inaccessible discoloration is preferable to soaking a motor.
Do not remove a motor assembly simply because a video for another model does so. Do not pull insulation into the room, probe down the duct, or vacuum suspected mold or pest contamination as ordinary dust. Those findings change the job and call for assessment.
Before leaving this stage, look at the accessible opening in good light. If you see damage, signs of overheating, loose electrical parts, or moisture, stop. Leave the power isolated and arrange appropriate help rather than testing whether the fan still runs.

Reassemble and Check the Fan
Wait until every washed component is fully dry. Then reinstall the cover using the same method and orientation in the manual. Springs should engage their designated slots; screws should return to their original positions. The cover should sit securely without needing to be forced or glued into place. Broan-NuTone’s InVent grille guide demonstrates one particular spring arrangement, which should not be assumed to fit every fan.
Make a quick finish check before restoring power:
- The cover is secure and all required pieces are in place.
- Nothing is resting inside the unit or against the blower.
- Cloths, brushes, and loose screws have been accounted for.
- The surrounding area is dry and clear.
- Everyone is clear of the fan and access equipment.
Restore power only after safe reassembly. From the floor, turn the fan on using its normal control and listen. If it makes a new scraping, grinding, or unusually harsh sound, switch it off and isolate it again. Do not put fingers or a tool through the grille while it is running.
A quieter sound or a cleaner grille is encouraging, but it does not measure ventilation performance. The EPA explains that a running motor alone does not establish adequate airflow, and bathroom exhaust should discharge outdoors rather than into an attic or another indoor space. If moisture problems persist, have the system checked instead of assuming another round of cleaning will fix it.
Write down the cleaning date and any change you noticed. That small record is more useful than trying to remember later whether a rattle began before or after cleaning.

When Cleaning Is Not Enough
Some bathroom-fan problems need a repair or a ventilation assessment. Cleaning is a reasonable response to ordinary dust; it cannot repair damaged components, correct duct design, or resolve a building leak.
Stop using the fan and arrange help
Leave the unit off and seek a qualified electrician or service professional if you notice a burning smell, sparks, visible heat damage, repeated breaker trips, a seized fan, water reaching the unit, or exposed or damaged wiring. Do not repeatedly reset a breaker to see whether a fault clears. If there is smoke or fire, leave the area and contact emergency services.
Ask for a ventilation assessment
- Grinding or squealing continues: Broan-NuTone identifies worn bearings, damaged blower parts, and aging motors among possible causes of noise. A professional can determine which part actually needs attention.
- The mirror stays foggy or the room stays damp: Cold surfaces, inadequate replacement air, fan location, and restrictive duct runs can all contribute. Broan-NuTone’s condensation guidance shows why the cause may extend beyond the grille.
- A stain, drip, or mold keeps returning: Report the moisture problem rather than repeatedly washing the visible mark. The EPA’s mold guidance centers on correcting the water or moisture source.
- You cannot tell where the fan vents: Ask a qualified installer to check. A clean cover does not confirm the duct is connected or terminating correctly.
For a rental, send the property manager a short description: the room, fan model if known, the symptom, and when it happens. A photo taken from a safe position can help. Avoid taking the unit apart to gather evidence.
You can still finish the ordinary bathroom tasks that are safe to do. An unresolved fan problem is a separate maintenance item, not a reason to keep scrubbing the entire room.

Keep Bathroom Ventilation on Your Routine
Give the grille a quick visual check during your Tuesday bathroom reset. You do not need to remove it every week. Look for dust collecting across the openings and notice changes in sound or how the room dries after bathing.
HVI recommends routine cleaning at least annually in its care guide. Follow your model’s maintenance schedule if it calls for more frequent attention, and inspect sooner in a busy or dusty bathroom. Use a reminder with the model number and manual link so next time begins with the right instructions.
For an intermittently operated bathroom fan, HVI recommends running it for 20 minutes after bathroom use. Follow your system’s controls and instructions; do not disable a fan intended to provide continuous whole-home ventilation. Ask your installer if you are unsure which setup you have.
A realistic maintenance rhythm
- During ordinary bathroom cleaning: Look up, check the grille, and note any new noise or dampness.
- When the manual or visible buildup calls for cleaning: Plan enough uninterrupted time for isolation, safe access, cleaning, drying, and reassembly.
- After cleaning: Record the date, return the tools, and add any needed repair to your household list.
- If you are short on energy: Locate the manual or book suitable help. You do not have to climb today to make useful progress.
Pair this small maintenance job with your existing bathroom cleaning routine, rather than adding another long weekly checklist. For room-by-room airflow habits while using cleaning products, see how to ventilate your home while cleaning.
A manageable bathroom routine includes looking after the equipment above your head as well as the surfaces at eye level. Keep the method gentle, use the right instructions, and stop at the boundary between cleaning and repair. That is a good job finished.

CLEANERS CLUBHOUSE
Take the Guesswork Out of Bathroom Cleaning
Use Tuesday as your bathroom reset day and work through the job in a sensible order. Inside the Cleaners Clubhouse, you’ll find practical routines, printable support and challenges that make deeper cleaning easier to manage.
