

THIS POST MAY CONTAIN AFFILIATE LINKS. PLEASE READ MY DISCLOSURE FOR MORE INFO.
Toothpaste in the sink, a damp towel on the floor, and an empty toilet paper roll can make an already rushed morning feel harder. You do not need to turn that moment into a bathroom deep clean. A short, repeatable route can get the room ready for the next person.
This 10 minute bathroom cleaning routine focuses on five jobs: clear easy clutter, wipe the sink, freshen the toilet, spot-clean the floor, and finish with dry surfaces and stocked essentials. Treat the times as a guide for a small, regularly maintained bathroom. A shared family bathroom, limited mobility, interruptions, or accumulated mess may need longer. You can also divide the route into smaller visits.
This is everyday maintenance. Cleaning removes dirt and many germs; disinfecting is a separate, label-directed step. The CDC’s home-cleaning guidance recommends added disinfection when someone is sick or has a weakened immune system. Visible bodily-fluid contamination needs prompt, appropriate cleanup, not a hurried wipe or a place on next Tuesday’s list.
Start after the main morning rush when possible. If you have only two minutes, use the shorter option below. A useful reset still counts when it does not include every task.
Disclosure: This post may contain affiliate links. As an Amazon Associate, Clean Home Challenge earns from qualifying purchases. If you make a purchase through these links, we may earn a small commission at no extra cost to you. This helps us keep creating practical cleaning tips, routines and resources for busy families! 🧽
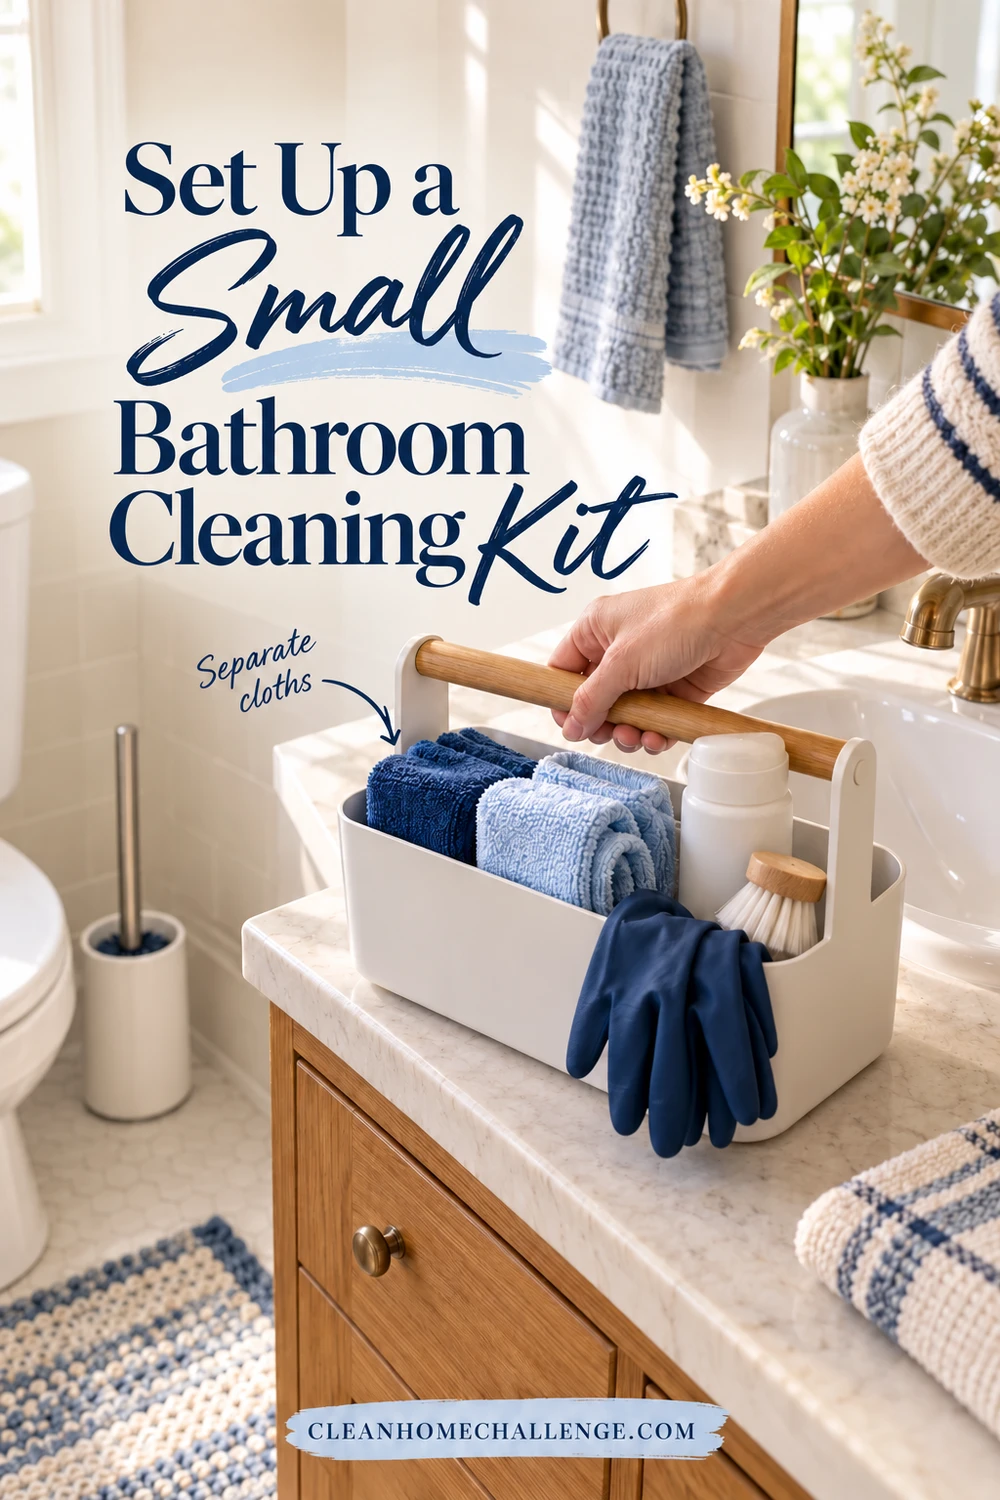
Set Up a Small Bathroom Cleaning Kit
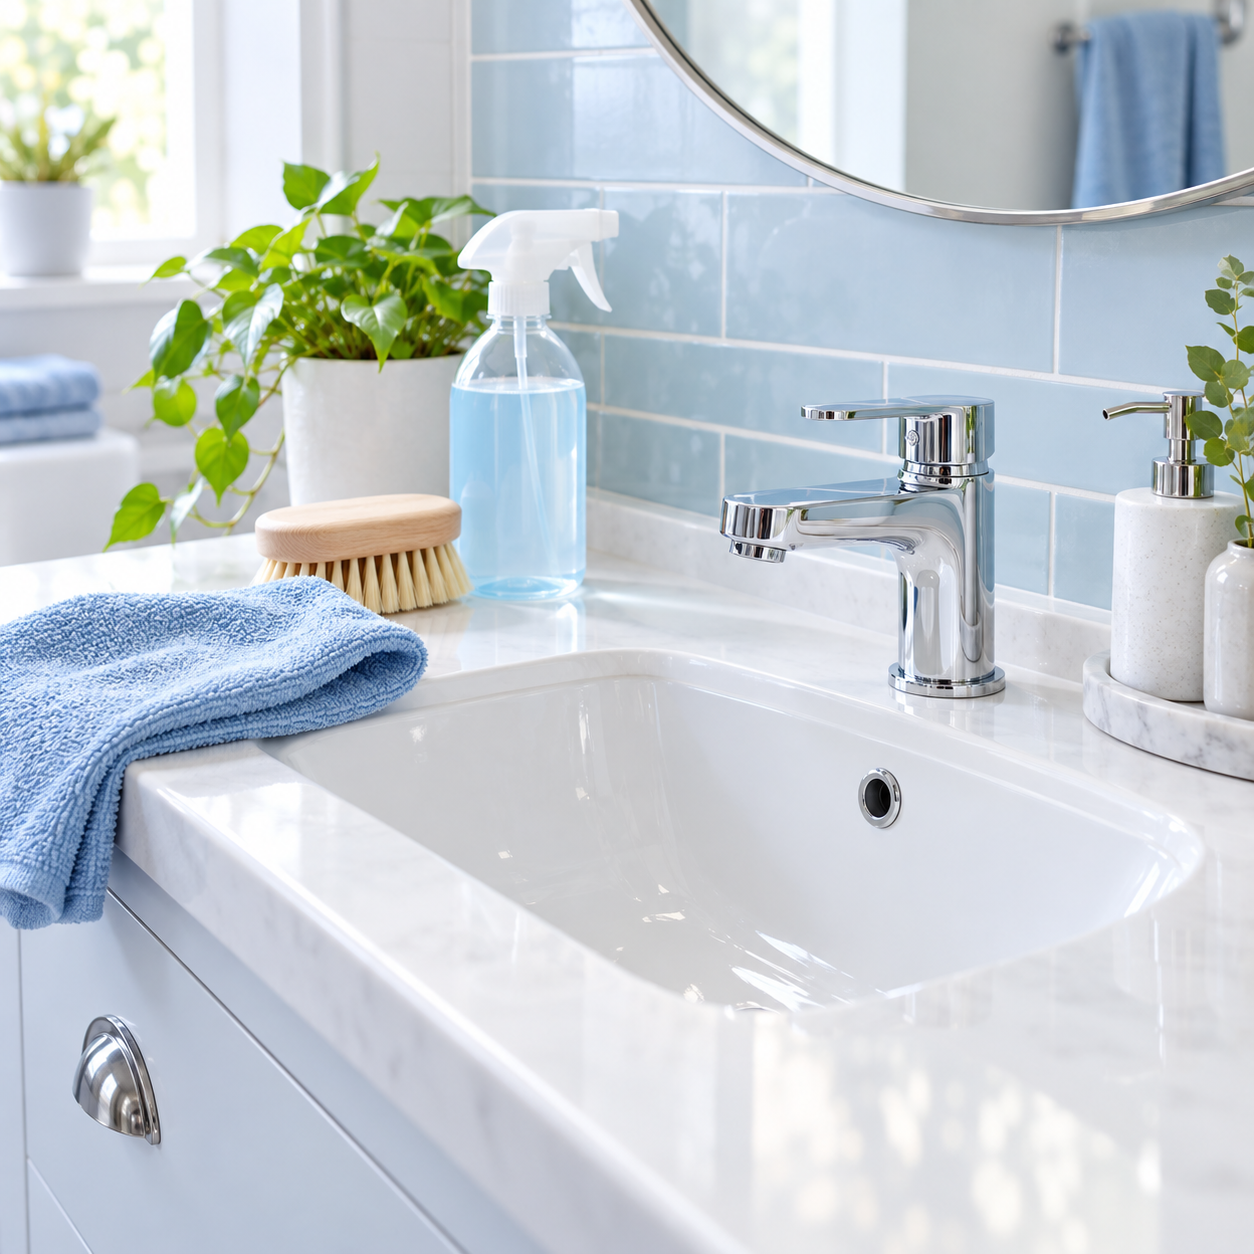
Gather the kit before starting your ten-minute route. Keeping a few suitable supplies together saves the repeated trips that make a small job feel endless.
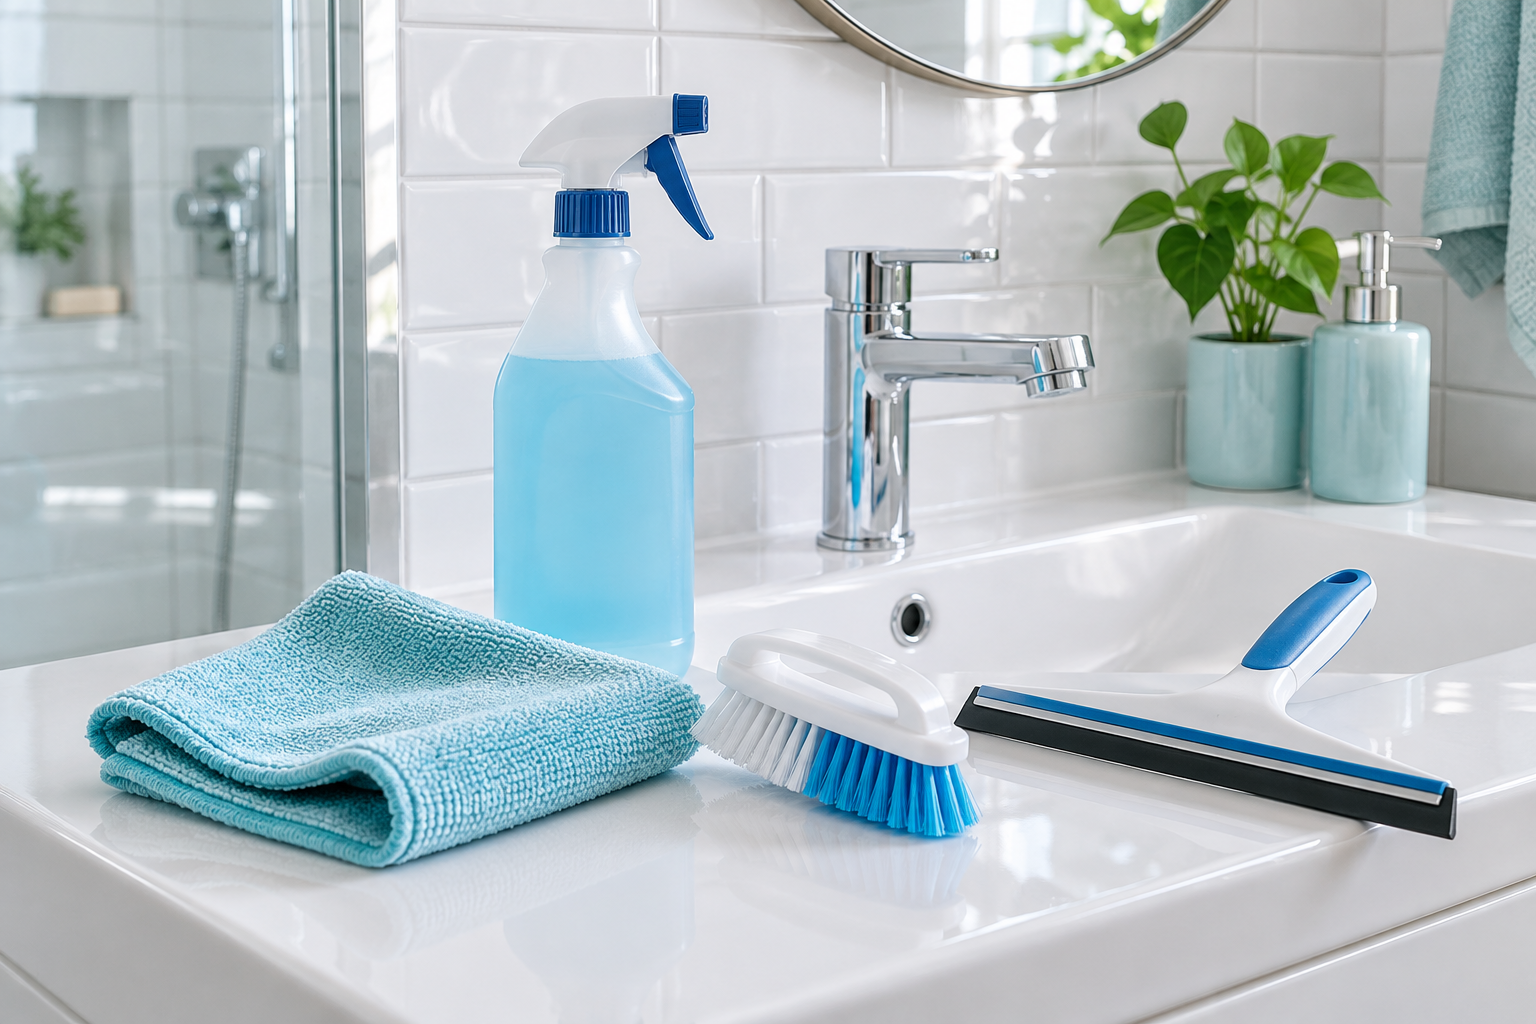
- A bathroom-safe cleaner suitable for your specific sink, counter, and fixture finishes
- Two or more clean, soft cloths for the vanity and drying
- Clearly separate toilet-only cloths or disposable paper towels
- A toilet brush and a bowl cleaner, if needed and compatible
- A small dustpan and brush, plus a floor-only cloth or clean mop pad
- Gloves required by the product label, a trash bag, and a laundry container
Keep products in their labeled containers. Store the caddy securely away from children and pets, rather than leaving it beside the toilet for convenience. Open a window or use appropriate ventilation while following product instructions. Check any unfamiliar cleaner on a hidden area when the surface maker recommends testing.
Use colors, a label on the storage container, or separate compartments to keep toilet supplies recognizable. A toilet cloth never moves to the sink, towel rail, or clean supplies, even if it still looks tidy.
Never mix cleaners, including bleach with toilet-bowl cleaner, vinegar, or ammonia. Do not add another product over an existing one. CDC bleach-safety guidance warns against mixing bleach or disinfectants with other cleaners. Follow the label’s dilution, rinsing, ventilation, and protection instructions; stronger is not automatically better.
If you must spend the whole available slot finding supplies today, getting this kit ready is a reasonable first step. The next reset will be easier to start.
Minutes 0–2: Clear the Easy Clutter
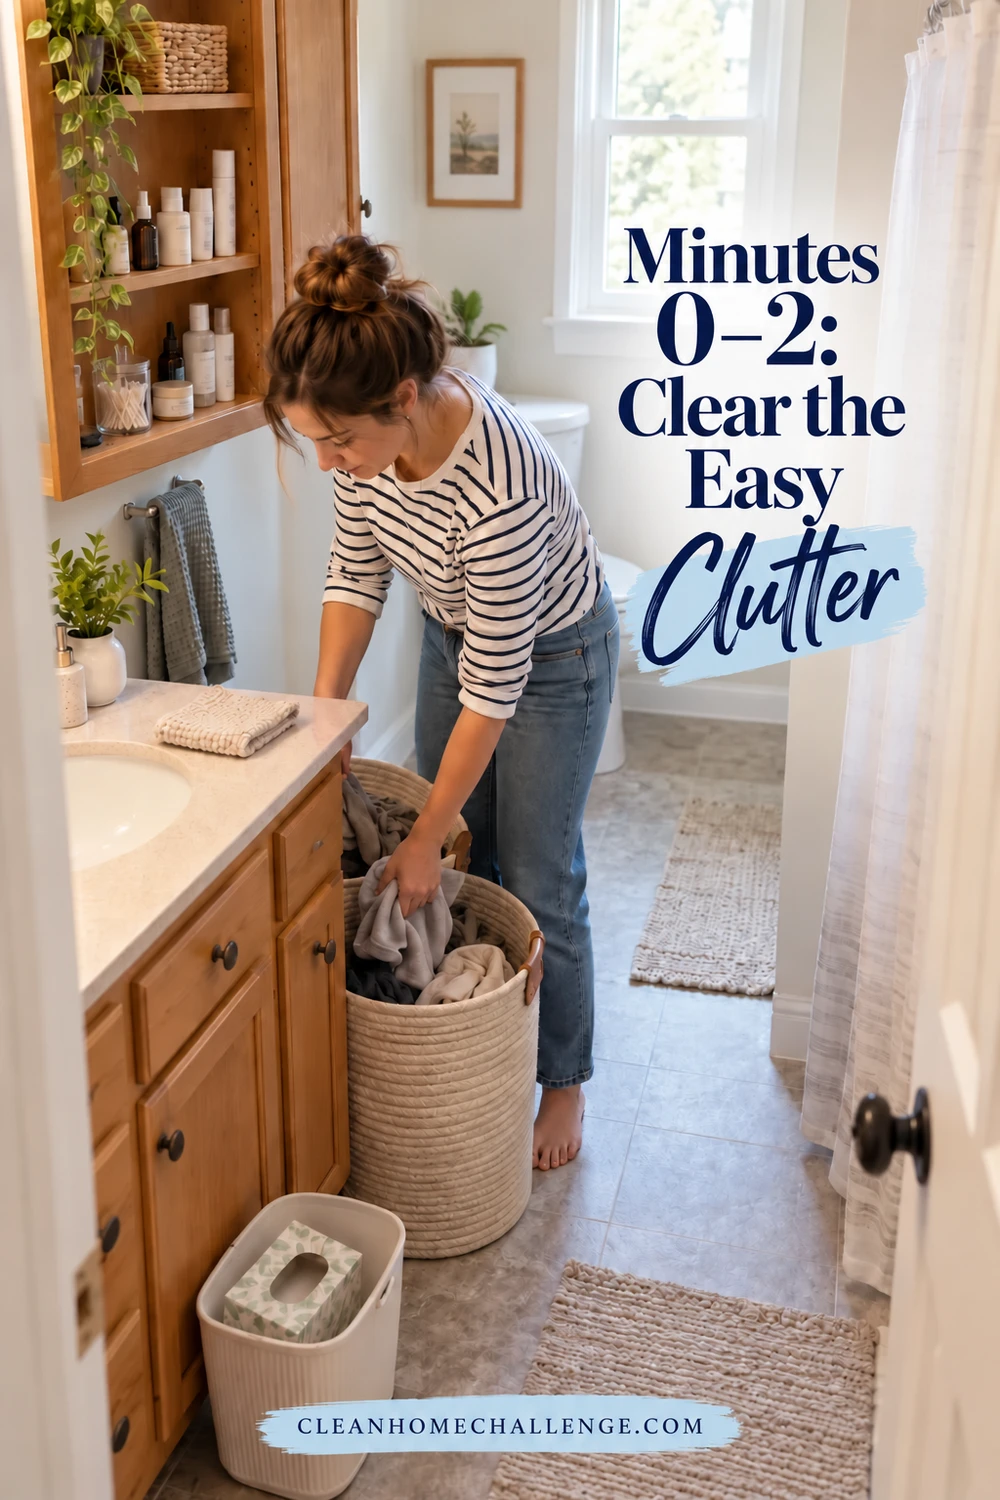
Begin with the things that already have a home. Put toothbrushes and toiletries away, move empty packaging to the trash, and gather laundry. Leave plugged-in appliances alone until you can safely unplug them with dry hands; hot styling tools need a heat-safe place to cool.
Work around the room once rather than sorting each area perfectly:
- Clear enough counter space to wipe it without lifting a dozen bottles.
- Put dry dirty clothes in the laundry container. Spread wet towels to dry or take them directly to a wash you are starting; avoid a damp heap.
- Return everyday toiletries to their usual shelf or basket.
- Check the trash. Empty it if full or soiled, and clean a leaking container before adding a fresh liner.
Do not empty a drawer, reorganize the medicine cabinet, or start checking every product date during this pass. Put a genuinely displaced item in a small return basket and deal with it after the morning rush.
The bathroom tidy checklist is deliberately small: a usable counter, an unobstructed walking route, and fewer loose items to clean around. If someone else is still using the room, just clear the available zone and come back later. You do not need to clean around moving feet or rush another person’s routine.
Minutes 2–4: Wipe the Sink and Faucet
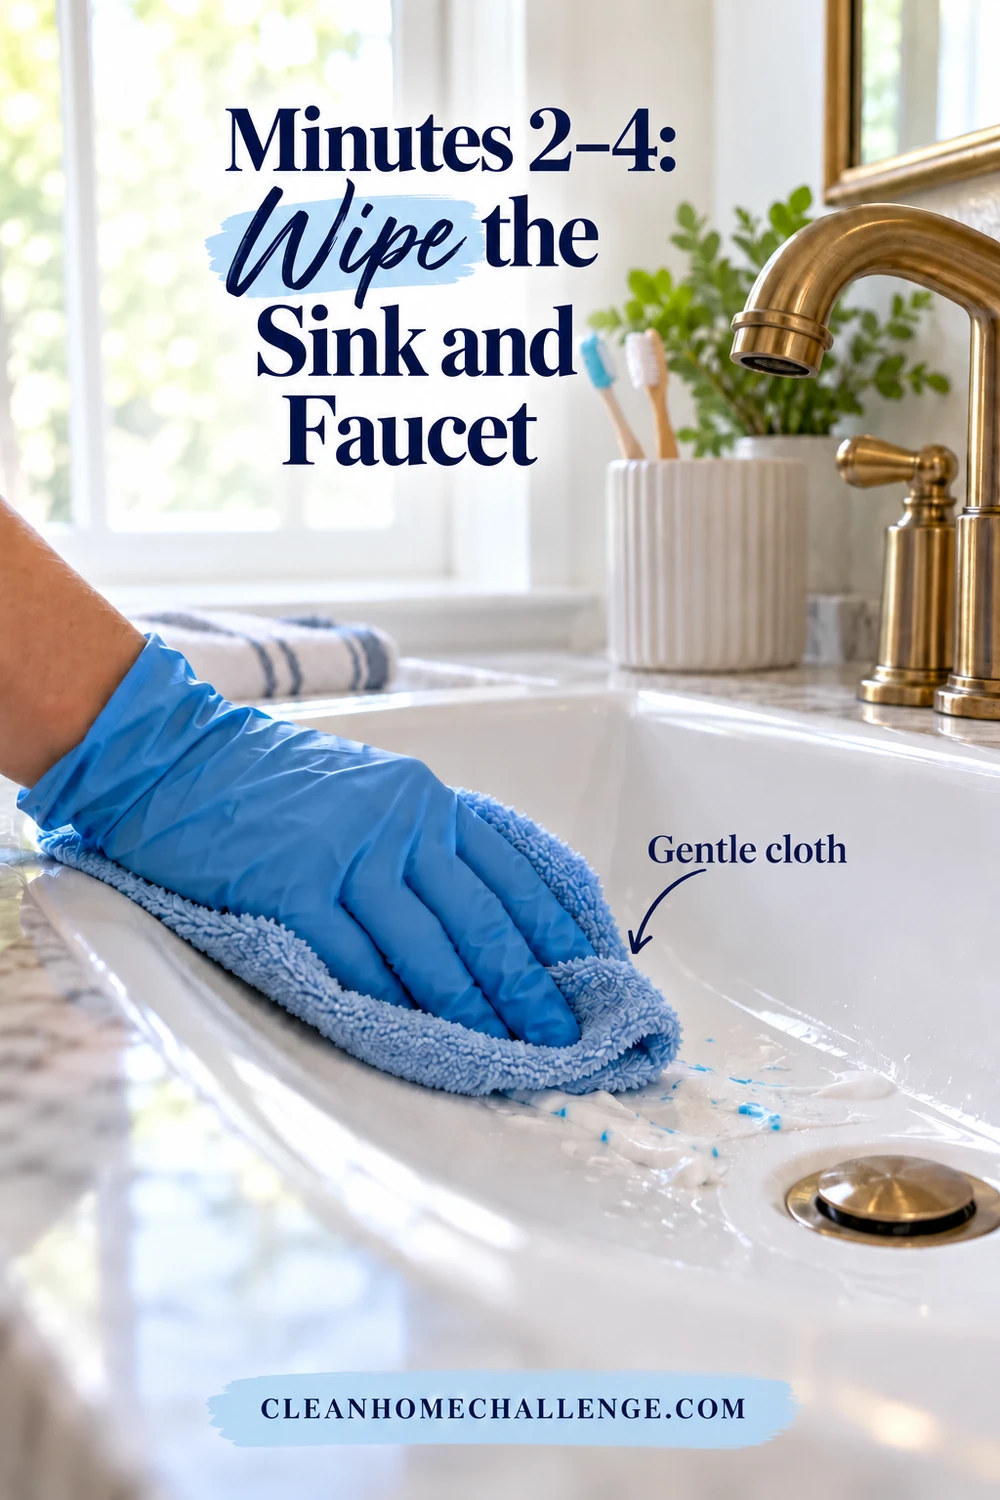
Pick up hair and other loose debris with a tissue or paper towel and put it in the trash. Then use a fresh vanity cloth and a surface-compatible cleaner to remove toothpaste, soap residue, and water splashes.
Start with the counter and faucet, then clean the basin. Fold the cloth to expose a clean section as it becomes dirty. Use a small amount of product according to its directions, wipe gently, and rinse or remove residue as instructed. Blot the faucet and surrounding splashes with a separate dry cloth when the cleaning process allows.
Finish care matters. Delta’s faucet-care guidance recommends gentle, nonabrasive wiping and drying and warns against several harsh cleaners. Follow the instructions for your own model rather than assuming every chrome, brass, coated, or matte finish tolerates the same treatment.
For marble, limestone, or another natural-stone vanity, choose a stone-appropriate neutral cleaner. The Natural Stone Institute warns that acidic products, including vinegar and lemon, can damage some stone. Keep abrasive pads and improvised acid treatments out of this quick reset.
Dried buildup that resists a gentle pass belongs in a separate, material-specific cleaning session. Do not trade a scratch-free finish for a faster result. If you notice a mirror splash and still have time, spot-clean it with a mirror-safe method and a separate clean cloth. A complete streak-free mirror polish can wait.
Minutes 4–6: Freshen the Toilet
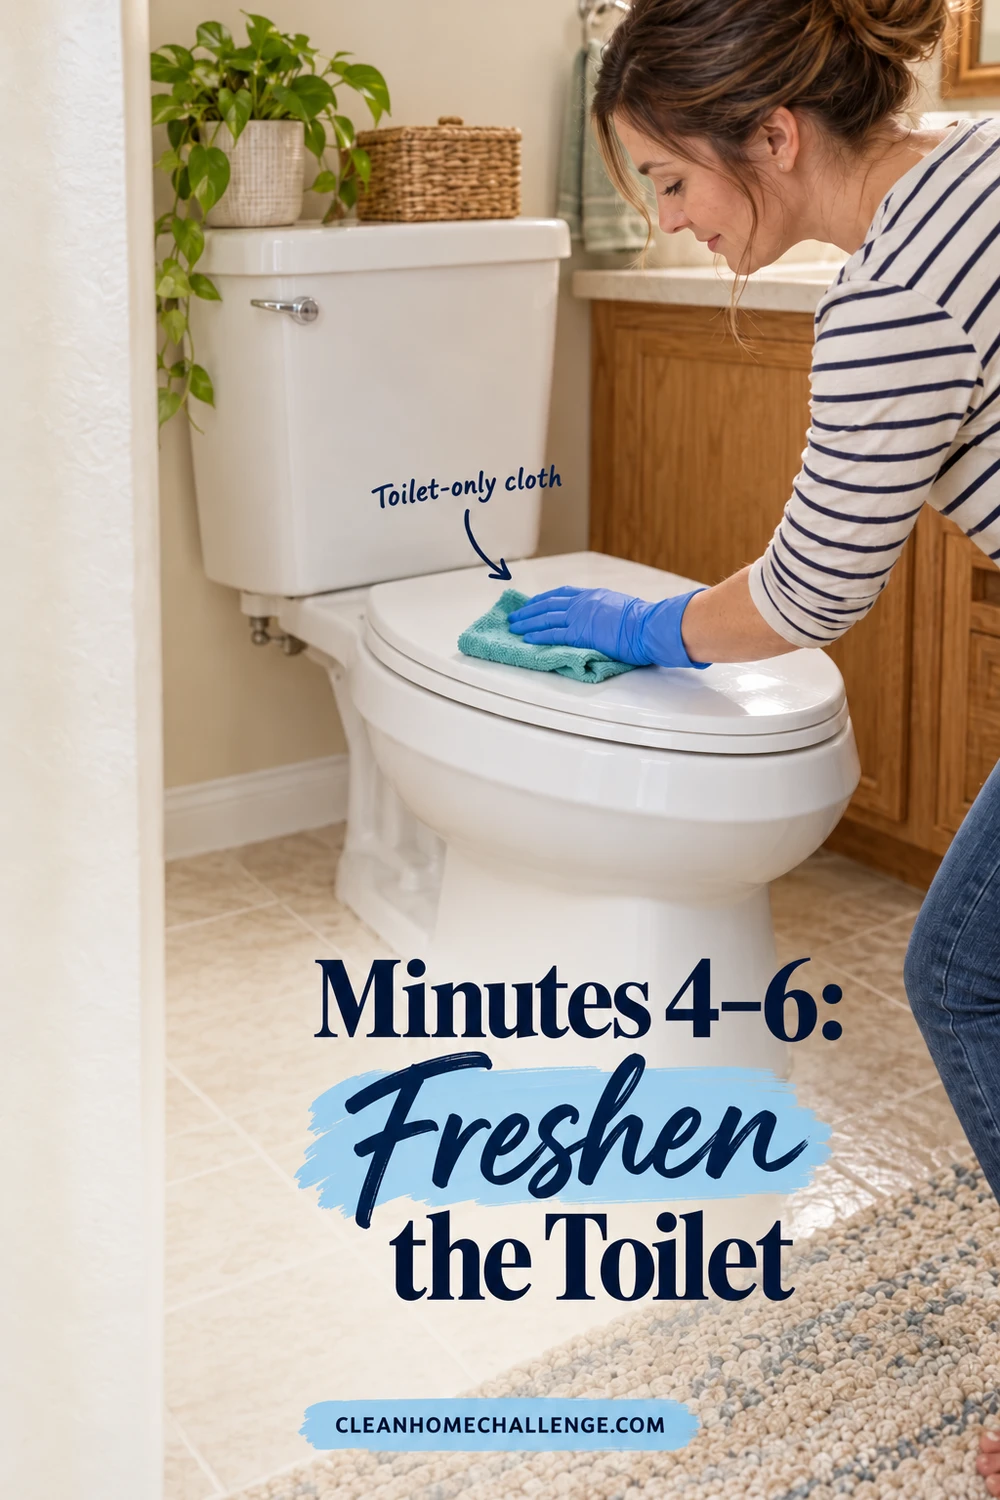
Switch to the toilet-only supplies. Work from the less soiled exterior areas toward the seat, rim, and dirtier areas, changing to a clean cloth section or fresh paper towel as needed. Wipe the flush handle or button, lid, both sides of the seat, and accessible exterior marks with a compatible cleaner.
The seat is not necessarily made from the same material as the bowl. Painted wood and specialty finishes can require gentler treatment. Kohler’s toilet-seat care instructions call for mild detergent and warm water for the covered product. Check your seat’s own care guide before applying a disinfectant or bowl cleaner to it.
If the bowl needs attention, follow the bowl cleaner’s directions for application, waiting, brushing, and flushing. Keep that product inside its intended area. Never introduce a second cleaner, especially if an in-tank or in-bowl product is already present. If you cannot identify what is there, check compatibility before adding anything.
A two-minute toilet slot is not a two-minute disinfection claim. When disinfection is needed, first clean visible soil, then use an appropriate EPA-registered product for that surface and purpose. The EPA’s disinfectant guidance says the surface must remain visibly wet for the complete labeled contact time. Extend the routine, and follow any required rinse or drying directions afterward. Do not wipe it dry just because the timer rings.
Contain used toilet cloths for laundering, dispose of paper towels in the trash, remove gloves appropriately, and wash your hands before handling fresh towels or supplies. Do not rinse the toilet cloth in the freshly cleaned handwashing sink.
Minutes 6–8: Spot-Clean the Floor
Check for water or another slip hazard first. Deal with a fresh puddle promptly using a floor-only absorbent cloth. If the floor is contaminated with bodily fluids, stop the ordinary reset and use an appropriate cleanup procedure with separate tools.
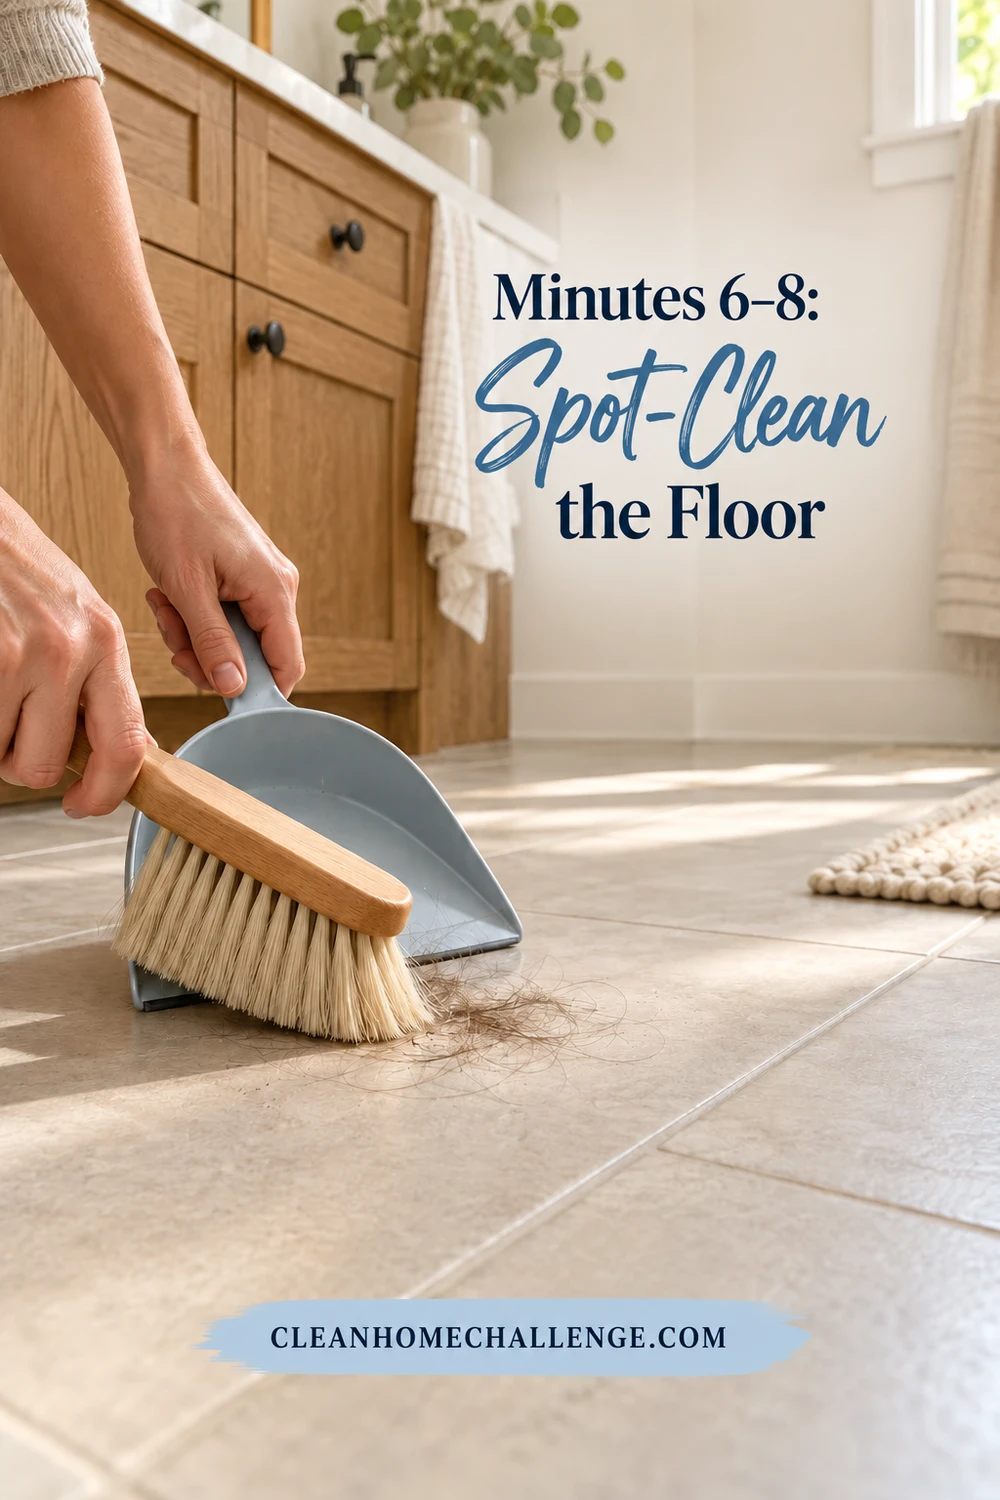
For routine hair and dry dust, use a small brush and dustpan or a suitable dry-floor tool. Gather debris before adding moisture so you are not pushing wet hair around the room. Focus on the area in front of the vanity and the clear walking route rather than moving every object.
Spot-clean visible marks with a well-wrung cloth or mop pad and a product approved for the floor. Keep moisture controlled around seams and cabinet edges. Tile, natural stone, laminate, and vinyl can have different care requirements; a cleaner suitable for the sink is not automatically suitable for the floor.
If using a flat mop, place its clean pad beyond the small area and pull it back toward you in overlapping passes, collecting the loosened dirt rather than scattering it ahead. Change the pad when dirty. Reserve a contaminated toilet-area pad for that area instead of carrying it through the rest of the home.
Avoid leaving a slippery film or a wet shortcut for the next person. Mannington’s vinyl-floor guidance highlights prompt spill removal and the slip risk of wet floors. Follow your floor’s care and drying directions, and keep people off any wet section. Full-room mopping belongs on the weekly list unless today’s mess requires it sooner.
Minutes 8–10: Dry, Restock, and Finish
Use the last pass to make the room easy to use again. Check the walking route and remove remaining water where the cleaning instructions permit. Leave any disinfected surface alone until its full contact time and required finishing steps are complete.
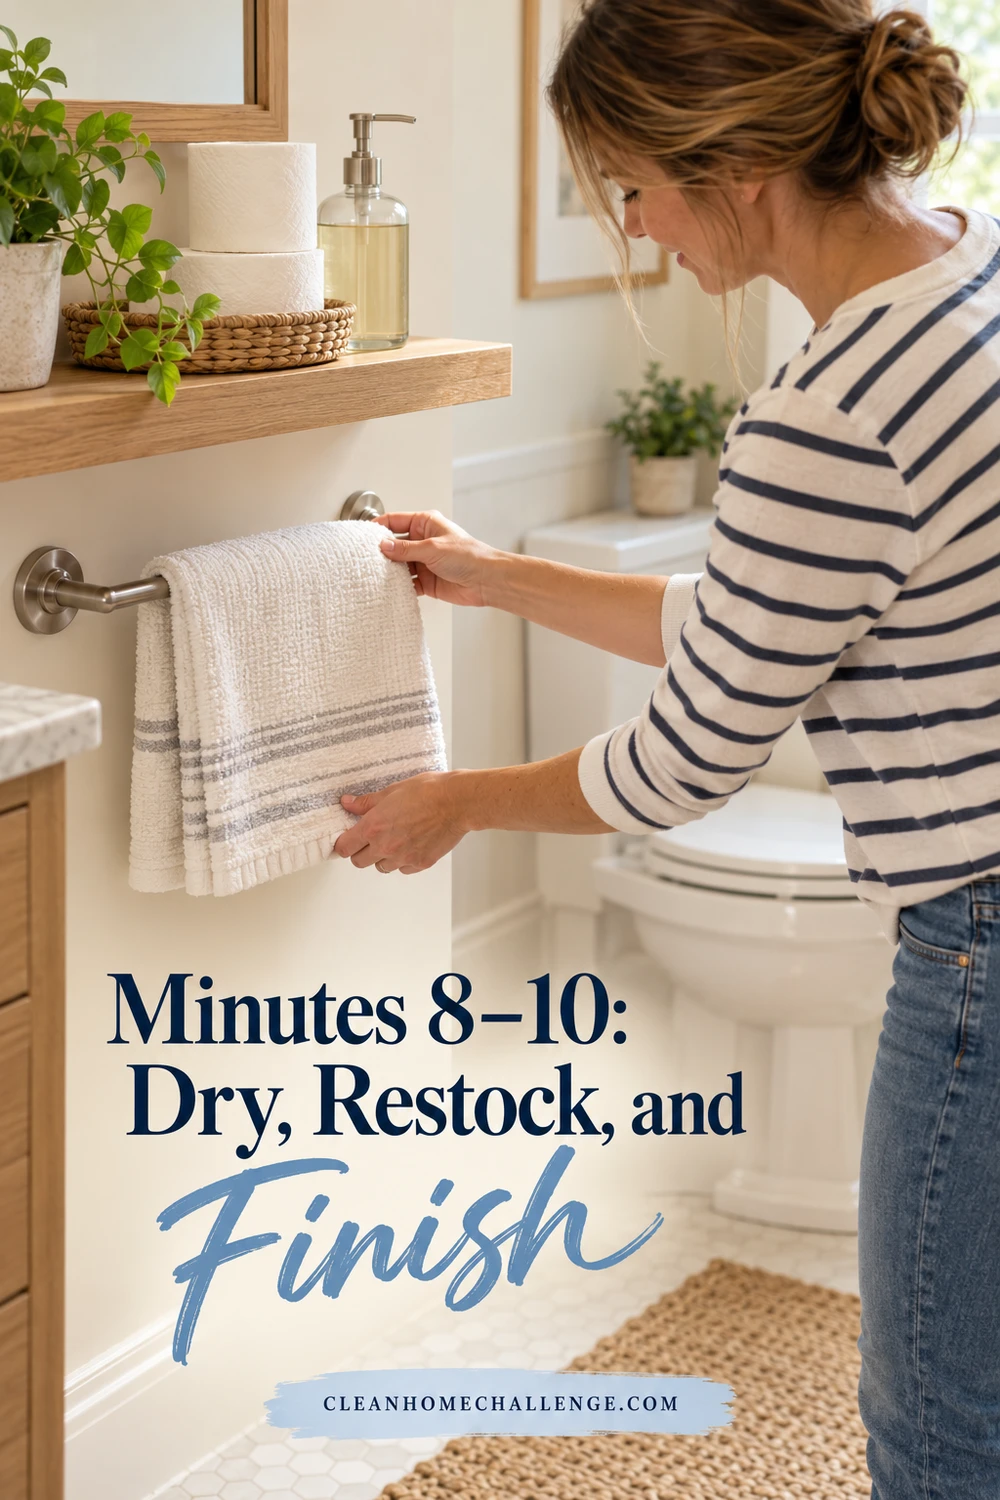
With clean hands, replace a dirty or damp hand towel, check the toilet paper, and make sure soap is available. Replace or refill dispensers according to their manufacturer’s directions. Put toothbrushes and personal items back only on finished, dry surfaces.
Run through this brief finish list:
- The sink is usable and everyday items have a place
- Toilet cleaning is finished, or the required treatment is still being safely managed
- The floor is dry enough to walk on safely
- Hand soap, toilet paper, and a clean hand towel are available
- Dirty cloths are contained and cleaners are securely stored
Launder reusable cloths and mop pads according to their care instructions and dry them fully before storing. Give the toilet brush and holder their own care routine rather than putting a dripping, dirty brush onto another surface.
If the room still smells unpleasant, check for an obvious source such as trash, a damp textile, or a missed spill. Fragrance does not finish the cleaning. A continuing sewer-like odor, a leak, or recurring dampness needs investigation outside this ten-minute routine.
Finish with handwashing. The goal is a bathroom ready for normal use, with fewer small jobs waiting for you later.
Use a Two-Minute Reset on Hard Mornings
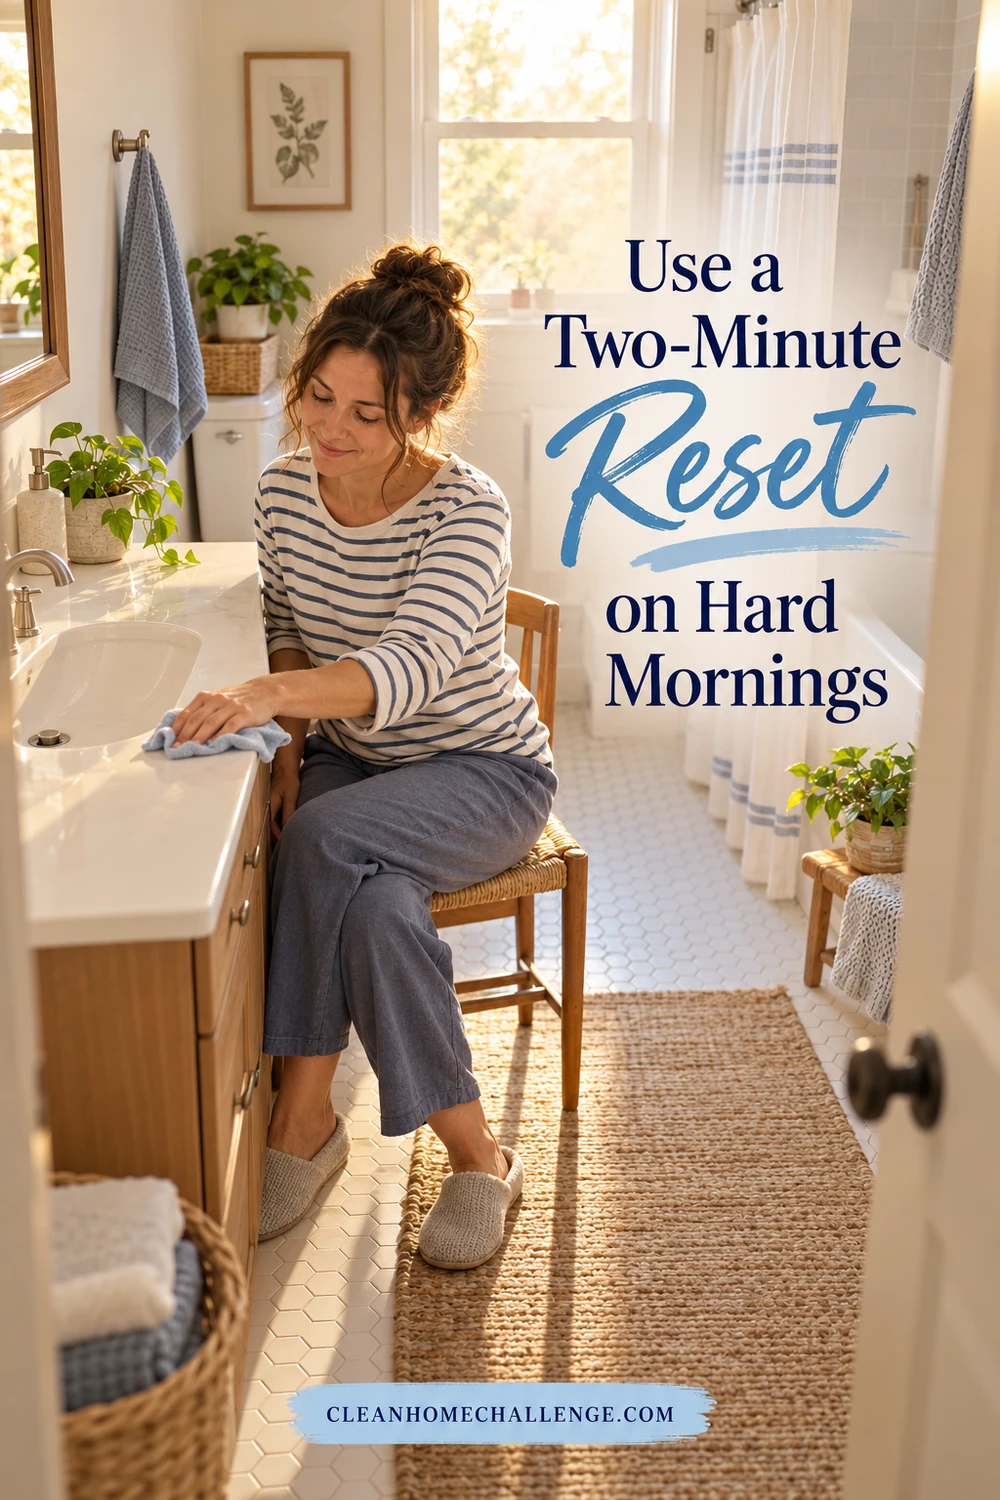
Some mornings have room for only the essentials. Choose the action that makes the bathroom safer or more usable, then stop. Do not apply a product requiring supervision or finishing steps you do not have time to complete.
Try this flexible order:
- Remove an immediate slip or trip hazard.
- Clear the few things blocking the sink and wipe fresh toothpaste with a clean, suitable cloth.
- Check soap and toilet paper, then spread or replace a damp towel.
These are priorities, not sixty-second promises. If a spill takes both minutes, handling that spill is the whole reset. If the toilet is visibly soiled, use your time for the appropriate toilet cleanup instead of polishing the faucet. Needed disinfection still gets its full label-directed process.
Keep a simple cue: after the last person brushes their teeth, after the school departure, or before starting work. Choose whichever moment actually exists in your household. A daily bathroom reset can also happen in the evening if mornings are consistently crowded.
After a missed day, restart with the next useful task. There is no catch-up penalty and no need to double tomorrow’s list. For a shared bathroom, agreeing that each person returns toiletries and hangs their own towel can remove several small jobs from the next reset.
Keep Deeper Cleaning on the Weekly List
The quick bathroom clean works best when larger tasks have somewhere else to go. In the Clean Home Challenge weekly rhythm, Tuesday is bathroom day. Use that slot for the areas a daily pass does not cover, and adjust the workload to the room’s use and condition.
Your Tuesday list might include:
- Clean the shower or tub using the correct method for its material
- Wash the whole sink, counter, and compatible touchpoints thoroughly
- Give the toilet, hinges, base, brush holder, and surrounding floor fuller attention
- Clean the mirror and mop the complete floor
- Wash towels and bath mats as their labels allow
- Check shower corners, seals, and plumbing for recurring moisture or leaks
Choose one extra job when time allows, such as wiping cabinet fronts or checking the bathroom supply basket. Descaling, grout care, and exhaust-fan maintenance need their own product or appliance instructions. Do not try to fit every occasional job into every Tuesday.
Weekly is a planning anchor, not a rule to ignore visible dirt. Handle accidents when they happen, and increase cleaning when bathroom traffic or illness calls for it. Persistent dampness or extensive mold requires a separate assessment rather than repeated cosmetic wiping.
For an easier starting point, the Cleaners Clubhouse Tuesday bathroom routine and deep-clean printables can help you separate the daily essentials from the longer list. Keep the plan small enough to use: a clear counter, a cared-for sink and toilet, a safe floor, and supplies ready for the next morning. Consistency grows from a routine that fits the day you actually have.

CLEANERS CLUBHOUSE
Take the Guesswork Out of Bathroom Cleaning
Use Tuesday as your bathroom reset day and work through the job in a sensible order. Inside the Cleaners Clubhouse, you’ll find practical routines, printable support and challenges that make deeper cleaning easier to manage.
