

THIS POST MAY CONTAIN AFFILIATE LINKS. PLEASE READ MY DISCLOSURE FOR MORE INFO.
If your vacuum glides across the hallway but feels glued to the bedroom carpet, the answer may be a setting rather than a stronger push. Vacuum height adjustment changes how the cleaning head or brush sits against the floor. It matters when carpet piles differ, the head drags, or the brush cannot make suitable contact.
There is no universal dial number for a whole house. Your vacuum’s manual and the carpet or rug maker’s instructions decide which head, brush action, suction, and height are suitable. A setting that works on ordinary cut-pile carpet may be wrong for a delicate loop-pile rug.
This guide helps you identify the controls, make a small permitted test, and save a useful setup for the next cleaning day. You do not need to experiment across every room at once. Start with the patch that makes your usual floor routine difficult.
Disclosure: This post may contain affiliate links. As an Amazon Associate, Clean Home Challenge earns from qualifying purchases. If you make a purchase through these links, we may earn a small commission at no extra cost to you. This helps us keep creating practical cleaning tips, routines and resources for busy families! 🧽
What Vacuum Height Adjustment Changes
Head clearance and brush contact
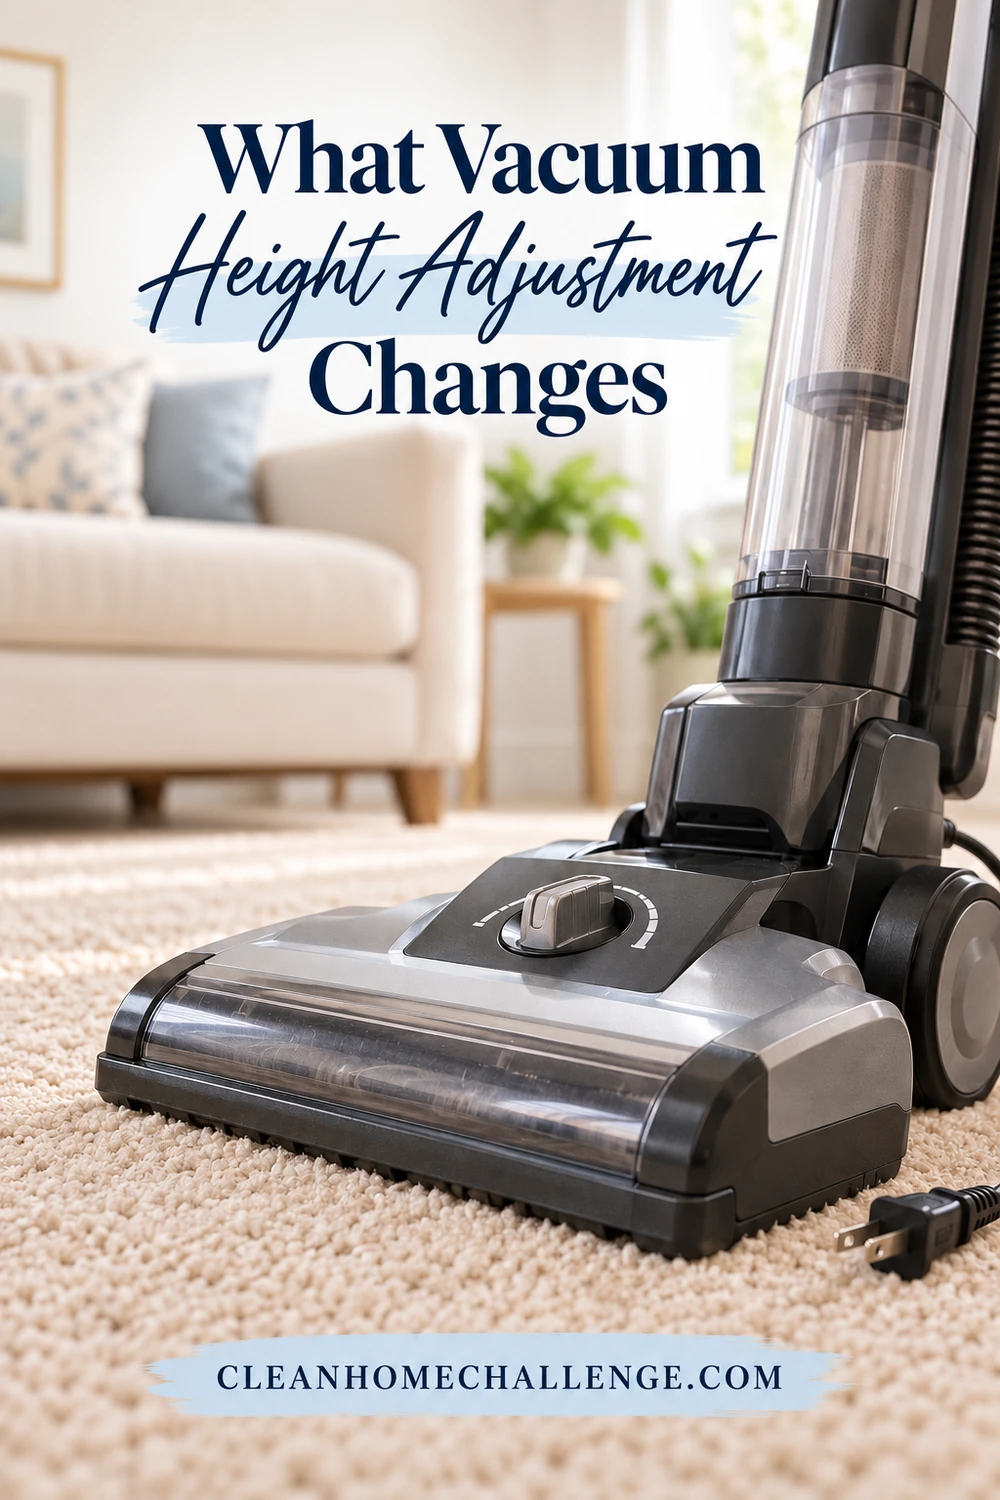
Manual height controls commonly sit on the floor head or upright vacuum’s base. A dial or pedal changes the relationship between the cleaning head, brush, and carpet. The exact mechanism varies. Some adjust the head through its wheels; others adjust brush position. Check the diagram for your actual model instead of assuming every control marked with a carpet icon works the same way.
A head sitting too low can be difficult to move on a dense pile. A head sitting too high may move easily while leaving debris behind. The useful setting allows the vacuum to work as designed without excessive resistance or damage to the surface. Easier movement alone does not prove that cleaning is effective.
Do not translate a number from one machine to another. Setting three on your old vacuum has no reliable meaning on a replacement. Nor is the lowest position automatically the strongest or most thorough choice. Treat the numbers as positions within that model’s system, not performance scores.
Four controls that can be confused
| Control | What it changes | What to check |
|---|---|---|
| Head or brush height | The working position against the floor | Which position the manual permits for that carpet |
| Suction adjustment | Airflow or suction behavior through the machine | Whether a power control or release vent is intended for the surface |
| Brush-roll on/off or speed | The rotating brush’s action | Whether the carpet allows that agitation |
| Handle or telescopic wand length | Your working reach and posture | A comfortable position without overreaching |
These controls may interact, but they are not interchangeable. Raising a rotating brush does not guarantee that it has stopped touching a long rug. Reducing suction does not make an aggressive brush safe for delicate fibers. Adjusting the handle height may make your stance more comfortable without changing anything beneath the head.
As a model-specific example, SEBO’s ET power-head information describes manual brush-height settings, a separate brush shutoff on equipped versions, and an indicator that can also signal brush wear. That is a useful reminder to interpret your own controls and lights through the correct manual.
What if there is no height dial?
Some vacuums have a fixed head, automatic adjustment, interchangeable heads, or a floor-mode control rather than a manual height selector. A missing dial is not a fault by itself. Look up the model number and the specific head supplied with it; accessories sold under the same brand can behave differently.
Use only the adjustments and compatible heads the maker supports. Do not modify wheels, tape vents open, remove safety parts, or hold the machine at an awkward angle to create a homemade setting. If your carpet needs clearance or brush control that your vacuum cannot provide, ask the carpet maker and vacuum manufacturer about a suitable combination.
Match the Head to Your Carpet
Read two sets of instructions
The vacuum manual tells you how the machine operates. The floor-care instructions tell you what the material can tolerate. You need a method that satisfies both. If the two seem to conflict, stop testing and ask the manufacturers for clarification rather than choosing whichever instruction sounds easier.
Find the carpet or rug’s label, receipt, product name, or care guide. Note any restrictions on rotating brushes, beater bars, suction, fringe, or attachments. If you rent, the owner or property manager may have the flooring information. A quick photo of the label and model number can save another search later.
You do not have to measure every fiber. Identify the construction as accurately as you can and use the maker’s advice. Appearance is only a starting point: two carpets that look similarly fluffy can need different care.
Use this as a decision guide, not a setting chart
| Surface you are approaching | Question to settle first | Sensible next step |
|---|---|---|
| Short cut-pile carpet | Is the supplied carpet head allowed? | Use the model’s recommended starting position and test gently |
| Dense or plush carpet | Can the head move smoothly without excessive effort? | Follow the permitted height and suction adjustments; stop if it drags |
| Loop pile, wool, or delicate construction | Is rotating-brush agitation allowed? | Follow the specific care guide before any powered-brush test |
| Shag or long yarns | Could yarns wrap around the brush? | Confirm a suitable suction-only method or approved brush clearance |
| A loose rug with fringe | Can the tool clean it without pulling the rug or catching trim? | Stay away from fringe and follow the rug maker’s method |
| Hard flooring | Which head and brush mode are safe for the finish? | Switch to the approved hard-floor setup; height alone is not permission |
Shaw’s vacuuming guidance distinguishes ordinary carpet care from sensitive thick loop, wool-blend, and shag constructions. Those exceptions are why a blanket instruction to turn every vacuum to its highest setting is unhelpful. A high setting cannot turn an unsuitable tool into a suitable one.
Notice floor changes before you cross them
An open-plan living room may include hard flooring, a low rug, and a deeper rug beside the sofa. Pause at each transition and use the approved head or mode for the next surface. Avoid driving a running powered head over loose edges or fringe while deciding what to do.
Keep children, pets, charging leads, and loose clothing clear of the test area. Pick up small toys, coins, and other objects that do not belong in the vacuum. Work only on ordinary dry household debris unless the machine is specifically designed and approved for another task.
For general accessory choices, our vacuum attachment guide explains the separate jobs of crevice, dusting, upholstery, and floor tools. Buying another accessory is optional; begin by understanding the equipment you already have.

Test a Setting Without Forcing the Vacuum
Prepare a small, ordinary patch
Allow a few unhurried minutes for the first setup, plus whatever time you need to locate the manuals. That is planning guidance, not a timed cleaning result. Choose an inconspicuous accessible patch that represents the carpet you want to clean. Avoid seams, damaged fibers, rug edges, and fringe.
Before adjusting anything, switch off and disconnect power as the manual directs. For a corded machine, unplug it before inspecting the underside or clearing debris. For a cordless model, follow its instructions for preventing accidental operation, including battery removal where specified. Never put fingers near a brush that could start.
Check the ordinary maintenance basics: room in the bag or bin, required filters correctly fitted, an unobstructed airflow path, freely moving wheels, and a brush in suitable condition. Do not wash a filter unless the manual says it is washable, and do not reinstall a washable part until it meets the maker’s drying instructions. A clogged or worn machine needs care; moving a dial will not repair it.
Work through one change at a time
- Choose the permitted head and brush mode. Settle material compatibility before testing pickup.
- Set the manufacturer’s recommended starting height. If the instructions specify starting high and working down, follow that sequence. Do not assume this is the sequence for every model.
- Restore power safely and make a short, controlled pass. Hold the handle comfortably, keep the head in its intended position, and do not bear down to make it move.
- Observe movement, pickup, and the carpet. Look for ordinary debris remaining, unusual resistance, fibers lifting, or an indicator needing attention.
- Stop before the next adjustment. Change only one permitted control, then compare the same small area. Follow the manual’s power-disconnection instructions whenever touching or inspecting the head.
- Keep the suitable result and record it. If no approved setup works, stop using that head on the surface and ask for advice.
For certain CleanView and PowerClean models, BISSELL describes choosing a height that allows comfortable movement. That is an example for the listed machines, not a universal number or permission to use a rotating brush on every rug.
Do not scatter flour, powder, sharp pieces, or other test material onto the floor. You can assess the normal dry debris already present. If the patch is already clean, you can assess movement and surface response, but you have not demonstrated pickup performance. Record that limit instead of inventing a result.
Know what the symptoms can mean
| What you notice | Possible explanation | What to do next |
|---|---|---|
| The head is very hard to push | Height, suction, head compatibility, or a mechanical issue | Stop; check the manual and permitted adjustments without forcing it |
| It glides but leaves ordinary debris | Excessive clearance, airflow trouble, brush wear, or an unsuitable head | Check setup and maintenance before repeatedly covering the room |
| The brush stalls or a warning appears | An obstruction, incorrect setting, or another model-specific fault | Switch off, disconnect safely, and follow that warning’s instructions |
| Fibers pull, fuzz, or catch | The tool or agitation may be unsuitable | Stop immediately; consult the floor-care guidance |
| A loose rug lifts into the head | The current tool or suction setup may be unsuitable | Stop and use only a rug-approved alternative |
These are starting points for checking, not diagnoses. A burning smell, damaged cable, persistent abnormal sound, or repeated shutdown needs the manufacturer’s troubleshooting or service advice. Do not keep restarting the machine to finish the room. BISSELL’s brush-maintenance example reinforces switching off and unplugging before work on the brush.
Do not leave a powered brush parked on the carpet
Keep the head moving during normal use and switch off when you pause. A machine’s upright parking behavior varies, so do not rely on a brush automatically stopping unless your manual confirms it. Never run the head upside down to watch the brush, reach beneath it while powered, or try to free a snag by pulling harder.

Save a Simple Floor-by-Floor Setup
Make the useful setting easy to find
Once you have a permitted setup that works, record the vacuum model, head, room or rug, height position, brush mode, and any allowed suction adjustment. Include the care-guide location and what you actually observed. Write the control’s label rather than a vague note such as “medium power” that someone else could misread.
Download the free Vacuum Floor-Setup Record (PDF).
The free two-page Vacuum Floor-Setup Record gives you a preparation checklist and space to record three floor zones. It deliberately leaves the settings blank: your household’s equipment and flooring supply those answers. Keep it near the manual or cleaning cupboard, away from anything that would block ventilation or moving parts.
An example entry might read: “Bedroom carpet; model and head recorded; height position per manual; brush permitted by carpet guide; smooth movement; pickup checked on ordinary dry debris.” This shows what to document without prescribing a fictional dial number for your carpet.
Fit the check into Friday floors
Before your regular floor session, pick up loose belongings, confirm the first room’s saved setup, and begin with a manageable area. Recheck the mode at a floor change. Use slow, controlled passes rather than racing across a room or repeatedly scrubbing one patch with the head.
On a busy day, do the main traffic path that actually needs attention. If a setting problem takes longer than expected, stop the cleaning session at a safe point and leave a clear note about what needs checking. You have learned something useful even if the whole floor is not finished.
Revisit the record when you change the rug, replace the head or brush, notice a new problem, or share the task with someone else. Do not assume a saved setting remains suitable after equipment or flooring changes. If the carpet is behaving differently, check its care requirements and the machine’s condition again.
Decide whether the feature matters before buying
Manual height adjustment is particularly worth investigating when your home has varied carpet piles or a carpet maker specifies it. It is one compatibility feature among several. Ask whether the proposed head suits your actual carpet, whether brush action can be controlled as needed, how suction is adjusted, and what the manufacturer recommends if movement is difficult.
If a retailer offers an authorized demonstration or trial, use it to check the relevant floor type and read the return conditions before purchase. Do not treat a high setting count as proof that a vacuum cleans better. A suitable fixed or automatic head may work well for some floors, while another home needs more control.
The aim is a repeatable, comfortable routine: a suitable head, a permitted setup, and a small record that removes guesswork next time. If you would like support turning useful tools into regular habits, you can explore Cleaners Clubhouse for the practical routines, printable worksheets, and monthly challenges described in our current membership information.

CLEANERS CLUBHOUSE
Use the Right Tools With a Routine That Works
Good cleaning tools work best when you know where and when to use them. Inside the Cleaners Clubhouse, recommended products sit alongside practical routines, printable worksheets and monthly challenges.