
THIS POST MAY CONTAIN AFFILIATE LINKS. PLEASE READ MY DISCLOSURE FOR MORE INFO.
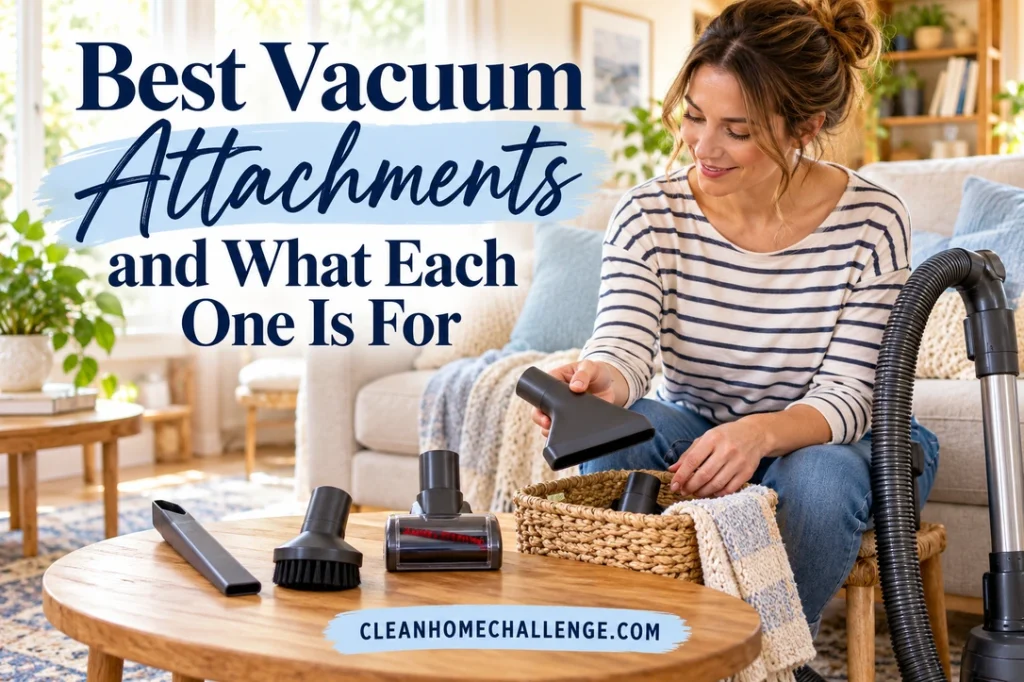
The little tools that came with your vacuum can be more useful than they look. That narrow nozzle reaches the crumbs beside the sofa cushions. The brush with soft bristles helps with dusty baseboards. The small, flat head covers upholstery without trying to steer a full-size floor head across a chair.
The best attachment is the one that fits your vacuum, suits the surface, and makes the job manageable. You probably do not need a huge accessory kit. Start with what you already own, learn its purpose, and add a specialist tool only when it solves a recurring problem.
This vacuum attachment guide explains the common shapes, where each earns its place, and the checks that help you avoid scratched finishes, snagged fabric, or an attachment that will not connect. Brand names below illustrate tool types; they are not a claim that one accessory fits every model.
Disclosure: This post may contain affiliate links. As an Amazon Associate, Clean Home Challenge earns from qualifying purchases. If you make a purchase through these links, we may earn a small commission at no extra cost to you. This helps us keep creating practical cleaning tips, routines and resources for busy families! 🧽
Choose the Right Attachment
Before you start, ask three questions: What am I cleaning? Is the mess loose or caught in fibers? Can the tool reach the spot without force? Those answers are more useful than choosing the attachment that looks most powerful.
A quick tool-to-task guide
- Narrow gaps and seams: A crevice tool reaches spaces a broad head cannot.
- Dust on suitable hard surfaces: A soft dusting brush provides gentle contact while suction collects loosened dust.
- Flat fabric areas: A nonrotating upholstery tool covers cushions, chair seats, and other approved upholstery.
- Hair worked into sturdy fabric: A compatible mini motorized or air-driven turbo tool adds brush action, if the fabric allows it.
- Hard flooring: A floor-compatible hard-floor head, soft roller, or approved combination setting handles a larger area.
- Carpet and rugs: The appropriate carpet head and settings depend on the pile and the flooring maker’s care instructions.
- Awkward reach: An approved extension, flexible crevice tool, or low-reach adapter changes access rather than the surface’s care requirements.
A combination tool may hide two functions in one piece. Look for a sliding brush or a clearly marked release button before deciding an attachment is missing. Shark’s accessory guide shows how crevice, upholstery, and dusting tools serve different jobs and emphasizes model-specific compatibility.
Set up a small working kit: the vacuum, two useful attachments, and a container for coins or small toys you find. Pick up those items first. Check that the bin or bag has room and the required filters are correctly installed. Switch the vacuum off before changing attachments, following its manual for powered connections.
Choose one small win: Clean one chair, one room’s edges, or the space under one sofa. Getting the attachments out does not commit you to the whole house. Allow a few minutes to find your tool and check its instructions the first time; the next session should feel simpler.

Crevice Tools for Tight Gaps
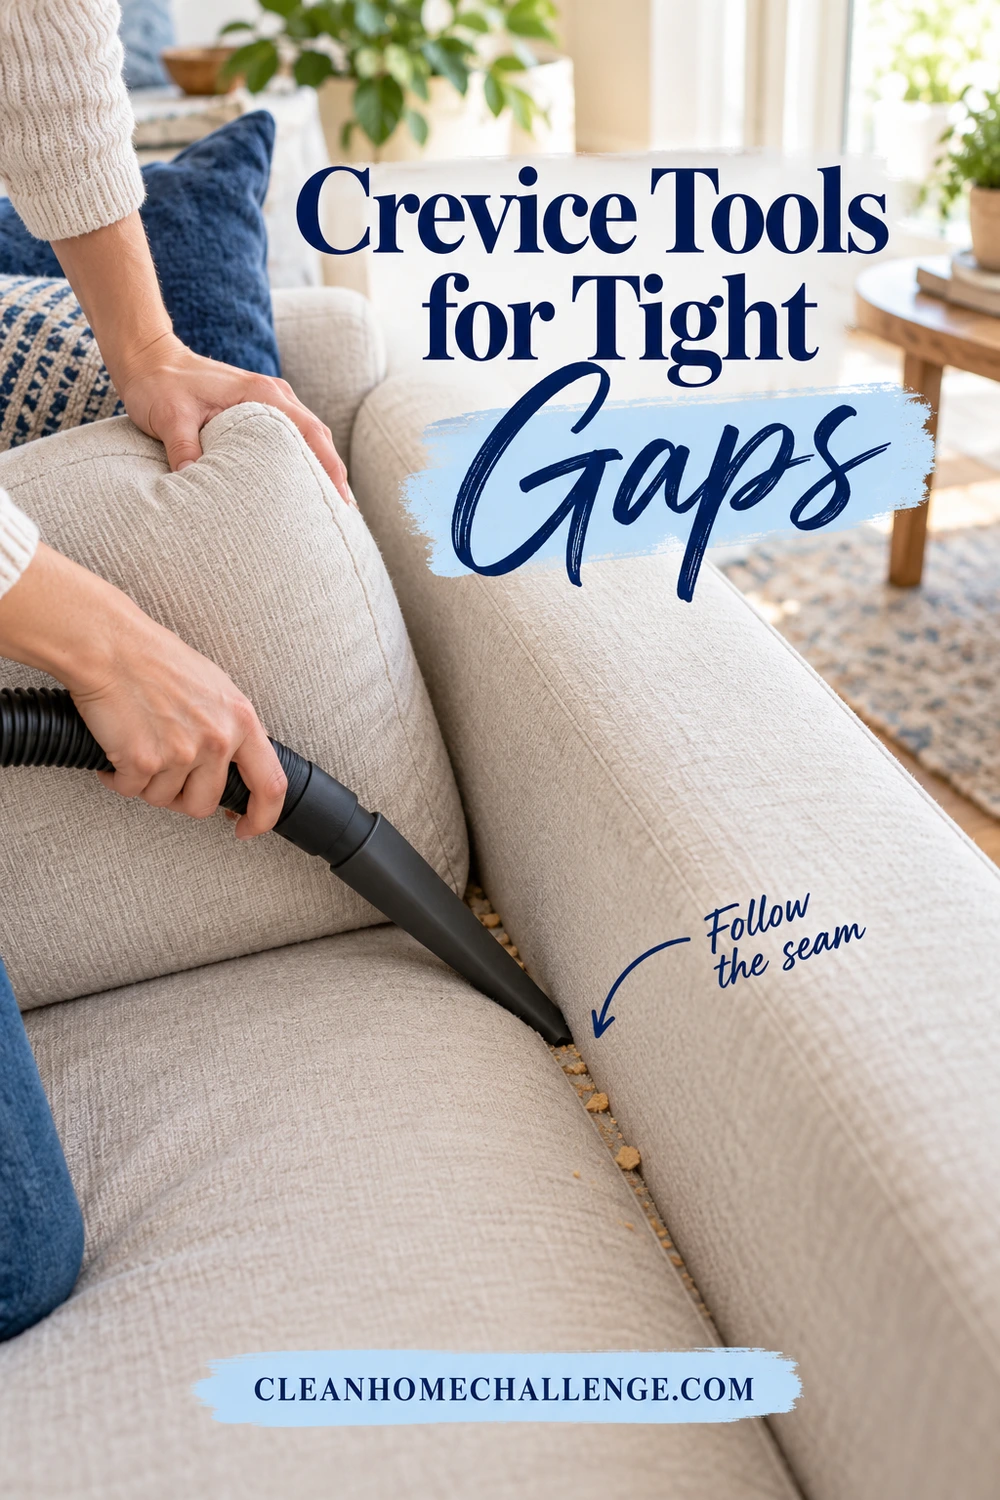
A crevice tool has a long, narrow opening. Its main advantage is access: it places suction where a wide nozzle cannot comfortably reach. Use it for dry, loose debris along sofa seams, beside seat cushions, around accessible floor edges, and in suitable car-seat gaps. It is not a scraping tool.
Miele’s accessory range includes standard, long, and flexible crevice nozzles. A longer version can help with depth; a flexible version can follow an awkward approach. Neither is a reason to push blindly into machinery or an enclosed space.
Work along the gap, not into the material
- Remove loose items and check the opening in good light. Coins, hair ties, and small building blocks can be easy to miss.
- Position the nozzle at the gap’s entrance. Guide it slowly along the seam with light contact, keeping delicate piping and loose threads clear.
- If the nozzle catches on fabric, stop and release it. Reduce adjustable suction or switch to a wider, approved tool instead of pulling harder.
- Look at the opening afterward. Pick up anything unsuitable for the vacuum by hand using an appropriate safe method.
For a sofa, finish one seam and the space below that cushion before moving to the next. For the car, remove floor mats and loose belongings first, then work on dry, accessible areas. Keep the nozzle away from electrical connectors, seat mechanisms, and safety equipment.
A window track is a possible job only when it is dry and contains ordinary loose debris. Wet sludge, broken glass, insects that sting, or unknown material need a different approach. Do not assume a narrow attachment makes those messes safe to vacuum.
Common mistake: Rubbing the bare plastic tip firmly over painted trim or polished furniture. Use a suitable soft brush for the broad surface and save the crevice nozzle for the actual gap. If the tip is rough, cracked, or holding grit, stop and clean or replace it before continuing.
Dusting Brushes for Gentle Cleaning
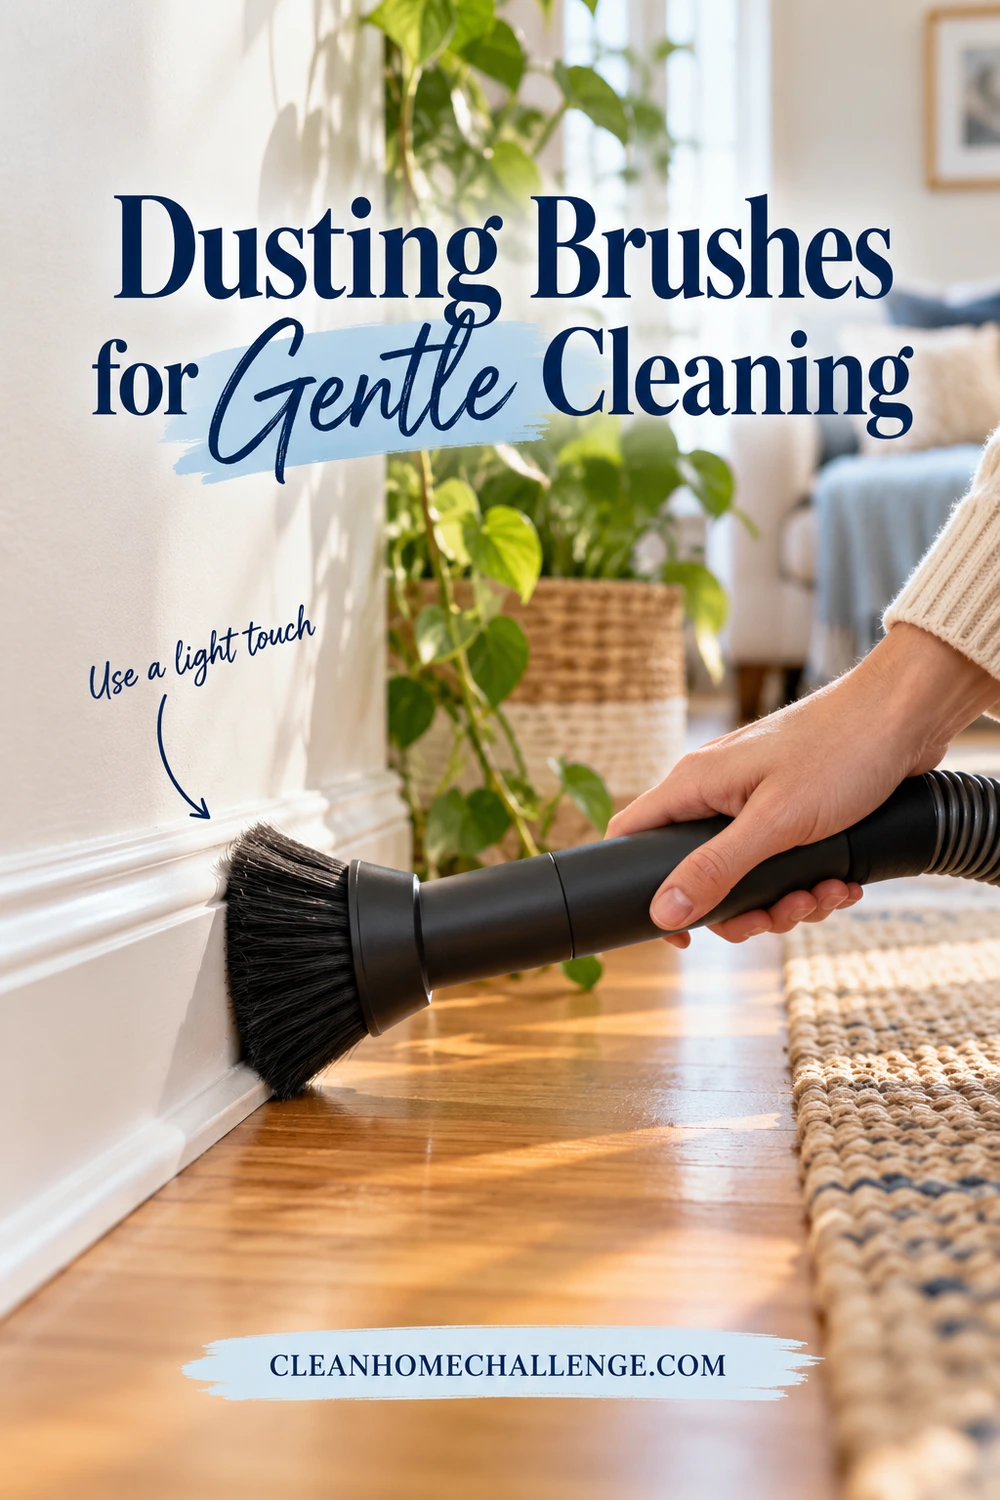
A dusting brush surrounds the suction opening with bristles. On approved surfaces, the bristles lightly disturb settled dust so the vacuum can collect it. Think painted baseboards in sound condition, sturdy shelf edges, and uncomplicated furniture details rather than every delicate object in the room.
Soft bristles are helpful, but they are not a scratch-proof guarantee. Trapped grit, excessive pressure, fragile finishes, and the wrong brush can still cause damage. Inspect the bristles before use and test a hidden spot when the surface’s instructions permit vacuuming.
Try a baseboard-to-floor routine
Begin with one accessible stretch of baseboard. Move small items aside and use the clean brush lightly across the top edge, then the face. Keep the hard connector from knocking the wall. Finish by vacuuming the floor below with the appropriate floor head. This work order keeps any fallen dust within the area you still need to clean.
For a shelf, remove breakable decorations first rather than trying to vacuum around them. Support anything that could tip, and keep loose papers clear of the nozzle. An extension wand can reduce reaching, provided the attachment and angle are approved for your vacuum. Work from a stable position; do not balance on furniture to reach a higher ledge.
When to choose a cloth instead: Sticky marks will not become clean just because you vacuum them longer. After removing loose dust, use the surface maker’s recommended wiping method. Peeling paint, unstable finishes, delicate collectibles, screens, and electronics also deserve their own care instructions rather than a generic dusting-brush treatment.
Miele’s manual describing its dusting accessories distinguishes brushes for baseboards and carved furniture from specialist accessories. Treat those examples as starting points and check your particular brush and surface.
For a lower-energy version, choose the baseboard behind your favorite chair or the shelf you notice from the doorway. A single visible improvement is worthwhile, and there is no need to move heavy furniture just to finish a line of trim.
Upholstery Tools for Fabric
An upholstery tool is usually wider and flatter than a crevice nozzle. Some have small lint-catching strips or short bristles; others are a simple suction opening. A standard nonrotating version is a useful starting point for dry debris on durable sofa cushions, upholstered chairs, and car seats when their care instructions allow it.
Check the furniture label and the manufacturer’s full guidance first. A cleaning code alone does not necessarily tell you which vacuum brush to use. Loose weaves, fringe, buttons, damaged seams, and decorative trim need particular care. Stop if fibers lift, the finish changes, or the fabric pulls into the nozzle.
Refresh one seat in a few steps
- Remove throws, loose belongings, and any cushion the furniture maker allows you to lift.
- Check the tool’s underside. A clean upholstery tool should not bring floor grit onto the sofa.
- Keep the fabric supported and the nozzle flat. Make slow, overlapping passes across one manageable area without scrubbing.
- Turn a removable cushion only if its construction allows it, then clean the other accessible sides.
- Switch to the crevice tool for suitable seams and gaps, and return cushions when the area is finished.
Miele’s wide upholstery nozzle is an example of an accessory designed specifically for upholstered furniture. The useful distinction is the broad working face, not a promise that every upholstery nozzle is interchangeable.
Curtains require more judgment because lightweight fabric may be pulled into the nozzle. Use only an attachment and suction setting allowed by the curtain and vacuum instructions, keep the fabric supported, and stop if it snags. If you cannot verify a suitable method, leave vacuuming out of that curtain’s care routine.
A mattress also has its own care requirements. Where vacuuming is allowed, use a clean, appropriate tool on a dry surface. Vacuuming collects debris; it does not disinfect a mattress, treat an infestation, or remove a liquid stain. Likewise, sofa vacuuming is a helpful maintenance step, not a substitute for a fabric-appropriate stain treatment.

Mini Power Tools for Pet Hair
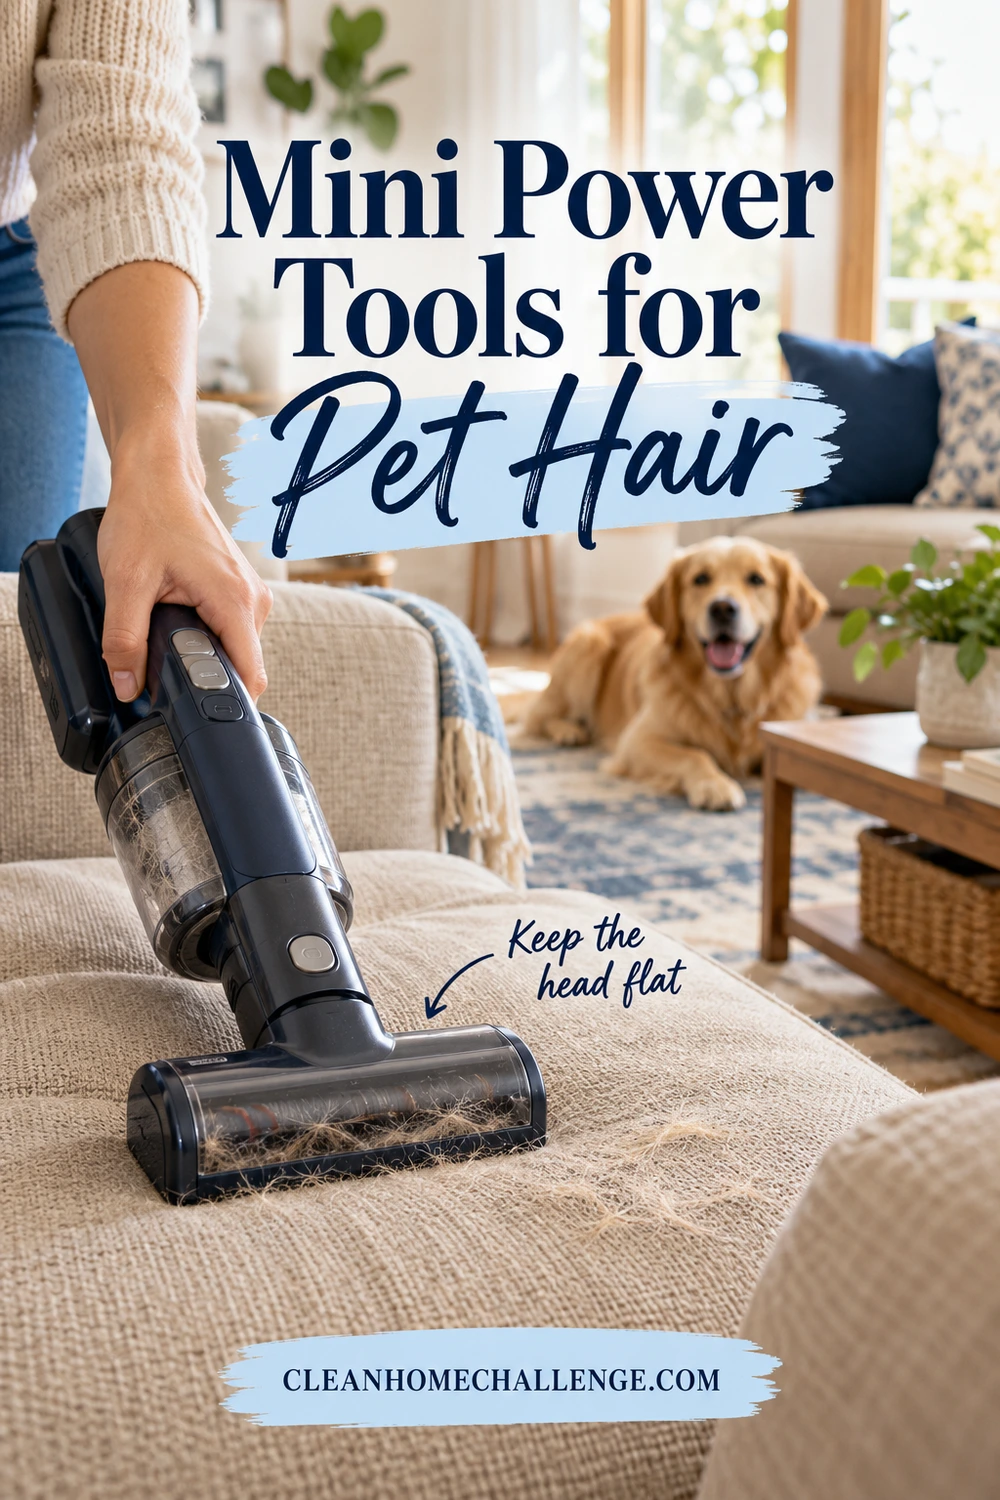
When hair is worked into sturdy upholstery, a small rotating brush may help where a plain nozzle struggles. Look for a mini motorized tool or a mini turbo brush approved for both your vacuum and the surface. They can be useful for suitable carpeted stairs, pet bedding, car upholstery, and a pet’s favorite sofa spot.
The names can be confusing, so check how the brush is driven:
- Motorized mini tool: An electric motor turns the brush. It needs the correct supported power connection as well as a physical fit. Dyson’s Hair screw tool is one model-specific example.
- Air-driven turbo tool: Airflow through the tool turns the brush. Miele’s STB 101 product sheet describes this arrangement. It does not require the same kind of electrical connection, but compatibility still matters.
Let the brush work without pressing hard
Clear loose belongings, move pets away, and check for torn fabric or dangling trim. Test a small, hidden area if the material’s care instructions allow the tool. Keep the head flat enough for proper contact and make steady passes. Pressing harder is not a substitute for the correct setting or an unclogged airway.
If the brush stalls, the vacuum changes sound, or fabric is pulled in, switch off immediately. Disconnect safely before checking for caught hair, threads, or debris. Do not reach into a moving brush or try to clear it while it remains powered.
For stairs, use a configuration the vacuum manufacturer permits and keep your footing secure. Never leave a heavy vacuum precariously perched on a step or pull it toward you with a stretched hose. Work in small sections within comfortable reach, repositioning the machine safely as needed. Our guide to cleaning stairs, banisters, and railings helps you plan the rest of that area separately.
Skip rotating brushes on anything that cannot tolerate agitation. That can include loose or delicate fabrics, fringe, and certain rugs, but the material’s own care guidance is the deciding factor. A compatible suction-only tool may be the better option.
Pet-hair tools clean household surfaces. Do not use one on an animal unless it is a purpose-designed grooming attachment and you are following its specific instructions. For this routine, keep the pet comfortably out of the working area.
Floor Heads for Each Surface
The full-size head is an attachment too, and it should suit what is under your feet. A head that works well on one carpet is not automatically right for wood, vinyl, a textured rug, or a different carpet pile.
Hard floors: check the head and the floor instructions
A dedicated hard-floor head may use soft bristles or a compatible soft roller. A combination head may offer a hard-floor setting. Those designs are not identical, so use the setting and attachment specified for your model and flooring.
For example, Miele’s floor-head range separates parquet brushes from carpet-oriented powered heads. Shaw Contract’s resilient-floor maintenance guidance warns against rotating beater bars on its hard surfaces. That is why a general “works on floors” description is not enough to establish suitability for your particular floor.
Check wheels, bristles, and the underside for grit before starting. Remove unsuitable hard objects first. Make controlled passes without forcing the head sideways over a stubborn piece of debris. If your head pushes larger crumbs ahead of it, consult the manual for a suitable setting or attachment rather than repeatedly grinding over them.
Carpet: match the pile and keep moving
Many carpets can use a rotating-brush head, but others require a gentler setup. Follow the carpet or rug manufacturer’s advice on brush action, suction, and height adjustment. In its carpet-care information, Shaw recommends matching vacuum height to the carpet pile. Do not extend that recommendation to an unidentified rug with different instructions.
Use overlapping passes at a comfortable pace. If the head is difficult to push, stop and check the setup rather than dragging it through the pile. Keep cords and rug fringe clear, and do not leave a running powered brush sitting in one spot.
For mixed flooring: Pause at the room transition and make the required head or setting change. A small switch now is better than treating the entire home as one surface. On a busy day, focus on the traffic path and visible debris, leaving edges and under-furniture work for another session.

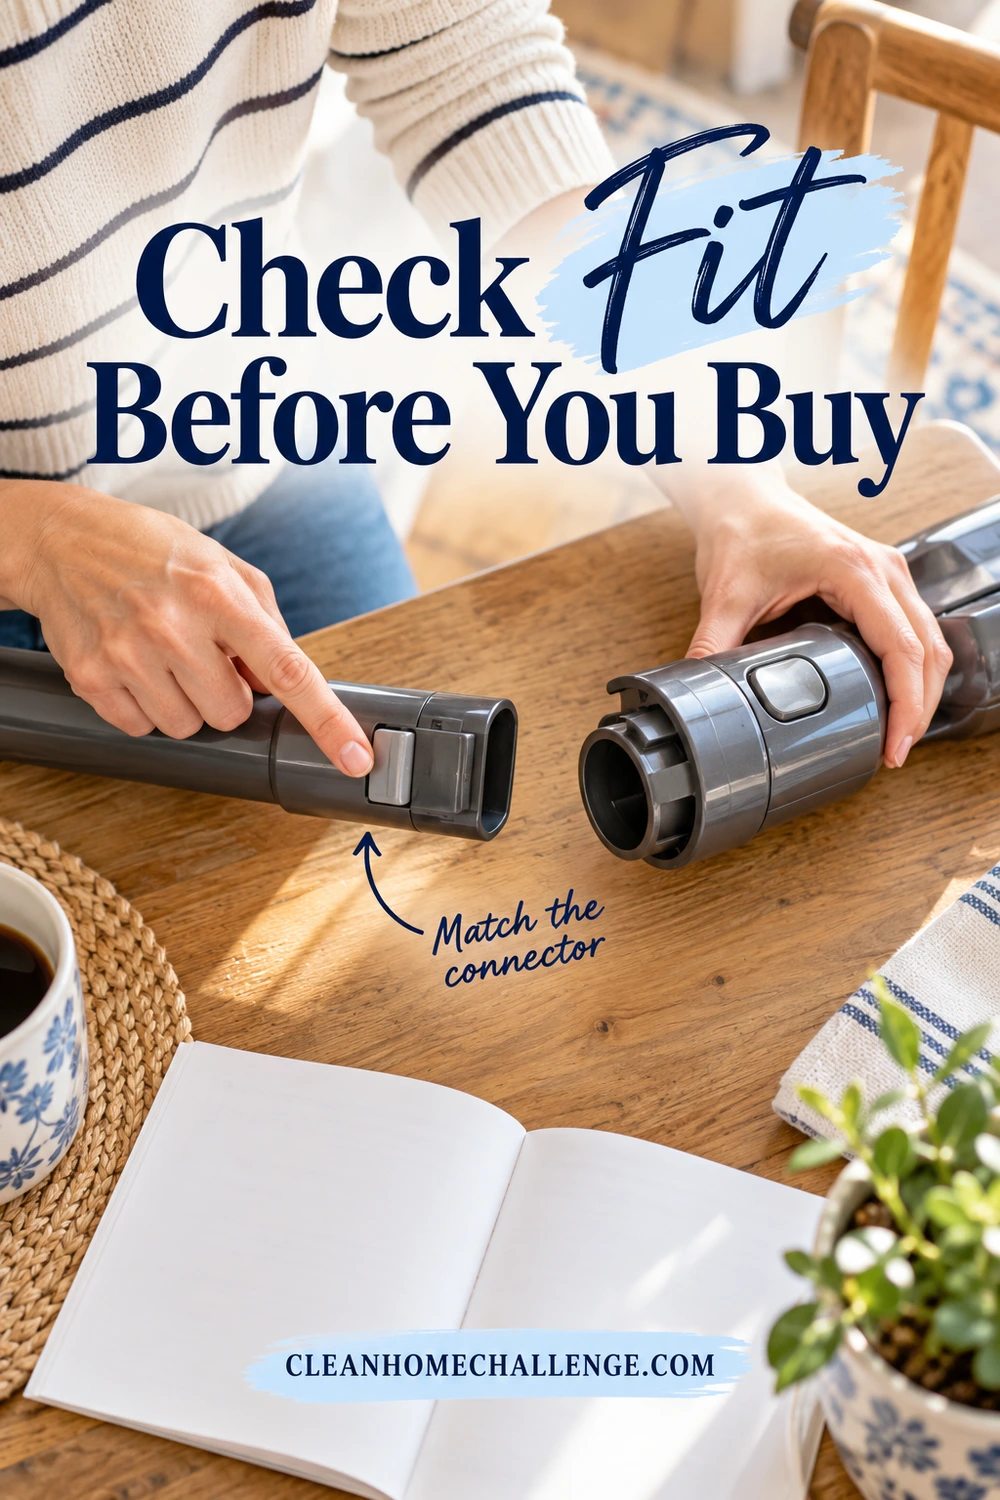
Check Fit Before You Buy
An attachment can look right and still be wrong for your vacuum. A similar tube diameter is only one part of the fit. Locking tabs, connector shape, supported tool type, and electrical contacts can differ between brands and between models from the same brand.
Use this compatibility checklist
- Find the full model number. Check the vacuum’s rating label or your manual. Use the model designation, not just the color or the name of a broad product family.
- Search the manufacturer’s parts listing. Confirm the exact tool part number and the explicitly supported vacuum models.
- Check the connection path. Some tools fit the handle, some the wand, and some require a particular hose or approved adapter.
- Separate physical fit from powered operation. A passive adapter cannot create the electrical supply a motorized attachment requires.
- Review limitations before ordering. Read the seller’s compatibility details and return conditions; ask the manufacturer if the listing is unclear.
The compatibility section on Dyson’s Hair screw tool listing illustrates why checking the specific part matters. Do not assume that another attachment with a similar name will share its supported-model list.
“Universal” should prompt a closer look, not replace one. If a tool will not seat and secure as instructed, stop. Do not tape it in place, force a locking tab, modify electrical contacts, or treat a loose connection as good enough.
A low-reach adapter can be worth considering if bending the wand would solve a frequent under-sofa job. Dyson’s low-reach adapter information shows how this type of accessory changes the approach angle. You still need a compatible machine, enough clearance for the head, and a safe working position. Never lift heavy furniture alone just to create access. For more manageable options, see our guide to cleaning under furniture without moving everything.
Before buying a bundle, name the recurring problem you want to solve. If your existing crevice, dusting, and upholstery tools handle the household’s usual mess, learn those well first. One verified replacement for a worn tool may be more useful than six unfamiliar extras.
Keep Your Tools Ready to Use
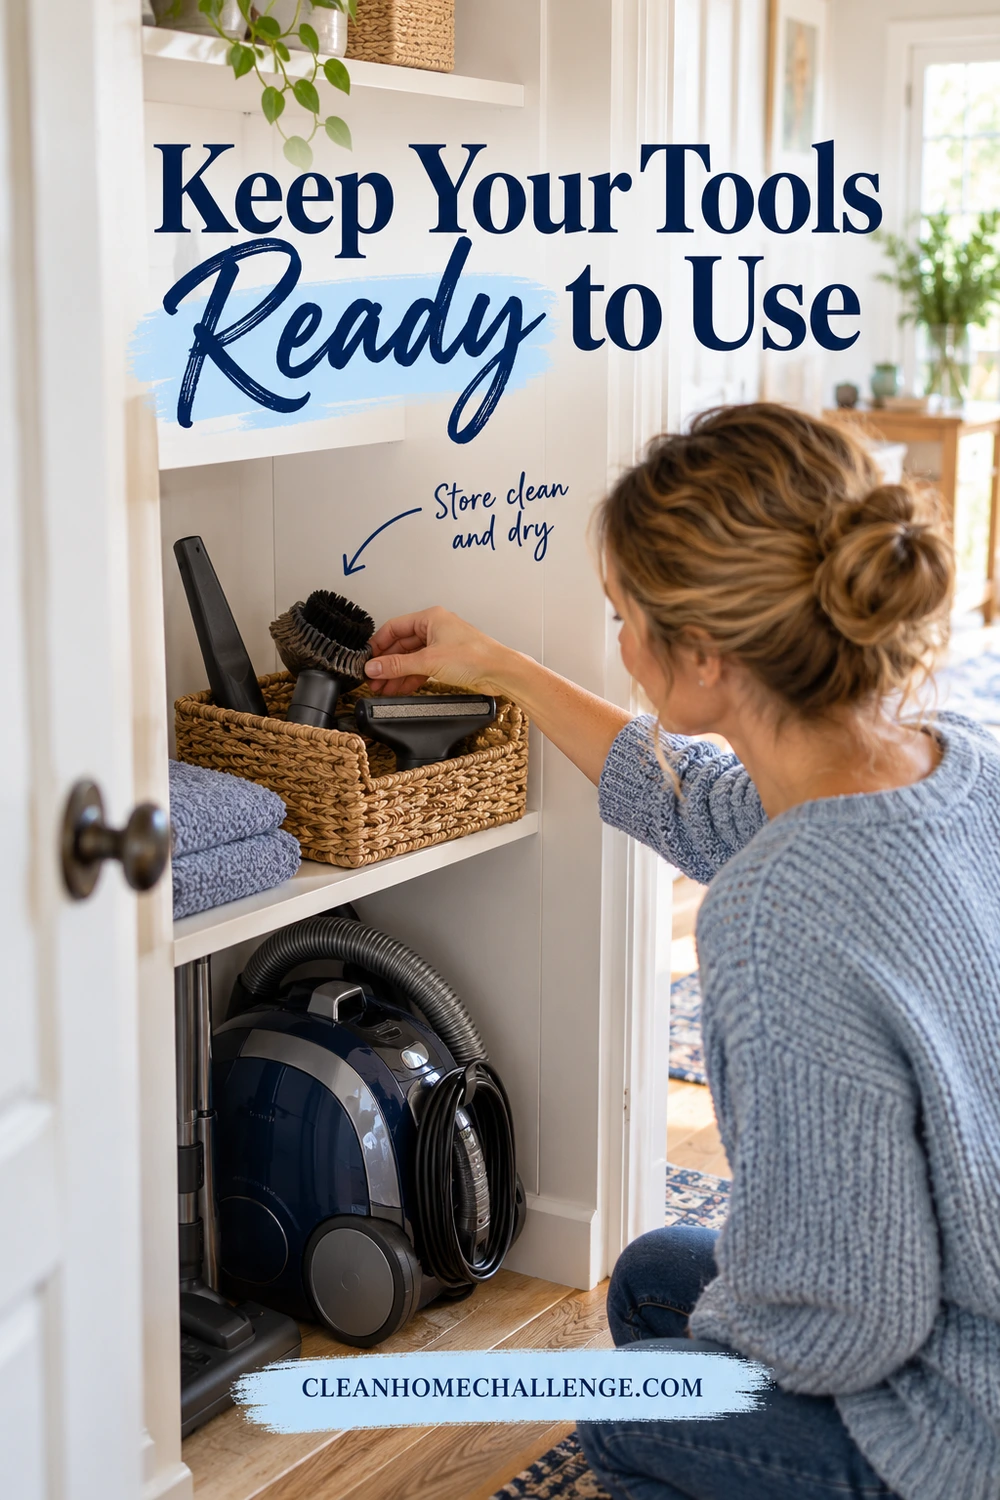
Attachments work best when they are easy to find and clear of debris. A simple after-use check also keeps grit from moving from a car footwell onto your sofa at the next cleaning session.
Reset the tools after use
Switch off the vacuum and isolate power as the manual directs before inspection or maintenance. Remove loose hair and lint from the detached attachment, check the opening, and inspect bristles and wheels. Follow the tool’s instructions for any brush-roll removal; do not dismantle unfamiliar powered parts.
Wash only components the manufacturer explicitly identifies as washable, using its method and drying time. A detachable piece is not necessarily washable. Dyson’s tool-care guidance states that the Hair screw tool and the mini motorized tool are not washable. Never immerse a powered head or its electrical connection, and do not return a damp component to service.
Store fully dry tools together in a basket, drawer, or the vacuum’s own holders. Give the commonly used pieces the easiest access. Keeping a reference photo of the tools and their names can help everyone put them back in the right place. For a broader setup, read how to store and maintain cleaning tools so they last longer.
A realistic 10-minute living-room reset
Treat this as a flexible time budget, not a promise to finish any room in ten minutes:
- Minutes 1–2: Pick up small objects, check the vacuum, and choose the tools.
- Minutes 3–4: Dust one accessible stretch of baseboard with the appropriate brush.
- Minutes 5–7: Vacuum one seat cushion and its nearby seams.
- Minutes 8–10: Clean the visible floor area with the correct head, then put the tools away.
If setup takes longer, do fewer jobs. You can pair a small upholstery task with Thursday’s living-area routine and leave broader floor care for Friday. The aim is a comfortably cleaner space you can maintain.
Finally, remember that changing attachments does not change a dry vacuum into a wet cleaner or a hazardous-debris extractor. Shark’s safety guidance excludes liquids, hard or sharp objects, and large quantities of dust such as drywall dust or fireplace ash for that model. Follow your own manual and use a purpose-appropriate cleanup method for unusual messes.
Start with one attachment and one task this week. Knowing exactly when to reach for it is more valuable than owning a basket full of tools you never use.
CLEANERS CLUBHOUSE
Use the Right Tools With a Routine That Works
Good cleaning tools work best when you know where and when to use them. Inside the Cleaners Clubhouse, recommended products sit alongside practical routines, printable worksheets and monthly challenges.
