

THIS POST MAY CONTAIN AFFILIATE LINKS. PLEASE READ MY DISCLOSURE FOR MORE INFO.
A garment bag protects clean clothes, but the cover itself can collect closet dust, travel grime, lint, and the occasional forgotten receipt. Before you slide a freshly cleaned jacket back inside, give the bag a quick check. It may need only a gentle surface clean, or its own care instructions may allow a proper wash.
To wash fabric garment bags safely, check the instructions for the complete bag, empty every pocket, clean any permitted spots, and use only the washing and drying method the maker allows. Cotton fabric does not automatically make a plastic window, glued lining, leather trim, or structured panel washable. Let every seam and pocket dry before reusing the cover.
This guide is for fabric clothing-storage covers and travel garment bags, rather than mesh laundry bags used inside a washer. Set aside about 10 to 15 minutes for checking and preparation, then allow the required wash cycle and an unhurried drying window. Those are planning estimates, not guaranteed cleaning or drying times. One bag is plenty for a small laundry-day win.
Disclosure: This post may contain affiliate links. As an Amazon Associate, Clean Home Challenge earns from qualifying purchases. If you make a purchase through these links, we may earn a small commission at no extra cost to you. This helps us keep creating practical cleaning tips, routines and resources for busy families! 🧽
Check the Whole Garment Bag Before Washing
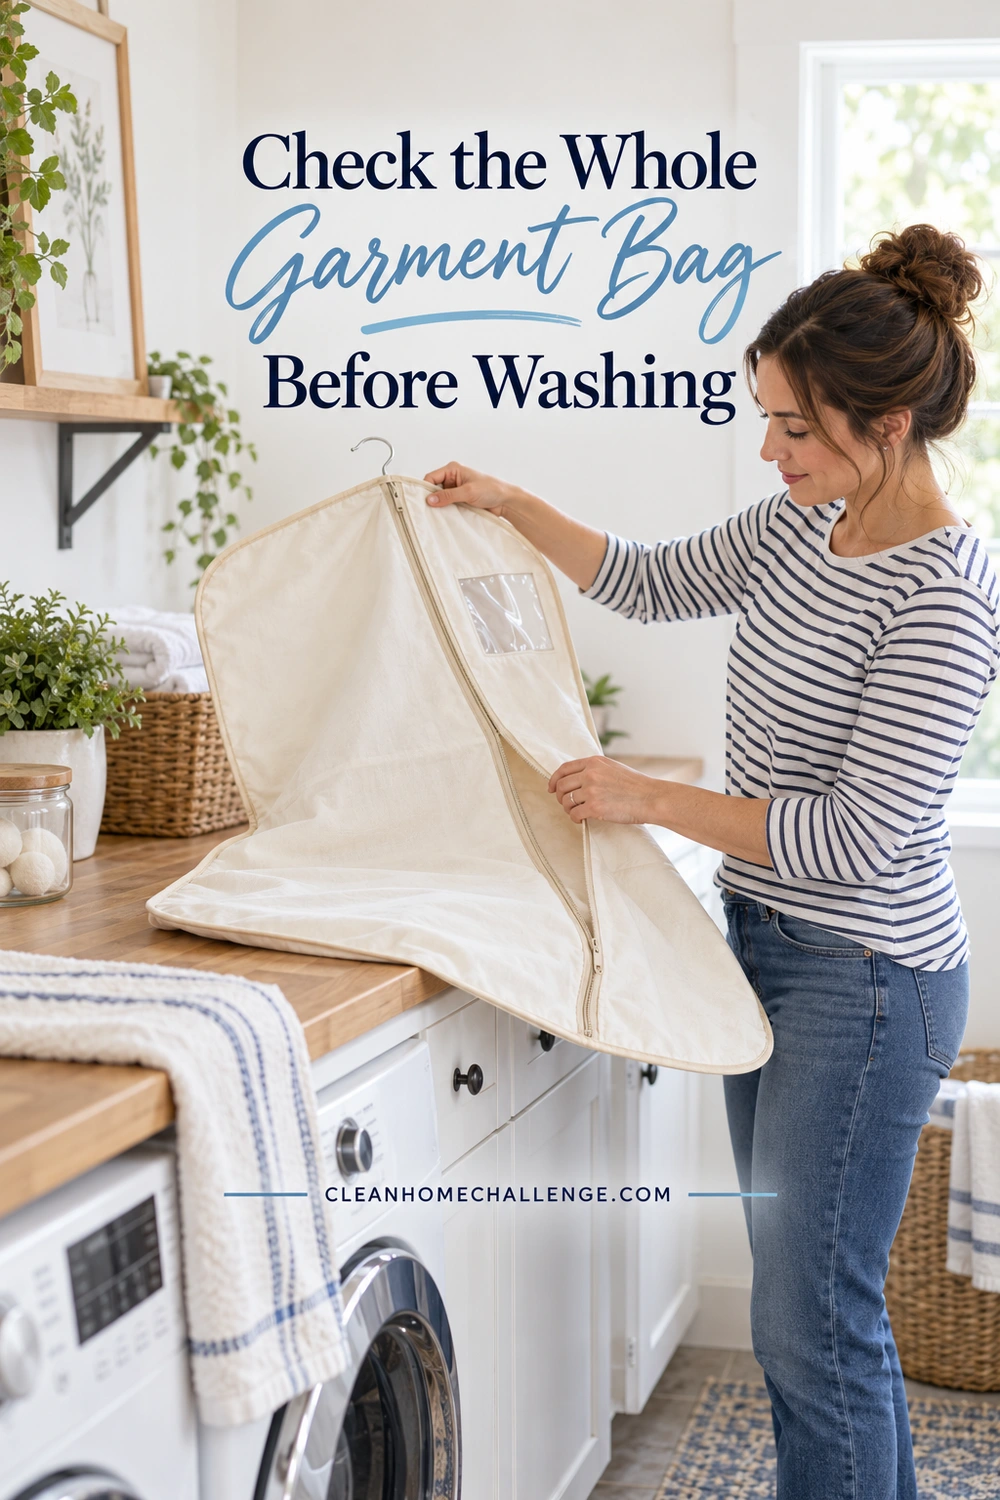
Start with the bag empty and laid on a clean surface. Look for its sewn-in care label, packaging instructions, or the exact product page. Save a photo of the directions so you do not have to work them out again next season. The care label on the clothing inside the bag is a separate set of instructions; it does not tell you how to clean the cover.
Look beyond the main fabric. Check the zipper tape, clear viewing panel, handles, shoulder strap, piping, lining, pockets, logo print, and any rigid backing. A lightweight cotton hanging cover and a padded travel carrier may both be called a garment bag, yet need very different care.
For a useful real-world comparison, Kazzi Kovers’ regular cotton garment bag instructions permit a separate cool machine wash and specify no soaking, wringing, bleach, or tumble drying. By comparison, the Briggs & Riley Classic Garment Bag care directions call for a soft damp cloth or lint roller and professional advice for stains. Use these as examples of why the exact model matters, rather than as interchangeable cleaning recipes.
| What you find | What to do next |
|---|---|
| Machine washing is explicitly allowed | Follow the specified temperature, cycle, preparation, and drying limits. |
| Hand washing is explicitly allowed | Follow the permitted water, cleaner, and immersion directions; do not assume soaking is included. |
| Wipe-clean or spot-clean directions only | Keep the cleaning local and within the maker’s moisture limits. |
| Missing or unclear instructions | Remove loose dust gently and ask the maker before a full wet clean. |
| Peeling coating, damaged window, torn seams, or broken zipper | Set the bag aside for repair or replacement advice before washing or storing clothing in it. |
Do not rely on a fabric name alone. Even a bag labeled cotton may have details that need different treatment. Likewise, a delicate cycle is still machine washing; it does not override instructions that exclude a washer. If you need help reading a label, Whirlpool’s laundry-symbol guide explains the separate washing, bleaching, drying, and ironing symbols. Read the complete set, including any written restrictions.
If you cannot confirm the instructions today, stop at the appropriate dry dust removal. Keep the bag out of use if it has an unknown spill or unexplained residue that could transfer to clothes. Waiting for the right answer is a useful part of looking after your belongings.
Empty, Inspect, and Spot Clean First
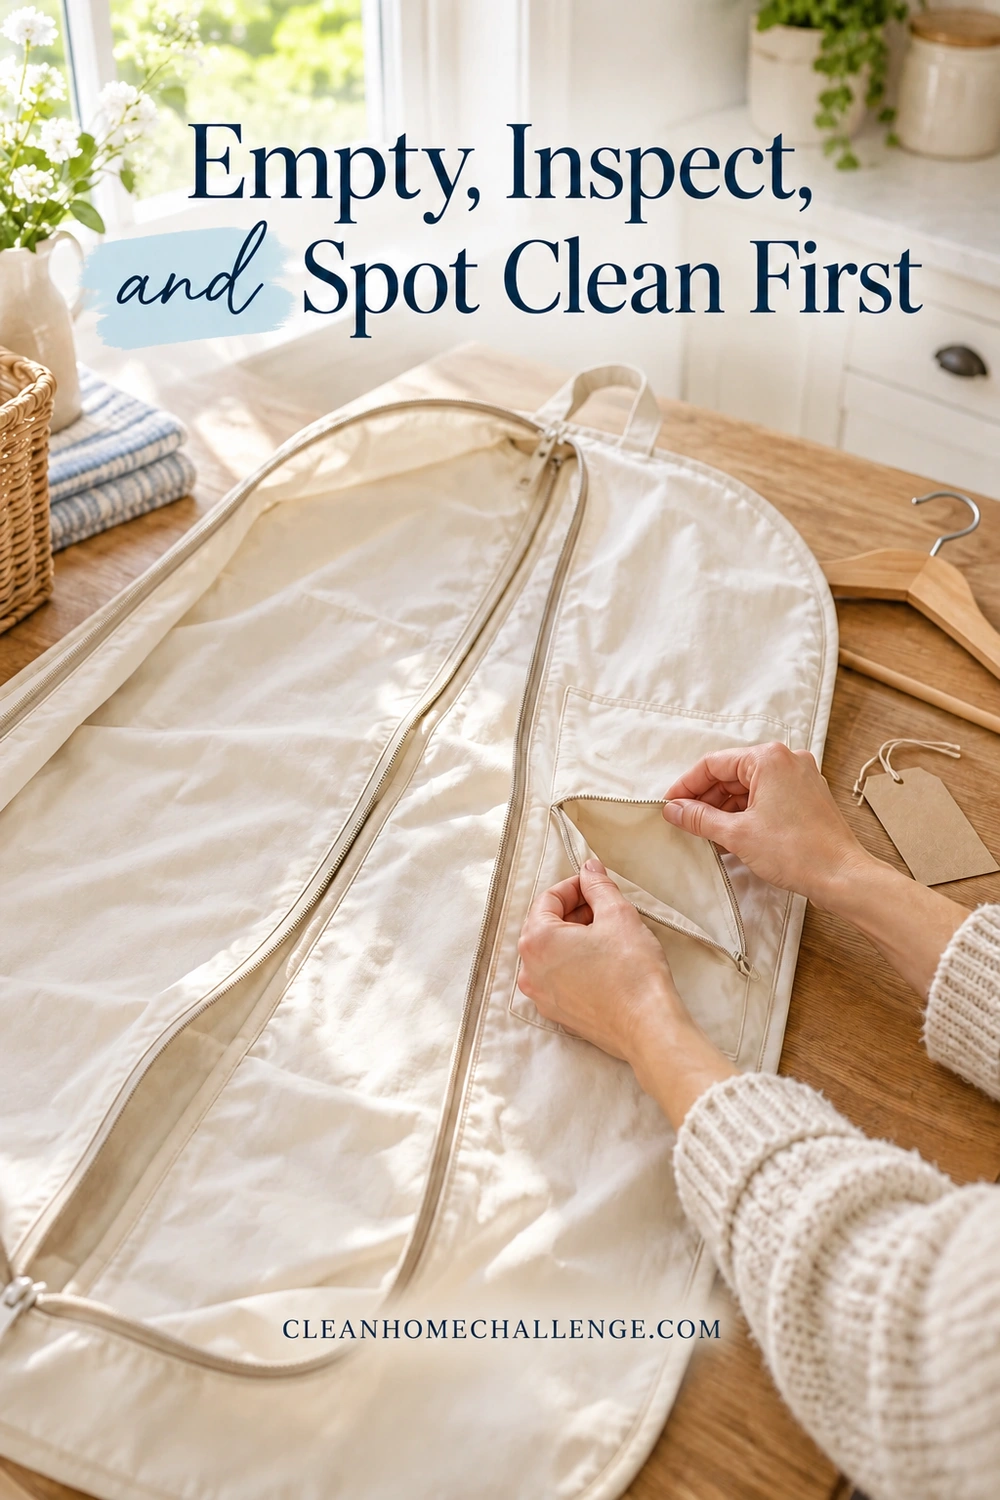
Unzip the cover and remove the clothes and hangers. Put clean clothing somewhere clean and dry while you work. Check every accessory pocket and fold for pins, receipts, tissues, loose buttons, travel tags, and detachable parts. Feel cautiously for anything sharp rather than plunging a hand into a hidden pocket.
Remove only accessories designed to come off. Do not pull out sewn-in stiffeners, cut a lining, or detach a fixed hanger opening to make the bag fit a washer. Photograph an adjustable strap before changing it if that will help you put it back correctly.
Next, remove ordinary loose lint and dust with a method suitable for the material. A gentle lint roller may suit some travel bags; a soft dry cloth may suit a delicate cover better. Support thin fabric rather than scrubbing it across a rough table. Avoid shaking a very dusty bag beside uncovered clean clothes.
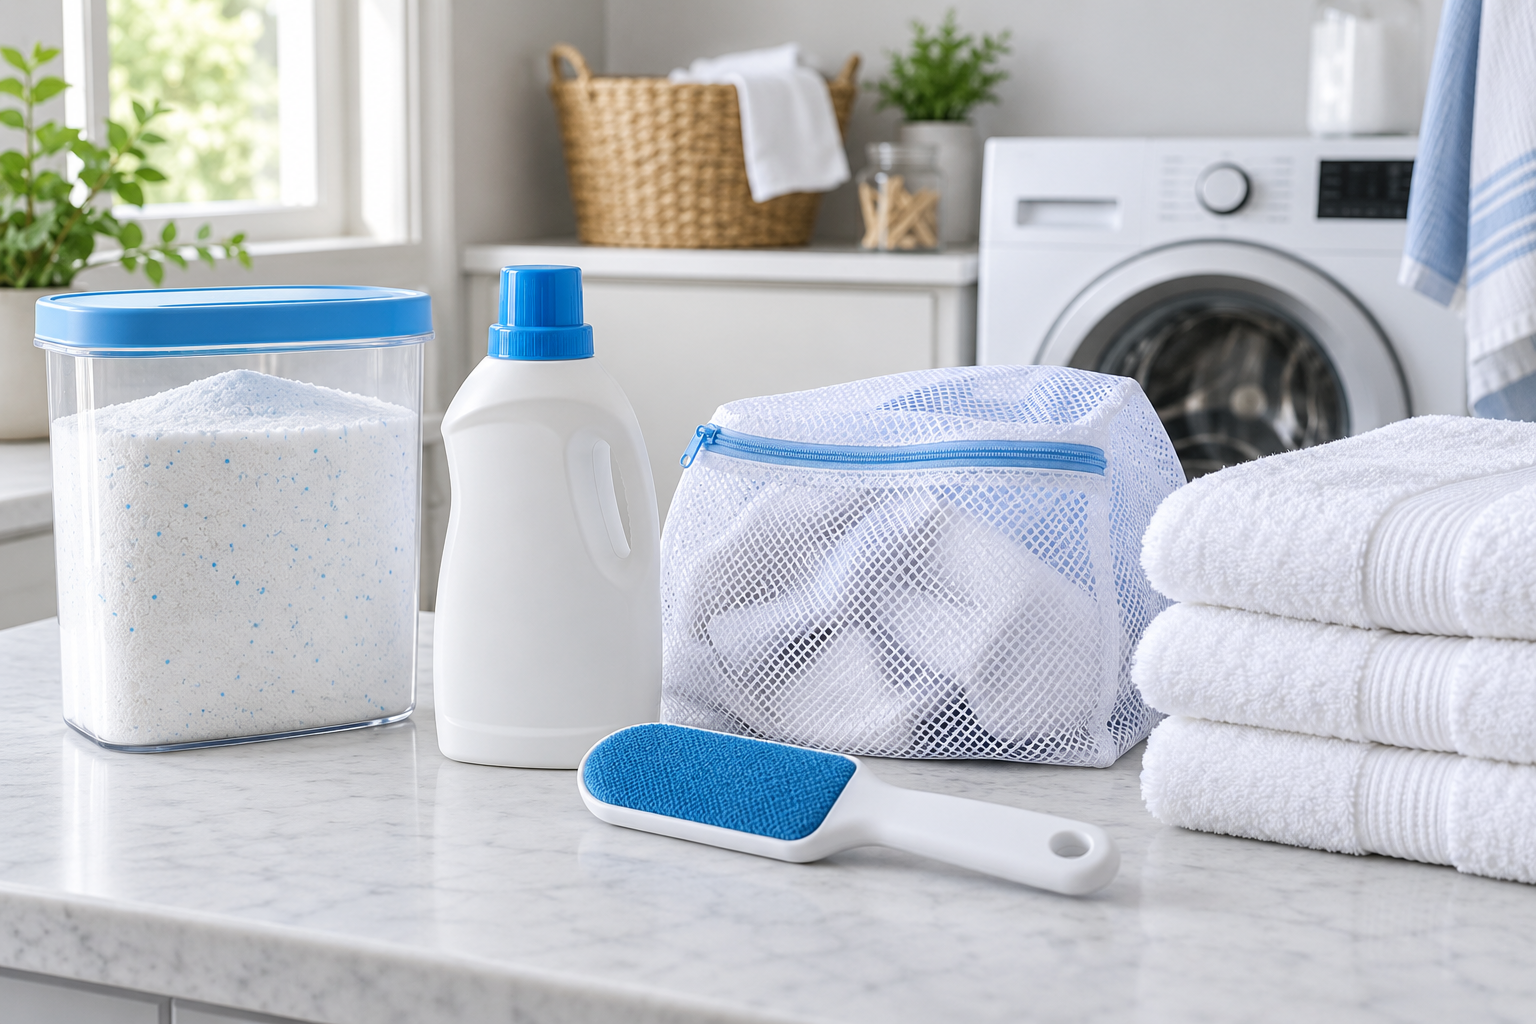
Gather a small kit:
- Two clean, light-colored cloths, so loosened dirt and any dye transfer are easy to see.
- A towel to protect the work surface and blot permitted wet areas.
- Clean water at the temperature your bag allows.
- The mild cleaning product the maker permits, if a product is needed.
- A suitable drying place, ready before water touches the bag.
Try a small, inconspicuous test of the allowed cleaning method. Let the test patch dry and look for color change, stiffening, lifting print, or a changed coating. Stop if anything changes. A successful patch test helps reveal a problem, but it does not turn a no-wash bag into a washable one.
For an ordinary small dirty mark on a spot-cleanable area, support the fabric on the towel and use the permitted damp-cloth method. Start gently. If the maker allows a cleaner, prepare it as directed rather than pouring undiluted detergent onto the cover. Blot or wipe the mark with light pressure; do not grind at the same spot until the fabric thins.
Remove allowed cleaner with a separate clean damp cloth, working within the same moisture limits, then blot dry. Keep water out of nonwashable backing, bonded edges, and padded areas. Clear windows deserve their own care directions: do not scrub them with an abrasive sponge or treat them with a solvent because the surrounding fabric looks sturdy.
Unknown oily residue, ink, peeling plastic, or a persistent chemical smell needs specific advice. Do not combine stain removers, bleach, vinegar, or fragranced sprays in an attempt to rescue the bag. Keep products away from children and pets, and follow product-label precautions. An old cosmetic mark is preferable to damaging a cover or transferring residue to clothing.
You may already have everything required for this job. If you are organizing your laundry supplies as well, the saved essentials collection below is a place to browse useful options; the bag’s own instructions still decide what is suitable.
Wash Only With a Care-Approved Method
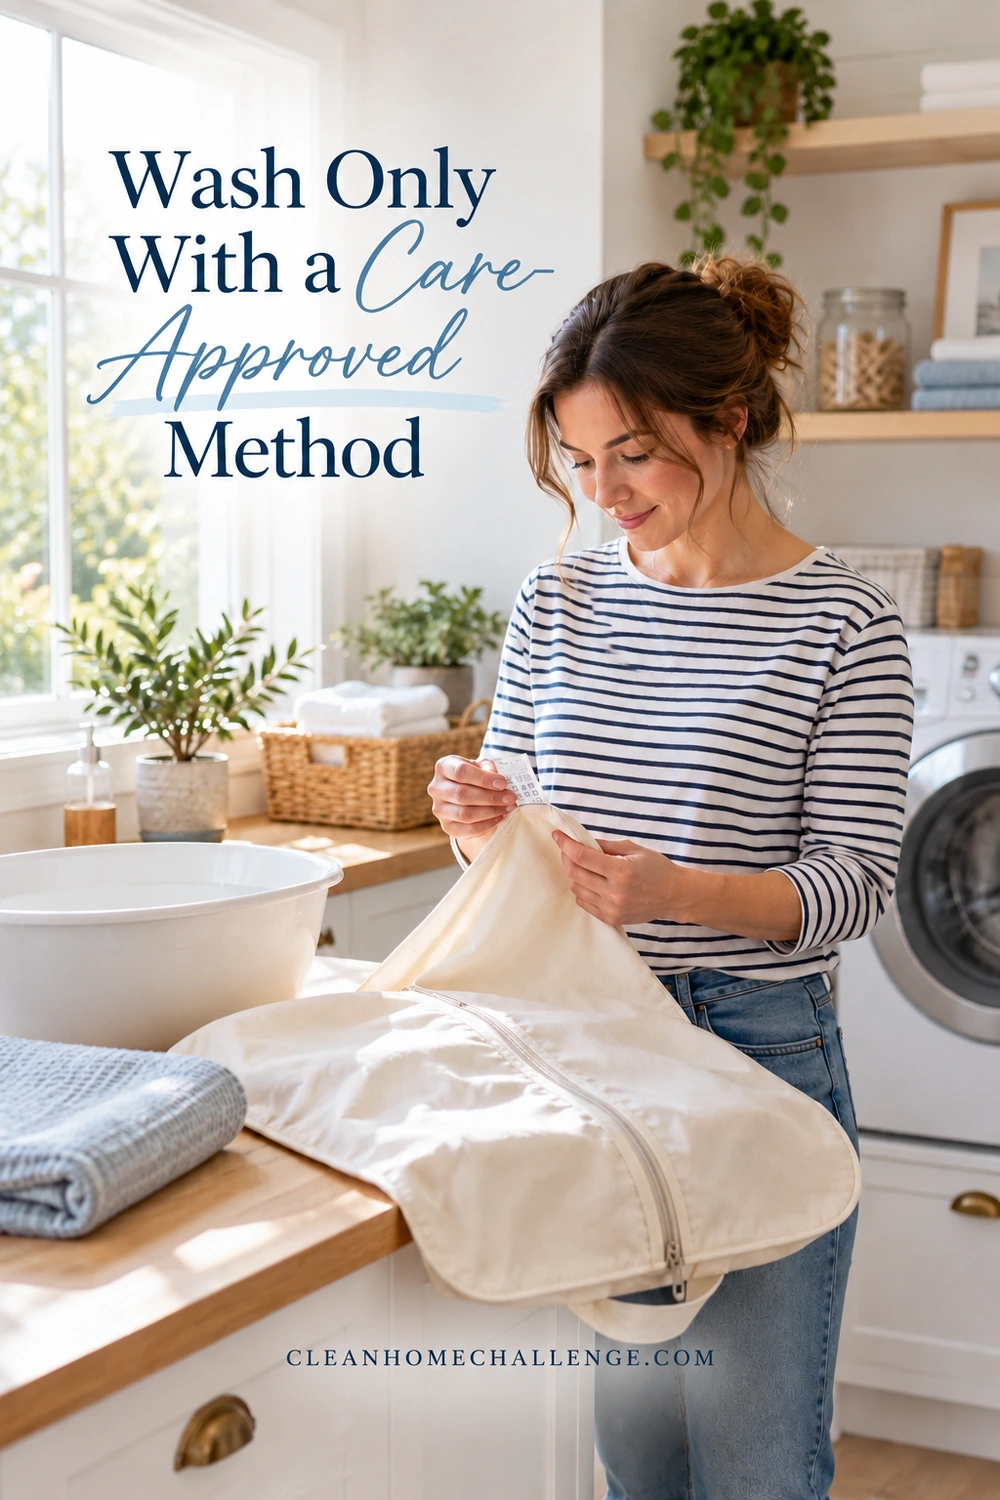
Once you have checked the label and prepared the bag, choose its allowed route. There is no single water temperature, soak time, spin speed, or detergent dose that fits every fabric garment bag. Follow the bag and appliance instructions together.
If machine washing is allowed
Use the exact cycle and temperature the bag specifies. Follow any separate-wash or color-sorting instruction. For example, a maker’s requirement to wash separately should not be replaced with a mixed load of towels simply because there is room in the drum.
Check the maker’s directions for closing zippers, securing straps, and using a protective wash bag. Do not invent an extra enclosure that tightly bundles the cover or prevents it moving as intended. A mesh laundry bag can protect certain washable items when their instructions allow it; it cannot protect a nonwashable window or coating from an unsuitable wash.
Check that the garment cover fits with room to move under your washer’s loading guidance. Do not force a long cover around an agitator or pack it tightly to make it fit. Remove sharp objects and avoid snagging hardware. If the bag cannot fit appropriately, ask the manufacturer about another cleaning route rather than using extra force or an overfilled load.
Measure a suitable detergent according to its label, the load, soil level, and appliance guidance. More product is not a shortcut to a cleaner cover and can make rinsing harder. Leave out unapproved bleach, softener, scent boosters, and disinfecting additives. Washing ordinary dust and dirt is the aim here; this routine does not promise sanitizing or disinfection.
When the cycle finishes, remove the bag promptly and support its weight. Check for remaining soil or obvious suds before drying. If more rinsing is needed, use only a rinse method permitted for the bag and machine; do not immediately escalate to a hotter or harsher wash.
If hand washing is allowed
Use a clean basin large enough for the permitted method. Prepare the water and cleaner as directed, then gently work the allowed fabric without twisting the zipper, stretching the hanger opening, or crushing structured details. Do not add a long soak unless the maker specifically allows it. Hand washing describes a method, not permission for unlimited immersion.
Rinse according to the instructions and support the cover when lifting it. Let excess water drain, then press gently with a clean towel where appropriate. Avoid wringing, especially around seams, windows, and zip tracks. Clean the basin and surrounding surface afterward.
If the bag is wipe-clean only
Stay with the approved cloth or lint-removal method. Work in manageable patches, use a clean portion of cloth as it becomes dirty, and remove any permitted cleaner residue without saturating the construction. Do not submerge the bag because the inside is awkward to reach.
If ordinary cleaning leaves a musty smell, check for overlooked damp folds, dirty pockets, or a deteriorating lining before adding more product. Let the bag dry fully and reassess it. Visible mold, pest contamination, or bodily-fluid contamination falls outside this ordinary dust-and-grime routine; seek advice appropriate to the material and contamination before reusing it for clean clothes.
Dry Completely Before Putting Clothes Back

Check the drying directions as carefully as the washing directions. Machine-washable does not mean tumble-dryer-safe. Follow any flat-dry, line-dry, shade, or temperature restrictions for the exact bag. Avoid a radiator, hair dryer, direct sun, or other shortcut unless the maker allows that method.
If hanging is permitted, use the recommended support rather than stretching a wet cover from a small fragile loop. If drying flat is required, support the whole shape on a clean suitable surface. Keep the bag away from floors, dirty laundry, and pets while it dries, and protect surfaces beneath any drips.
Open accessible pockets and arrange permitted layers so air can reach them without forcing the construction inside out. Thick seams, zipper tape, folded edges, handles, and the area around a clear window may take longer than the main fabric. There is no reliable universal drying time: bag thickness, construction, humidity, airflow, and the cleaning method all change it.
Before reuse, check the inside and outside with clean, dry hands. Feel along the lower seam, corners, pockets, and zipper tape. If any area still feels damp, leave it open to dry longer. Do not seal it around clean clothes while waiting for the final patches to finish drying.
Once dry, check that the zipper moves normally and that the window, seams, and lining are intact. Make sure no cleaner residue or unresolved odor remains. Put only clean, dry clothing into the bag, using suitable hangers and the maker’s capacity guidance. Avoid overfilling or pulling the zipper against a bulky pile of garments.
Keep the next reset small
Add a bag check when you change seasonal clothing, unpack after travel, or notice visible soil. A cover used occasionally in a clean closet will not need the same attention as one used frequently for travel. Inspect first instead of automatically putting every cover through a full wash on a calendar date.
Use the free Garment-Bag Reuse Checklist (PDF) to record your bag’s permitted wash and dry methods, check its windows and lining, and tick off the dry-before-repacking steps. Keep a photo of the completed card with the care-label photo so it is easy to find.
On a busy day, make the task smaller: empty one bag, remove suitable loose dust, and write down the instructions. Set aside a separate wash and drying window if needed. Keep an unfinished bag clearly separate from covers ready for use so someone else in the household does not refill it too soon.
For a broader laundry routine, you can explore the Cleaners Clubhouse through the invitation below. The checklist is free to download on its own. A clean, completely dry cover and a clear next step are enough to finish this job well.
CLEANERS CLUBHOUSE
Make Laundry Catch-Up Feel More Manageable
Use Saturday to catch up without letting laundry take over the whole weekend. Inside the Cleaners Clubhouse, practical routines and printable support help you keep washing, folding and household jobs moving.