THIS POST MAY CONTAIN AFFILIATE LINKS. PLEASE READ MY DISCLOSURE FOR MORE INFO.
A muddy entry mat is doing its job. The awkward part is getting the dirt out without turning its flexible underside into a trail of black flakes. Before you reach for the washer, turn the mat over: its care label and backing decide the cleaning method, even when the fabric on top looks washable.
To clean a rubber backed entry mat, remove loose grit first, follow the exact mat’s permitted cleaning method, and let it dry completely before putting it back. Do not machine-wash a mat just because it is small. Some rubber-backed mats need spot cleaning or a gentle hose rinse, and a washable cover may have a base that must stay out of the machine.
Plan about five minutes for a dry refresh, or 15–25 minutes of hands-on work for an ordinary wet clean, plus the drying time your mat needs. Those are household planning estimates, not fixed wash-cycle or drying times. You can do the preparation today and the permitted wash when you have space to leave the mat drying safely.
Disclosure: This post may contain affiliate links. As an Amazon Associate, Clean Home Challenge earns from qualifying purchases. If you make a purchase through these links, we may earn a small commission at no extra cost to you. This helps us keep creating practical cleaning tips, routines and resources for busy families! 🧽
Check the Label and the Backing First
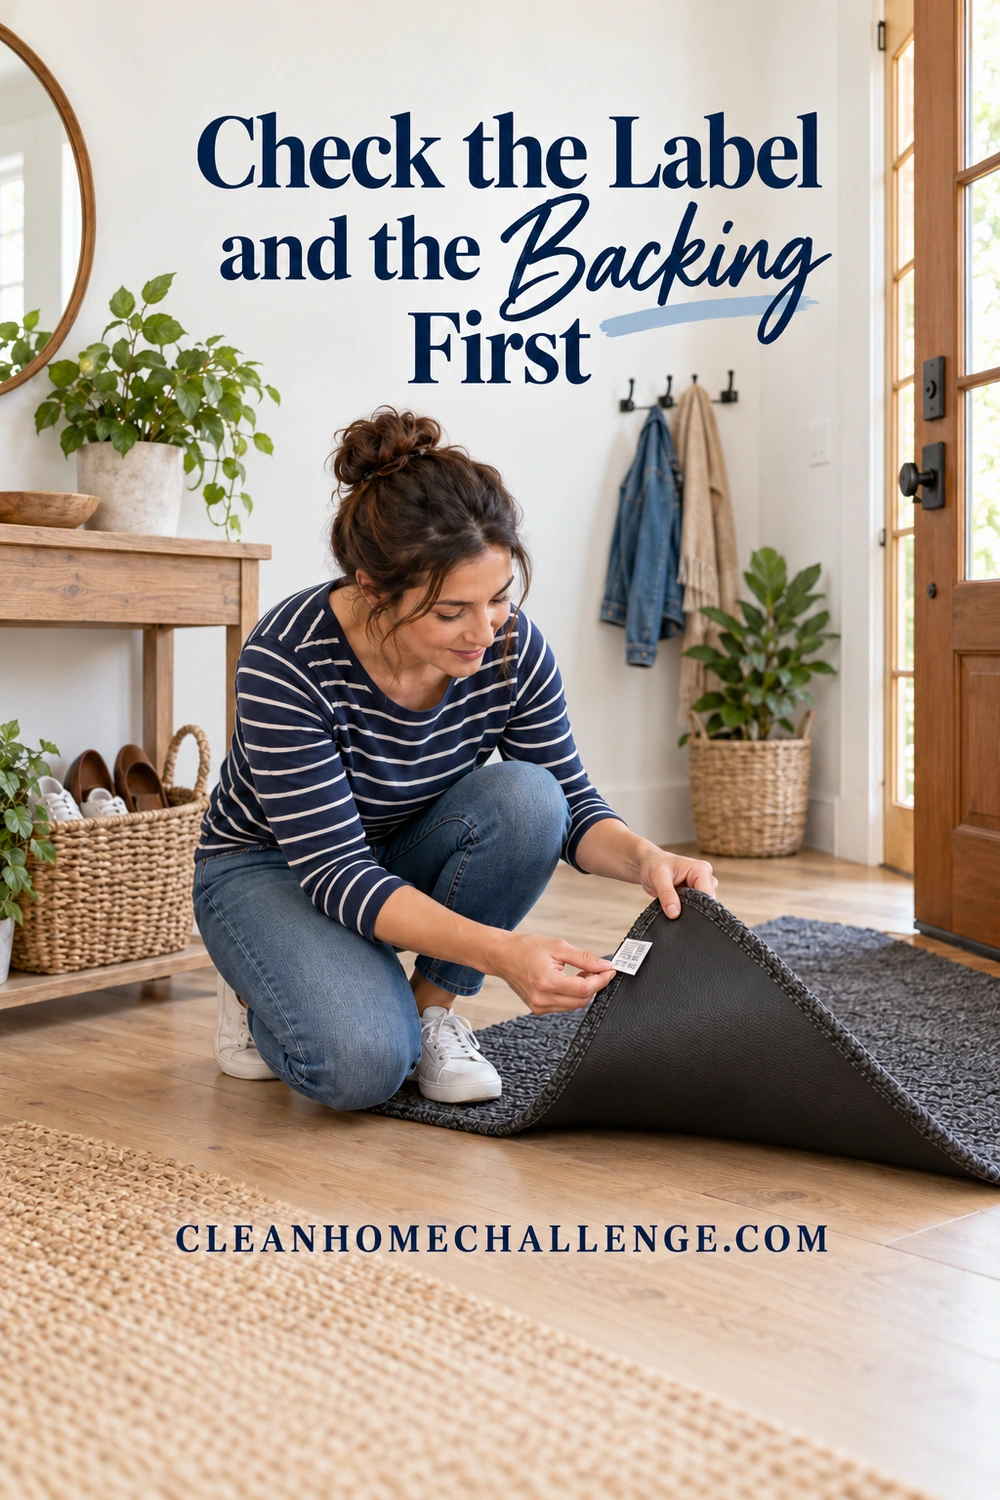
Move shoes and bags out of the way, then take the mat to a clean, dry place where you can inspect both sides. Photograph the care tag while it is readable. Look for the model name online if the instructions refer you to a separate care guide. The word rubber describes only part of the construction; fabric, adhesive, printed surfaces, edges, and removable layers can all change what the finished mat tolerates.
Decide whether it is ready to clean
Look along the edges and across the underside without sharply bending the mat. Stop if you see flaking, crumbling, lifted layers, deep cracks, or curled edges that do not lie safely flat. A wash cannot rebuild deteriorated backing. Avoid running a shedding mat through your washer, and set it aside for replacement or manufacturer advice if it no longer sits securely.
Do not confuse a detachable cover with a single bonded mat. If the manufacturer describes two separate pieces, check the instructions for each one. Only separate parts designed to come apart; peeling bonded layers is damage, not preparation.
Manufacturer examples show why appearance is not enough. Mohawk Home’s doormat care guide gives different methods for recycled-rubber, Comfort Plush, Comfort, and coir mats. Its recycled-rubber route uses dry dirt removal, occasional hosing, and air drying, while Comfort Plush has a cold-machine-wash instruction. Those are product-family examples, not settings to copy onto an unidentified mat.
| What you find | Your next step |
|---|---|
| An intact mat labeled machine washable | Check the permitted cycle, detergent, temperature, drying method, and your washer’s limits. |
| A spot-clean-only or hose-clean mat | Keep it out of the washer and follow that cleaning route. |
| A removable washable cover and separate base | Treat the cover and base as separate care jobs. |
| Missing or unreadable instructions | Remove permitted loose dirt; ask the maker before soaking or machine washing. |
| Cracked, peeling, or shedding backing | Stop the wet-clean plan and assess replacement; do not wash to test whether it survives. |
Gather a small kit
You may need a vacuum attachment appropriate for the mat, a soft brush, clean white cloths, a bucket, the cleaner specified by the maker, and a suitable drying surface. A hose is useful only when hosing is permitted. Keep a dry cloth for the floor underneath and gloves if the cleaning product’s label calls for them. There is no need to buy a collection of specialist chemicals for ordinary entryway grit.
Keep children and pets away from the wet work area, store cleaning products out of reach, and follow their ventilation directions. Use one compatible cleaner at a time; never mix products. If a proposed method is missing from the mat instructions, a gentler-sounding cycle or homemade solution does not supply permission.
Remove Grit Before Adding Water
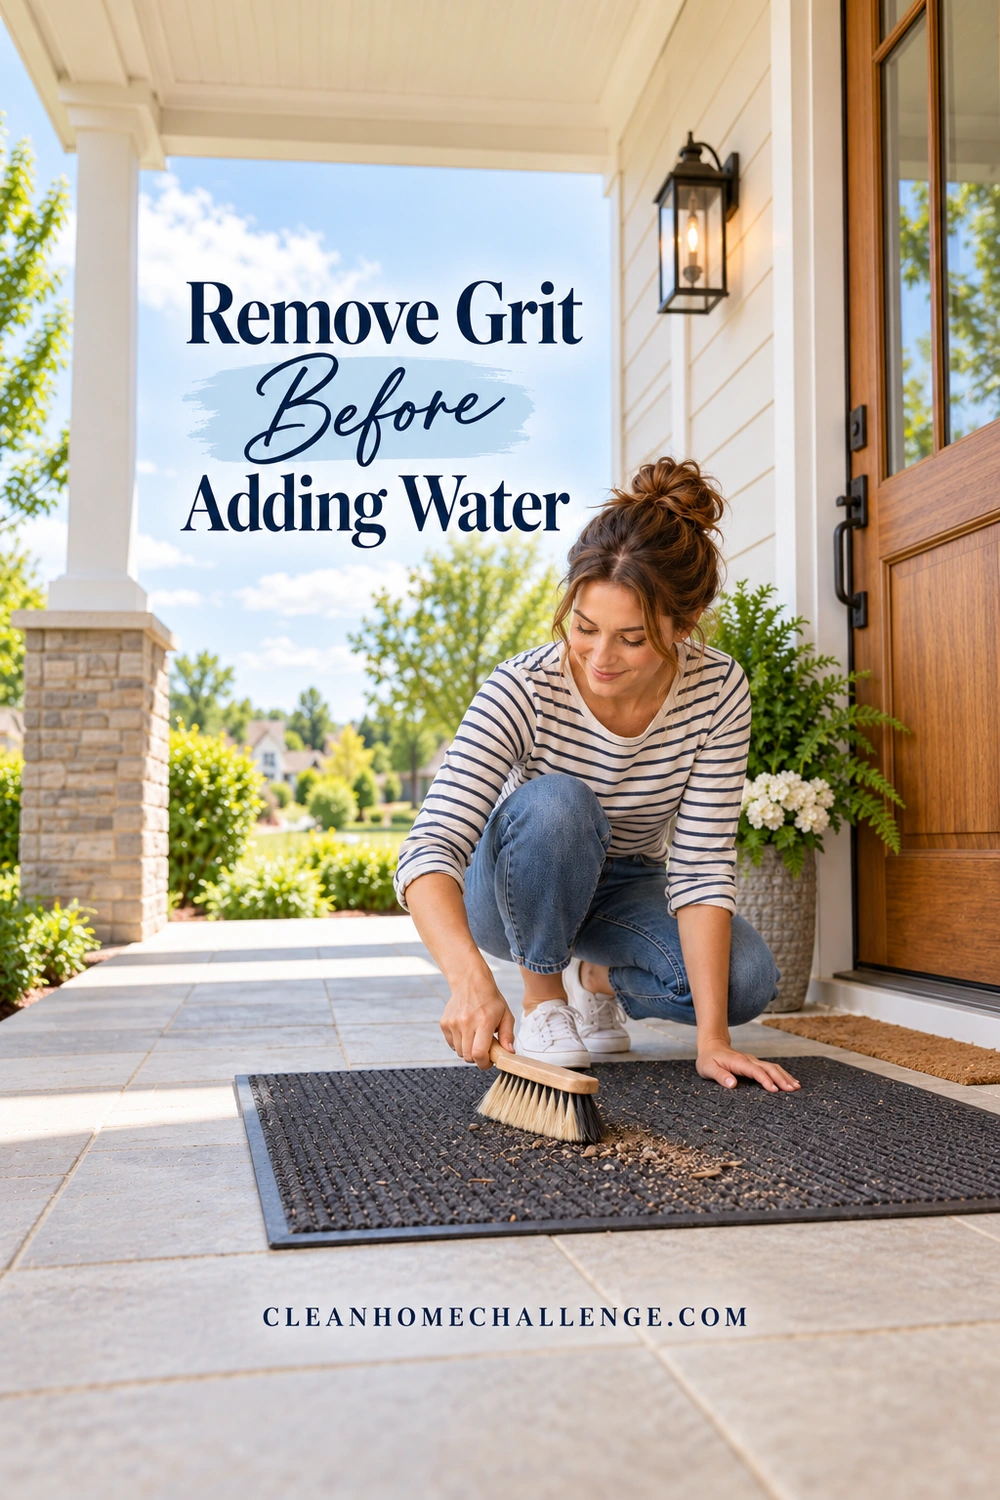
Dry preparation makes the wet stage easier to control. Lift the mat with its dirty side facing away from your clothes and carry it without dragging grit across the floor. If it is too heavy to handle comfortably, ask for help or work with a suitable vacuum where it lies. You do not need to carry a bulky wet mat later if you choose a safe cleaning and drying position now.
- Shake or sweep as permitted. Take a sound, manageable mat outdoors and shake it gently, or sweep loose dirt from its face. Avoid beating it against a wall or folding it tightly.
- Lift dry debris from the pile. Use the vacuum setting or attachment its care instructions allow. Work slowly along the texture instead of repeatedly catching the edge with a rotating brush.
- Check grooves and borders. A soft brush can loosen dry soil where approved. Pick out visible leaves and small stones by hand without scraping the backing.
- Clean the exposed floor. Vacuum or sweep underneath, then use the flooring maker’s cleaning method if a wipe is needed. Keep the mat away until the floor is dry.
- Check again before wet cleaning. Removing dust can reveal an underside that is already breaking down. Stop if fragments appear or an edge separates.
For a mat with wet mud, do not rub the mess deeper into the fibers. Keep the dirty area out of the walkway, remove loose solid material gently, and follow the mat’s directions for the remaining soil. Do not add water to a coir or bonded mat just because mud is difficult to brush away. Ask the manufacturer if its approved dry method is not enough.
If the mat only needed loose dirt removal, you can finish here once it and the floor are dry and the mat lies flat. A full wash is not automatically required every time someone tracks in a little dust.
Try the five-minute version on a busy day
Clear the doorway, remove accessible loose grit, check the backing, and clean underneath. Put the sound, dry mat back flat. If it needs more work, leave a note with its care method and plan the wet clean for another day. A dry refresh is a useful completed task, even when you cannot tackle every mark at once.
For the surrounding shoes, hooks, and landing zone, use the entryway cleaning and organization checklist. Keep this mat job focused rather than emptying the whole hallway halfway through it.
Choose the Cleaning Method Your Mat Allows
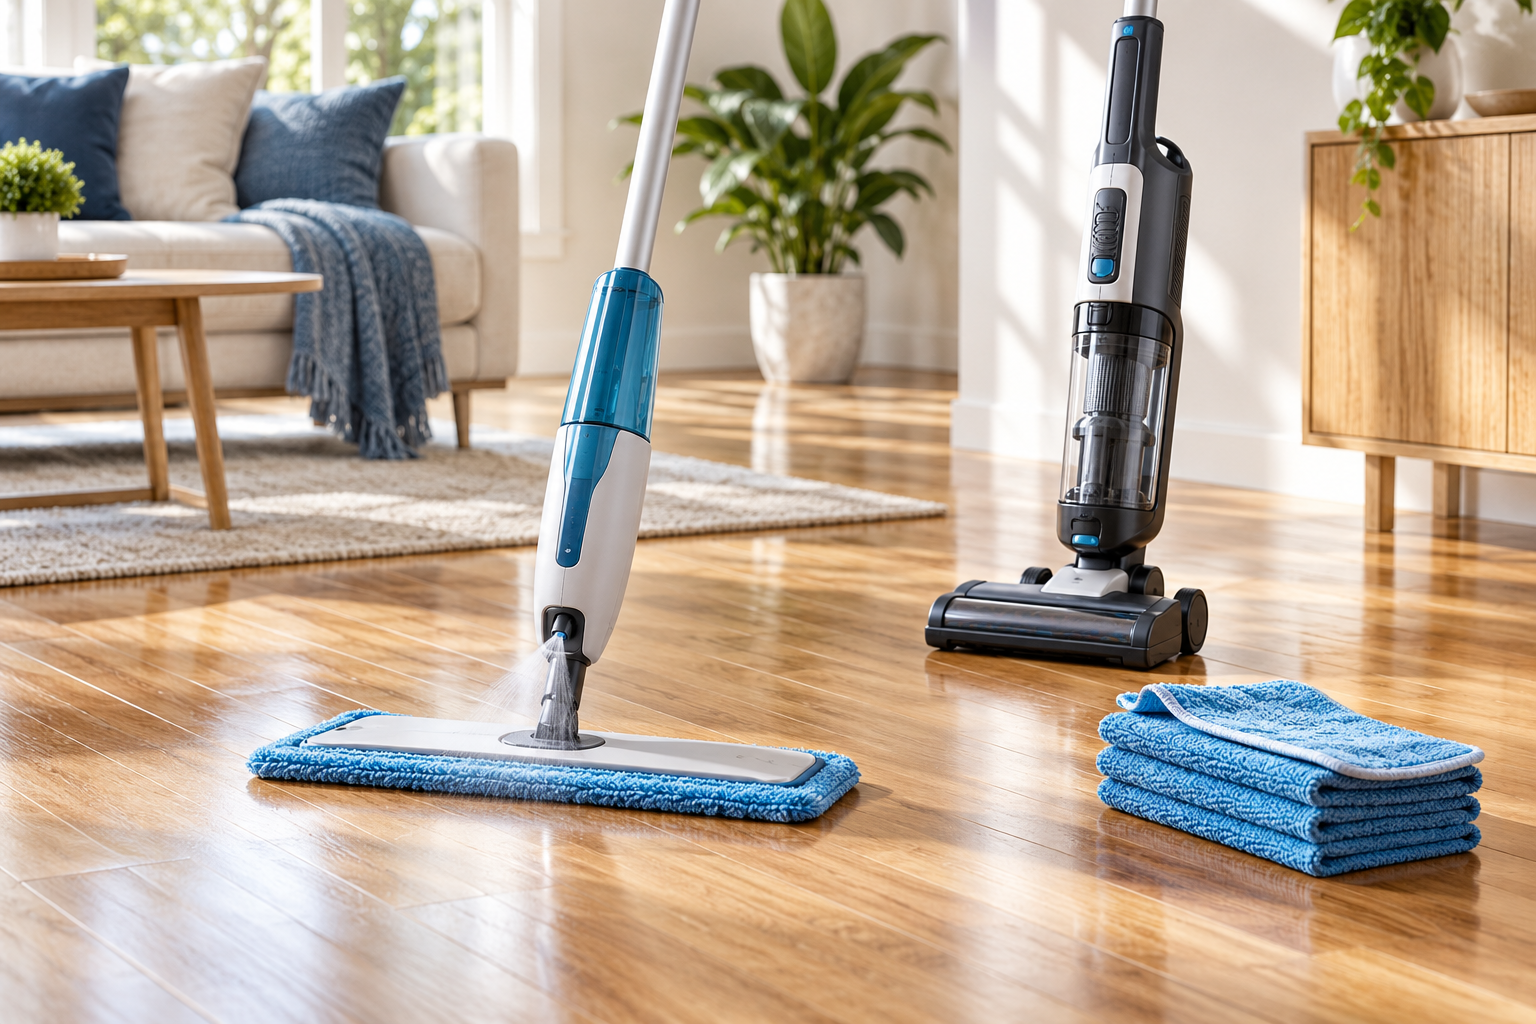
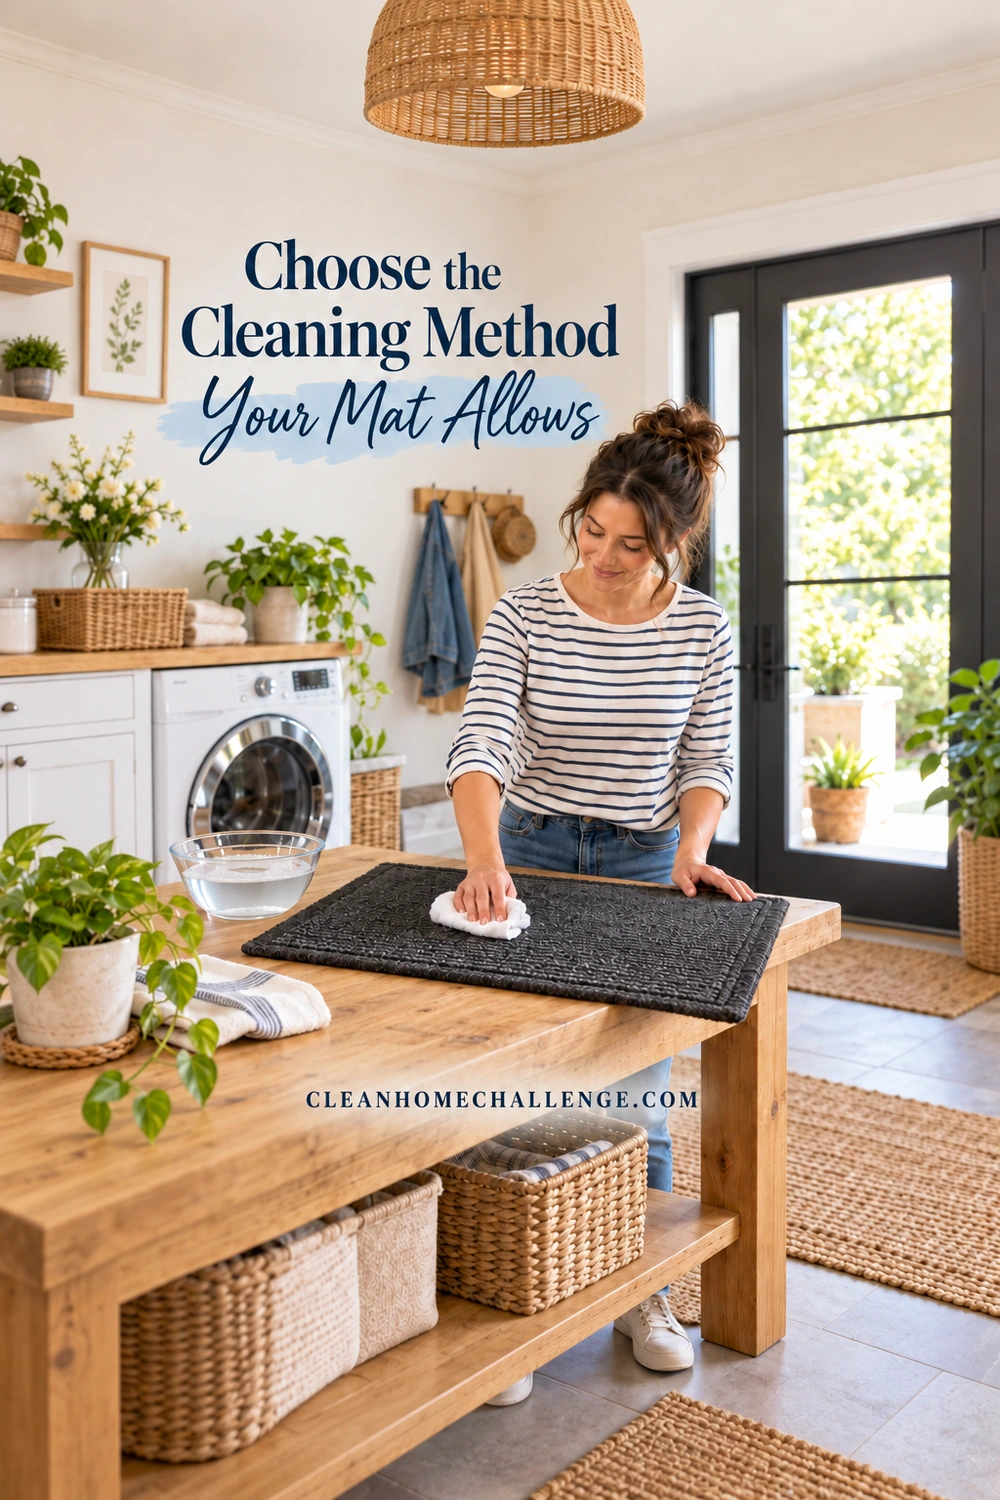
Use the route specified for the complete mat, not a general internet recipe for rubber. Read the cleaner directions as well as the mat label. Where spot cleaning is permitted, test the approved solution in an inconspicuous area and let the test dry before treating a larger area. Stop for color transfer, tackiness, surface lifting, or another unexpected change.
Route 1: Spot cleaning for a local mark
Move the mat off moisture-sensitive flooring to a suitable work surface. Mix or measure the maker-approved mild cleaner according to its directions. Apply it with a cloth rather than pouring it onto a small stain, and work gently without flooding seams or bonded edges. Use a separate clean cloth, dampened as allowed, to remove loosened soil and cleaner residue. Blot with a dry towel and begin the permitted drying method.
Repeat only within the product’s directions. If a mark remains, avoid escalating straight to bleach, a solvent, vinegar, steam, or an abrasive scrubber. Ordinary cleaning may improve dirt without removing every discoloration, and protecting a sound backing matters more than forcing a stained patch to look new.
Route 2: An approved outdoor rinse
Place a hose-cleanable mat on a suitable outdoor surface with safe drainage, away from foot traffic. First remove loose debris. Rinse using a normal garden hose as directed, and use a cloth or soft brush with approved cleaner only if the instructions allow it. Rinse away cleaner as directed and keep the mat supported as you move it to dry. Do not use a pressure washer unless the exact mat maker explicitly permits it.
For example, Gorilla Grip’s WeatherMAX care instructions allow vacuuming or shaking, mild-detergent spot cleaning or outdoor hosing, then air drying; they exclude bleach. They also tell owners to check floor compatibility and keep underneath dry. That example is a reminder to read the warnings for your own mat and flooring together.
Route 3: Machine washing when both sets of instructions permit it
An entry mat needs explicit machine-wash permission and must meet the appliance manual’s loading restrictions. Remove grit, check the backing is sound, and use only the permitted load arrangement, cycle, temperature, and detergent. Do not stuff a stiff or heavy mat into the drum. If it does not fit or the instructions specify a machine you do not have, use the maker’s alternative rather than forcing it.
Whirlpool’s rug-washing guidance also puts care instructions ahead of a generic wash method. A gentle cycle does not make a nonwashable backing washable. If the appliance bangs, moves, or cannot balance, follow its stop and load-adjustment instructions; do not let it continue struggling.
Route 4: A washable cover with a separate rubber base
Remove the cover exactly as designed. Wash it using its own instructions and clean the base separately. In the Ruggable doormat system’s care guide, the cover can be washed cold with mild non-bleach detergent, but the heavy rubber base cannot go in the washer. The base has its own cloth-cleaning or hose-rinsing route and must dry before reassembly. Other systems can differ, so check the model rather than copying this example.
What if it smells or still feels sticky?
A lingering smell is a reason to reassess moisture, trapped soil, cleaner residue, or deteriorating material, rather than spray on fragrance. Check whether the permitted cleaning and rinsing steps were completed, then allow full drying. Do not layer another chemical over the first. If the backing becomes sticky, sheds, or remains unsafe underfoot, stop using the mat and contact the maker or replace it. This is routine dirt-removal advice, not a disinfection method for sewage, fuel, or other hazardous contamination.
Dry Fully and Build a Simple Entryway Routine
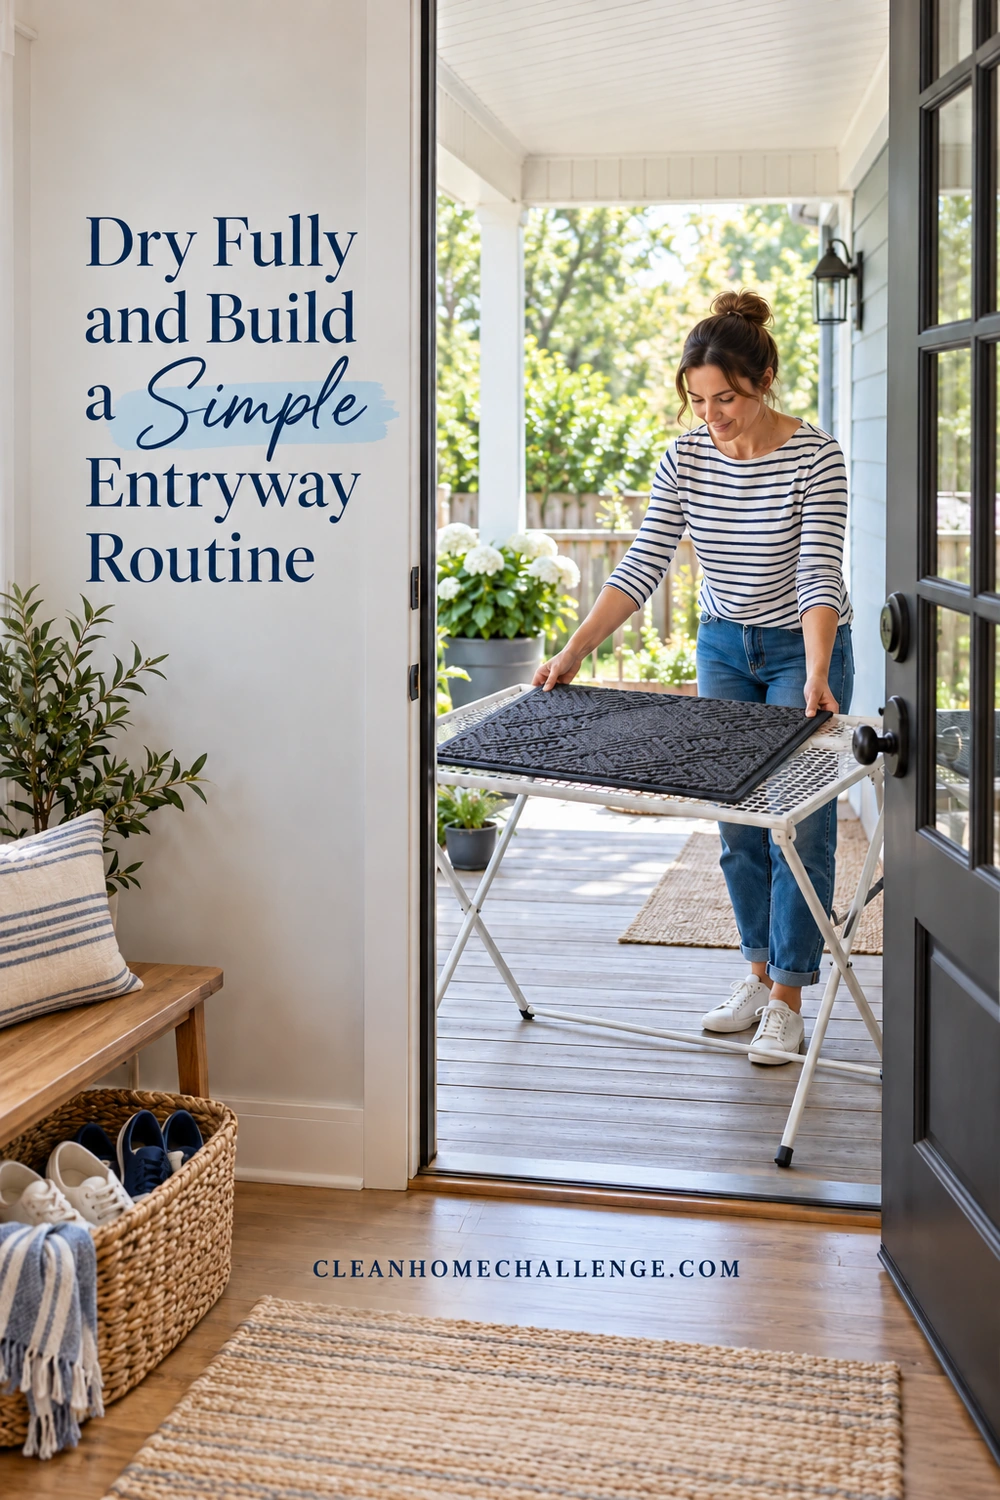
Drying is part of the clean. Use the position and method the mat maker specifies, with air able to reach the parts that became wet. Support the mat instead of wringing it, sharply folding it, or hanging a heavy wet mat from one small corner. Turn it only when the instructions and construction allow it, and keep the drying area clear of people walking through.
Do not speed things up with a radiator, hair dryer, hot tumble cycle, or intense heat. A tumble setting is an option only if the exact care directions permit it. Air drying can take longer in humid or cool weather; plan for the mat to stay out of use rather than promising an overnight result. A spare mat is helpful only if it suits the floor, stays dry, and lies flat too.
Check before putting it back
- The face, underside, seams, and thick border are dry.
- There is no new flaking, peeling, tackiness, or edge distortion.
- The floor underneath is clean and dry.
- The mat is compatible with that flooring and position.
- It lies flat without curled corners and does not obstruct the door.
If any check fails, leave it out of the walking route until the problem is resolved. Do not hide damaged rubber under another rug or treat cleaning as a repair. Cleanliness and safe placement both matter at a busy doorway.
Save the care details while you have them
Download the free Entry Mat Care Record and Reset Checklist (PDF). It gives you space to record the model, instruction location, permitted cleaning route, drying limits, and final checks. Keep it with a label photo so someone else in the household can help without guessing. It is a direct download; no email signup is needed.
Start with a weekly check when you do your Friday floors: lift, remove loose grit, inspect underneath, and check the floor. Clean sooner when visible dirt, mud, or moisture needs attention. This is a practical starting routine, not a manufacturer’s required interval. Choose a full wet clean according to the mat’s condition and instructions rather than washing simply because a calendar says so.
On wet school mornings, let muddy shoes stay at the designated landing spot and deal with tracked-in debris before it travels farther. A small basket and a clear walkway are easier to maintain than an elaborate entryway system. You can reset one mat, close the job, and move on with your day.
If you would like help fitting little jobs like this into a manageable weekly rhythm, explore Cleaners Clubhouse for practical routines, printables, and monthly challenges. The free mat checklist is yours to use either way.
CLEANERS CLUBHOUSE
Stay on Top of Floors Without Cleaning All Day
Give your floors a focused Friday reset instead of chasing every mark all week. The Cleaners Clubhouse helps you build a realistic routine with practical guidance, printables and monthly challenges.