

THIS POST MAY CONTAIN AFFILIATE LINKS. PLEASE READ MY DISCLOSURE FOR MORE INFO.
The best grout cleaning brush is usually a narrow, nonmetal brush that reaches the grout line without scraping the surrounding tile. For a few bathroom joints, a handheld nylon brush is a sensible starting point. For a whole floor, a compatible long-handle grout brush may make the work easier to reach. Powered brushes and steam tools deserve a closer look when they solve a specific problem, rather than simply promising more power.
You do not need every tool in this guide. Start with the surface you have, the size of the job, and the part of cleaning that feels awkward. A useful brush still needs the right cleaner, enough working time, and a way to lift away dirty water.
The named products below are manufacturer-verified examples, not a hands-on ranking. Features were checked in October 2026. Check the exact model, included handle or heads, replacement parts, and current care instructions before buying. This guide focuses on choosing tools; our bathroom grout cleaning guide covers the wider routine.
Disclosure: This post may contain affiliate links. As an Amazon Associate, Clean Home Challenge earns from qualifying purchases. If you make a purchase through these links, we may earn a small commission at no extra cost to you. This helps us keep creating practical cleaning tips, routines and resources for busy families! 🧽
Check Your Tile and Grout Before Choosing a Tool
Look closely at a dry section before shopping. Is the tile glazed ceramic, porcelain, glass, or natural stone? Is the grout sound, or are there cracks, missing pieces, powdery patches, or a coating lifting from its surface? If you cannot identify the materials, check leftover packaging, installation records, or the installer’s advice. Appearance alone cannot reliably distinguish every grout type.
| Tool | Best-fit task | Main limitation |
|---|---|---|
| Handheld brush | Small, reachable grout lines | Slow for a whole floor |
| Long-handle brush | Longer floor joints and reachable walls | Head and shaft need steady control |
| Powered detail brush | Small joints needing repeated brush movement | You still guide it and clean the tool |
| Steam tool | Approved, sound installations with several suitable tasks | Requires full material compatibility and heat precautions |
A cleaning brush removes surface soil. It cannot refill a gap, fix loose tile, restore failed waterproofing, or repair a damaged finish. Stop scrubbing if the joint starts shedding material. Crumbling grout, recurring damp patches, loose tiles, or deteriorating sealant call for assessment before another cleaning attempt.
Match the tool to the joint
- Narrow, fairly level grout lines: a slim row of nylon or other surface-compatible polymer bristles gives you control over where the brush lands.
- Recessed floor joints: a V-profile head may reach the channel more directly than a broad, flat scrub brush. Check that the bristles reach without the hard head rubbing tile edges.
- Lots of floor grout: look for a manageable long handle and a head that follows the joint without flopping sideways.
- Small shower details: a handheld brush can be easier to aim around a niche or fitting, provided you can reach it safely.
- Flexible caulk or silicone seams: treat these separately. They are not grout lines to attack with the same stiff brush.
Natural stone needs particular care. Marble, limestone, travertine, and other stone installations can react differently from glazed ceramic tile. The Natural Stone Institute recommends appropriate neutral cleaning products and warns against acidic cleaners. Skip vinegar, acidic toilet cleaners, wire brushes, metal scrapers, and abrasive scouring powders for this routine. A “grout cleaner” label does not establish compatibility with nearby stone.
For colored, sealed, or color-coated grout, check the specific finish instructions too. Test the proposed brush and cleaner together on an inconspicuous area, rinse, and let it dry before judging the result. Stop if you see scratching, dullness, pigment loss, or a change in texture. A brush described as non-scratch still needs to suit your installation and be free of trapped grit.
New grout, fresh caulk, and recently applied sealers have their own curing requirements. Do not use this maintenance routine as a shortcut around the installation instructions.

Choose a Nylon Brush for Everyday Grout Cleaning
A small manual brush is a practical first purchase because it gives you immediate control of pressure and direction. It needs no charging, takes little storage space, and lets you focus on one dirty joint rather than scrubbing every tile in the room.
Look for bristles firm enough to contact the grout but flexible enough to move without forcing the head down. Nylon is a common option; some brushes use a blend of polymers. The material name alone does not tell you how stiff the brush feels, how wide it is, or whether it will suit a delicate finish. Follow the surface instructions first.
LATICRETE’s cement grout maintenance guidance recommends gentle scrubbing with a nylon brush or suitable pad when grout becomes soiled. That supports a controlled approach rather than pressing harder whenever a mark remains.
A verified handheld example
The OXO Good Grips Grout Brush has narrow bristle rows and a soft, nonslip grip. OXO lists nylon and polypropylene bristles. It is an example worth comparing for small floor areas and reachable shower joints, especially if you want a dedicated grout brush rather than a multipurpose scrubber.
Before choosing it or a similar brush, check whether the grip fits your hand and whether the head can move along your actual joint. An offset handle may give your knuckles useful clearance. A large handle is helpful only if you can hold and steer it comfortably.
Narrow rows or a V-shaped head?
A narrow brush concentrates contact in a slim line. A V-shaped brush uses a tapered bristle profile to meet a recessed joint. Neither shape wins automatically: the useful choice depends on the joint’s width, depth, and condition. Avoid wedging a broad head into a tiny channel or using a pointed head to gouge a soft, damaged joint.
An old, clearly designated cleaning toothbrush can handle a tiny spot when its bristles are suitable, but its small head may make a whole floor unnecessarily slow. Keep it completely separate from personal toothbrushes. Do not keep using a brush once the bristles are badly splayed or its hard backing starts striking the tile.
The simplest starter kit is one suitable manual brush, clean cloths, a compatible cleaner, and the protection required by the label. Buy a second brush only when you can name the job the first one cannot comfortably do.

Use Long Handles for Floors and Shower Walls
A long-handle grout brush makes sense when reaching the joint is the main difficulty. It lets you work on a floor from a standing position and may help with accessible shower walls. It does not remove the need to control pressure, rinse the surface, and collect the dirty water afterward.
For floors, compare the brush head’s profile with the grout channel. A wide deck brush may spend most of its time brushing tile tops while missing a recessed joint. A smaller grout head can follow the line, although it will cover less area with each pass.
The Unger LOCK-ON Swivel Grout Brush, model 975200, is a useful long-handle example. Unger lists a low-profile head with stiff poly bristles, a 180-degree swivel, and attachment to a standard-threaded pole. Check the seller’s package carefully: a brush-head listing does not necessarily include a handle. These are polymer bristles, not a verified all-nylon specification.
Check the assembled tool
Hold the complete brush at the length you plan to use. Can you guide its head along a joint without a sustained hunch or stretching away from your body? Does the shaft lock securely? Can you change direction without the swivel turning onto the surrounding tile?
A little movement in the head can help it meet the floor. Too much uncontrolled movement can make a narrow grout line frustrating to follow. Try the tool dry before adding cleaner, and make the handle only as long as the task needs. Maximum extension is not automatically the most comfortable setting.
For shower walls, think through where your feet will stay. Work from stable, dry footing and keep the task within comfortable reach. Do not stand on the tub rim, lean across an open shower tray, or balance on a household stool to finish a high corner. Divide the task or get help when safe reach is not possible.
Check the head against wall fittings and soft seams as well as tile. A large swivel brush that works on a kitchen floor may be clumsy around a shower niche. Keep a small manual brush for those details if they are safely reachable.
Finally, plan storage. Measure the closet height, check whether the head detaches, and make sure the brush can dry without its bristles being crushed under the handle. An awkward tool that never fits back in the closet is unlikely to make routine cleaning easier.

Compare Powered Scrubbers for Detail Work
A powered grout brush can reduce repetitive back-and-forth brush movement, but you still need to hold, guide, and clean it. Consider one when manual scrubbing motion is the problem and the tool’s size and controls are manageable. If reaching the floor is the problem, a short powered handle may not solve it.
There are several different products under the “electric grout cleaner” label. Compact oscillating brushes suit detail work; larger rotating scrubbers cover broader surfaces; drill-mounted brush attachments depend on a separate power tool. Compare the actual head and handling rather than assuming all powered brushes behave alike.
A verified compact example
The Rubbermaid Power Scrubber with an all-purpose head and grout head, model 2057486, has an oscillating head, pulse and continuous settings, and a water-resistant design. Rubbermaid lists nylon bristles and four AA batteries. Confirm which heads are included in the package you order.
That feature set makes it a relevant comparison for small joints and reachable corners. It does not establish that it is faster for your whole bathroom or suitable for every tile finish. Manufacturer performance claims are not a substitute for a controlled test on your own surface.
Questions worth asking before buying
- Can you operate the switch comfortably while keeping the head in the joint?
- Is the smallest included head narrow enough for your grout?
- Can you fit and remove replacement heads without forcing the connection?
- Are replacement heads available individually, and what do they cost?
- Can you follow the water-exposure and battery-care instructions during cleanup?
- Is the tool still manageable after several short passes, not just when lifted off the shelf?
Water-resistant does not mean you can submerge the handle or rinse every part under a faucet. Follow the exact manual. Switch the tool off before changing heads, keep charging equipment away from wet cleaning areas, and charge only as instructed after the relevant parts are dry.
Start with light contact and let the moving bristles do their work. Stop if the brush skips, the head stalls, the surface changes, or the grout sheds material. Added pressure is not a repair strategy.
For ordinary household grout maintenance, a dedicated brush is the simpler starting point than a drill attachment. A drill adds speed, torque, splash, and handling demands that need their own compatibility and tool-safety checks. If you are comparing larger machines, our electric spin scrubber guide explores their broader task fit.

Check Compatibility Before Using Steam
A grout steam tool is worth considering only after you establish that the complete installation can tolerate it. “Safe for tile” on a machine’s box does not answer questions about your grout, sealer, coating, adjacent stone, caulk, or the materials behind the tile.
This is a real product-specific issue. CUSTOM Building Products’ Fusion Pro FAQ advises against steam cleaning that grout assembly. Do not generalize one grout manufacturer’s permission to a different product, and check the latest instructions for the installation you own. If the grout type or finish is unknown, use its approved manual-cleaning method while you find out.
Steam is also a poor experiment on cracked, loose, crumbling, or incompletely cured joints. Ask the installer or product manufacturer about damaged or recently repaired areas before introducing heat or extra moisture. Flexible shower seams need separate care; they are not interchangeable with cement grout.
A verified machine example
Kärcher’s US steam cleaner comparison lists the SC 3 EasyFix canister model with a detail nozzle and small round nylon brush. A canister with detail accessories is a different proposition from a floor-only steam mop: check the actual included attachments and regional model before ordering.
That is a relevant tool example, not blanket permission to use it on your bathroom. Look for the matching operating manual, surface restrictions, water requirements, and replacement brush information. Check that you have suitable dry storage for the machine and hose as well as time for setup and cooldown.
If both the surface and appliance instructions permit steam cleaning, test a hidden area first and use the specified attachment and technique. Keep hot vapor away from skin, pets, children, electrical fittings, and anything outside the approved work area. Do not add cleaner, fragrance, vinegar, or other additives to a water-only machine. Follow its shutdown, cooling, and refill instructions rather than borrowing directions from a different steamer.
Kärcher’s joint-cleaning guidance describes wiping away loosened dirt after steaming. That final collection step matters: a steam jet loosening grime is not the same thing as removing it from the floor.
A small manual brush is often the more straightforward purchase for occasional touch-ups. Steam becomes a more meaningful comparison when you have multiple approved tasks for the machine and can manage the whole process. No steam tool in this guide is being recommended as a household mold-remediation or guaranteed disinfection treatment.

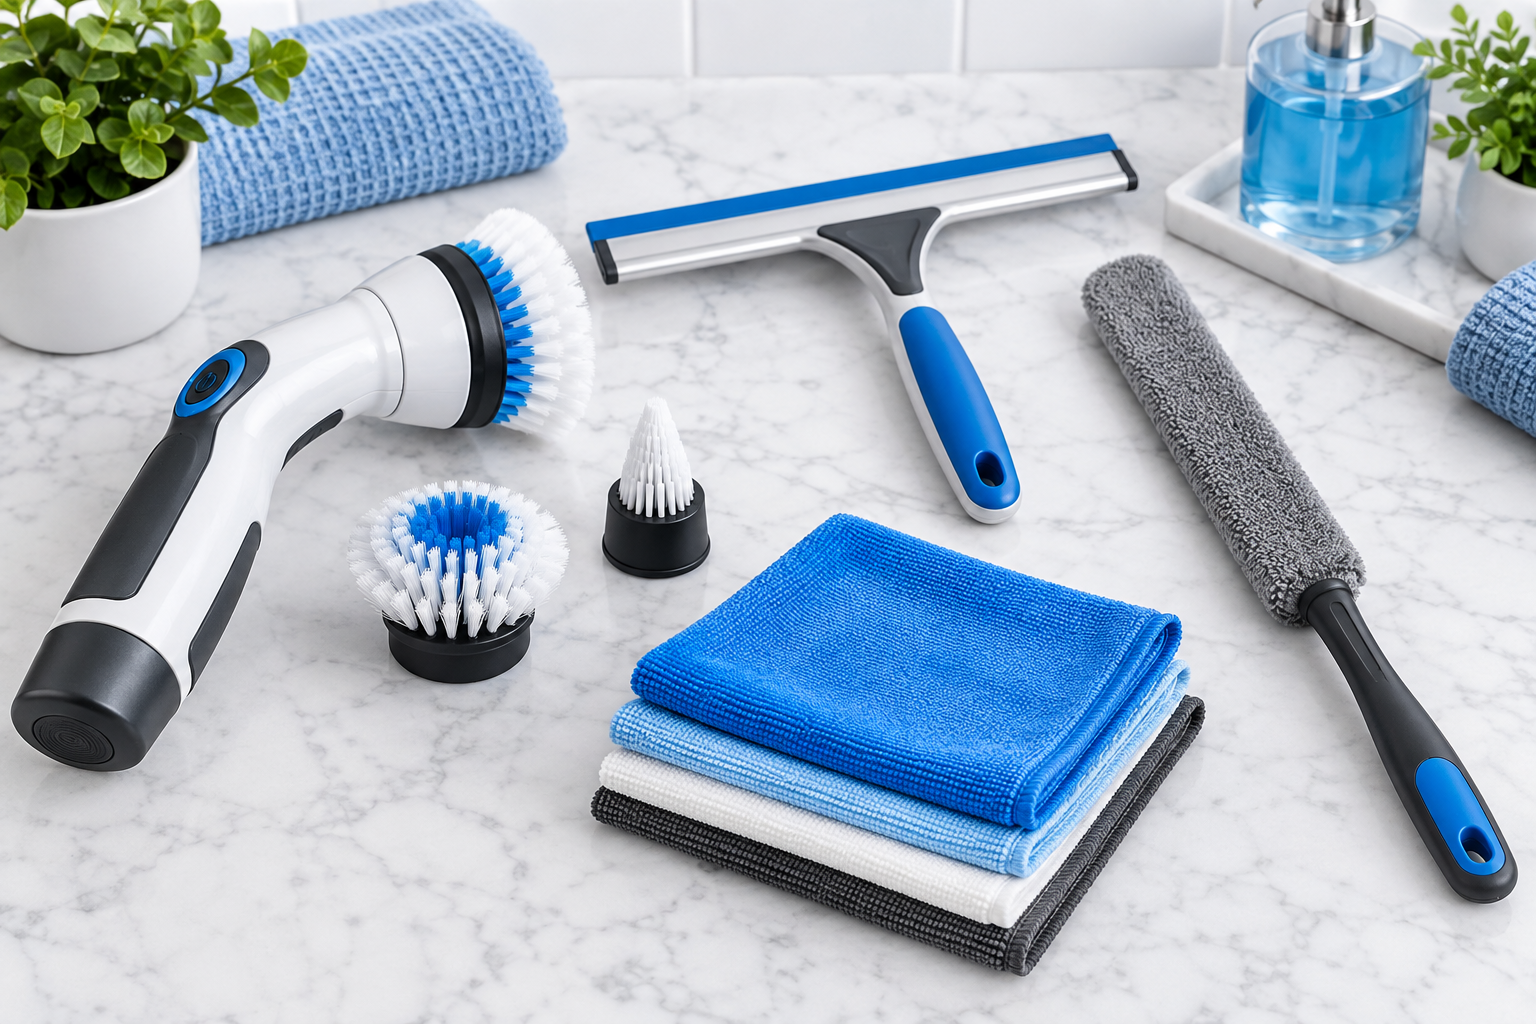
Clean Grout in Small, Manageable Sections
Once you have a suitable brush, use a repeatable method rather than cycling through stronger tools. Begin with a small test area that you can completely clean, rinse, and dry. A short session is useful only if you leave enough time to remove the cleaner before stopping.
Gather the brush, surface-approved cleaner, several clean absorbent cloths, clean rinse water, and any gloves or eye protection required by the label. Keep children and pets out of the work area. Ventilate as directed, remove loose items, and leave a dry route out of the room.
- Remove loose grit first. Sweep or vacuum the dry floor with a suitable attachment. On shower walls, remove loose hair and debris without dragging grit across the finish. Start with a brush that is already clean.
- Apply one compatible cleaner. Follow its dilution and application instructions. For routine care of compatible grout, a manufacturer-approved pH-neutral tile cleaner is a sensible place to start. Do not make it stronger because the grout looks dark.
- Allow the label’s working time. Different cleaners have different instructions. There is no universal five-minute dwell time for every product. Do not let the solution dry on the surface unless its directions specifically require that.
- Brush the joint gently. Use short, controlled strokes along the grout. Keep the hard brush body off the tile and stop if the joint starts breaking down. For walls, manage a reachable patch and collect drips as you go.
- Lift away loosened soil. Use clean cloths or an appropriate wet-pickup method to collect the dirty solution. An ordinary dry-only vacuum is not suitable for wet pickup. Change to a clean cloth face rather than spreading the same dirty water farther.
- Rinse as directed and remove excess water. Use fresh water and clean cloths; do not keep rinsing with visibly dirty water. Let the area dry before walking on it or deciding whether another treatment is needed.
These basics align with Daltile’s ceramic and porcelain care guidance, which emphasizes removing loose dirt, following dilution and dwell instructions, rinsing, and removing excess water.
Never mix cleaning products or add another product over residue from the first. The CDC specifically warns against mixing bleach or disinfectants with other cleaners. This routine does not require a bleach mixture, acid, or homemade chemical combination.
If a mark remains after the grout is dry, pause and identify it. Soap residue, mineral buildup, staining, and damaged or discolored grout can need different responses. More force is not a reliable answer. Follow the grout and tile manufacturers’ stain guidance, or ask for professional advice when the cause is unclear.

Keep Your Grout Tools Ready for Next Time
A useful grout-cleaning kit should be easy to get out and easy to put away. The small habits after cleaning help the next session start with clean bristles rather than yesterday’s grit and residue.
Rinse a manual brush according to its instructions, remove visible debris, and let it dry in a ventilated place. Do not seal a wet brush inside a closed caddy. Hang it or position it so the bristles are not bent under the tool’s weight. Wash reusable cloths according to their care labels and store them dry.
For powered tools, clean the detachable head and handle only as the manufacturer permits. Check the head connection, casing, battery compartment, and charging port for damage before the next use. Stop using a tool with a loose head or damaged electrical parts. Replace worn brush heads when they no longer keep their shape or contact the joint properly.
A realistic grout routine
During your Tuesday bathroom reset, choose one area that actually needs attention: the joints beside the sink, a reachable shower-wall patch, or the floor near the doorway. Check the surface, clean that section properly, and finish with rinsing and drying. You can do a different area next time.
Between deeper cleans, collect spills promptly, remove floor grit, and help the shower dry with a suitable squeegee or cloth and the room’s ventilation. Adjust the routine to how the room is used rather than scrubbing every joint on a fixed schedule. Recurring wet patches or rapid deterioration deserve investigation, not increasingly aggressive cleaning.
Use the printable Grout Tool Buying and Care Checklist to compare a purchase and keep the care steps together.
Keep a simple note of the grout product, tile type, approved cleaner, and any sealer or color coating. That information is more useful for future purchases than a drawer full of increasingly stiff brushes. If sealing is recommended for your grout, follow that product’s preparation and timing requirements; not every grout needs a sealer, and sealing does not repair missing material.
Start with the tool that solves your biggest practical problem. Choose a narrow manual brush for control, a long handle for reachable floor work, or a powered detail brush when its movement and controls suit you. Consider steam only with confirmed compatibility. A small kit and a manageable section are enough to make useful progress without turning grout cleaning into an all-day project.

CLEANERS CLUBHOUSE
Take the Guesswork Out of Bathroom Cleaning
Use Tuesday as your bathroom reset day and work through the job in a sensible order. Inside the Cleaners Clubhouse, you’ll find practical routines, printable support and challenges that make deeper cleaning easier to manage.
