

THIS POST MAY CONTAIN AFFILIATE LINKS. PLEASE READ MY DISCLOSURE FOR MORE INFO.
A window can look clean until the afternoon sun catches every swipe. Before buying another spray, take a look at the tools doing the washing and drying. A dirty cloth, an awkwardly wide squeegee, or water left around the edges can turn a quick job into several rounds of polishing.
The best window cleaning tools for a busy home are a manageable combination: a soft washer, a glass squeegee or suitable drying cloth, and a small brush for the tracks. A window vacuum can be a useful upgrade if collecting dirty water is the part you find most frustrating.
This feature-based buying guide uses manufacturer information to match tools to everyday household jobs. Start with what you already own, choose additions for your actual windows, and aim for a clearer view without giving the whole weekend to it.
Disclosure: This post may contain affiliate links. As an Amazon Associate, Clean Home Challenge earns from qualifying purchases. If you make a purchase through these links, we may earn a small commission at no extra cost to you. This helps us keep creating practical cleaning tips, routines and resources for busy families! 🧽
Build a Window Cleaning Kit That Fits Your Home
Start with the job you need to do
Walk around the rooms you plan to clean before shopping. Look at the smallest individual pane, the widest sliding door, the depth of the sills, and any areas you cannot reach comfortably from the floor. A tool that suits a large patio door may be clumsy between narrow window grilles.
For a simple starter kit, gather:
- A soft window washer or cleaning cloth approved for your glass
- A glass squeegee that fits inside your smallest regularly cleaned pane
- Two or more clean, lint-free cloths, including one kept dry for edges
- A small, nonmetal brush for compatible window tracks
- A bucket that fits the washer, or a suitable spray bottle
- A cleaner approved for the window and any window vacuum you use
- An absorbent towel to protect the sill and floor
An existing vacuum with a suitable small attachment can help remove dry debris from tracks. You do not need a separate machine for this. Keep ordinary dry vacuums away from standing water.
Check the glass before choosing the cleaner
Clear-looking glass may have an exposed coating or an applied film. Find the care instructions through the window label, installation paperwork, or manufacturer. Read the frame-care instructions too, especially around finished wood. Something suitable for the center of the pane may harm the surrounding materials.
For example, Andersen specifies mild soapy water for its HeatLock glass and warns that abrasive cleaners can damage the interior coating. That exception matters more than a cleaner’s general promise to work on windows. See Andersen’s glass-care guidance.
Applied tint and decorative film also need their own instructions. In its window-film bulletin, 3M rules out brushes, scrapers, and abrasive materials; it specifically says not to use damp microfiber on Thinsulate Climate Control Window Film. Follow the film’s instructions and any post-installation waiting period. See 3M’s window-film care guide.
If the surface is unidentified, pause before trying stronger chemicals, abrasive pads, or a scraper. Ask the installer or manufacturer what is suitable. A small approved-area test helps check a compatible method, but it does not establish that an unsuitable product is safe.
Buy the smallest useful kit
For a few reachable windows, start with cloths and a squeegee. Add a track brush if corners are the sticking point. Consider a window vacuum for regular water collection, or a compatible extension pole for a reachable ground-level job. Buying in that order helps each addition earn its storage space.

Choose a Glass Squeegee and Reliable Cloths
What to look for in a glass squeegee
A good everyday squeegee should feel comfortable in your hand and make even contact across its blade. Before buying, check these details:
- Blade width: Measure clear glass between frames or dividers. Leave enough room to turn and finish a stroke.
- Replaceable rubber: Check whether replacement blades are available for that exact model.
- Grip: Choose a handle you can control without squeezing hard, particularly if your hands tire easily.
- Head shape: Deep sills and recessed frames may limit how close a bulky handle can get to the bottom edge.
- Pole connection: If you need extra reach, check the actual connector rather than assuming all threaded tools fit securely.
A wider blade covers more glass per pass, but it also needs space. For a home with mixed window sizes, a modestly sized tool is often a more practical first purchase than the widest available option. You can add a larger one later if the patio doors justify it.
A useful two-in-one product example
The Unger 10-inch 2-in-1 Window Cleaner combines a rubber squeegee with a machine-washable microfiber sleeve. The manufacturer lists handheld use, compatibility with its Connect & Clean telescopic pole, and a standard thread. It is worth considering when you want to wash and then flip the tool to remove water.
The trade-off is the combined head’s bulk. Measure smaller panes and think about clearance near handles. Separate washing and drying tools can be easier to maneuver in tight spots, even though they give you another item to carry.
Choose cloths by their job
Keep a washing cloth, a dry detailing cloth, and a sill cloth separate. Fold each into quarters so you can switch to a clean face. Once a cloth has picked up track grit, put it aside rather than bringing it back onto the pane.
A smooth, low-lint glass cloth is useful for finishing edges. Check its care label and whether the window manufacturer permits that material. Plush all-purpose cloths can still have a place in the kit for compatible frames, but do not assume every cloth performs the same job.
The E-Cloth Window Cleaning Kit is a two-cloth example: its instructions use a damp waffle-weave cloth followed by a dry Glass & Polishing Cloth. It suits shoppers who prefer a compact, reusable setup. Check surface compatibility first, and plan to swap the finishing cloth when it becomes too damp to leave the glass dry.

Decide Whether a Window Vacuum Is Worth It
A window vacuum uses a squeegee-style head and suction to collect liquid into a tank. The attraction is straightforward: less dirty water to manage as you finish a pane. You still need to loosen and wash away the grime first. Kärcher’s window-vacuum instructions and range overview describe that wash-then-vacuum sequence.
When it may earn its place
Consider one if you regularly clean large, smooth panes, dislike catching water below each squeegee pass, or have several compatible glass surfaces to maintain. It may also suit someone who finds repeated cloth drying tedious, provided the device’s weight and grip feel manageable.
A manual squeegee is the simpler choice if you clean only a few panes, have limited storage, or prefer a tool with no battery or tank. Small divided windows can also make a wide vacuum head awkward. Neither option removes the need to detail corners occasionally.
Compare the features you will actually use
Before choosing a model, check:
- Head width and clearance. Can it fit your narrowest pane and reach near the bottom frame?
- Weight. Consider the whole device, including the water it will collect, rather than runtime alone.
- Battery and charging time. A short room-by-room routine has different needs from a long cleaning session.
- Tank removal. Look at how you empty, rinse, and dry it after use.
- Replacement parts. Check blade, charger, and narrow-nozzle availability for the exact model.
- Regional version. Buy a model and charger intended for your country, with suitable local support.
Current Kärcher examples to compare
Kärcher lists the WV 1 Plus in black with a 25-minute battery runtime and a 1.1-pound weight including the battery. It is a useful starting point for comparing a lighter, shorter-session device.
In the US range comparison, the WV 6 Plus is listed with a 100-minute runtime and a 1.7-pound weight. Those specifications illustrate a real buying trade-off: longer battery life also comes with a heavier device. Manufacturer runtime figures are not a promise of how many windows you will finish. Check the exact package because narrow heads and other accessories differ.
Check that your cleaning solution is permitted by both the glass-care instructions and the vacuum manual. A window vacuum is for liquid on compatible surfaces, not dry dust or track debris. Do not buy on a claim of guaranteed streak-free results alone. Blade condition, thorough pre-cleaning, and suitable technique still matter. A window vacuum can collect condensation, but recurring moisture needs attention to its cause; the tool does not control room humidity.

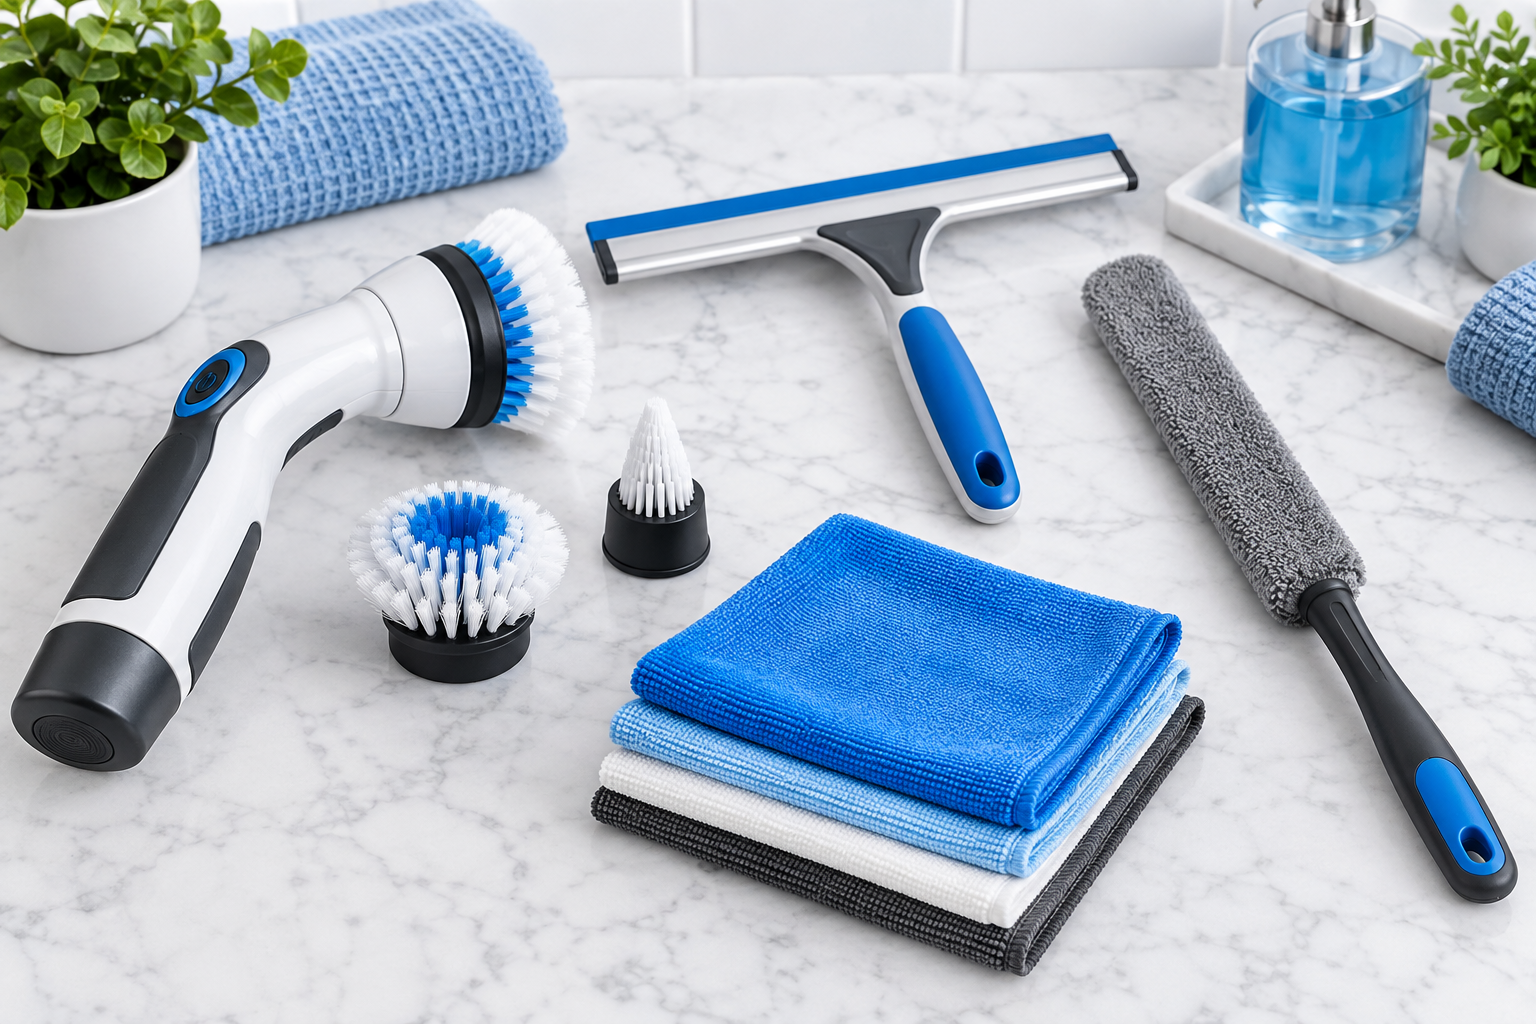
Add a Window Track Brush and Safe Reach Tools
Choose a track brush that fits the channel
A window track brush is useful when loose dust and crumbs collect in narrow corners. Look for a slim head, bristles that can reach the channel, and a handle you can grip without knocking the glass. Keep it dedicated to tracks so the dirt does not travel into your glass-cleaning kit.
Start gently. A stiff brush that works on one track can mark another finish or snag a seal. Use the frame manufacturer’s advice, test a suitable brush in an inconspicuous area, and keep bristles away from applied window film.
The OXO Deep Clean Brush Set includes large and small brushes, with a wiper on the smaller one. OXO describes uses including shower-door tracks and tight spaces. It is an example to compare for accessible crevices; check its dimensions and bristle suitability against your own window tracks rather than assuming it fits every channel.
A soft brush you already own may be enough. Metal picks, knives, and forceful scraping do not belong in a routine track clean.
Remove loose dirt before adding moisture
Brush dry debris toward an accessible area, then lift it with a suitable vacuum attachment or cloth. Use a lightly dampened cloth for the remaining soil if the frame-care instructions allow it. Wrap the cloth around a rounded, non-scratching tool only when you can keep full control of it.
Avoid pouring water into the track. Work around seals and hardware, leave drainage openings clear, and dry the accessible surfaces. Do not push debris farther into a hole or dismantle window hardware to reach one stubborn corner. If drainage seems blocked or a seal is damaged, consult the window’s maintenance instructions.
Keep both feet on the ground
A compatible extension pole can help with a modest reach while you stand on stable, level ground. Unger’s pole range includes locking connections for matching attachments. Check the assembled tool for a secure fit and use only the extension and working angle permitted by its instructions.
Choose a length you can control comfortably. A long pole can become awkward around landscaping, porches, and overhead obstructions. Keep poles well away from power lines, keep the area beneath the work clear, and stop in windy conditions or if the tool is difficult to control.
The HSE’s window-cleaning safety guidance prioritizes avoiding work at height where practical. For a household routine, make unreachable exterior glass a professional-cleaner job. Do not balance on furniture, lean out of an upstairs window, or climb onto a roof. Use tilt-in features only according to the window’s operating instructions.

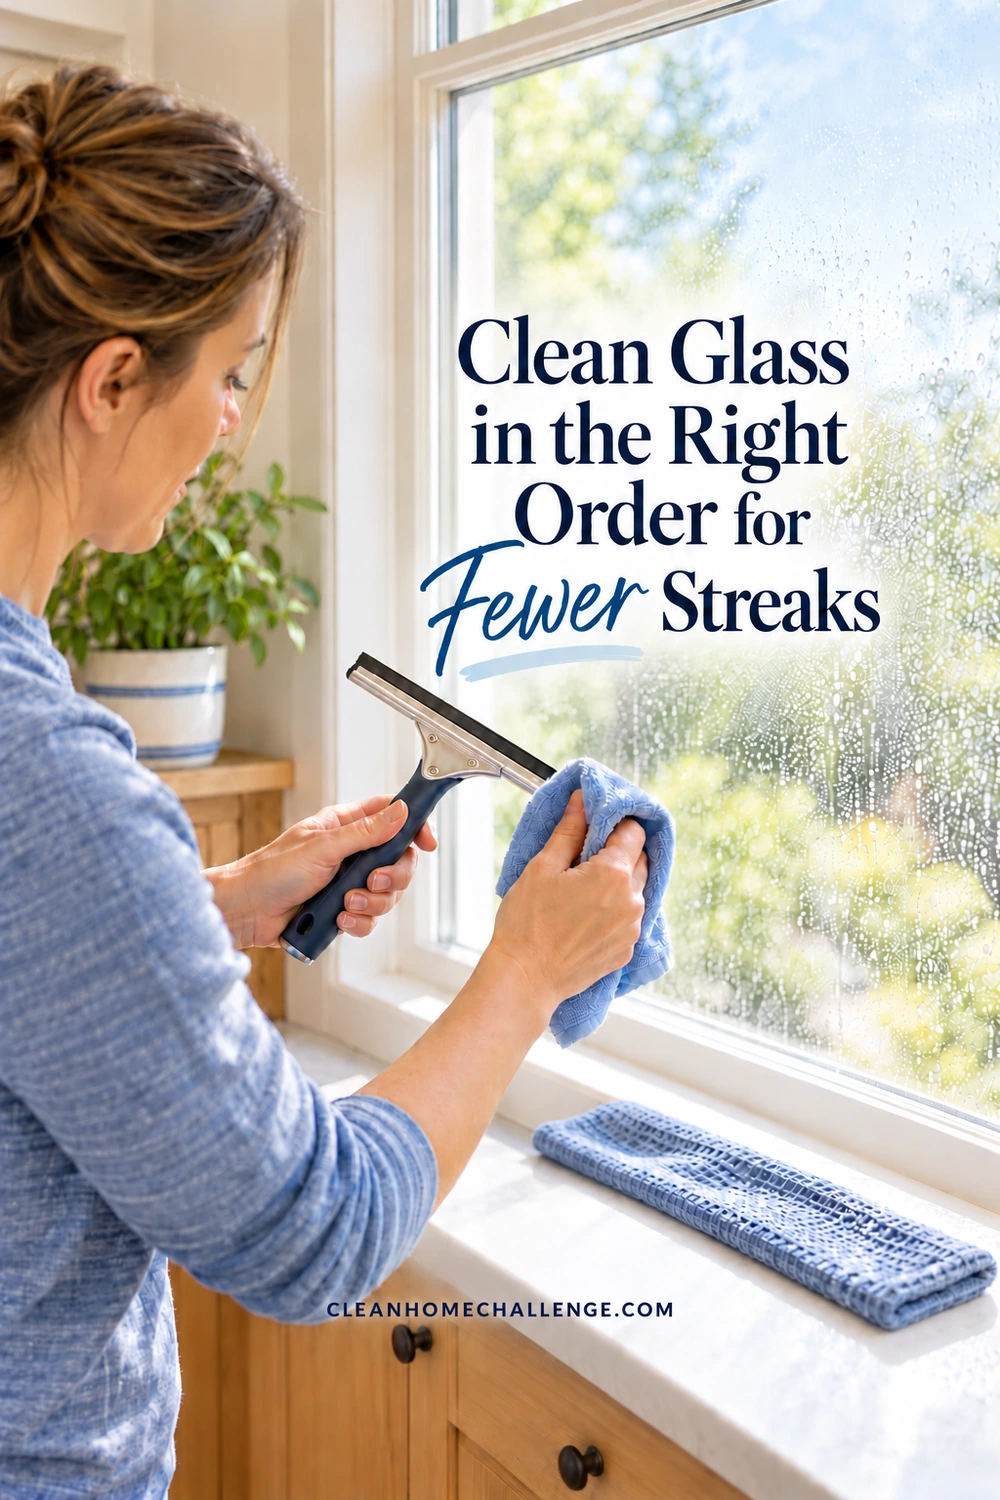
Clean Glass in the Right Order for Fewer Streaks
Good tools are easier to use when each one has a clear job. Work on one reachable pane first and see how the method suits your windows before setting up for the whole house.
A straightforward washing and drying method
- Pick a cool, shaded window. Hot glass gives you less working time before cleaner dries. Andersen recommends cloudy-day cleaning to help avoid streaking. Move to a different side of the house if direct sun reaches the pane.
- Protect the nearby surfaces. Move small items, lift curtains out of the way, and put an absorbent towel below the working area. Keep children and pets away from open windows, buckets, and cleaning products. Follow cleaner-label ventilation and glove instructions.
- Clear the frame and tracks. Remove loose debris with suitable tools before wet cleaning. Keep a separate cloth for these areas and avoid dragging grit across the glass.
- Wash one pane. Apply the manufacturer-approved cleaner at its labeled dilution, using a compatible soft washer or cloth. Work across the whole surface with gentle pressure. Do not mix cleaners or add extra concentrate to make the job faster.
- Dry while the pane is still evenly wet. With a manual squeegee, try steady top-to-bottom passes, overlapping the previous dry strip slightly. Wipe the blade with a clean cloth between passes. Keep the blade edge in contact with the glass without pressing the frame or metal channel against it. Unger’s window-cleaning technique guide explains controlled downward strokes and overlap.
- Use the alternative your tools require. For a window vacuum, follow its manual’s angle, direction, and tank-fill limits. For a two-cloth kit on compatible glass, follow its washing step with the clean, dry finishing cloth. The drying method should match both the tool and the surface.
- Finish the edges and sill. Catch remaining beads with a dry, compatible cloth and use the separate sill cloth below. Check the dry pane from a slight angle before moving on.
Do not let cleaner dry on the glass while you wash the next few windows. Finishing one pane at a time is easier to troubleshoot, especially while you get used to a new tool.
If the glass still looks streaky
A fine line appears after every pass: Inspect the squeegee edge for trapped grit, a nick, or uneven seating. Clean it and try again. If the same line returns with a damaged blade, replace the blade rather than rubbing the whole window repeatedly.
A cloudy smear spreads as you polish: Switch to a clean cloth face or a fresh finishing cloth. Check that you used the labeled cleaner amount and removed the soil before drying. A saturated cloth can move moisture around instead of finishing the job.
The blade skips across the glass: Stop and check the tool’s instructions, the blade’s condition, and whether the pane has dried. Re-wet with the approved method as needed. Extra pressure is not a dependable fix. Kärcher’s Window Vac troubleshooting guidance recommends a clean blade, an evenly moist pane, and avoiding excessive pressure.
Spots stay in place after ordinary cleaning: Do not assume stronger scrubbing is the answer. Mineral deposits, coatings, scratches, and surface residue can need different treatment. Identify the problem and ask the glass manufacturer about compatible treatment before using acids, abrasive pads, or a scraper.
The haze seems to be inside the window: Condensation within a sealed insulating-glass unit can indicate a seal problem, according to Pella’s condensation guidance. Surface cleaning will not reach it. Arrange an assessment instead of buying more cleaning products.
Keep Your Tools Ready for a Low-Effort Routine
Give the kit a short reset after each use
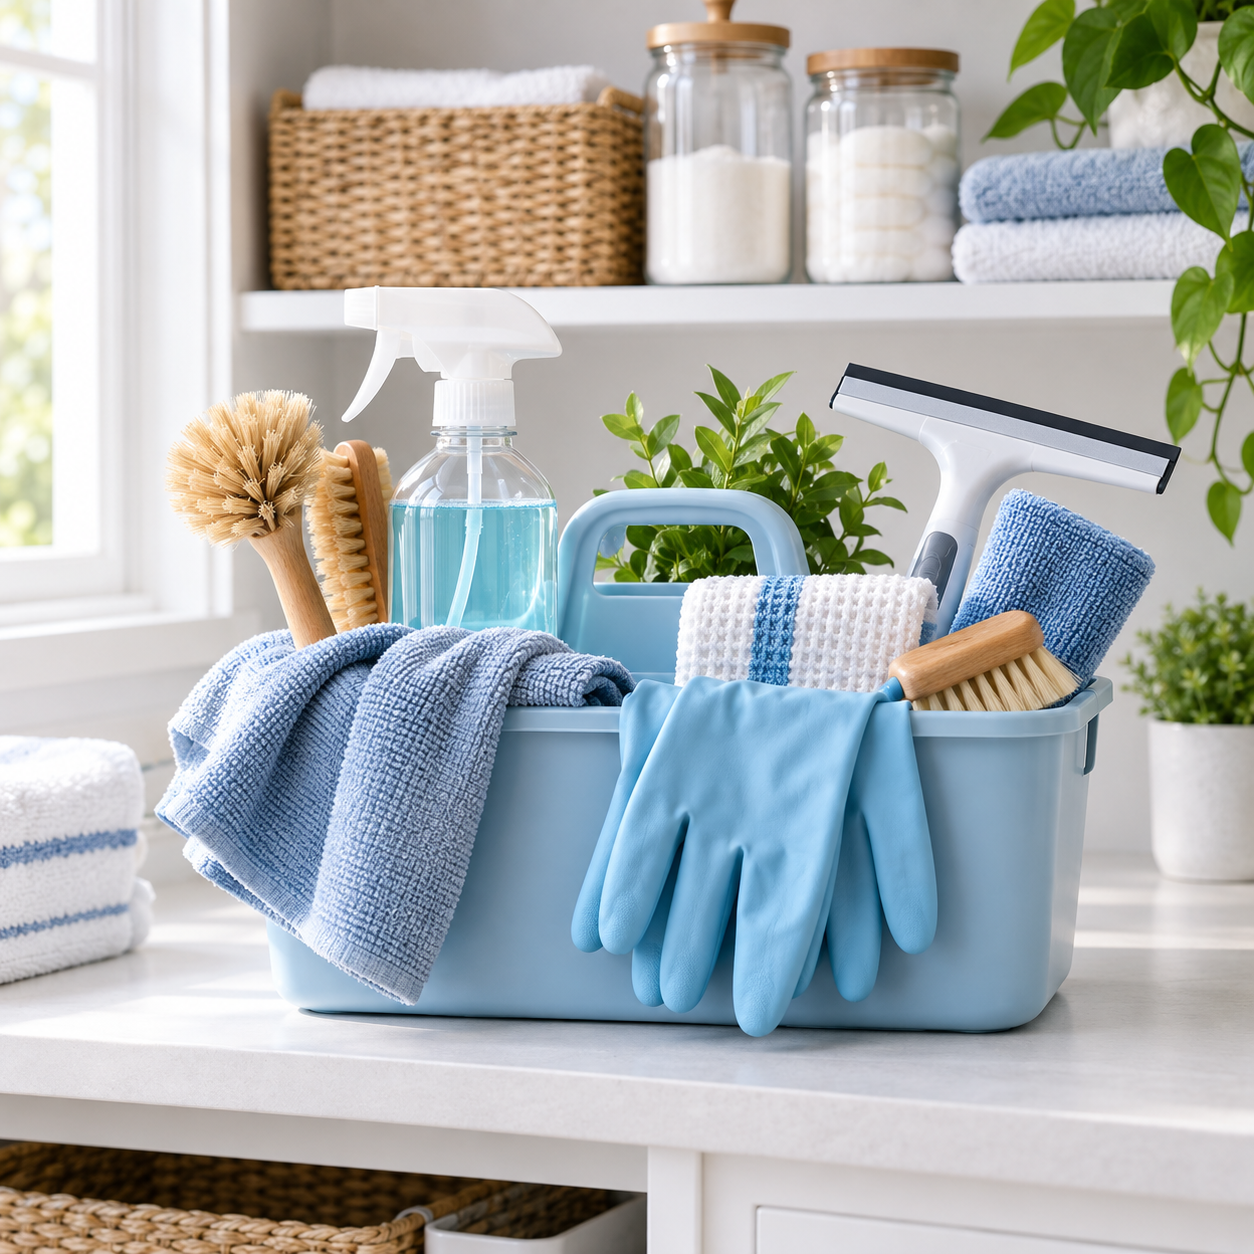
Rinse compatible washing tools, remove trapped grit, and let them dry before storage. Inspect the squeegee edge and store it without bending or crushing the blade. A small hanging space or shallow caddy can keep the tools together without a pile of damp cloths underneath.
Wash glass cloths according to their own labels and keep them away from heavily greasy cleaning rags. E-Cloth specifically advises against fabric softener and dryer sheets for its window cloths. Follow your actual cloth’s temperature and drying instructions rather than applying one brand’s laundry settings to everything.
For a window vacuum, switch it off and disconnect it from charging before maintenance. Follow the manual to empty and clean the tank and removable head. Do not immerse the motor unit or hold it under running water. The Kärcher WV 6 Plus manual distinguishes removable-part cleaning from care of the electrical device. Let the permitted washable parts dry, check the charging instructions, and put the charger somewhere dry and accessible. Finish by putting cleaning liquids away out of children’s and pets’ reach.
Match the routine to the time you have
Use these as flexible starting points, not deadlines:
- A few spare minutes: Spot-clean fingerprints on the reachable door or pane you notice most, then dry the touched area.
- One short room session: Clean that room’s reachable interior glass and wipe the sills. Leave the rest of the house for another day.
- A planned seasonal session: Work through frames, tracks, screens, and accessible glass, with professional help for areas you cannot reach safely.
The actual time depends on window size, dirt, and access. Stop while you still have time to rinse the tools and put everything away. Half a room completed safely is useful progress.
For a fuller work order, use the whole-house window cleaning checklist for inside glass, tracks, and screens and split it across several sessions.
Choose one improvement for your next clean: a blade that fits, a fresh drying cloth, or a brush that reaches the track. The best window cleaning tools are the ones that suit your windows, stay easy to maintain, and make the next small cleaning session easier to start.

CLEANERS CLUBHOUSE
Use the Right Tools With a Routine That Works
Good cleaning tools work best when you know where and when to use them. Inside the Cleaners Clubhouse, recommended products sit alongside practical routines, printable worksheets and monthly challenges.
