
THIS POST MAY CONTAIN AFFILIATE LINKS. PLEASE READ MY DISCLOSURE FOR MORE INFO.
The side of the bathtub can look grubby even when the tub itself is clean. A few bath-time splashes, dusty fingerprints, and dried shampoo drips are enough to leave a white panel looking streaky. It is tempting to reach for the scrubber you use on the tiles, but an acrylic panel needs a gentler approach.
To clean acrylic bathtub panels, first confirm the material and its care instructions. Lift loose grit without rubbing it around, wash the exposed face with a soft cloth and an approved nonabrasive cleaner, remove the cleaner with clean damp cloths, and dry. Keep water out of panel joints and leave the panel fitted in place.
This guide is for the exposed side or end panel, sometimes called the bath apron. It does not cover cleaning inside a whirlpool system or opening the space beneath the tub. Allow about 10–15 minutes for an ordinary maintenance clean as a planning estimate. A stubborn mark may need advice rather than more time scrubbing.
Disclosure: This post may contain affiliate links. As an Amazon Associate, Clean Home Challenge earns from qualifying purchases. If you make a purchase through these links, we may earn a small commission at no extra cost to you. This helps us keep creating practical cleaning tips, routines and resources for busy families! 🧽
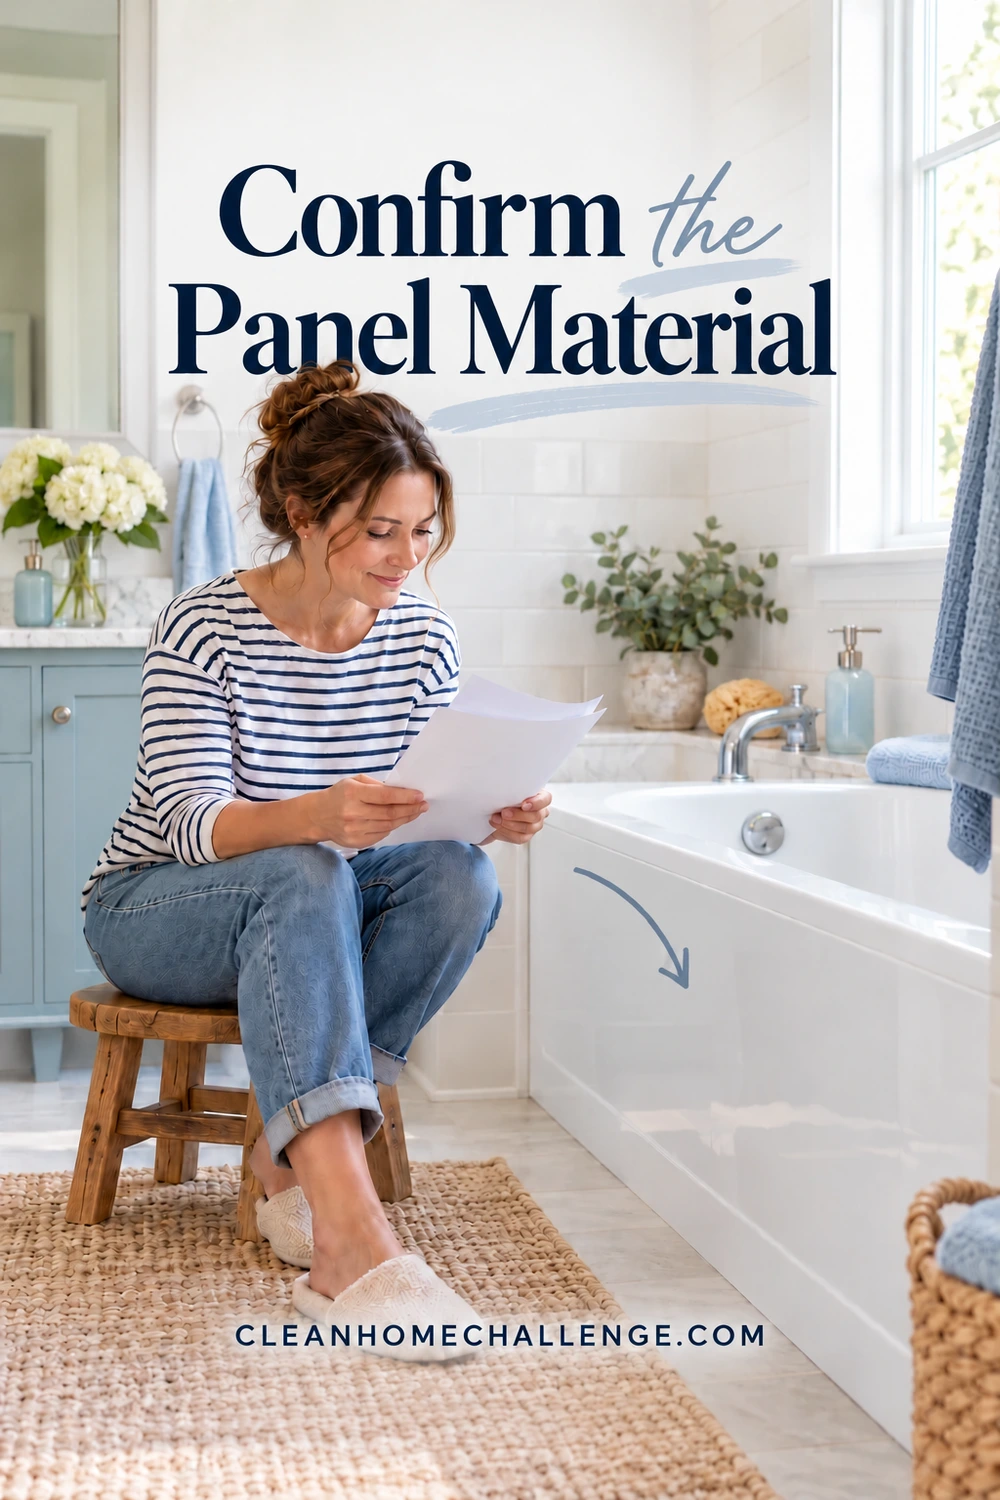
Confirm the Panel Material
A glossy white finish does not prove that a panel is acrylic. Bathroom panels can be acrylic, other plastics, coated board, painted wood, or composite material. The bathtub and the separately purchased side panel may also be different products.
Look in the purchase receipt, installation paperwork, landlord’s records, or the supplier’s product listing. Match the panel itself, not just the tub model. Ask whether it has a special coating or a repaired area, because that can change the cleaning rules. Do not scratch, heat, bend, or apply a solvent to identify the material. There is no need to pry off a panel to check it during routine cleaning.
When you find the care guide, note the permitted cleaner, cloth type, rinsing method, and anything specifically prohibited. Save a photo or link on your phone so the next clean is easier. If the material is uncertain, stick to removing loose dust with a clean soft cloth without pressure, and ask the supplier before treating marks.
Manufacturer instructions differ. Delta’s acrylic care advice gives recommendations for its named acrylic technologies; that list is not permission to use those products on every other panel. A bottle described as a bathroom cleaner may suit ceramic tile but still be unsuitable for your acrylic finish.
Check the condition before washing
Look across the dry panel in good light. Notice loose edges, cracks, lifted sealant, an unusually soft area, or dampness returning at the base. Take a quick photo of any existing mark before cleaning. This gives you a useful comparison and helps avoid mistaking old damage for dirt that should scrub away.
Do not press on a panel that moves or bows, and do not use it as a handhold while getting down to floor level. If the panel is loose, cracked, or leaking, pause and contact the installer or landlord. Cleaning the visible face cannot solve a fitting or plumbing problem.
Choose a Gentle Cleaning Kit
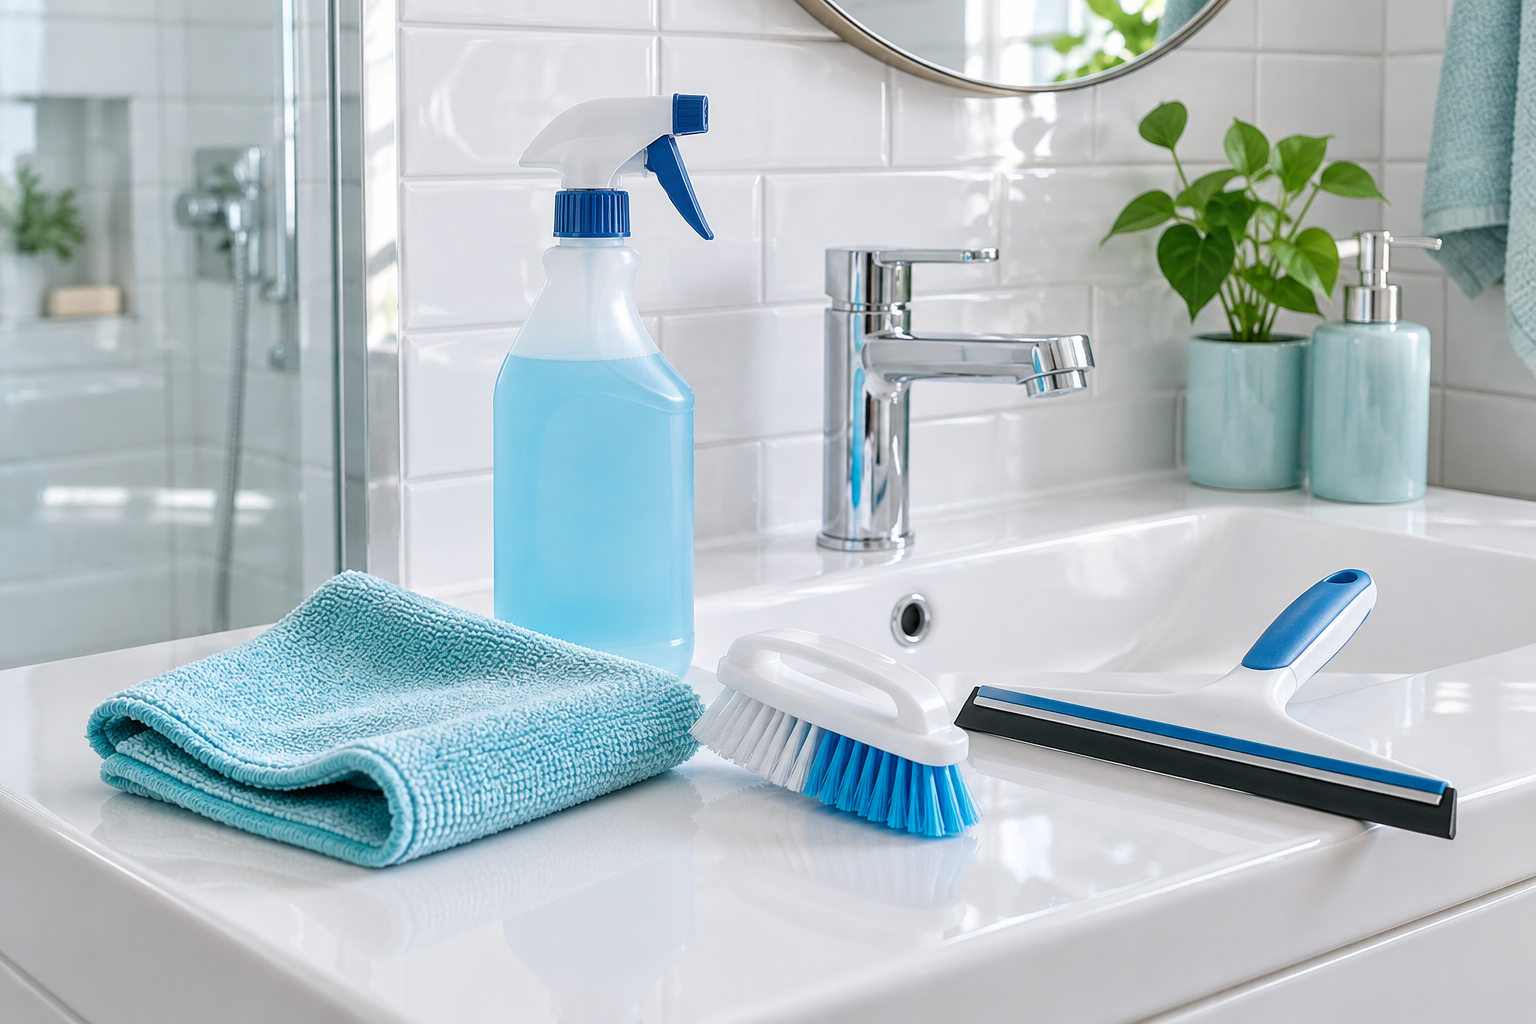
Keep the kit small: several clean soft cloths, a small container of comfortably warm water, the cleaner approved for your panel, and a separate soft drying cloth. A nonabrasive sponge is an option only if the panel maker permits it. Use label-recommended gloves and ventilation when applying a cleaning product.
Choose a cloth without stiff trim, hard labels, dried product, or trapped grit. Keep it separate from the cloth used on the bathroom floor. A cloth that feels soft can still drag a grain of sand across a glossy panel. Rinse it thoroughly or change to a clean cloth as soon as it collects debris.
R.T. Large’s panel aftercare guidance recommends a wash, rinse, and soft-cloth drying routine for its acrylic panels. The maintenance section of this acrylic panel fitting guide also specifies soft tools and warns against abrasive ingredients. These are useful examples of gentle care; your own panel’s instructions remain the deciding factor.
Check both sets of instructions
The panel guide and the cleaner label must agree. If either rules out the use, choose something else. Where both permit it, test the cleaner on a small inconspicuous accessible patch, rinse, and allow it to dry before assessing the finish. A patch test cannot make a prohibited cleaner suitable.
Do not assume that a homemade recipe is gentler. Abrasive powders and pastes can dull a gloss finish. Acetone, paint remover, and other solvents may damage acrylic. Avoid scouring pads, stiff brushes, scraping blades, and melamine erasers unless the exact manufacturer explicitly approves the particular treatment. A product marketed as non-scratch still needs to be suitable for this panel.
Skip steam cleaning, very hot water, and powered scrubbing for this routine. Keep hair dye, nail-polish remover, and other bathroom chemicals away from the face. Never mix cleaners. Do not combine bleach with acids, vinegar, ammonia, or other products, or layer products onto a mark while the previous one is still present.
Set yourself up comfortably
Clear loose toys, bottles, and mats from your working space. Keep the floor dry and wear footwear with a secure grip. Use a stable low stool if it suits your mobility, rather than squatting awkwardly for the whole job. Bring the small cleaning container within reach without blocking the walkway. Ask for help with any area you cannot comfortably reach.

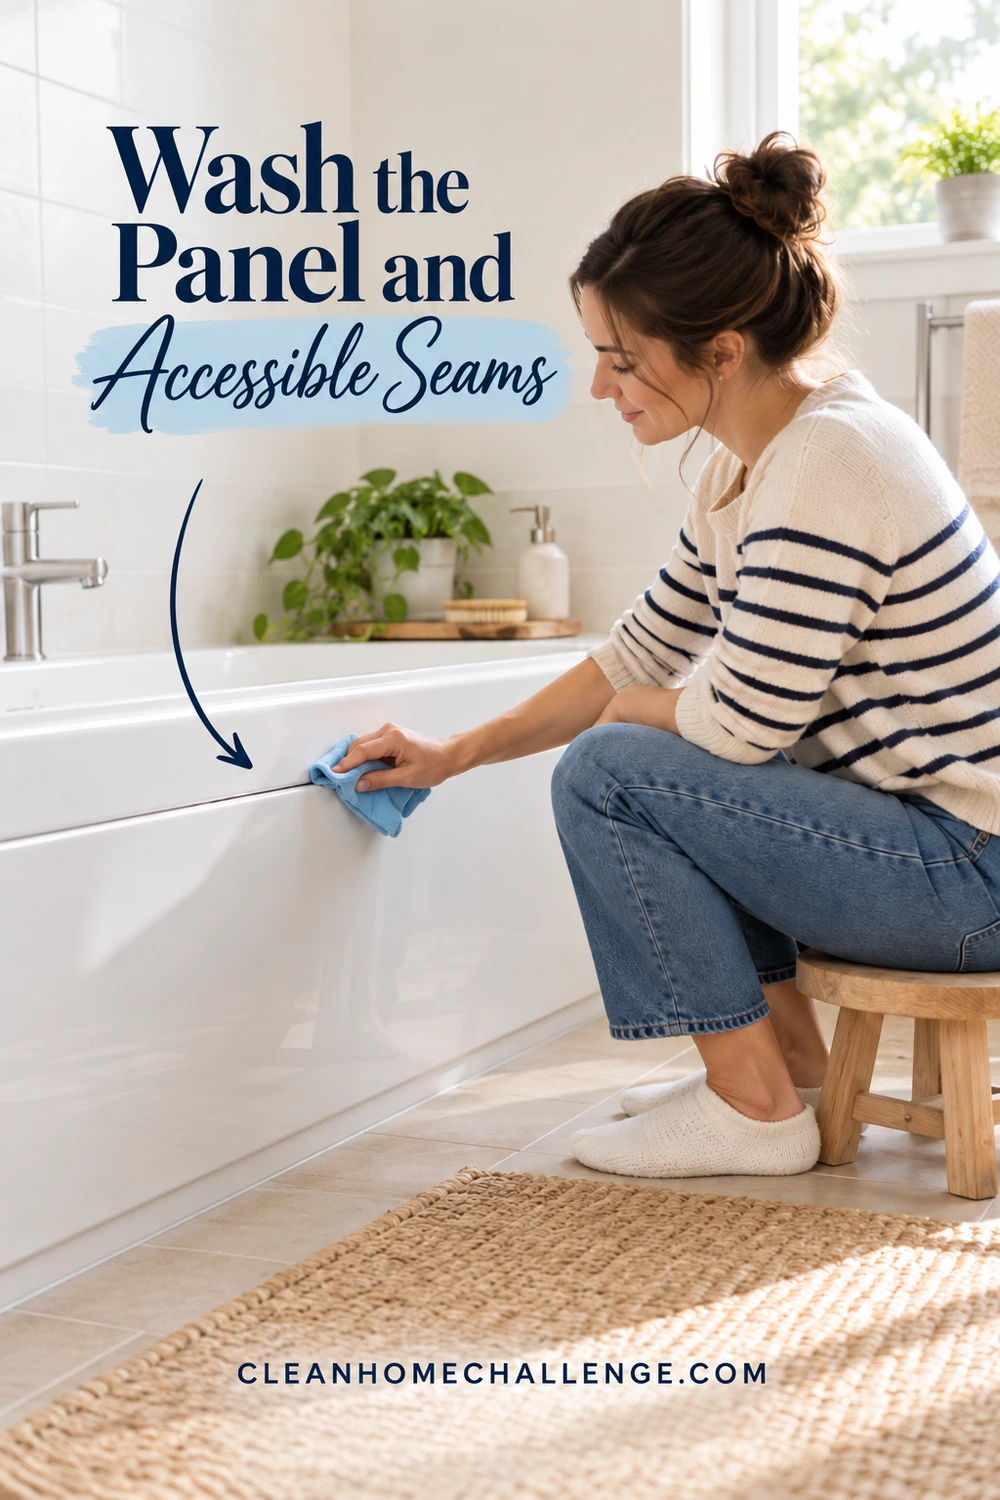
Wash the Panel and Accessible Seams
Work on the visible exterior only. Leave clips, screws, seals, and plumbing alone. A panel that can be removed for servicing does not need to be removed for this clean.
- Lift loose dust and hair. Use a clean soft cloth with light contact. Lift visible particles away rather than grinding them along the face. Change to a clean cloth if the first one picks up grit. Remove floor debris separately so it cannot transfer back onto the panel.
- Prepare the approved cleaner. Follow its dilution and application directions. If the care guide permits warm soapy water, use a mild liquid soap in the amount it recommends. Do not invent a stronger concentration for a stubborn area. Keep your water comfortably warm, never boiling.
- Wash a small section gently. Use a damp cloth that is not dripping. Apply the product only as the label permits, controlling spray so it does not enter gaps or land on nearby finishes. Use light overlapping passes and refresh the cloth as it becomes dirty. Do not lean your body weight against the panel.
- Remove cleaner with clean water. Use separate clean damp cloths to lift the residue. Rinse and wring them out frequently. Repeat until there is no visible soapy film. Do not pour a jug of water over a fitted exterior panel or spray a shower hose into its joints.
- Dry the face and reachable edges. Use the soft drying cloth without force. Wipe any drips from the adjacent floor and leave the area dry before replacing mats or letting children back into the work space.
There is no universal soaking time. Some cleaners must be removed promptly; others specify a short dwell time. Follow the approved product and panel guidance together, and do not leave cleaner to dry on the surface.
Clean seams without opening them
Fold a clean damp cloth to make a soft edge and wipe the exposed seam gently. Then use a dry cloth on the same reachable edge. Do not force a brush, blade, card, or fingernail behind the panel or into sealant. Do not pull out a seal to get at a dark line.
A little residue on the exposed face may wipe away. Persistent discoloration inside sealant, an open joint, or moisture returning after drying needs a different response. Leave it intact and ask the installer or landlord about inspection. Avoid coating the problem with a fresh sealant bead without finding out why it is damp.
A small-section plan for busy days
If you have only a few minutes, clean the exposed splash marks you can comfortably reach, remove the cleaner, and dry that section completely. Finish the rest another day. Do not start a whole-panel chemical treatment that you cannot finish within its directions. A short completed section is more useful than product left sitting while family life interrupts.
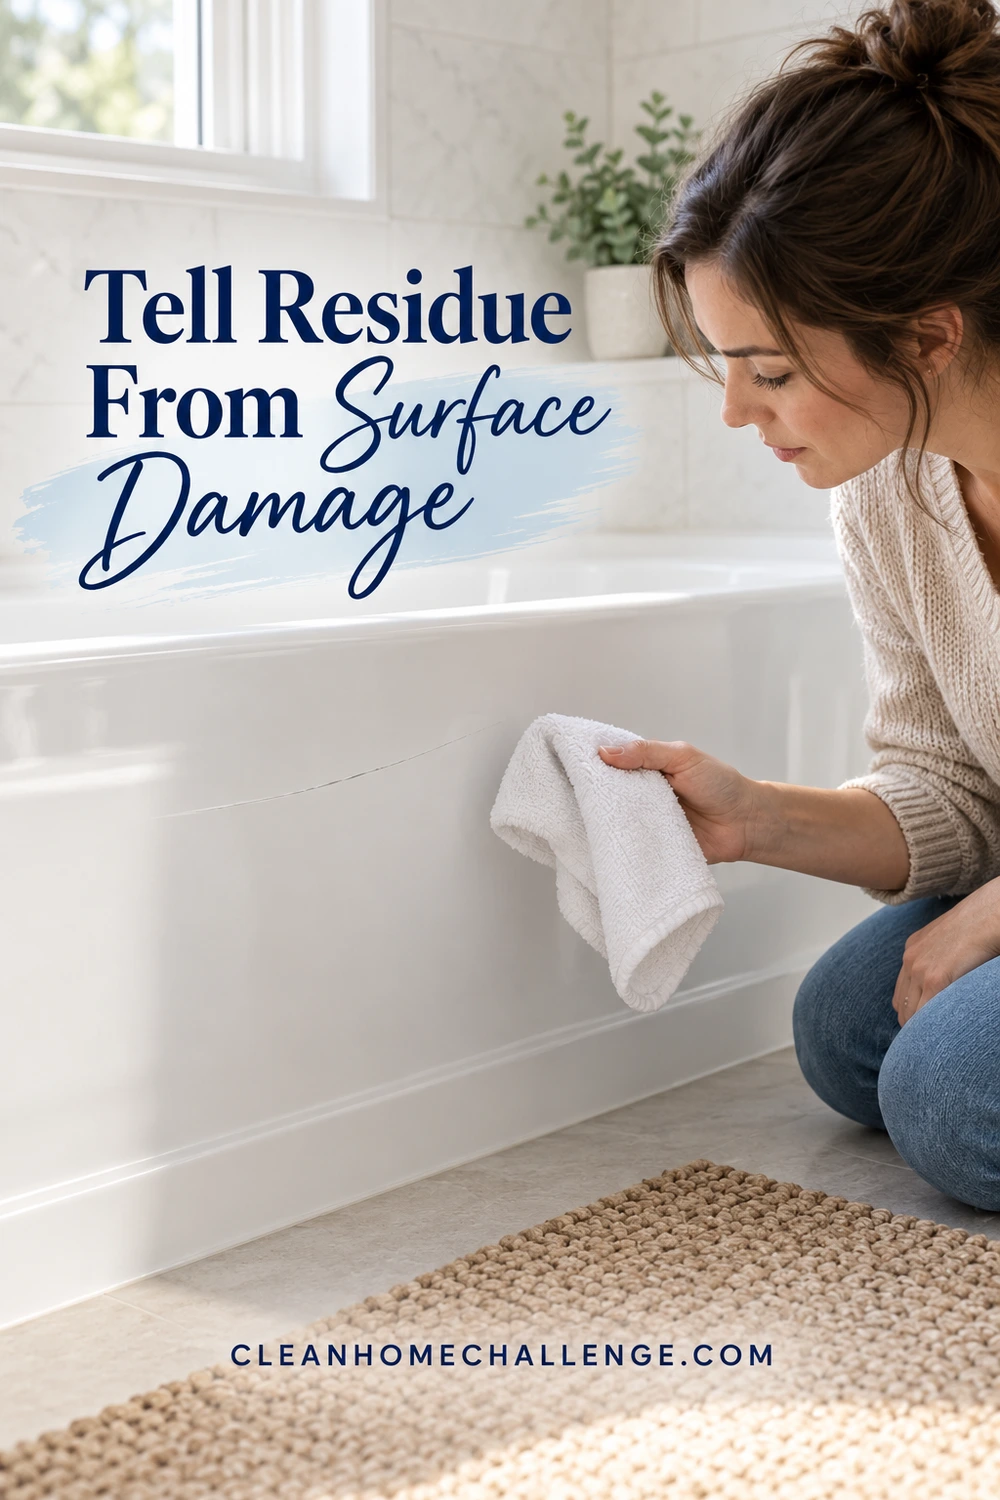
Tell Residue From Surface Damage
Check the panel again once it is dry. Wetting a surface can temporarily disguise a dull patch, so judge the finished result in the same light as your starting photo. The table below helps you choose the next step without diagnosing the material from appearance alone.
| What you notice | What it might be | A sensible next step |
|---|---|---|
| Streaks that change after a clean-water wipe | Leftover cleaner or moved soil | Use a fresh damp cloth, then dry; reduce excess cleaner next time. |
| A chalky or raised splash mark | Mineral deposit or dried product | Check the model’s approved deposit treatment before using a descaler. |
| A line that stays after gentle cleaning | Scratch, stain, or finish change | Stop rubbing; photograph it dry and ask the maker. |
| A cloudy area that grows with scrubbing | Possible surface damage | Stop using that tool or cleaner and seek care advice. |
| A crack, moving edge, or recurring wet patch | Possible fitting, seal, or leak issue | Keep pressure and added water away; request inspection. |
These observations are clues, not a guarantee of what caused a mark. Do not run a sharp object over it to test the depth. If a mark does not respond to the permitted routine, repeating the same rubbing with more force risks creating another problem.
Can you use vinegar or a limescale remover?
Only when the exact panel’s care instructions and the product label permit that use. Different makers allow different treatments, concentrations, and contact times. Permission for one acrylic bath does not transfer to every acrylic panel, its coating, sealant, or nearby metal fittings. Keep an unapproved descaler off the panel rather than trying a stronger mix in a hidden corner.
Can you polish out a scratch?
Some makers publish model-specific repair procedures, but routine cleaning and surface repair are different jobs. Do not choose toothpaste, car polish, sandpaper, wax, or a powered buffer based on a general online tip. Ask the panel supplier for the correct repair method, a qualified repairer, or a replacement option. This is especially useful for coated, colored, repaired, or rented panels.
What if the panel is yellowed or stained?
After one careful approved clean, take a dry comparison photo and ask the manufacturer what the discoloration means for that material. Do not promise yourself that bleach, peroxide, or stronger scrubbing will restore the original color. A finish change may not be removable soil, and an unsuitable chemical can make it worse.
Keep the Panel Clean With Less Work
The easiest routine is to deal with drips while they are still fresh. After bath time, notice the exterior panel as well as the inside of the tub. Remove visible soap or shampoo splashes using the permitted method, then dry. Keep bottles somewhere stable so their contents cannot collect against the panel or along its lower edge.
Add a brief panel check to your regular bathroom session. Tuesday’s bathroom routine is a practical place for CHC families to include it, but choose the day that works for your household. There is no fixed frequency that suits every bathroom; use visible splashes, dust, and the maker’s care advice to guide you.
Copyable panel-care card
Save this card with your bathroom routine, or copy it into a document to print.
- Panel maker and model: __________
- Confirmed material or coating: __________
- Care-guide link or saved photo: __________
- Approved cleaner and dilution, if relevant: __________
- Approved cloth or sponge: __________
- Product-specific contact time and rinsing instructions: __________
- Normal clean: lift grit → gentle wash → clean-water wipe → soft dry.
- Edges: wipe only what is exposed; keep water out of gaps.
- Stop signs: cracks, movement, spreading dullness, or dampness that returns.
- Who to contact about damage or installation: __________
The five-minute check-and-finish list
Use five minutes as a starting slot, not a deadline for a chemical treatment. If the approved method needs longer, give it that time or choose another moment.
- Confirm that the panel and seams look intact.
- Set out clean soft cloths and the permitted cleaner.
- Lift grit before washing.
- Wash only the area you can finish safely today.
- Remove the cleaner, dry the panel, and wipe the floor.
- Put products securely away and note any mark that needs advice.
You do not need to chase every old mark to have a well-cared-for bathroom. Keep the routine gentle, stop when a mark needs a different kind of help, and let small regular checks do the work between deeper cleaning sessions.
CLEANERS CLUBHOUSE
Take the Guesswork Out of Bathroom Cleaning
Use Tuesday as your bathroom reset day and work through the job in a sensible order. Inside the Cleaners Clubhouse, you’ll find practical routines, printable support and challenges that make deeper cleaning easier to manage.