
THIS POST MAY CONTAIN AFFILIATE LINKS. PLEASE READ MY DISCLOSURE FOR MORE INFO.
That little ring under an electric toothbrush head is easy to overlook. You rinse the bristles, put the brush back, and get on with the morning. Then one day you lift off the head and find dried toothpaste around the top of the handle.
To clean an electric toothbrush handle safely, switch it off, remove the head as its instructions describe, and clean the accessible collar with the method approved for that model. Use gentle wiping rather than digging around the seal, then dry the parts before putting them back together. The charging base needs its own care instructions.
This is a small maintenance job, not a reason to deep-clean the whole bathroom. Set aside a few unhurried minutes for a light clean, with extra time for drying. If the head is stuck, the seal looks damaged, or the handle behaves unusually, stop at the checks below rather than forcing your way through.
Disclosure: This post may contain affiliate links. As an Amazon Associate, Clean Home Challenge earns from qualifying purchases. If you make a purchase through these links, we may earn a small commission at no extra cost to you. This helps us keep creating practical cleaning tips, routines and resources for busy families! 🧽
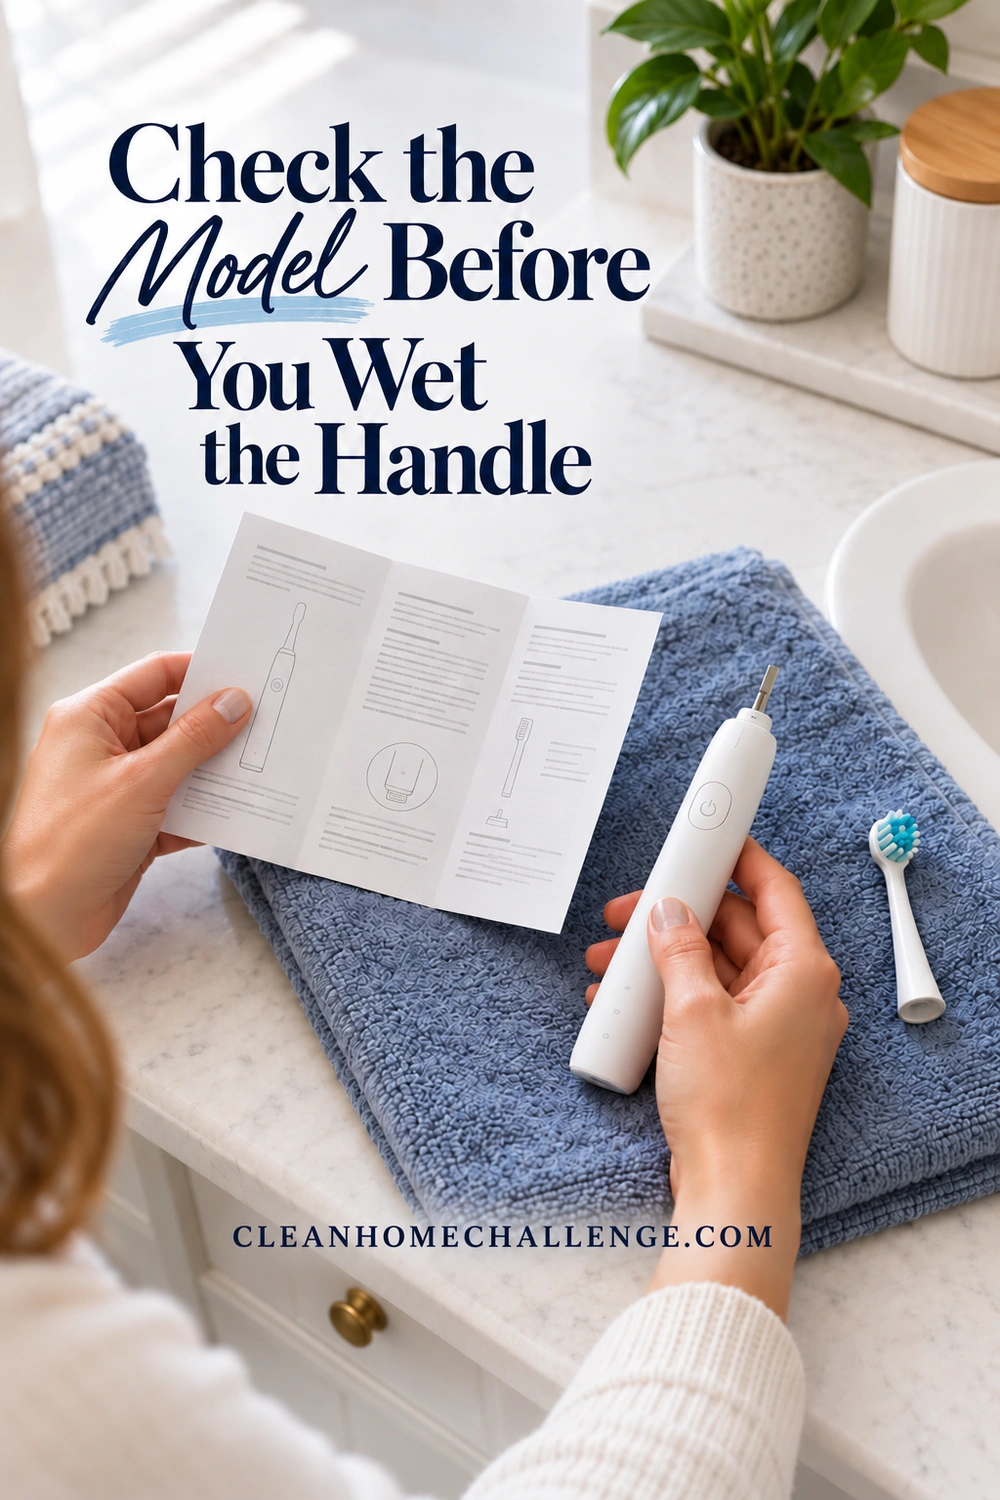
Check the Model Before You Wet the Handle
Find the instructions for the brush you actually own
Start with the model number on the handle, packaging, or saved receipt. Look up that exact model on the manufacturer’s support site. A household can have several brushes that look similar but have different connections and care requirements. Instructions for one rechargeable brush do not automatically apply to a battery-operated version, a travel case, or a charging glass.
Check three things: how the brush head detaches, which surfaces may be rinsed, and how the charger is cleaned. Save the manual link so you do not need to repeat the search next bathroom day. If you cannot confirm whether the handle is rinse-safe, do not experiment with running water; use the maker’s support service to establish the permitted method first.
For example, Philips’ Sonicare cleaning guidance describes removing the head, rinsing the exposed metal shaft area, and wiping the handle. That is guidance for the listed Sonicare models, not permission to rinse every electric toothbrush. Follow the instructions supplied with yours if they differ.
Know which part you are cleaning
Here, the collar means the accessible top edge of the handle around the brush-head connection. On some brushes you will see a metal shaft with a rubber seal around its base. The detachable brush head fits over or onto that connection. Its removable status does not make the seal, drive shaft, or outer handle casing removable.
You are lifting residue from an outside surface. You are not opening the motor housing, pulling out a seal, or servicing the battery. Leave screws, seams, and battery compartments alone unless the user manual explicitly gives an ordinary maintenance step for that part.
Set up a small, clean work area
Move the handle off its charging base and switch it off. Put a clean towel on a dry section of counter, away from the edge of the sink. Keep the charger out of the rinsing area. If you are cleaning the charger too, unplug it with dry hands before following its instructions.
You usually need a soft clean cloth, another dry cloth, and access to the water permitted by the manual. Keep a household grout brush or toilet-cleaning cloth well away from toothbrush parts. There is no need to turn a personal-care item into a project with several bathroom chemicals lined up beside it.
For a busy morning, the useful first step is simply to find the correct instructions and gather a clean cloth. Save the closer collar check for a moment when you can work without rushing.
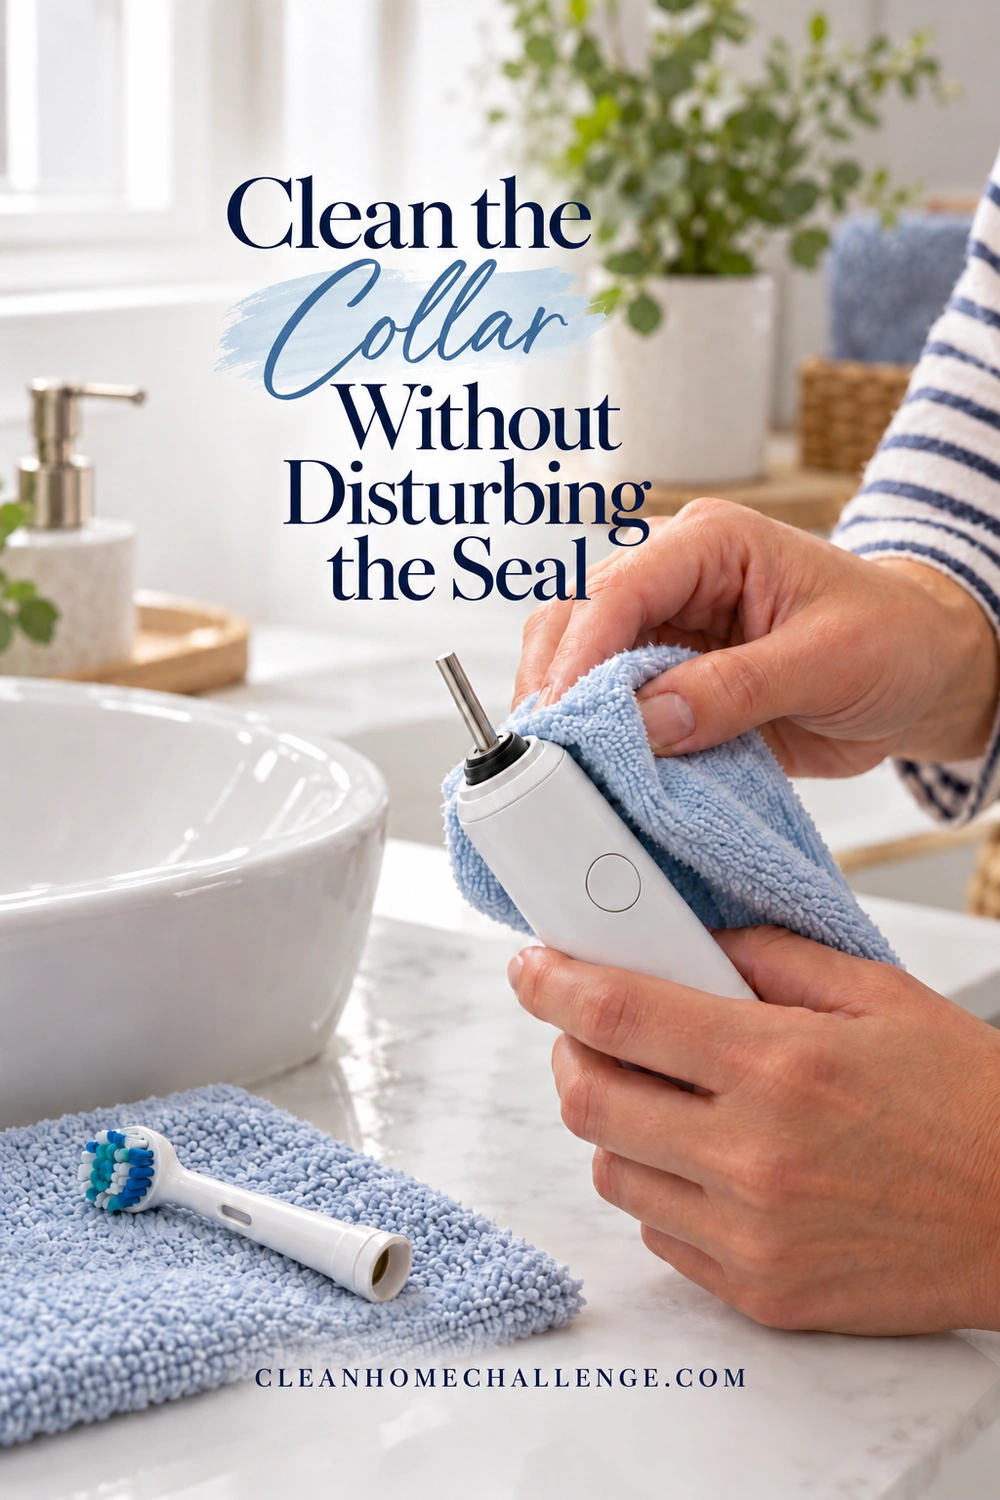
Clean the Collar Without Disturbing the Seal
Remove the head gently
Follow the attachment directions for your brush: some heads pull off, while other designs use a different fitting. Hold the handle securely and remove only the intended detachable part. Do not use pliers, lever against the collar, or twist harder because a video showed a different brush coming apart that way.
Place the head on the clean towel, with its bristles clear of the counter. If several people share the bathroom, work on one person’s parts at a time so you do not mix up heads. If ordinary removal does not work, consult the manufacturer’s stuck-head guidance or support team.
Work around the accessible edge
- Look before wiping. In good light, identify visible toothpaste residue and the edge of the seal. Notice anything that looks split, loose, or distorted before adding water.
- Use the approved method. If the manual permits a rinse of the connection, follow that instruction. Otherwise use the specified wiping method. Keep the charger separate throughout.
- Lift softened residue with a soft cloth. Use a fresh area of the cloth as it picks up paste. Fold the cloth to reach the exposed collar without forcing it beneath the seal.
- Repeat gently if needed. A second light pass is preferable to more pressure. If a deposit will not lift within the allowed method, stop and ask the maker which cleaner, if any, is compatible.
- Clean the removable head as directed. Its underside can collect residue too. Keep any rinse or wipe within the head’s care instructions, then set it aside for drying.
Philips specifically warns against using sharp objects on the rubber seal or buttons. A needle, metal pick, knife tip, or pin is not a useful shortcut here. Avoid pushing a cotton swab or other tool into a hidden opening; this is accessible-surface cleaning, not a way to probe inside the device.
Keep the cleaner simple
Do not apply your shower spray, toilet cleaner, bleach, alcohol, vinegar, abrasive paste, or descaler to the collar unless the exact brush instructions expressly permit that product and use. A cleaner that removes deposits from a faucet can still be unsuitable for a toothbrush seal or coated handle. Do not mix products or fill the head connection with cleaning solution.
If the manual allows a mild cleanser on the exterior, use only the specified method and remove residue as directed. Plain water and a permitted cloth method should not silently become a detergent soak. The goal is a clean accessible surface, not a germ-killing claim.
Distinguish different toothbrush designs
Oral-B’s iO cleaning instructions describe separating the head and handle, cleaning them separately, and drying before reassembly. They also describe a particular rinsing sequence for that design. Do not transfer instructions about water reaching an iO connection to an unrelated handle.
Similarly, do not assume a small gap is something to scrub away or eliminate. Philips explains that a small gap is normal on the listed Sonicare models. Fit the head according to your manual rather than forcing it flush because another brand looks different.
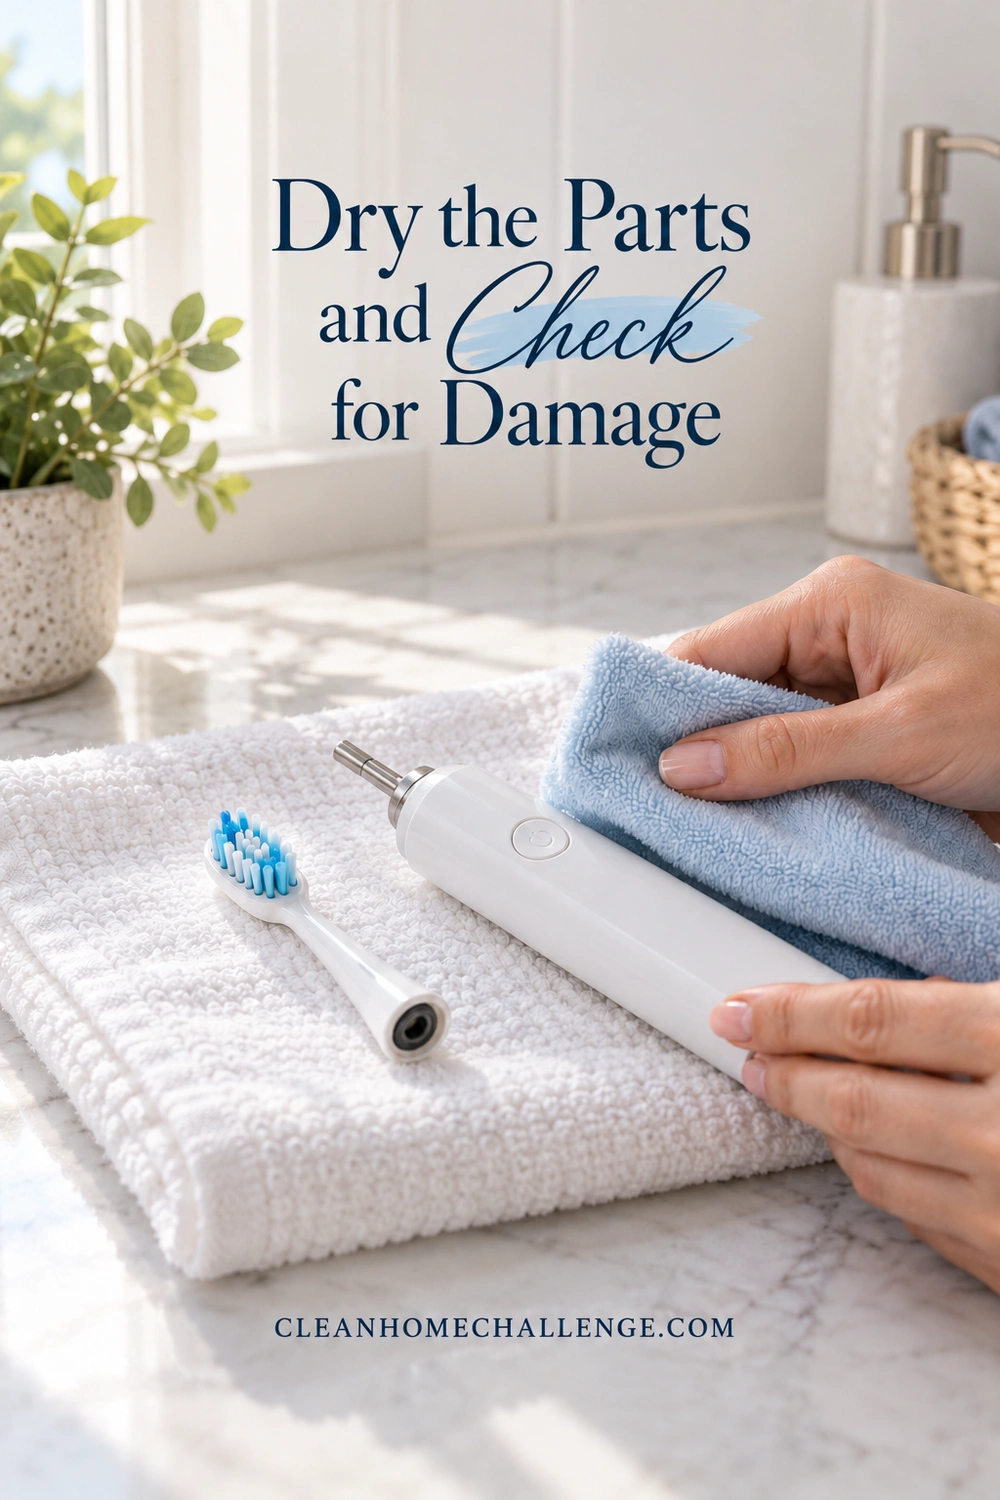
Dry the Parts and Check for Damage
Give the connection a proper finish
Remove surface moisture with a clean, soft cloth without bending the shaft or pulling the seal. Follow the maker’s drying and reassembly instructions, and leave parts with room for air circulation when directed. Do not tap the handle against the basin, use a hair dryer, microwave the parts, or place them on a heater to hurry things along.
Before replacing the head, look at the accessible collar again. If it is visibly clean, stop. Repeated scrubbing to chase a change in color can damage a surface without improving the result. Residue, wear, and damage can look similar from a distance; a persistent mark is a reason to investigate, not automatically a reason for stronger chemicals.
Use these signs as a stopping point
Pause use and contact the manufacturer if you see a torn or displaced seal, a cracked handle, corrosion at the connection, an unusually loose shaft, or evidence that liquid has entered the casing. Stop using a device that becomes unusually hot, smells burnt, or otherwise behaves abnormally. Do not try to glue the seal back, pry open the casing, or run the brush repeatedly to see whether it dries itself out.
A head that no longer fits correctly deserves a fit check with the correct compatible replacement, not improvised packing or extra force. Take a clear photo of the issue for support and have the model number ready. This article is a cleaning guide; it cannot establish whether an individual damaged electrical device is safe to keep using.
Clean the charger separately
Toothpaste can collect on the charging base too, but that does not make it part of the handle-rinsing step. Oral-B’s iO guidance calls for unplugging the charger before wiping it with a damp cloth. Follow your charger’s own instructions, allow it to dry as required, and keep the electrical connection out of water. Do not rinse a base simply because the brush handle can be rinsed.
Once the components are ready, return them to their intended positions according to the manual. Keep the counter below clean and dry. For the cup or tray beside the brush, use our separate guide to cleaning toothbrush holders and bathroom accessories; those non-electrical containers need a different approach.
Make Toothbrush Care Part of Your Bathroom Reset
Keep the everyday step small
Rinse the brush head after use as instructed and deal with fresh visible toothpaste before it dries into a ring. Wipe the handle with the permitted method and store it as the manufacturer directs. The American Dental Association’s toothbrush-care advice recommends rinsing after use, upright storage, and air drying. Avoid shutting a wet brush inside a closed everyday storage container.
You do not need to add an elaborate disinfection routine to make this habit worthwhile. Cleaning visible residue and keeping to the care instructions is a useful, achievable job. This guide makes no claim that wiping a collar sterilizes it or prevents illness.
Add a closer look to bathroom day
Use Tuesday bathroom day, or whichever day suits your household, as a reminder to inspect the collar and the base beneath the brush. Philips recommends a more detailed weekly cleaning session for the models in its guidance; follow your own model’s schedule if it differs. A weekly reminder should support the daily rinse, not replace it.
For a family bathroom, write each brush’s model and manual link on the free care card below. Tick off the allowed cleaning method once you have checked it. That saves another adult from guessing how your particular brush comes apart. Let an adult handle unplugging and electrical care; children can help clear their own non-electrical items from the counter.
Keep a model-specific reminder handy
Download the electric toothbrush collar care card (PDF). It has space to record your model, the permitted method, and the next check, plus a short stop-if-damaged reminder. It is free to use and does not require joining anything.
If you only have a little energy today, choose one brush and do the allowed after-use clean. You can check the rest on another day. Small maintenance tasks become more manageable when they are attached to something you already do, rather than added to an ever-growing catch-up list.
For more help putting those little jobs into a sensible bathroom routine, explore the Cleaners Clubhouse. The next step can be as simple as choosing a bathroom day and keeping your cloth where it is easy to reach.


CLEANERS CLUBHOUSE
Take the Guesswork Out of Bathroom Cleaning
Use Tuesday as your bathroom reset day and work through the job in a sensible order. Inside the Cleaners Clubhouse, you’ll find practical routines, printable support and challenges that make deeper cleaning easier to manage.