
THIS POST MAY CONTAIN AFFILIATE LINKS. PLEASE READ MY DISCLOSURE FOR MORE INFO.
You can wipe the bathroom sink and still find a ring of toothpaste underneath the toothbrush cup. Soap dishes collect a soft layer of leftover soap, dispensers develop sticky necks, and the little tray that keeps everything organized quietly catches every drip.
Learning how to clean bathroom accessories starts with a simple routine: empty each item, check its care instructions, clean it gently, rinse away residue, and let it dry before putting it back. The details change for wood, stone, delicate finishes, and anything electrical, but you do not need a cupboard full of strong cleaners.
Allow about 10 minutes of hands-on time for a lightly soiled set, plus drying time. A neglected holder or stubborn mineral deposit may need longer. Start with the one item you use most if that is all today allows. A clean toothbrush holder is a useful win on its own.
Disclosure: This post may contain affiliate links. As an Amazon Associate, Clean Home Challenge earns from qualifying purchases. If you make a purchase through these links, we may earn a small commission at no extra cost to you. This helps us keep creating practical cleaning tips, routines and resources for busy families! 🧽
Start With a Small, Surface-Safe Cleaning Kit
Gather what you will actually use
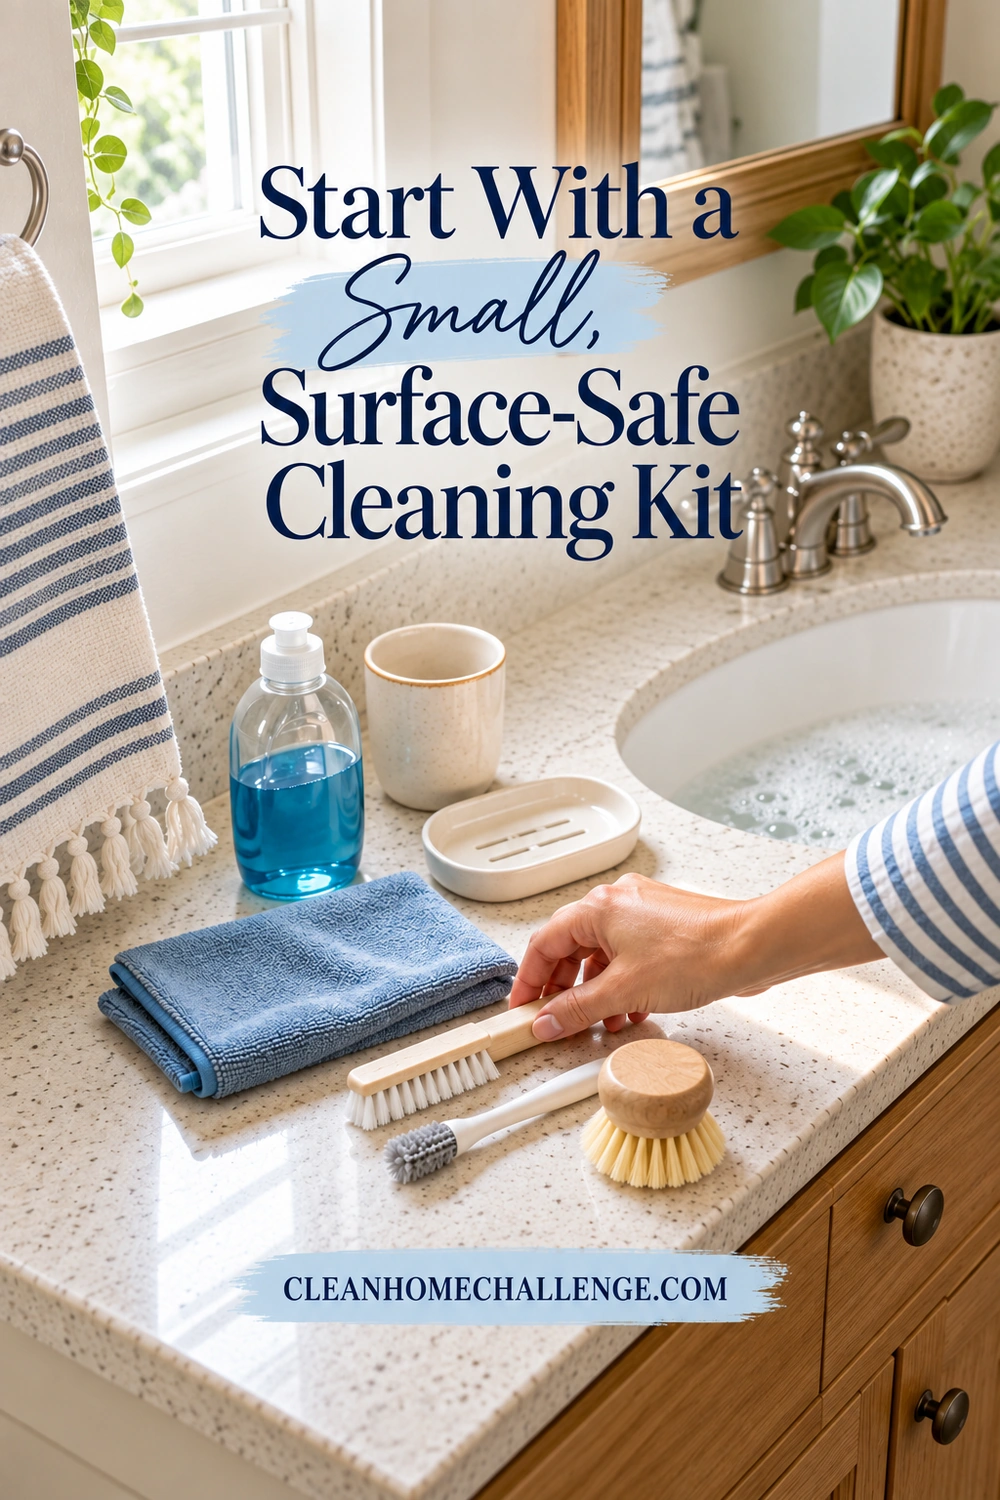
For most washable, non-electrical accessories, set out:
- Mild dishwashing liquid or the cleaner recommended for the material
- Warm water at a comfortable handling temperature
- Two clean, soft cloths, one for washing and one for drying
- A soft, narrow cleaning brush for an accessible cup interior, if its finish permits brushing
- A clean towel or drying rack for removable pieces
- Gloves if the product label recommends them or your skin needs protection
For help choosing a brush that fits without scraping, see our guide to cleaning brushes for awkward gaps and corners. Keep bathroom cleaning tools separate from toothbrushes and anything used to prepare food. Put toiletries on a clean, dry surface away from the cleaning area, with brush heads protected from splashes. Empty the sink and give it a quick clean before using it for washable accessories.
Match the method to the whole item
Check the underside, packaging, or manufacturer website. A ceramic container may also have a glued felt base, decorative coating, metal rim, or wooden lid. The most delicate component determines how you clean it.
- Glazed ceramic and plain glass: Hand-wash gently if the item allows it. Avoid sudden temperature changes, abrasive pads, and soaking pieces with cracks, unglazed bases, or attached trim.
- Plastic or acrylic: Use a soft cloth and an approved mild cleaner. Do not assume clear plastic tolerates solvents, gritty powders, or dishwasher heat.
- Metal and plated finishes: Start with the maker’s recommended mild cleaner and soft cloth, then remove residue and dry promptly. Avoid scouring pads and acidic descalers unless expressly approved for that finish.
- Natural stone: Use a compatible neutral cleaner and soft cloth. The Natural Stone Institute’s care guidance warns that acids such as vinegar and lemon can damage susceptible stone. A marble-look resin item may require different care, so identify it first.
- Wood and bamboo: Favor a lightly dampened cloth and prompt drying unless the maker says otherwise. For example, IKEA’s lacquered bamboo soap dish calls for a damp cloth, mild cleaner, and a dry cloth afterward.
If you cannot identify the finish, begin with a small, inconspicuous test and the gentlest allowed method. Do not combine cleaners. Keep products in their original containers, out of children’s and pets’ reach, and ventilate the room when labels require it.
Clean Toothbrush Holders Inside and Out
Empty and open the holder
Remove every toothbrush and toothpaste tube. Lift out dividers, drip trays, or sleeves only when they are designed to come apart. Check the bottom of each compartment, the underside of the rim, and the rubber feet. These are easy places to miss when you only wipe the outside.
If the holder is wall-mounted, follow its removal instructions. Leave fixed or adhesive-mounted parts in place unless the manufacturer permits removal. Avoid flooding seams, fixings, or the adhesive backing.
Wash the parts you can reach
- Remove loose residue. Tip out collected water. Use a damp cloth to lift softened toothpaste and debris rather than pushing everything into a tiny drainage hole.
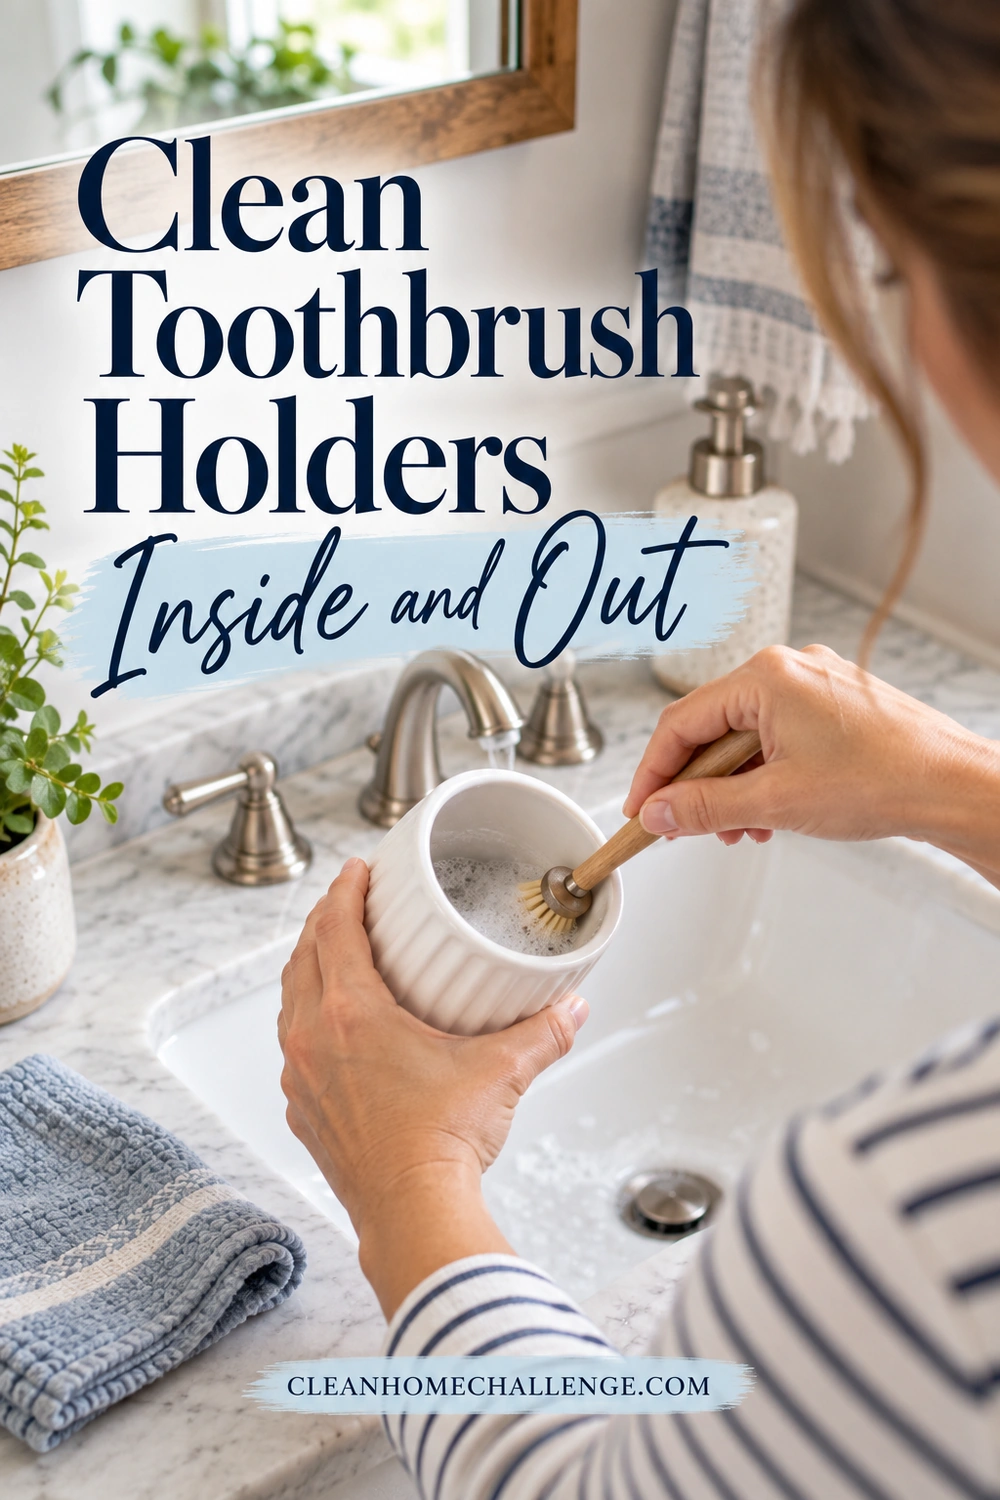
- Wash compatible parts. Apply warm water and a little mild dishwashing liquid with a soft cloth. Work around the lip, down the walls, and across the bottom. On a finish that allows brushing, use a soft bottle brush narrow enough to reach without scraping.
- Give dried toothpaste a gentle second pass. Hold a damp cloth against the spot briefly if the material permits it, then wipe again. Avoid knives, metal picks, and aggressive scraping.
- Clear removable details. Wash dividers and drip trays separately. Use the cloth edge around feet and seams without prying off glued components.
- Rinse and inspect. Rinse washable parts thoroughly. For wipe-only surfaces, remove cleaner with a fresh damp cloth as the care instructions allow. Look into the bottom under good light before drying.
- Dry before reassembling. Drain open pieces in a position that lets air circulate. Dry the outside and base, and wait until hidden channels and joints are dry before closing them up.
A brush that cannot reach the base will not solve a narrow, inaccessible design. Do what the instructions allow rather than forcing a tool through it. If residue stays trapped, consider a holder that opens fully or has a removable insert when replacement becomes necessary.
Can a toothbrush holder go in the dishwasher?
Only if its manufacturer explicitly says it is dishwasher-safe, including any removable parts. Follow the approved rack position and cycle, and hand-wash anything excluded. Even a sturdy-looking plastic holder may be hand-wash only: Joseph Joseph’s EasyStore holder specifies washing and drying by hand.
Dishwasher permission for the holder does not apply to the toothbrushes. The American Dental Association’s toothbrush guidance advises against putting toothbrushes in a dishwasher or microwave because heat can damage them. Rinse toothbrushes after use, store them upright, and let them air-dry. Give each brush room so its head does not rest against another, and avoid closing a damp brush inside an everyday storage case.
Lift Soap Buildup From Dishes and Dispensers
Start with the soap dish
Move the bar to a clean, dry surface. Lift out a removable insert and empty any collected water. Wipe away the soft, loose layer of soap first; this makes the rest of the cleaning less slippery.
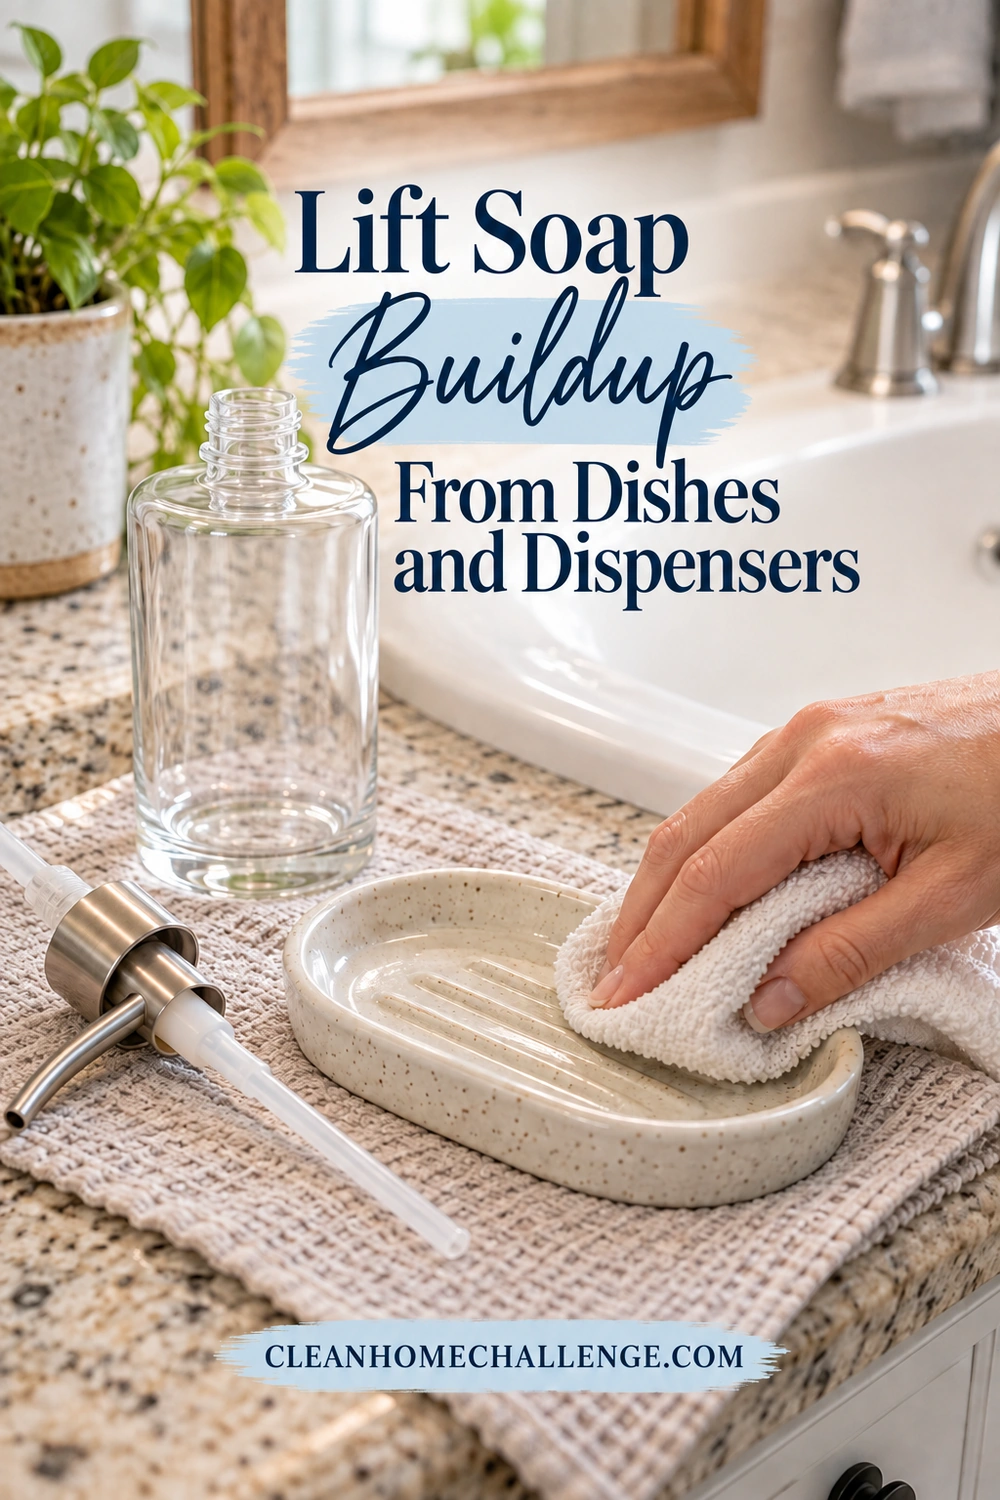
Wash compatible dish surfaces with mild soapy water and a soft cloth, including ridges and the underside. Work slowly around grooves. A soft brush can help on a durable finish that permits it, but use the cloth edge on delicate coatings. Rinse thoroughly and dry the dish and insert before reassembling.
Check that drainage openings are clear. Set the dish so water can leave the soap rather than collect beneath it, and empty a catch tray when needed. The Joseph Joseph Slim soap dish, for example, separates for cleaning but still requires hand-washing and drying. Removable does not automatically mean dishwasher-safe.
For bamboo, wood, or stone, use the material-specific method instead of leaving the whole dish in a sink of water. A little extra wiping is preferable to a long soak the finish cannot tolerate.
Clean the dispenser outside, then plan the refill
You can wipe a dispenser’s exterior during the weekly reset without emptying usable soap. Clean the pump head, neck, bottle, and base with the appropriate cloth-and-cleaner method, remove residue, and dry. If soap has dried around the nozzle, soften the visible deposit with a damp cloth. Do not push a pin or sharp tool into the mechanism.
When a refillable dispenser is empty:
- Check the instructions for the bottle and pump separately.
- Remove the pump without forcing or dismantling sealed components.
- Wash the compatible reservoir, neck, and threads, then rinse thoroughly.
- Clean or flush the pump only as its manufacturer directs. Do not assume every pump can be soaked or run with water.
- Drain and let the parts dry fully before refilling with the recommended soap.
- Reassemble, check for drips, and wipe the base before returning it to the counter.
Avoid repeatedly adding fresh soap over leftovers. The CDC’s clinical hand-hygiene guidance specifically warns against topping off soap dispensers in healthcare settings. For a household refillable bottle, letting it empty and following its cleaning instructions is a sensible, manageable habit. This is a maintenance recommendation, not a claim that a particular home dispenser is contaminated.
Do not dilute ordinary liquid soap to stretch it or mix different products unless the soap and dispenser instructions explicitly call for that formulation. A purpose-built foaming dispenser can have its own directions.
Handle stubborn white deposits carefully
A chalky ring may need a material-approved mineral-deposit remover rather than more dish soap. Identify the surface and finish, choose a compatible product, and follow its exact directions. Protect the countertop too: a cleaner allowed on plain glass may damage the stone underneath it. Rinse away the first cleaner before changing products, and never mix them. If a mark remains smooth and dull after cleaning, stop scrubbing; it may be finish damage rather than removable buildup.
Wipe Trays, Tumblers and Small Accessories
Clear one small zone at a time
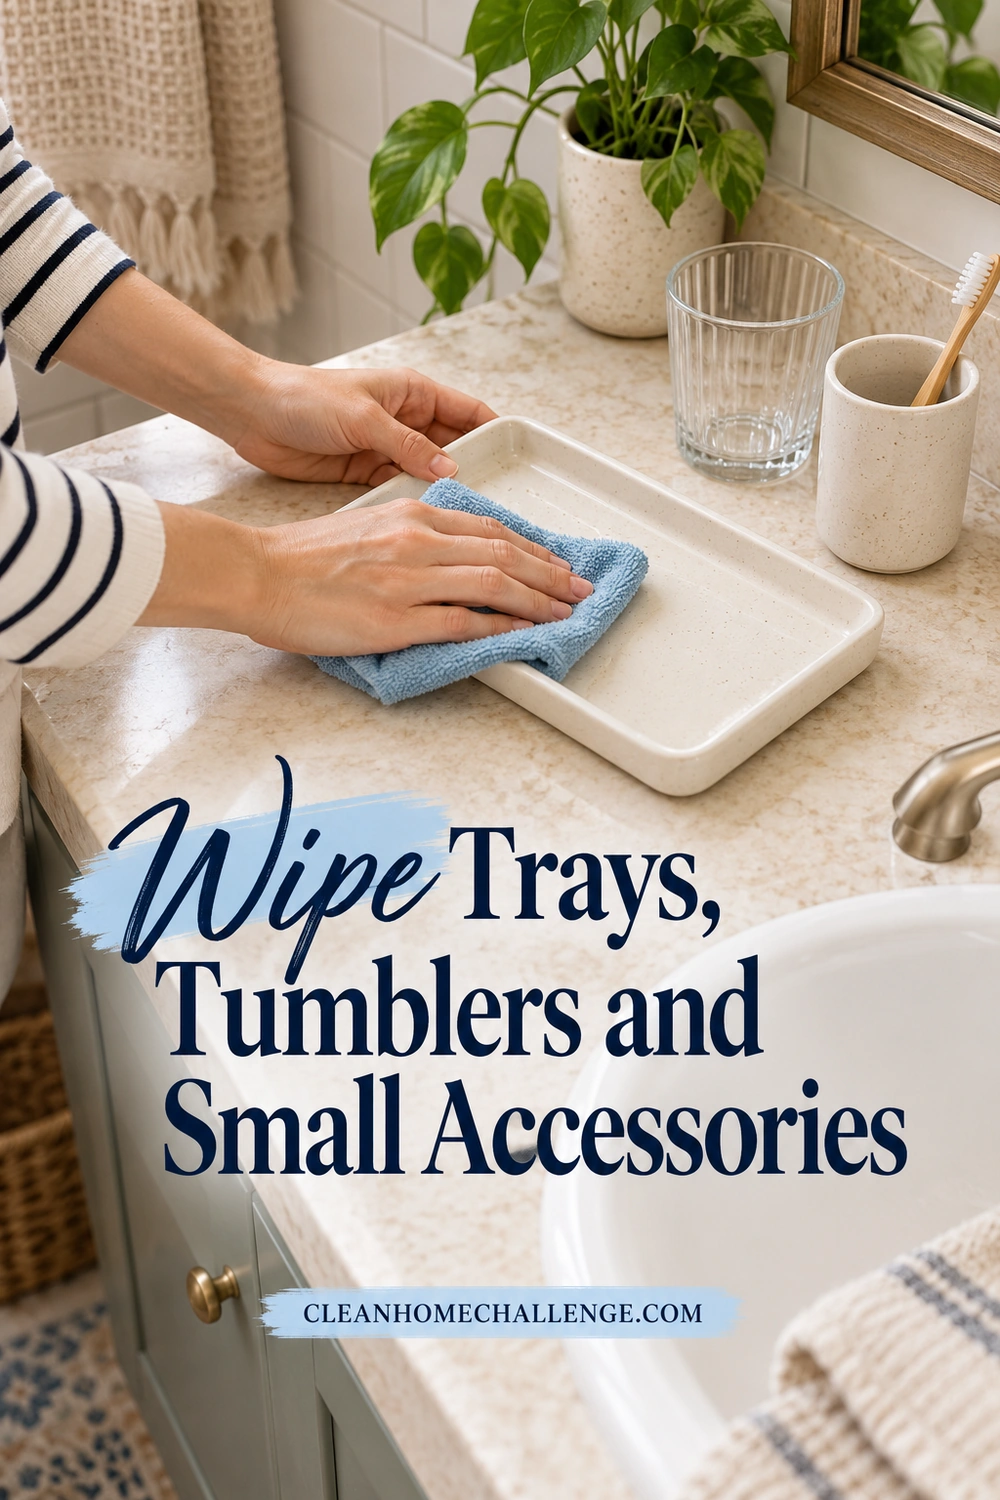
Lift everything off the tray instead of working around bottles. Throw away empty packaging, move spare products to their usual storage, and return only what belongs at the sink. You do not need to reorganize the entire bathroom to make this corner easier to wipe.
Remove hair and dry dust first so you are not spreading them around in a wet film. Clean the tray according to its material, paying attention to corners, handles, and the underside. Wipe the bottle bases and the counter below, then let both dry before putting the tray back. Trapped moisture underneath an otherwise clean accessory is easily overlooked.
A small gap between items makes future cleaning simpler. Avoid packing a tray so tightly that you cannot lift the toothbrush holder or reach a soap spill without unloading everything.
Treat drinking cups and storage cups differently
If a tumbler is used for rinsing or drinking, wash it after use according to its care instructions and let it dry. Do not wait for the weekly accessory reset to clean a used drinking cup. Keep that cup separate from the container holding toothbrush handles or cleaning tools.
For a storage-only cup, empty it during the reset and inspect the bottom. Use the toothbrush-holder method if it is washable, or the appropriate wipe-only method for its finish. A removable liner needs cleaning too. Dry the liner and outer container separately so moisture does not stay between them.
Wipe the exterior and lid of jars used for cotton pads or similar supplies. Keep the contents dry and clean. If the jar itself needs washing, empty it onto a clean, dry surface and do not refill it until it has dried completely. Replace supplies that have become wet or visibly soiled rather than returning them to the jar.
Keep electrical accessories out of the wash water
An electric toothbrush handle, charging base, illuminated mirror, or automatic soap dispenser needs its own manual. Water-resistant does not mean that every component can be submerged.
Unplug a charger before cleaning, with dry hands, and follow the instructions for its model. Philips’ Sonicare manual gives an example: unplug the charger and wipe its surface with a damp cloth. Do not immerse electrical bases or rinse them under the faucet. Keep moisture away from plugs and connections, and allow the equipment to dry as directed before reconnecting.
Automatic dispensers vary as well. Simplehuman’s sensor-pump support directs users to clean certain exterior areas with a damp cloth. Follow the exact model’s reservoir-cleaning instructions rather than applying the manual-bottle steps above.
Know When to Disinfect or Replace an Item
Make cleaning the normal starting point
Cleaning removes dirt and residue. Sanitizing reduces germs to levels defined as safe by public-health standards; disinfecting uses a suitable product to kill germs specified on its label. These are different processes. A shiny holder has been visibly cleaned, but its appearance cannot prove it has been disinfected.
The CDC’s household cleaning guidance says regular cleaning is generally enough for ordinary home care. Additional disinfection may be appropriate when someone is sick or has a weakened immune system. Follow condition-specific advice when needed rather than using this routine as a substitute.
If disinfection is appropriate, clean first. Choose an EPA-registered product labeled for the item, material, and intended use; follow its wet contact time, protective-equipment instructions, ventilation requirements, and any required rinse. Do not apply a surface disinfectant to toothbrushes or oral-contact items unless its labeling specifically permits that use. Never mix cleaning products, and keep children and pets away while you work.
Look for damage you cannot clean away
Inspect accessories when they are empty. Consider replacing a damaged part or retiring the item if you find:
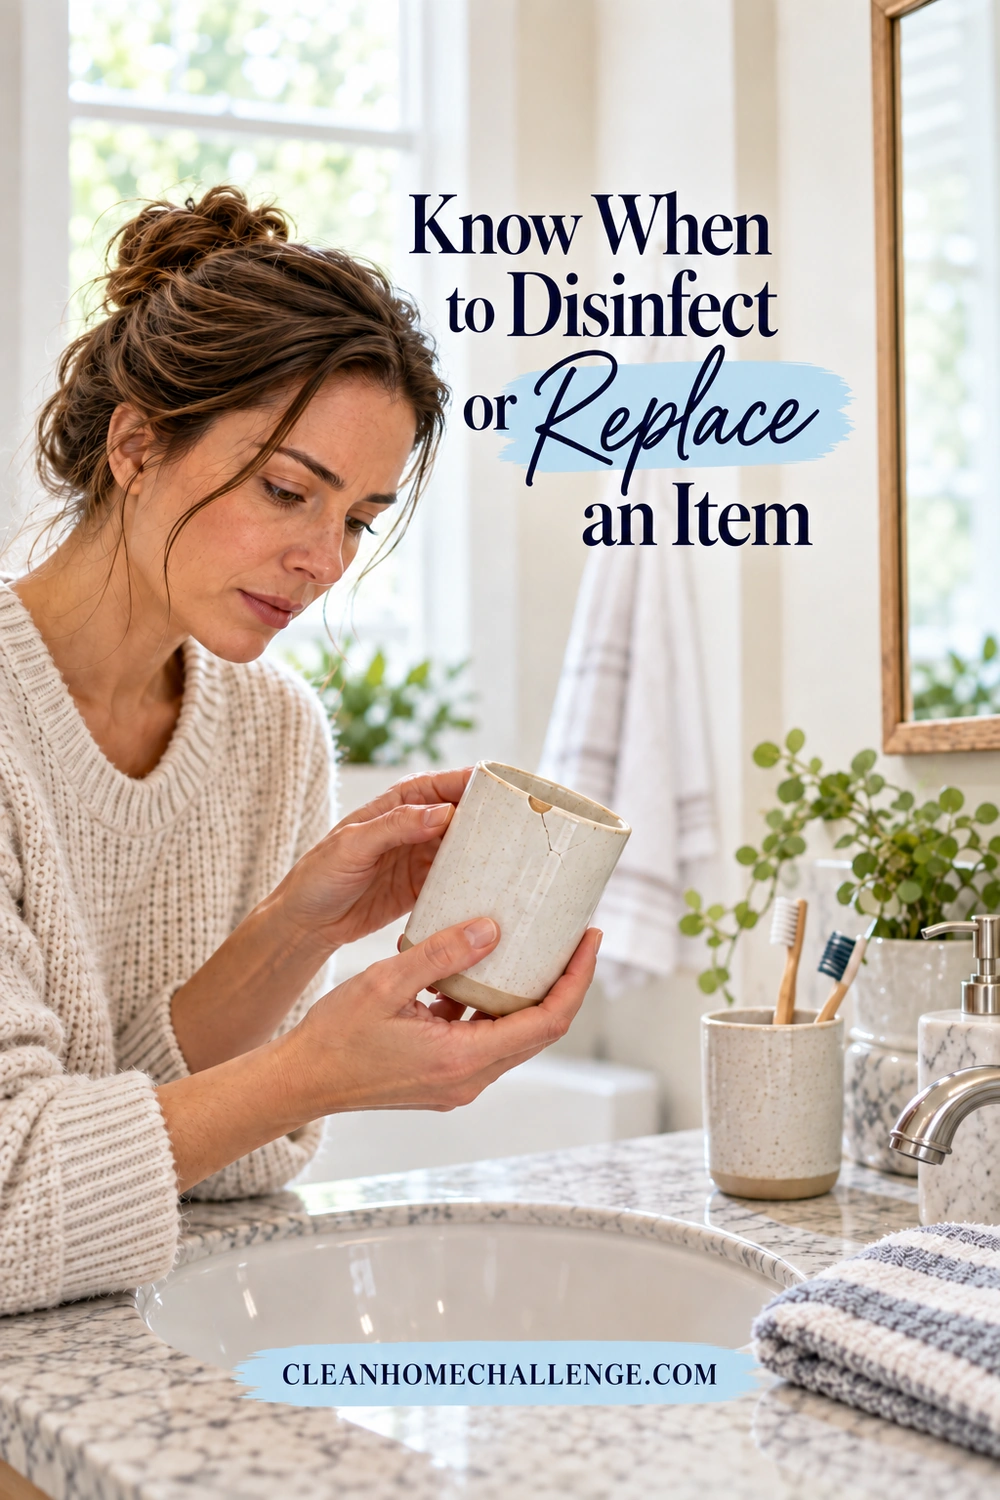
- Cracks, chips, or sharp edges where mouths or hands may touch
- Peeling coatings, splintering wood, or corroded areas that keep flaking
- A broken insert or unstable base that no longer holds brushes securely
- Residue trapped inside a sealed cavity you cannot clean as directed
- Persistent visible growth or odor that returns after appropriate cleaning and complete drying
These are practical decision points, not proof of a specific health hazard. Do not identify mold or bacteria by color alone. Stop using a damaged electrical accessory and contact the manufacturer rather than attempting a wet repair.
Before replacing an otherwise sound holder, check whether you can buy its removable tray or insert. If you need a new item, prioritize a wide opening, accessible corners, good drainage, and clear care instructions. A simple cup you can clean properly may fit your routine better than an elaborate organizer with unreachable channels.
Keep Accessories Cleaner With a Weekly Reset
Add these pieces to Tuesday’s bathroom routine
Tuesday is bathroom day in the Clean Home Challenge weekly rhythm. Use it as a reminder to lift the small things that are easy to wipe around. Weekly is a practical starting point, not a rule to wait for if you see toothpaste, standing water, or a soap spill sooner.
For a lightly soiled set, try this 10-minute hands-on reset:
- Minutes 1–2: Empty the holder and tray, move toiletries to a clean spot, and check for damage.
- Minutes 3–6: Wash compatible pieces and wipe any material-sensitive items. Leave electrical care to its separate, unplugged process.
- Minutes 7–8: Rinse away residue, wipe bottle bases, and clean the counter underneath.
- Minutes 9–10: Dry accessible surfaces and arrange the remaining parts to air-dry. Put everything back only when ready.
The timer is a guide, not a deadline. Drying, a dispenser refill, or stubborn buildup can take longer. If you run out of time, finish and rinse the piece in your hands, put products away safely, and leave cleaned parts somewhere secure to dry.
Make the next reset smaller
After brushing, rinse the toothbrush and return it upright. When you notice water in a catch tray or toothpaste on a rim, deal with that little patch. Wipe a soap drip before it dries into a ring. Keep a clean cloth handy but let it dry between uses and launder it regularly.
On a low-energy day, choose one job: empty the toothbrush holder, wipe the soap-dish sludge, or clean beneath the tray. You can return to the rest next time. Our monthly cleaning checklist can help you give the less frequent jobs a place too. A bathroom that works for your family is the goal, and these small, repeatable steps make that easier.

CLEANERS CLUBHOUSE
Take the Guesswork Out of Bathroom Cleaning
Use Tuesday as your bathroom reset day and work through the job in a sensible order. Inside the Cleaners Clubhouse, you’ll find practical routines, printable support and challenges that make deeper cleaning easier to manage.
