
THIS POST MAY CONTAIN AFFILIATE LINKS. PLEASE READ MY DISCLOSURE FOR MORE INFO.
Living-finish brass can look darker around the base of a faucet and brighter on the handle you touch every morning. That uneven color can be part of the finish doing exactly what it was designed to do. Toothpaste, soap residue, and a sticky drawer pull still need attention, but the goal is a clean surface rather than a perfectly uniform gold color.
For confirmed unlacquered brass, start with the maker’s care instructions. A soft cloth, warm water, and a manufacturer-approved pH-neutral soap are a common routine. Remove cleaning residue and dry gently. Keep acids, abrasive pads, and unapproved metal polish out of this everyday clean: they can change the patina you meant to preserve.
This guide covers accessible exterior surfaces such as faucet bodies, handles, towel bars, robe hooks, and cabinet hardware. It does not cover internal valves, blocked aerators, electrical towel warmers, or restoration of damaged metal. Allow about five minutes for a small faucet-and-handle set once you have checked its care guide; a whole bathroom or unresolved buildup will take longer.
Disclosure: This post may contain affiliate links. As an Amazon Associate, Clean Home Challenge earns from qualifying purchases. If you make a purchase through these links, we may earn a small commission at no extra cost to you. This helps us keep creating practical cleaning tips, routines and resources for busy families! 🧽
Identify the Finish Before You Clean

A brass-colored fixture is not automatically bare brass. It may have a clear lacquer, a plated or PVD coating, a deliberately aged finish, or an unlacquered surface intended to change. The words “brushed,” “antique,” and “gold” describe appearance and do not establish the right cleaning method. Even two brass items in the same bathroom can need different care.
Find the brand, model, and finish code on the receipt, installation paperwork, supplier listing, or product care page. Save the exact guide rather than relying on instructions for a similar-looking faucet. If you rent, ask the owner or manager for the finish details before using a treatment that could change it. Do not scratch, sand, or remove a coating to identify the metal.
Perrin & Rowe describes its unlacquered brass as a living finish that changes with exposure and handling and can age unevenly. Studio Ore likewise explains that contact, moisture, and the home environment affect the appearance. Those descriptions help set expectations: gentle cleaning does not freeze the color or make every handle age at the same rate.
Decide what you want to preserve
Separate three jobs before you gather products:
- Routine cleaning: remove loose dirt, soap, skin oils, and fresh toothpaste while retaining the existing character.
- Deposit treatment: address material sitting on the surface, using a method approved for that exact finish.
- Appearance restoration: deliberately change the patina or shine. This is a separate decision with different risks.
For a routine clean, choose the first job. If you want to brighten polished unlacquered brass, obtain the manufacturer’s restoration instructions first. A method permitted on polished raw brass may remove a factory-applied antique effect or damage a coating on another item. Do not use a general brass-polishing recipe across the room.
Gather a small, finish-safe kit
You need a clean, very soft nonabrasive cloth for washing, another for the final dry, warm water, and an approved mild pH-neutral soap if the guide allows it. A third damp cloth makes residue removal easier. Inspect the cloths for grit, dried product, stiff seams, or trapped debris. Set them on a clean tray away from toilet-cleaning supplies.
Use the product dilution and handling directions the maker specifies; “mild” on a bottle is not the same as documented finish compatibility. If the exact guide calls for water only, leave out the soap. Keep products out of children’s reach, use any label-required protection, and wash your hands afterward.
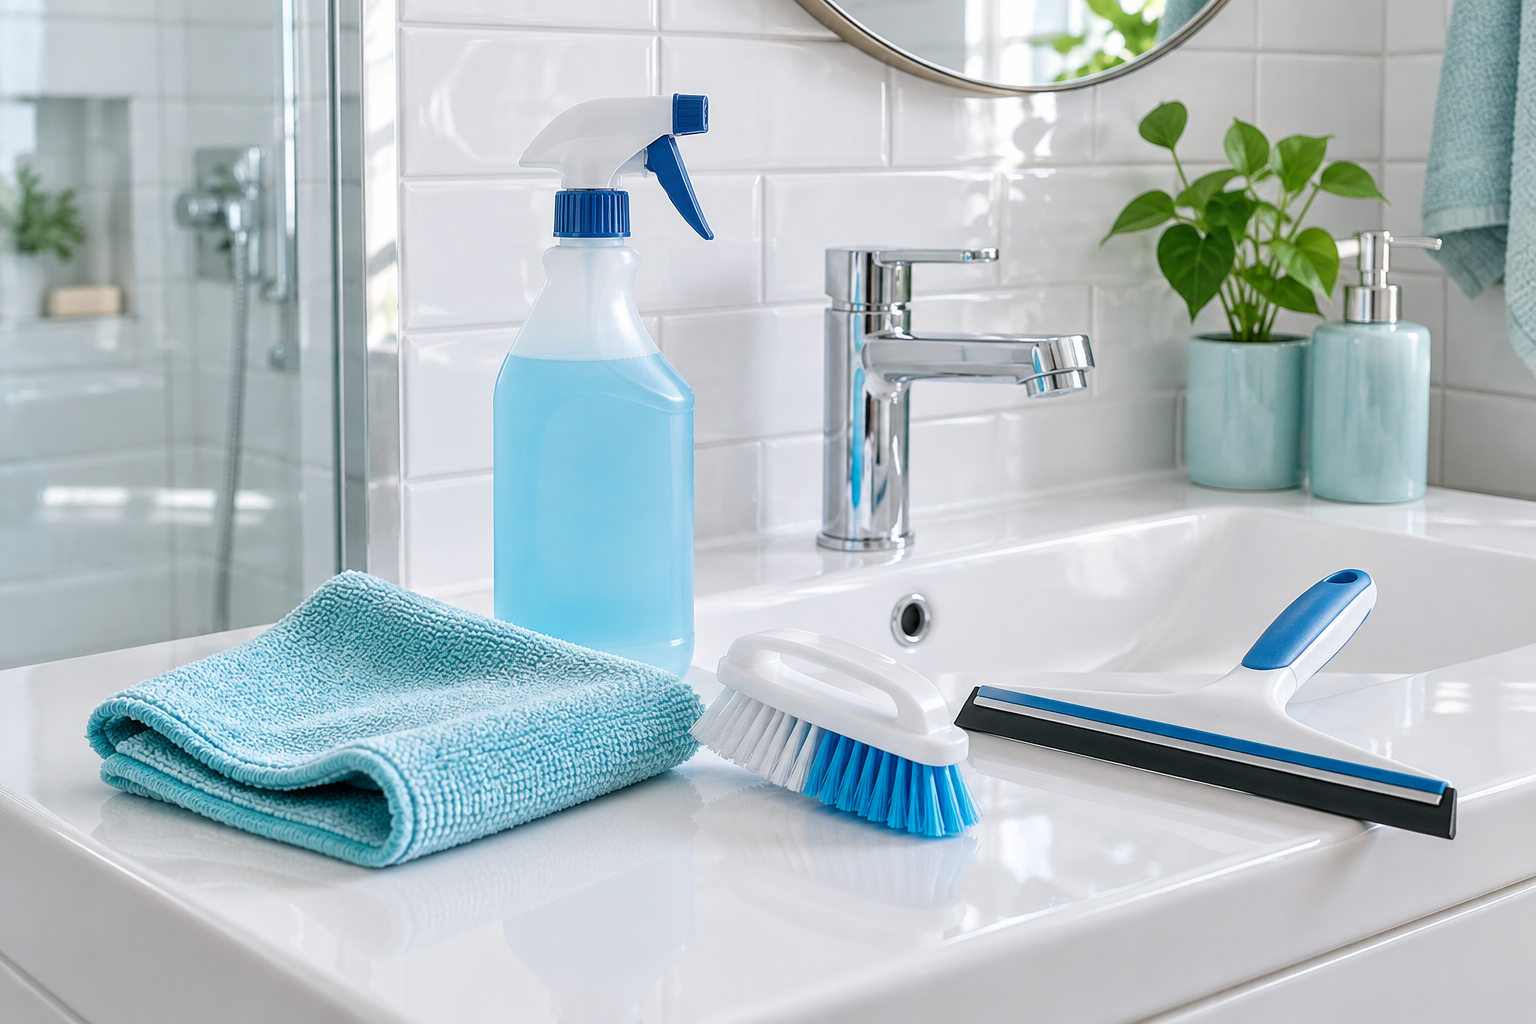
The bathroom list above is a general supplies collection. Select only cloths and products that suit your hardware’s care guide; a cleaner intended for grout or shower glass is not automatically suitable for living brass.
Clean Everyday Residue With a Gentle Routine
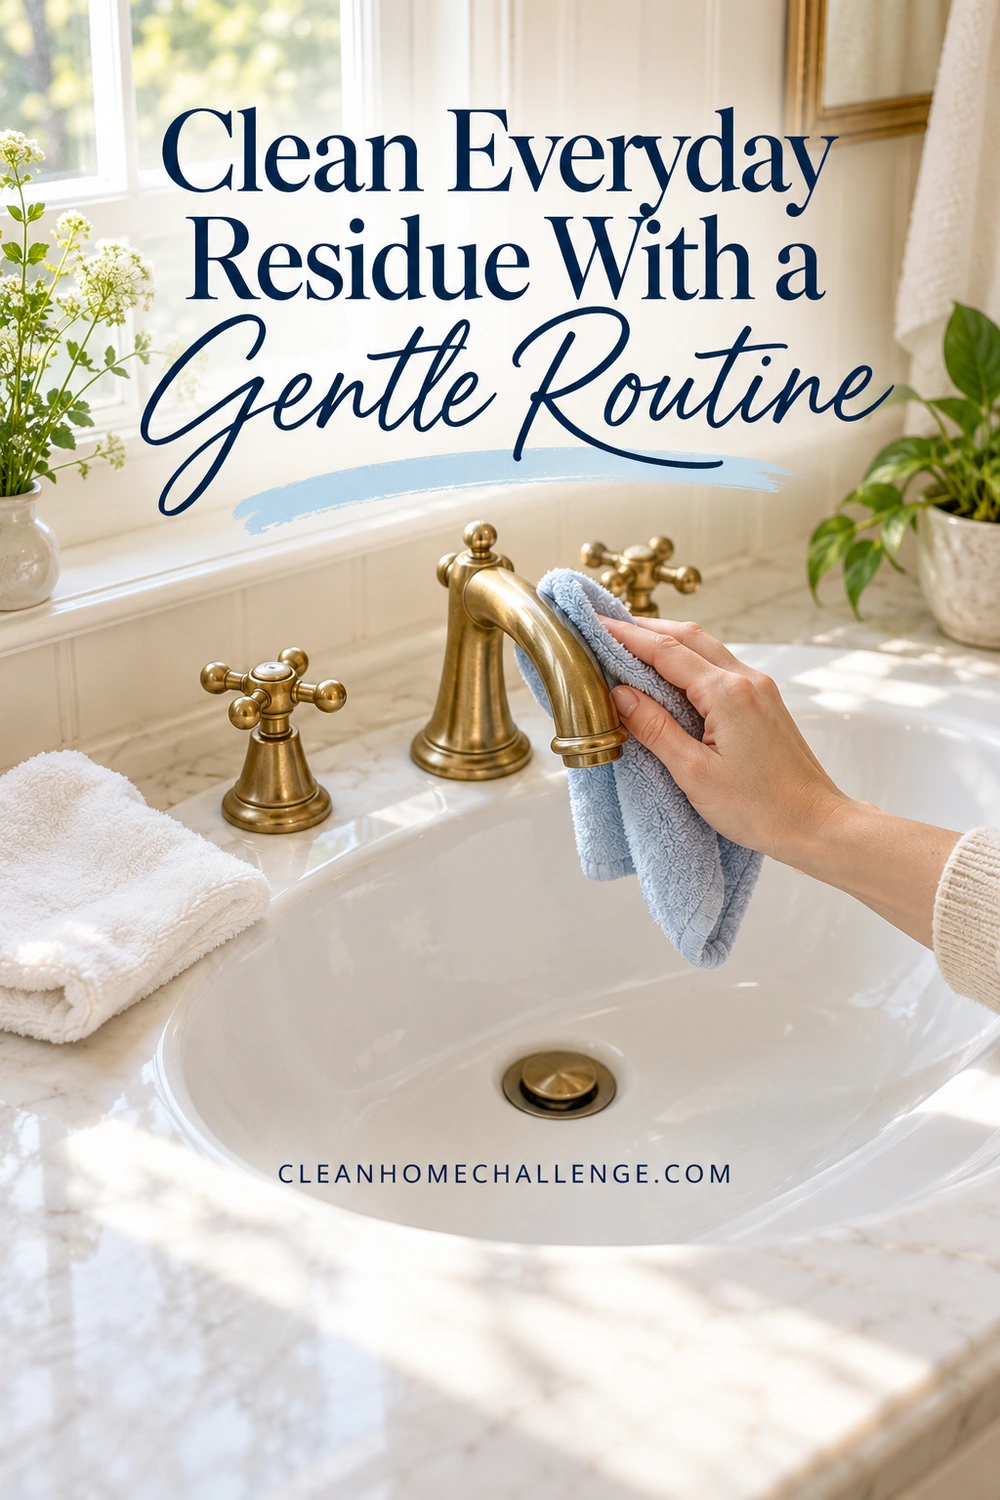
Work on one small item at a time. This keeps residue from drying while you are distracted and makes it easier to notice an unexpected change. Start with a less visible area using the approved method and check it before continuing. A patch check does not replace the care guide or guarantee that a finish will stop changing.
1. Clear the area and remove loose debris
Move cosmetics, soap bottles, and anything resting against the metal. Set aside dangling jewelry that might catch or scratch. Gently lift loose dust with a clean soft cloth; if there is visible gritty material, pick it up carefully with a damp cloth rather than rubbing it along the surface. Do not scrape dried toothpaste or hard deposits with a fingernail, blade, or improvised tool.
Protect the surrounding counter using its own care instructions. A stone vanity, painted cabinet, and brass faucet may all have different requirements. Keep cleaning water controlled, wipe splashes promptly, and avoid letting liquid collect around mounting points. There is no need to loosen the hardware or adjust plumbing for this job.
2. Wipe with the least treatment needed
Dampen the washing cloth with warm water and wring it out. Try a gentle wipe on fresh residue first. If your guide permits a pH-neutral soap and water is not enough, prepare it as directed and apply it with the cloth. Do not spray the bathroom indiscriminately or saturate joints and concealed openings.
Use light, controlled passes over the accessible surface. Refold the cloth to a clean area when it picks up dirt. Support a towel ring or cabinet pull lightly if needed, without pulling against the mounting. Follow any directional-wiping instructions for a brushed finish. Avoid repeated buffing to chase color differences: extra friction is not a useful response to natural patina.
For a soap or toothpaste smear, hold a water-dampened cloth briefly against the residue to soften it, then try another gentle wipe. Do not leave a soaking wrap in place or invent a chemical dwell time. If a light pass does not release it, pause and check the product’s guidance rather than increasing pressure.
3. Remove soap residue and dry
Use a separate clean cloth dampened with fresh water to remove the approved cleaning solution, as the manufacturer directs. Refresh the cloth so you are lifting the residue away rather than redistributing it. Avoid pouring water over cabinet hardware, wall mounts, or other places where it can collect behind the fitting.
Finish with a soft dry cloth, including the accessible base and underside where drops collect. Dry the nearby counter as well. This is gentle drying, not a polishing session. Inspect the surface in ordinary room light and put the toiletries back once the area is dry.
Your stopping point is practical: no obvious toothpaste or soap film, no sticky touch points, and no standing drops. A handle can be clean and still look darker than the spout. If you have five minutes, finish that one set rather than starting every fitting and leaving them wet.
Handle Spots and Buildup Without Stripping Patina
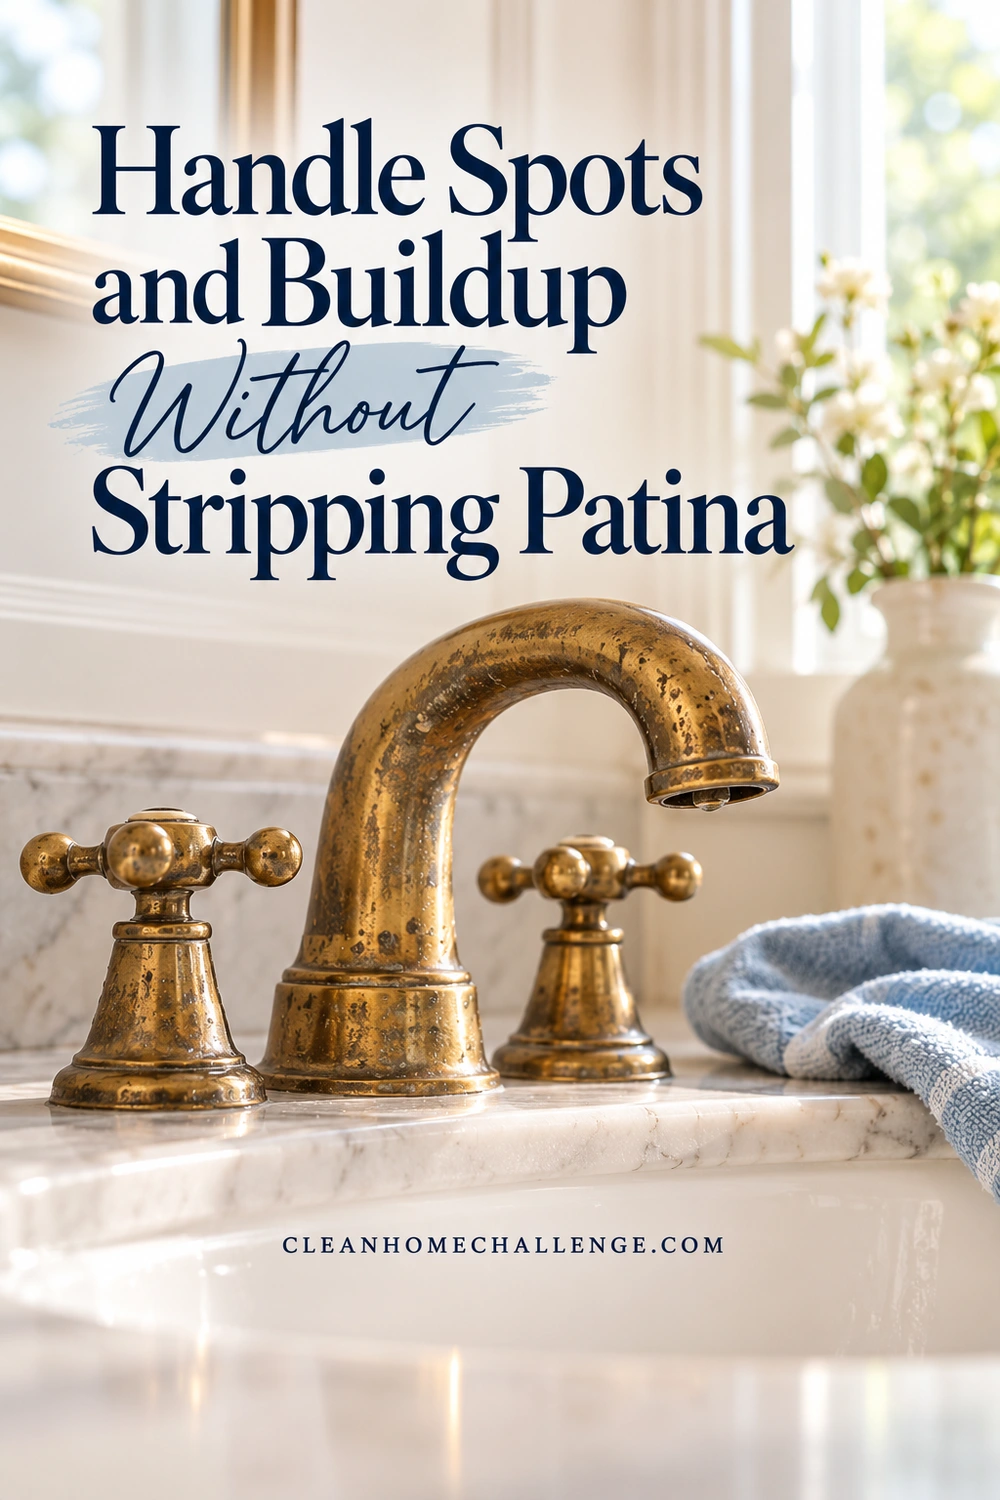
Do not identify a mark by color alone. A pale spot might be a water deposit or dried soap; darker shading may be natural aging, product contact, or something else. Photos and a product-specific discussion with the maker are more useful than repeated experiments with stronger cleaners.
| What you notice | Useful first step | When to stop |
|---|---|---|
| Fresh toothpaste or soap | Remove promptly with the approved gentle routine; rinse away residue and dry. | Stop if rubbing changes the surface or the smear does not lift easily. |
| Uneven brown or golden shading | Check the finish description and compare it with your earlier care photo. | Do not polish solely to make every area match. |
| White, hard, raised deposits | Ask for the exact finish-safe mineral-deposit method. | Avoid a generic vinegar soak or acid descaler while compatibility is unknown. |
| Persistent green residue, roughness, pitting, or flaking | Photograph the area and contact the maker or a suitable professional. | Do not assume it is harmless patina or scrub to diagnose it. |
| Water reappearing around a joint | Dry the area and check whether it becomes wet again. | Seek plumbing advice for a suspected leak; cleaning does not repair it. |
Keep descalers and acidic shortcuts separate
The vinegar method used on some plain shower glass or chrome is not a default for living brass. Lemon juice, vinegar, acidic bathroom cleaners, and homemade acidic pastes can alter the appearance. Studio Ore specifically warns that acids affect its unlacquered brass. Protect hardware from nearby cleaning overspray and do not leave a descaling cloth draped over it.
Our hard-water cleaning guide covers a broader set of bathroom surfaces. Use its material checks carefully; the approved method for your brass finish still takes priority. If the correct deposit treatment is unclear, leave the fitting gently cleaned and contact its maker. A remaining spot is preferable to an avoidable finish change.
Avoid abrasives and unapproved restoration products
Skip scouring pads, steel wool, abrasive powders, stiff brushes, and melamine foam unless the exact manufacturer explicitly authorizes the named tool and use. Do not use a powered polisher on installed bathroom hardware as a routine shortcut. Keep toilet cleaners, bleach products, alcohol-based cleaners, and other unapproved chemicals off the finish.
Metal polish and wax also require specific instructions. Manufacturers distinguish between finishes that can be polished and finishes whose aged surface should remain intact. Some recommend a particular wax in defined circumstances; that is not a reason to coat every handle, faucet, or adjacent basin. Check the precise product, application, exclusions, and maintenance directions before adding anything.
Do not mix cleaners or layer a new product over an unidentified residue. If a splash occurs, stop using the product, follow its safety directions, and consult the hardware maker’s spill guidance. Keep the label and take a photo if the finish changes. Aggressive rubbing can make a localized mark larger.
Cleaning is not a disinfecting claim
This routine removes ordinary dirt; it does not establish a germ-kill result. If someone has been ill or the hardware has been contaminated, choose a finish-compatible method using the manufacturer’s advice and appropriate public-health guidance for the situation. Do not assume an everyday disinfectant is safe for the metal or that soap-and-water wiping has achieved a disinfectant’s labeled performance.
Keep Brass Care Manageable for the Whole Family

The easiest routine is a small response to fresh residue. Wipe toothpaste away after brushing, keep leaking soap containers off the hardware, and gently dry accessible drops when convenient. Give the household a clean, dedicated cloth so nobody reaches for the abrasive sponge used elsewhere. Launder and replace it when dirty; a stiff, gritty cloth no longer belongs in this kit.
During Tuesday’s bathroom clean, check one faucet, its handles, and the most-used hook or pull. Look for product residue and areas that stay wet, then use the approved routine where needed. You do not need to polish the room weekly or create a daily inspection chore. A visible care note can prevent more damage than an extra bottle of cleaner.
Make the correct method easy to find
Download the free Living-Finish Brass Bathroom Care Card (PDF).
Use the free card to record the brand, model, finish code, care-guide location, permitted cleaner, and products to keep away. Keep separate entries if the room contains different finishes. Add a date and a short note about any mark you are monitoring; a clear photo in your phone can help you describe it later. Store the card in a cleaning binder or cupboard rather than against a wet fitting.
For shared cleaning, write a simple instruction such as “approved soap and soft cloth; rinse residue and dry; ask before treating spots.” Give children only suitable, supervised tasks within safe reach, such as putting toiletries away. Leave chemical selection, deposit treatment, and questions about damaged fixtures to an adult. Nobody needs to make the metal look new to have done a good job.
Use a smaller finish line on busy days
If the day is already full, remove the fresh toothpaste and dry that area. Save the rest for the planned bathroom clean. When a stubborn mark needs advice, write down the question and stop treating it. That is useful progress: you have cleaned what you safely can and preserved the information needed for the next step.
For help fitting these smaller jobs into a household routine, explore Cleaners Clubhouse. Keep this free care card available to everyone who cleans the bathroom, so a helpful family member does not accidentally replace gentle care with a strong descaler.
CLEANERS CLUBHOUSE
Take the Guesswork Out of Bathroom Cleaning
Use Tuesday as your bathroom reset day and work through the job in a sensible order. Inside the Cleaners Clubhouse, you’ll find practical routines, printable support and challenges that make deeper cleaning easier to manage.
A living finish keeps changing with use. Aim for hardware that is free of everyday residue, cared for according to its maker, and simple for the family to maintain. An even, permanently bright color is not the measure of a clean bathroom.
Sources and care-guide notes
Reviewed October 25, 2026. Your model’s current instructions take priority over general guidance.
- Perrin & Rowe finish descriptions and care guidance – identify the specific finish rather than applying chrome instructions to brass.
- Studio Ore: caring for living finishes – gentle cleaning, residue removal, evolving patina, and finish-specific restoration limits.
- Waterworks care and cleaning reference – an older manufacturer document illustrating why polishing and waxing instructions must be matched to the exact finish; obtain the current guide for your own product.