

THIS POST MAY CONTAIN AFFILIATE LINKS. PLEASE READ MY DISCLOSURE FOR MORE INFO.
A freestanding clothes rack is easy to forget when you’re cleaning the bedroom. The clothes move in and out, but the rail underneath them keeps collecting dust, fingerprints, and the occasional sticky mark. Then a freshly washed shirt brushes against the same dusty frame.
You don’t need to turn this into a whole closet clear-out. To clean a clothes rack, empty it, check the maker’s care instructions, remove loose dust, and use only the wiping method its finish allows. Dry the frame completely, check that it stands securely, and put clothes back within its stated load limits. The aim is a clean, usable rack—not a shiny finish achieved by scrubbing away its coating.
This guide covers ordinary household dust and surface soil on a freestanding garment rack. It isn’t a rust-restoration, mold-removal, or structural-repair guide. A damaged or persistently unstable rack needs the maker’s advice before it goes back into service.
Disclosure: This post may contain affiliate links. As an Amazon Associate, Clean Home Challenge earns from qualifying purchases. If you make a purchase through these links, we may earn a small commission at no extra cost to you. This helps us keep creating practical cleaning tips, routines and resources for busy families! 🧽
Empty the Rack and Check Its Care Instructions

Make a temporary home for the clothes
Remove everything before you start: garments, empty hangers, hanging organizers, shoes, bags, and baskets resting on the bottom shelf. Use a clean bed, a suitable temporary rail, or baskets that won’t crush delicate items. Keep longer garments off the floor. Leaving one heavy coat on an end hook can make the rack unbalanced while you’re working around its feet.
Treat this as a cleaning job first. You can set aside an obvious donation separately, but you don’t have to make a decision about every outfit before you’re allowed to wipe the rail. If clothes are dusty themselves, deal with them according to their care labels rather than brushing that dust back onto a cleaned frame.
Set the unloaded rack on a level surface with enough room to reach its sides. Keep children and pets away from the work area and leave doors and walking routes clear. Don’t climb on, lean your weight onto, or pull down on the hanging bar. If you cannot reach safely, arrange appropriate help instead of standing on a chair.
Identify the finish, not just the color
A silver-colored rail might be plated, coated, or made from another metal; a wood-look shelf might be laminate. Check the label, model number, receipt, or manufacturer’s product page. Look up the care instructions and assembly guide, including any limits for the main rail, shelves, hooks, and wheels. Those limits belong to your specific rack.
For example, IKEA’s current MULIG and RIGGA care guidance permits a damp cloth with a mild cleaner followed by drying with a clean cloth. That is a useful example of a gentle approach for those models, not a universal approval for every wooden, plated, or painted rack. Their listed load limits also differ, so don’t borrow a number from a similar-looking product.
Use these starting decisions:
- Coated metal: Follow the maker’s allowed cloth and cleaner. Keep grit out of the cloth so wiping doesn’t turn into abrasive rubbing.
- Plated or polished metal: Check which products the finish permits. Avoid experimenting with acids, metal polish, or abrasive pads simply because the rail looks metallic.
- Wood or bamboo: Find the finish-specific care instructions. Begin with gentle dry dusting; use moisture only when the maker allows it, and dry promptly.
- Mixed materials: Treat each part separately. Permission to damp-wipe the steel frame does not automatically cover a fabric shelf or unfinished wooden dowel.
If the finish is unknown, stop at careful dry dust removal while you identify it. Cleaning is easier to postpone than a damaged coating is to put back.
Gather a small kit
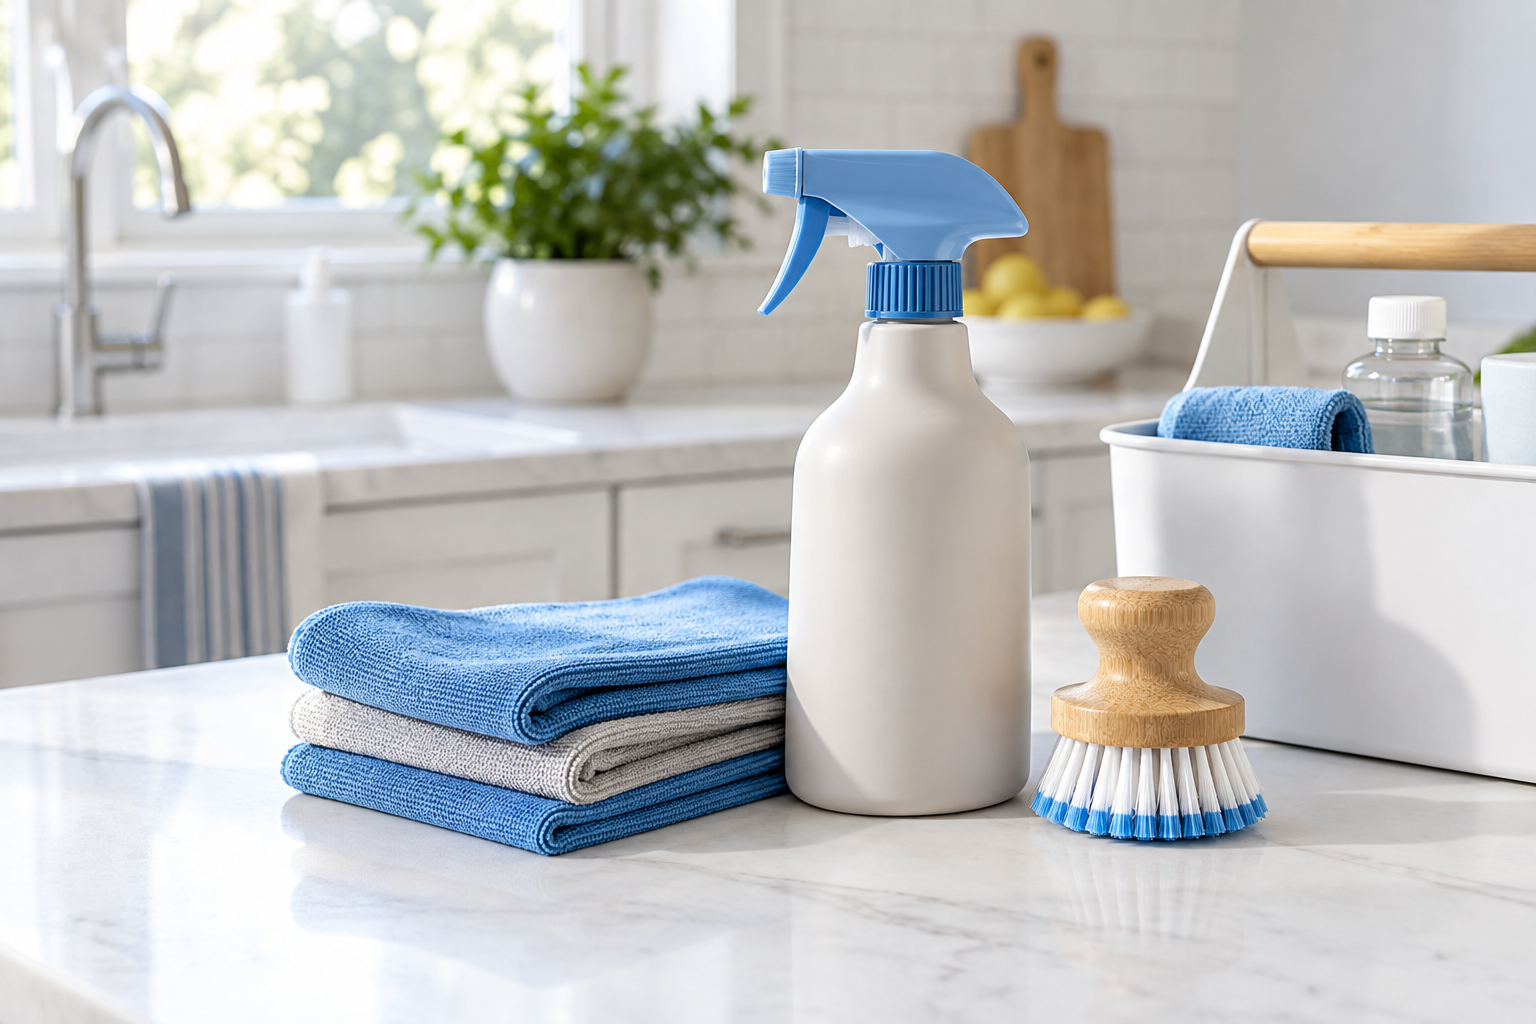
Have two or three clean, soft cloths ready: one for dust, one for permitted damp wiping, and one for drying. A soft brush can help around accessible joints. A vacuum with a suitable brush attachment is useful for the floor and lower shelf area, provided it won’t knock or scratch the rack. Add the maker-approved cleaner only if the soil needs it.
Keep cleaner in its labeled container and follow its directions, including any glove or ventilation advice. Apply it as directed to a cloth where suitable; don’t spray into adjustment holes, tube ends, locks, or wheel bearings. Don’t mix products. A mild-cleaner instruction isn’t an invitation to combine vinegar, dish soap, disinfectant, or another product.
Dust and Wipe the Frame Without Soaking It

Work from the rail down
Start with loose dust while the frame is dry. Fold a soft cloth into a manageable pad, lay it around an accessible section of the top rail, and wipe gently along it. Turn to a clean section frequently. Support the frame lightly where needed without pulling it off balance.
Continue down the uprights, then along lower crossbars and shelves. Use a soft brush for a dusty seam you can reach from the outside. Catch loosened dust with the cloth rather than flicking it across the room. Don’t force a brush, sharp tool, or wet cotton swab into a mechanism just to make a hidden gap look spotless.
Pay attention to the underside of the rail where fingers lift hangers, the outer edges of shelves, and the places hanger hooks rub. If you find peeling coating, a sharp edge, deep corrosion, a split, or a bent tube, stop handling that area and keep the rack unloaded until you have appropriate advice. Ordinary cleaning won’t make damaged parts safe.
Use the least moisture the instructions allow
For a model that permits damp cleaning, wring the cloth thoroughly. It should feel damp, not drip when you squeeze it. Start with a hidden test area if the approved product or method hasn’t been used on that finish before. Check for color transfer, dulling, tackiness, swelling, or another change before continuing.
Wipe a small section with light pressure. Use the permitted mild cleaner only as instructed for remaining soil. If the product directions require residue removal, use a separate clean cloth with the allowed amount of water, then dry. Don’t invent a stronger dilution or leave cleaner sitting on a joint while you work elsewhere.
Follow immediately with your dry cloth, especially around seams, shelf edges, fittings, and exposed fasteners. Keep water out of hollow tubing and adjustment mechanisms. Don’t hose the rack outdoors, put it in the shower, or use steam to reach its joints. Those methods add moisture and heat that the frame, finish, or hidden components may not tolerate.
Let a stubborn mark stay a separate problem
A gummy patch might be adhesive residue; a dark line might be worn coating; a pale ring on wood might be finish damage. They need different decisions. Don’t work through a succession of solvents, abrasive powders, magic erasers, or scratchy pads on an unidentified mark. First confirm what the mark is and whether the rack maker approves a treatment.
For ordinary surface dirt, another gentle pass with a fresh section of cloth may be enough. If it isn’t, leave that spot for a material-specific answer. It is perfectly reasonable for a clean, serviceable rack to have an old cosmetic mark.
Routine dust removal doesn’t require a disinfecting step. If there is a specific contamination concern, check that the necessary product and process suit the entire affected material. A generic disinfectant claim doesn’t establish finish compatibility. Keep contaminated clothes separate and seek the relevant care guidance rather than treating this routine as a universal solution.
Clean the Base and Check Stability

Clear the floor and accessible lower parts
The bottom of the rack is where lint, hair, and grit tend to collect. Once the upper frame is clean, remove loose debris from the lower bars and shelf. Clean removable baskets or fabric inserts separately according to their own labels. Don’t soak an insert that the maker says to spot-clean.
Vacuum or otherwise clean the floor using a method suitable for that flooring. If you move the rack, move it unloaded and follow the maker’s handling instructions. Don’t drag fixed feet across the floor or force small wheels over a threshold. Get help with a bulky or awkward rack. There is no need to tip it onto its side just to reach one dusty underside.
Wipe accessible foot surfaces with the method permitted for their material, then dry them. If floor protection pads have come loose or worn through, check the correct replacement with the maker. Avoid improvising uneven stacks under the feet to hide a stability problem.
Check wheels without dismantling them
On a wheeled rack, look for hair or debris around the visible wheel surfaces and axle area. Remove only what comes away safely without tools or disassembly. Wipe the accessible outer surfaces as permitted and dry them. Don’t spray cleaner or oil into the bearings, and don’t remove a wheel unless the instructions specifically cover that maintenance.
On a clear, level floor, check whether the empty rack moves as intended. If it has brakes, use and check them as the maker instructs. Some racks have no brakes; don’t assume a loose pedal-shaped piece is a brake. A wheel that catches, separates, or won’t secure needs attention before you add clothing weight.
Separate a loose fitting from a damaged rack
With the rack still empty, look for missing fasteners, loose joints, cracked plastic, bent parts, and height-adjustment locks that aren’t seated correctly. Compare the assembly with the model’s guide. Tighten only accessible fasteners the instructions identify, using the specified tool and method. Don’t overtighten, drill extra holes, force a lock, or substitute a screw that happens to fit.
A simple household check cannot certify a rack’s safety. If it still leans, shifts unexpectedly, or wobbles after the permitted assembly checks, keep it unloaded and contact the manufacturer or replace it. Adding clothes to see whether the weight will steady it is not a repair. Nor should the frame become a climbing aid or a place for children to hang from.
Use the checklist to record the issue plainly: “left wheel catches” is more useful than “rack bad.” Keep any repair decision separate from your cleaning tick boxes so a wiped frame doesn’t accidentally get marked ready to use.
Reload Only When Dry and Keep the Routine Simple

Finish with a dry-hand check
Let any remaining moisture dry naturally in the location the rack is designed for. There is no universal drying time: joints, the permitted cleaning method, room conditions, and mixed materials all affect it. Don’t use a hair dryer, heater, or direct high heat to speed things up.
Before reloading, check the rail, shelf edges, joints, and feet with a clean, dry hand and cloth. They should be dry, free of obvious cleaning residue, and safe to touch. Recheck any area that needed damp wiping. If cleaner remains tacky or transfers to the cloth, resolve it using the product and rack instructions before it touches garments.
Put back clean, dry hangers and garments gradually. Spread the weight as the assembly guide directs and observe every relevant limit, including separate shelf or hook limits. Don’t use the whole-rack capacity as permission to hang that weight from one end. Leave the rack in its intended position with access routes clear.
Choose a maintenance rhythm you can actually keep
A light dust check during your Wednesday bedroom routine can help you notice the rail before grime builds up. You don’t need a full wet clean every week. If the frame is clean, a visual check and a quick dry wipe of accessible surfaces may be all it needs. A fuller empty-rack clean makes sense when visible soil appears or when you’re already changing seasonal clothes.
If you have only a little energy today, unload the rack, dry-dust the main surfaces, check for obvious damage, and stop there if no damp cleaning is needed. If a larger clean is necessary, leave the rack unloaded until you can finish it safely. Don’t leave wet cleaning halfway done and then put garments back for convenience.
The best shortcut is keeping the job separate from an entire bedroom makeover. Clean the rack, deal with a genuine stability concern, and reload thoughtfully. The rest of the closet can wait for its own manageable session.
Keep the free checklist with the care instructions
Download the Clothes Rack Cleaning and Reload Checklist (PDF) for the unload-clean-dry-reload order, a place to record the model’s care method and load limits, and a clear “not ready to reload” note if you spot a problem. It is free to use without joining anything.
Download the Clothes Rack Cleaning and Reload Checklist (PDF)
If you’d like help fitting little jobs like this into a room-by-room routine, the Cleaners Clubhouse offers a follow-along calendar, printable worksheets, and monthly challenges. You can explore the existing membership below when that sort of support would help your household.

CLEANERS CLUBHOUSE
Follow a Simple Room-by-Room Cleaning Plan
Break the house into manageable spaces and know exactly where to focus next. The Cleaners Clubhouse gives you a follow-along 12-month calendar, printable worksheets and motivating monthly challenges.
Care sources checked November 3, 2026: IKEA MULIG materials and care and IKEA RIGGA materials, care, and assembly documents. These are model-specific examples; follow the instructions for your own rack. The suggested household work order and maintenance rhythm are practical editorial guidance, not a manufacturer-prescribed inspection or safety certification.