THIS POST MAY CONTAIN AFFILIATE LINKS. PLEASE READ MY DISCLOSURE FOR MORE INFO.
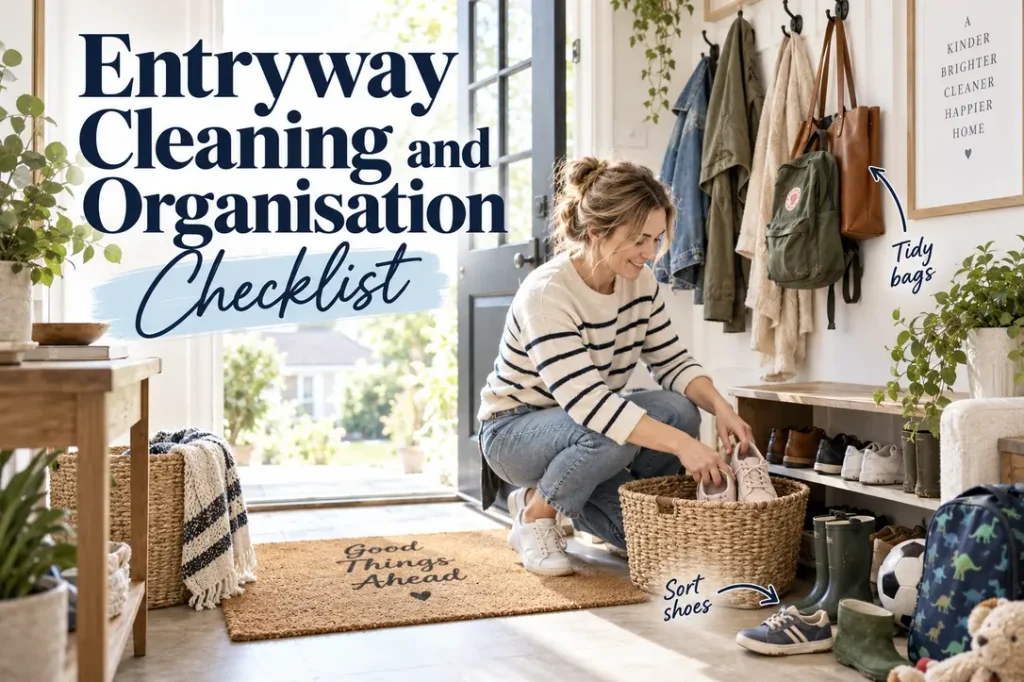
The entryway is a small space that works incredibly hard. It catches shoes, school bags, work bags, coats, keys, parcels, pet leads, dust, leaves and whatever the weather brings through the door. When it gets cluttered, the whole house can feel untidy before you have even stepped inside.
The good news is that you do not need a huge mudroom or an expensive storage system. A thorough clean takes about 30–45 minutes in most homes, and a simple landing zone can make the daily reset much easier. Work from top to bottom, finish with the floor, and give the items your family uses every day an obvious home.
Disclosure: This post may contain affiliate links. As an Amazon Associate, Clean Home Challenge earns from qualifying purchases. If you make a purchase through these links, we may earn a small commission at no extra cost to you. This helps us keep creating practical cleaning tips, routines and resources for busy families! 🧽
What You Need Before You Start
Gathering everything first stops you wandering between rooms halfway through the job.
- A basket or tub for items that belong elsewhere
- Microfiber cloths
- A vacuum with a crevice or brush attachment
- A soft duster or extendable duster
- A small soft brush for corners and tracks
- A bucket and a floor cleaner suitable for your flooring
- A glass cleaner if the door has glass panels
- A rubbish bag
- Optional gloves
Check the care label on washable mats and rugs, and follow the manufacturer’s directions for painted doors, timber, laminate, natural stone and specialty finishes. Patch-test a new product in an inconspicuous spot. Never mix cleaning products.

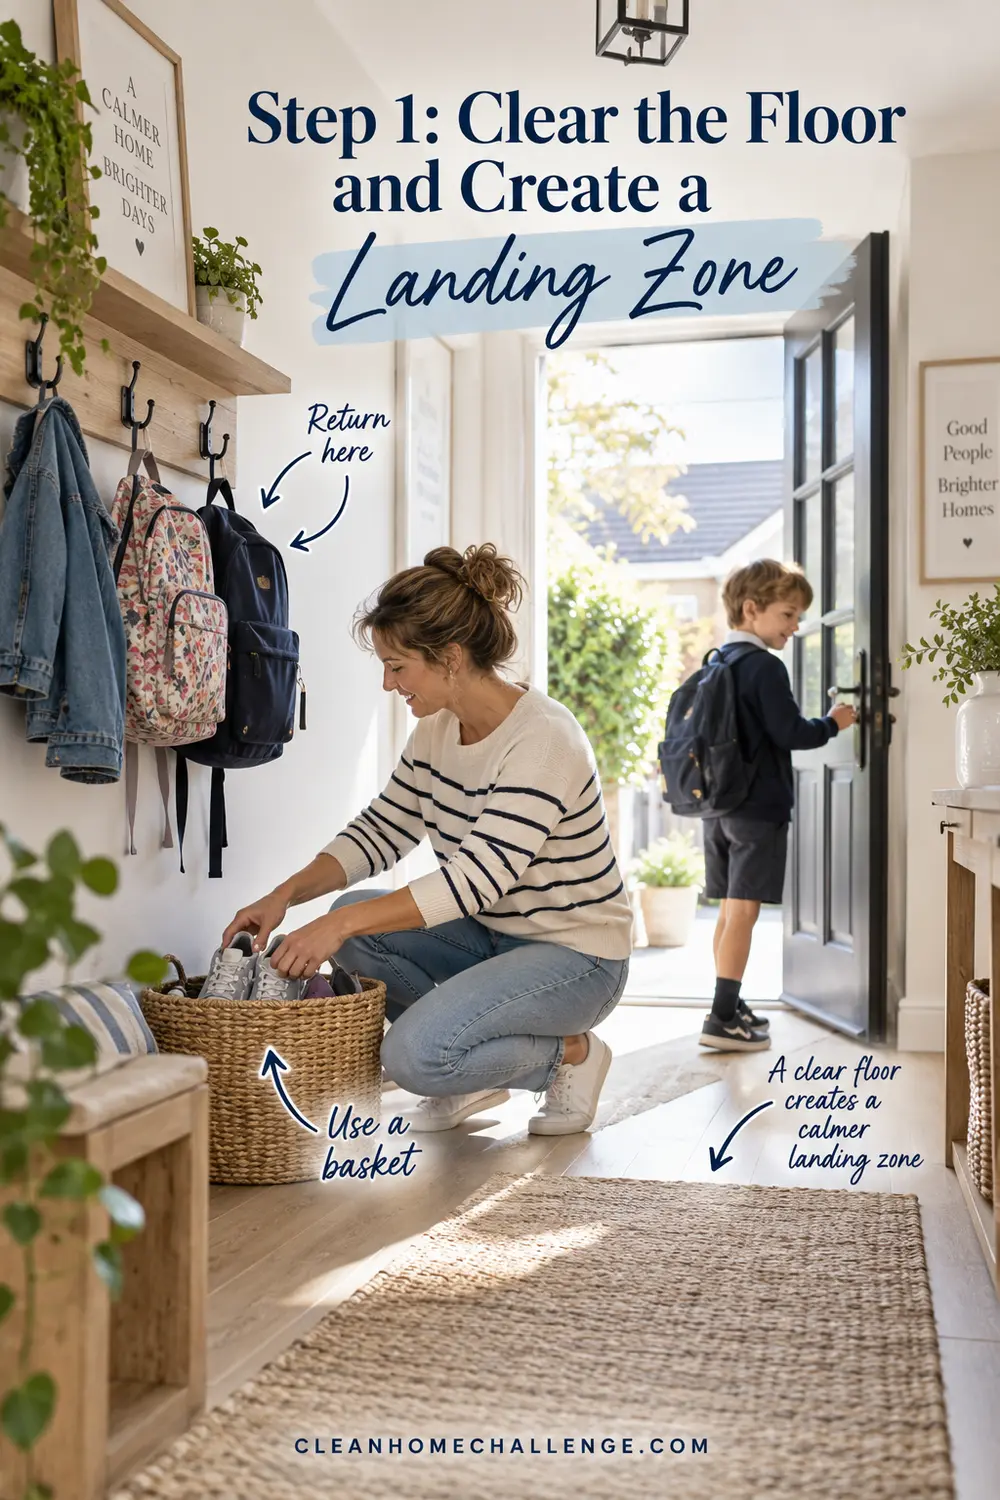
Step 1: Clear the Floor and Create a Landing Zone
Start by removing everything that is sitting on the floor, bench and console. Do not organize each item yet. Sort quickly into four groups: stays in the entryway, belongs elsewhere, laundry, and rubbish or recycling.
Put the “belongs elsewhere” items in one basket so you can return them in a single trip later. This keeps the job moving and prevents the familiar problem of leaving the entryway to put away one item and getting distracted in another room.
Now decide where your landing zone will be. This is the small area where the things you use when leaving and arriving have a home. It might include a shoe basket, hooks for bags and coats, a tray for keys, and one basket for items that need to leave the house.
Keep the floor as open as possible. A clear path is easier to vacuum, safer to walk through, and visually calmer.
Step 2: Dust From Top to Bottom
Dust high areas before cleaning the floor so anything that falls is collected later. Work in this order:
- Light fittings and the top of the door frame
- High shelves and picture frames
- Hooks and coat rails
- Mirror and console surfaces
- Bench, baskets and shoe storage
- Skirting boards and corners
Use a vacuum brush attachment on textured baskets and fabric benches if the care instructions allow it. A crevice tool is useful along skirting boards, under cabinets and behind the door. If you see cobwebs, lift them away rather than pressing them into the wall.

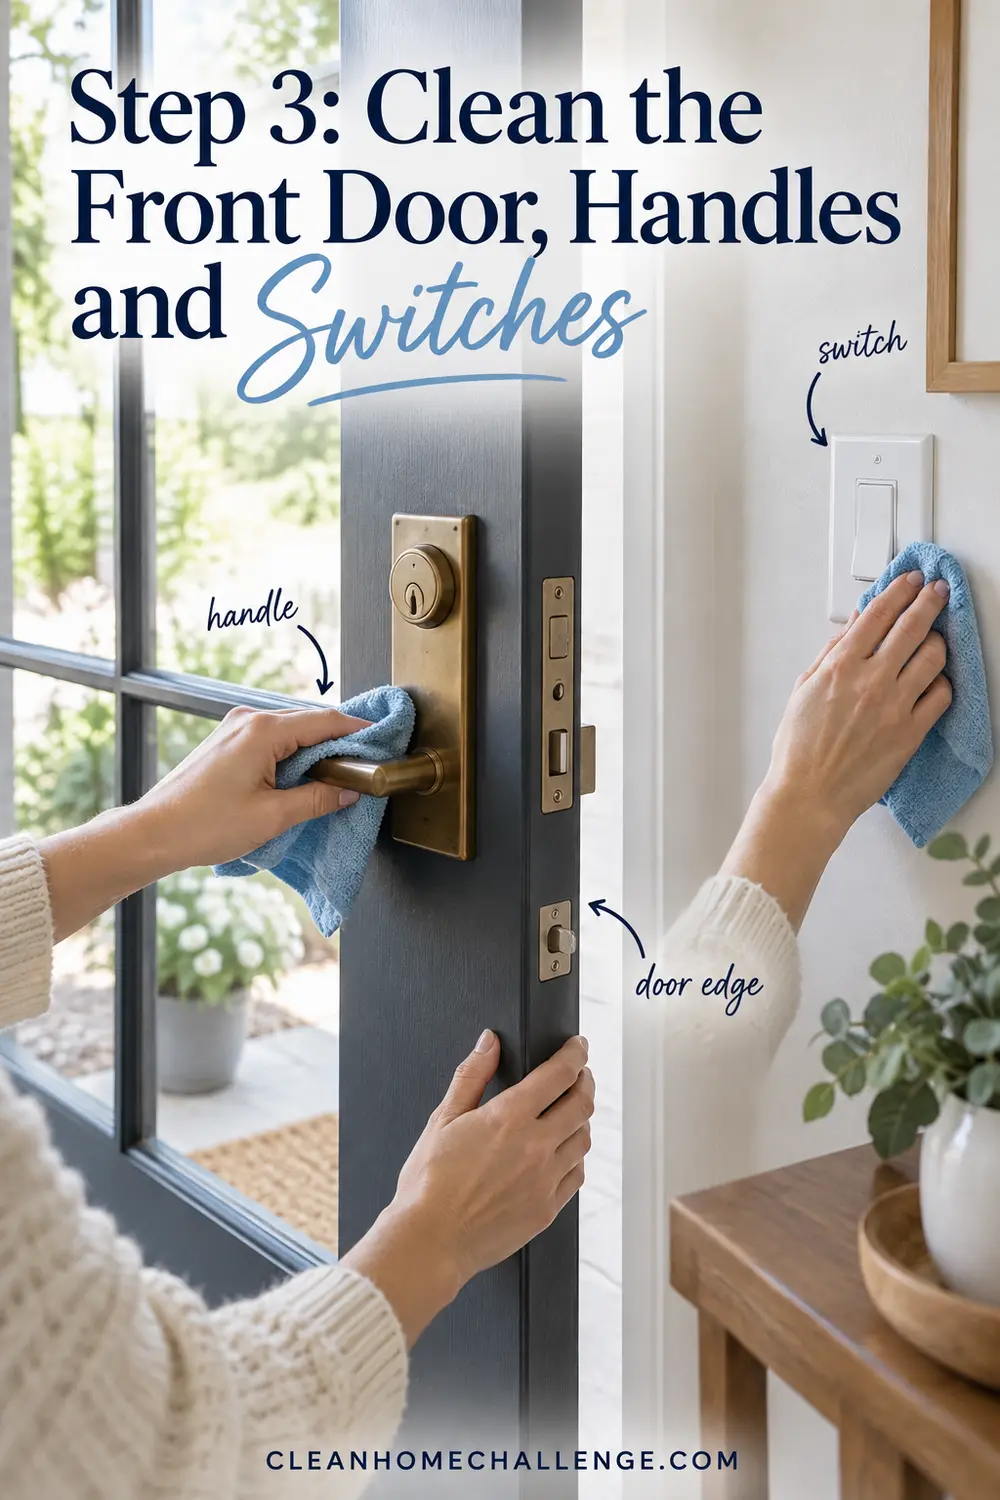
Step 3: Clean the Front Door, Handles and Switches
Wipe the inside face of the door with a barely damp microfiber cloth and a cleaner appropriate for its finish. Pay attention to fingerprints around the handle, the door edge, the frame and the kick area near the bottom. Dry timber and painted surfaces promptly rather than leaving them wet.
Clean the handle, lock plate, bell button and nearby light switches with a cloth that is damp—not dripping. Do not spray liquid directly into locks, switches or electrical fittings. Routine cleaning with soap or detergent is normally enough for household surfaces; disinfect only when there is a particular reason, such as illness in the home, and follow the product label for compatibility and contact time.
If the door contains glass, clean the glass after the frame so you do not drip dirty water onto a finished pane.
Step 4: Clean Mats, Rugs and Entryway Floors
Take loose mats outside and shake or vacuum them. Check the label before washing. Some coir, rubber-backed and natural-fiber mats should not be soaked or machine washed. Let every mat dry fully before putting it back to reduce odors and protect the floor underneath.
Vacuum or sweep the entryway, including corners, under the shoe rack and along the threshold. Then clean the floor with the method recommended for its material:
- Sealed timber or laminate: use minimal moisture and a compatible cleaner. Do not leave puddles around the door.
- Tile or vinyl: vacuum grit first, then mop with the recommended dilution.
- Natural stone: avoid acidic cleaners unless the stone manufacturer specifically approves them.
- Carpet: vacuum slowly in overlapping passes and spot-treat only with a product suitable for the fiber.
Work backward toward the next room so you do not walk over the freshly cleaned floor. Let it dry before replacing mats and baskets.

Step 5: Organize Shoes, Bags, Coats and Keys
The easiest system is the one your family will actually use. Store everyday items at the point of use and move occasional items elsewhere.
- Keep only the current everyday shoes near the door.
- Give each person one hook at a reachable height for a bag or coat.
- Put keys in one consistent tray or on one secure hook.
- Use a washable boot tray for wet or muddy footwear.
- Give pet leads and outdoor accessories one small basket.
- Add a “leaving the house” basket for returns, library books or items to deliver.
Avoid buying containers before you know what needs to live in the space. Too many baskets can become extra clutter. Choose the smallest storage that comfortably holds the items, and set a limit: when the shoe basket is full, something must return to a wardrobe.

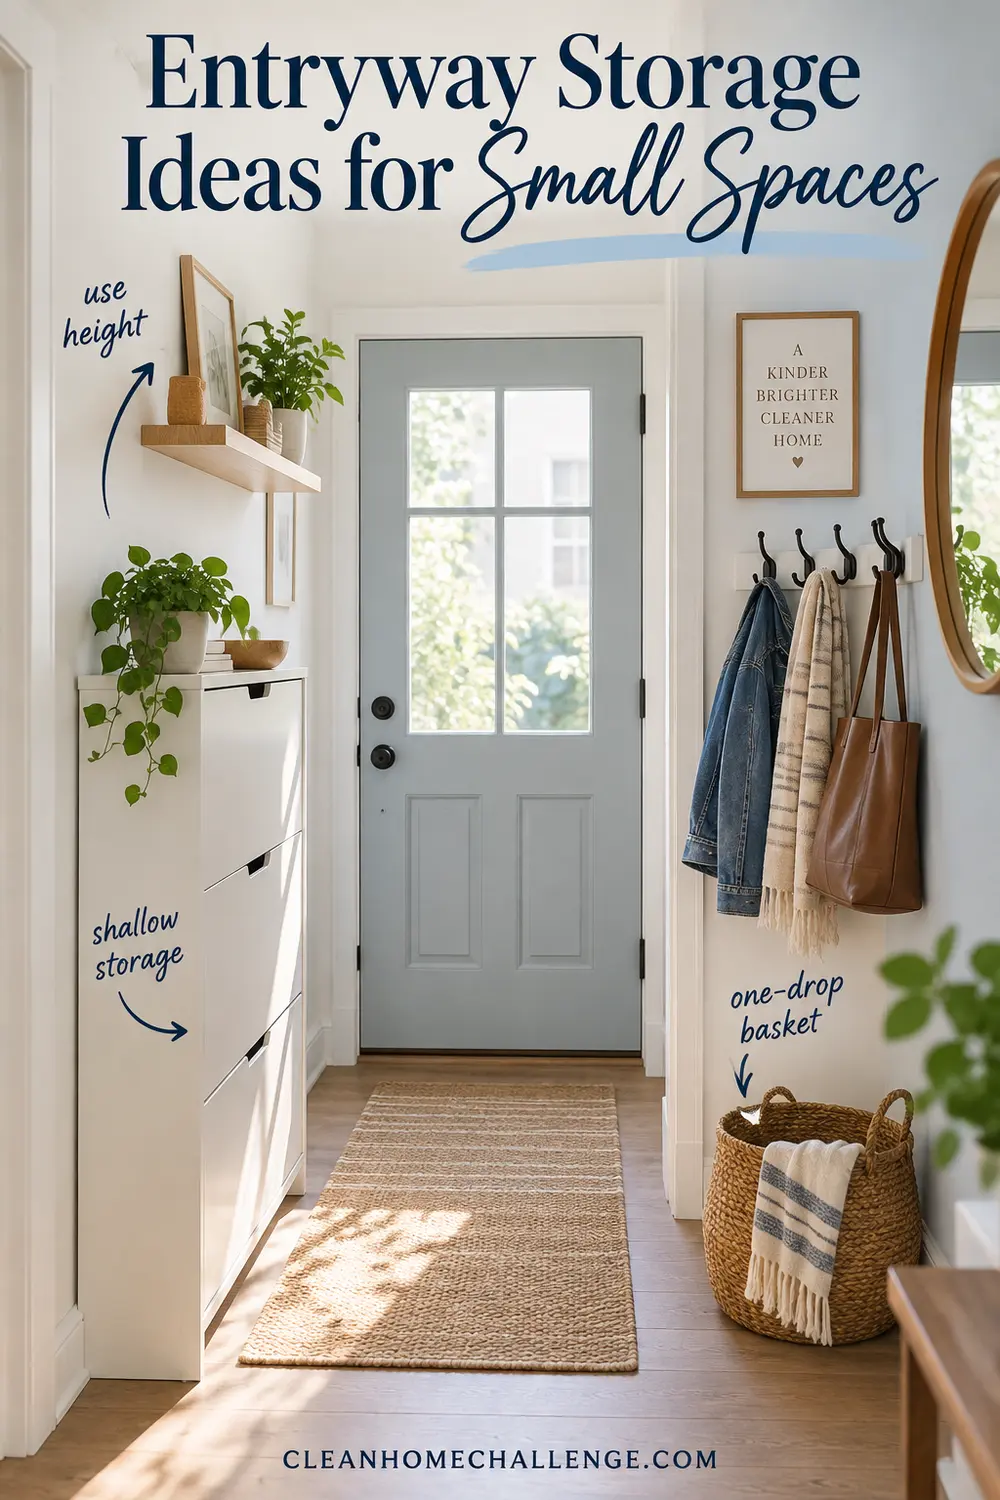
Entryway Storage Ideas for Small Spaces
In a narrow entrance, think vertically and keep storage shallow. A wall-mounted hook rail uses less floor space than a coat stand. A slim shoe cabinet can hold more than an open rack while reducing visual clutter. A floating shelf or tiny ledge can provide a key spot without crowding the walkway.
Useful small-space options include:
- Hooks mounted at adult and child heights
- A narrow bench with one basket underneath
- A wall pocket for mail that needs action
- A shallow tray for keys and sunglasses
- An over-door hook for occasional guests
- A vertical rack for umbrellas, if they are dry
Secure tall or unstable storage according to the manufacturer’s instructions, especially in homes with children. Keep exits and door movement clear.
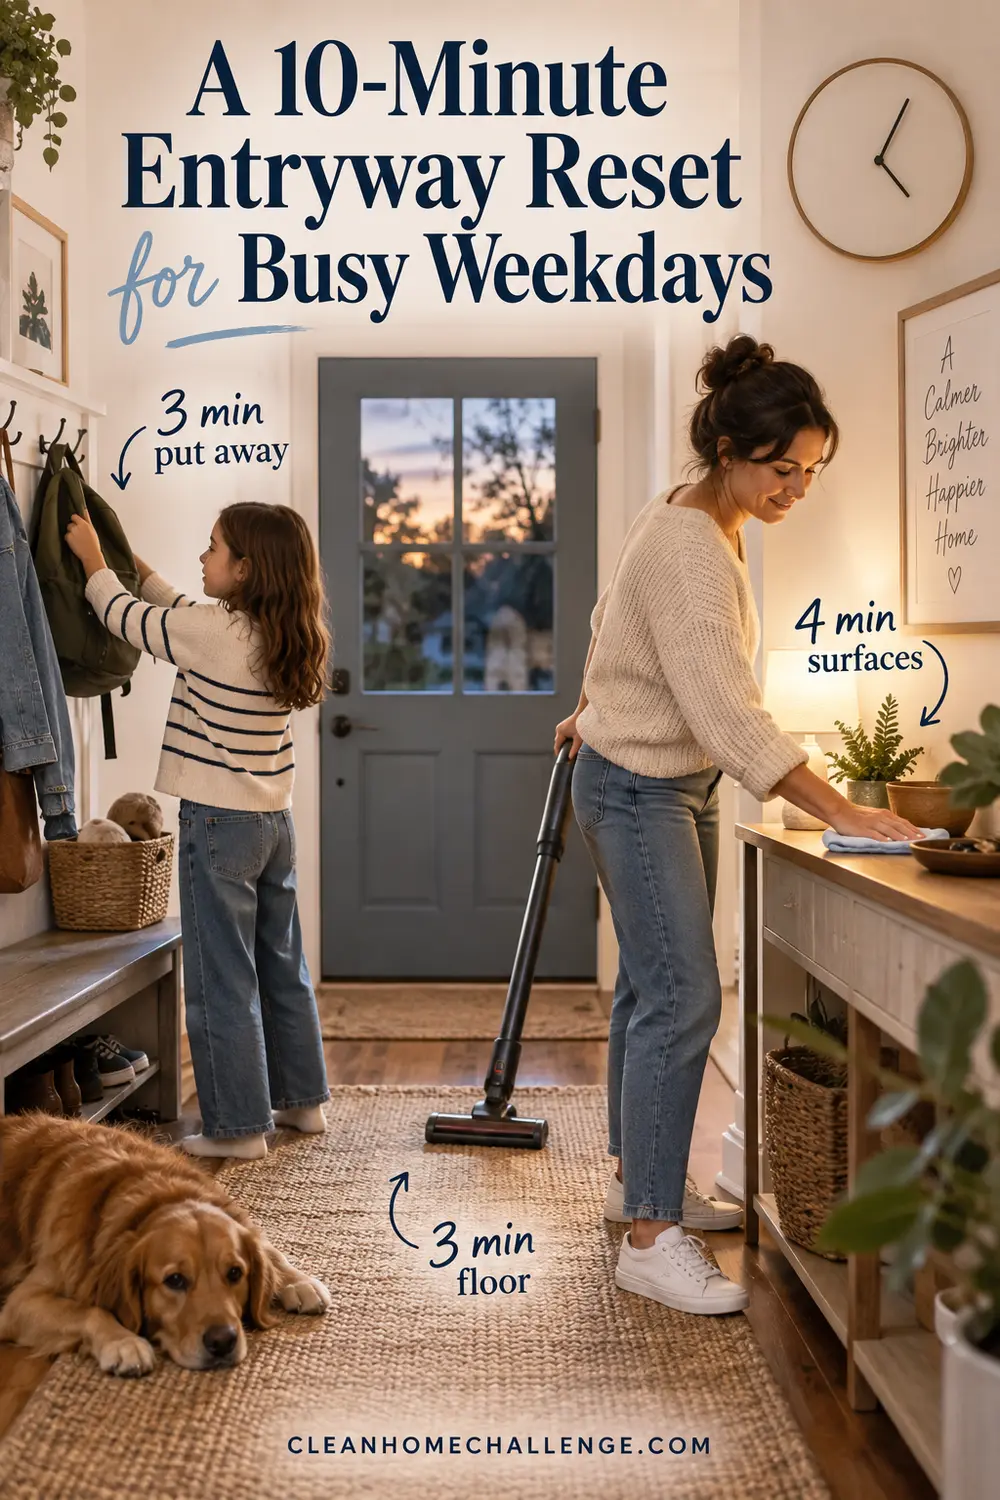
A 10-Minute Entryway Reset for Busy Weekdays
This short reset is enough to stop the entryway becoming a weekend project.
Minutes 1–3: Put away. Hang bags and coats, place shoes in their home, move rubbish to the bin, and put items for other rooms in a basket.
Minutes 4–7: Clear and wipe. Return keys to the tray, clear the console and wipe obvious marks or crumbs.
Minutes 8–10: Floor. Shake the mat if needed, then vacuum or sweep the visible traffic area.
Ask each family member to complete one action when they come in: shoes away, bag on a hook and rubbish in the bin. Tiny actions at the door are far easier than sorting a large pile later.
CLEANERS CLUBHOUSE
Follow a Simple Room-by-Room Cleaning Plan
Break the house into manageable spaces and know exactly where to focus next. The Cleaners Clubhouse gives you a follow-along 12-month calendar, printable worksheets and motivating monthly challenges.
Common Entryway Cleaning and Organization Mistakes
Keeping every pair of shoes by the door. The entryway becomes storage rather than a useful transition space. Keep the pairs being worn this week and rotate the rest.
Adding storage without reducing the contents. More baskets do not solve an unlimited amount of stuff. Set a clear capacity for each category.
Cleaning the floor first. Dust and crumbs from hooks, shelves and baskets will land on it. Always work high to low.
Using too much water near the door. Moisture can collect around thresholds and damage some flooring. Use the least water needed and dry the area well.
Making the system too difficult for children. Hooks that are too high and heavy-lidded boxes are unlikely to be used. Make the correct action the easiest action.
Turning the console into a permanent drop zone. A small tray is helpful; a large empty surface often attracts unrelated clutter. Give paperwork and items leaving the house a defined place.

How Often Should You Clean the Entryway?
Adjust the routine to your household, weather and foot traffic.
| Frequency | Tasks |
|---|---|
| Daily or as needed | Put away shoes and bags, return keys, remove rubbish, deal with wet footwear |
| Once or twice a week | Vacuum or sweep the traffic area, shake mats, wipe the console and obvious marks |
| Monthly | Dust high areas, vacuum under storage, wipe doors and skirting boards, sort baskets |
| Seasonally | Wash suitable mats, rotate shoes and coats, review storage, clean behind furniture |
Homes with pets, young children or wet weather may need the floor and mats cleaned more often. The goal is not a perfect entrance every day; it is preventing dirt and clutter from spreading farther into the home.

Your Simple Entryway Cleaning Checklist
- [ ] Put items that belong elsewhere into a basket
- [ ] Remove rubbish and recycling
- [ ] Return everyday shoes, coats, bags and keys to their homes
- [ ] Dust light fittings, frames, shelves and hooks
- [ ] Wipe the door, handle, frame and switches safely
- [ ] Clean the console, bench and storage baskets
- [ ] Vacuum edges, corners and under furniture
- [ ] Shake, vacuum or wash mats according to their care labels
- [ ] Clean the floor with a surface-safe method
- [ ] Let floors and mats dry fully
- [ ] Replace only the items that genuinely belong in the entryway
A clean entryway should make family life easier, not create another area that has to look perfect. Set up a few obvious homes, keep the walkway clear and use the 10-minute reset when life is busy. That is usually enough to make walking through the door feel calmer.