

THIS POST MAY CONTAIN AFFILIATE LINKS. PLEASE READ MY DISCLOSURE FOR MORE INFO.
An office chair can look reasonably tidy until sunlight catches the crumbs along the seam or the dusty strip where your legs rest. You do not need to turn the seat into a wet sponge to make useful progress. Start with the chair’s instructions, remove dry soil, and only treat marks with a method approved for that particular upholstery.
This guide is for routine dust and small surface marks on a fabric-covered home office chair. Mesh suspension, leather, vinyl, and removable washable covers have different requirements. A zipper does not prove a cover is washable, and a fabric that looks like your sofa may have a different backing or adhesive underneath.
Allow about 15–25 minutes of hands-on time for a straightforward chair, plus whatever testing and drying time it needs. That is a planning estimate, not a guaranteed drying schedule. If today only has room for vacuuming, stop there. Removing loose debris is a worthwhile clean in its own right.
The short version: find the care instructions, vacuum gently, test an approved treatment if needed, use minimal moisture, and keep the chair out of use until the seat is fully dry. If the instructions prohibit liquid, skip wet cleaning entirely.
Disclosure: This post may contain affiliate links. As an Amazon Associate, Clean Home Challenge earns from qualifying purchases. If you make a purchase through these links, we may earn a small commission at no extra cost to you. This helps us keep creating practical cleaning tips, routines and resources for busy families! 🧽
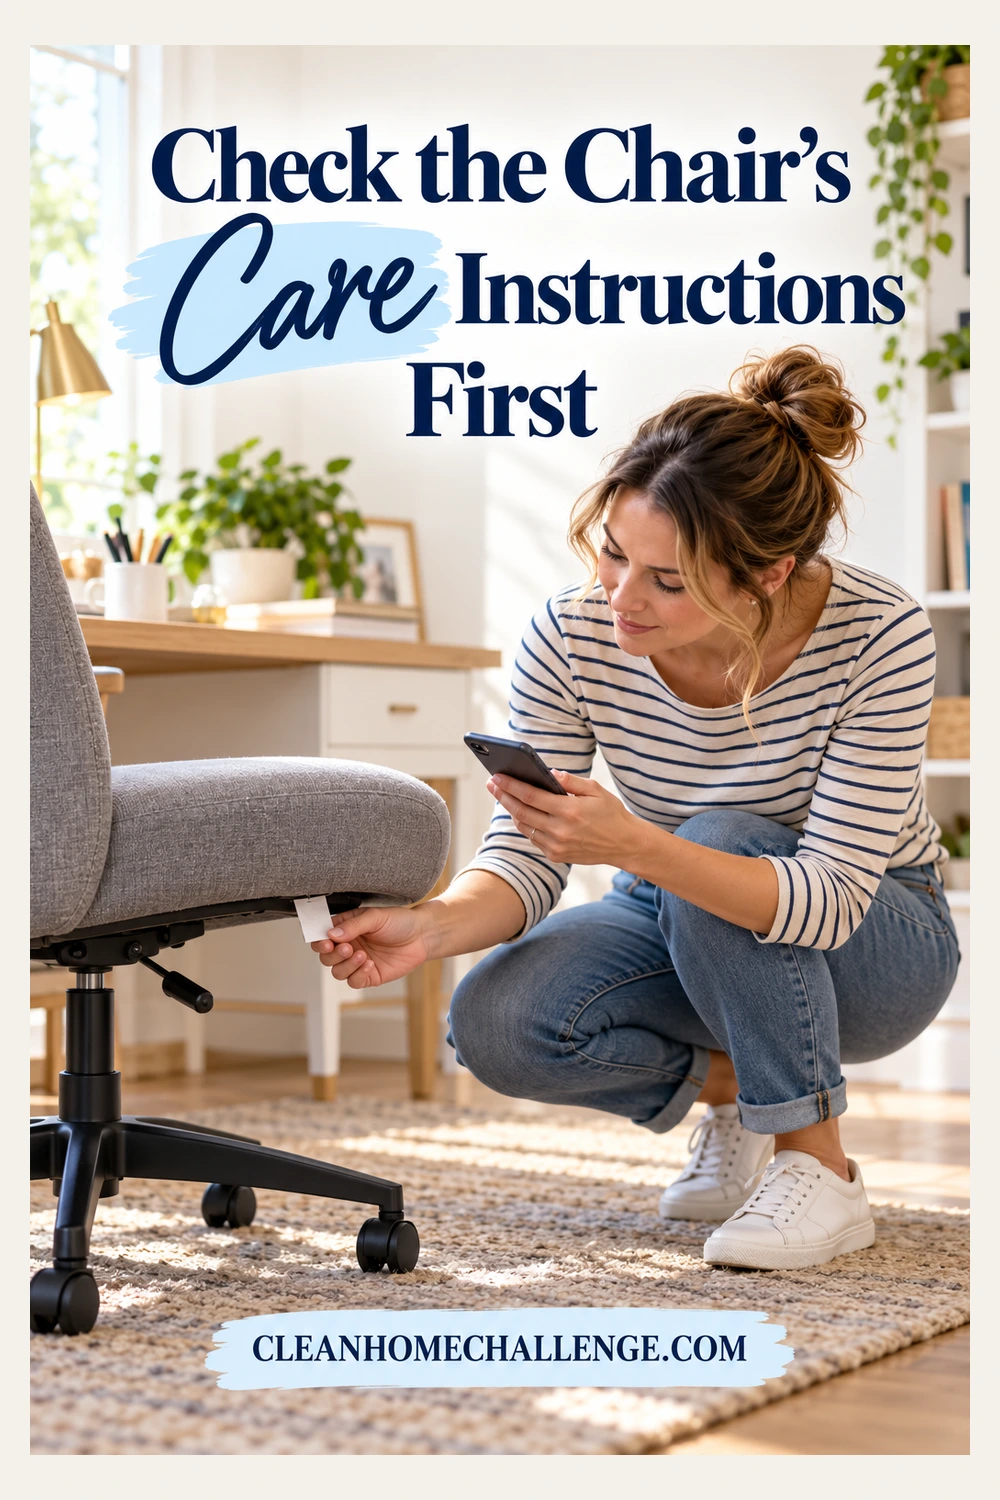
Check the Chair’s Care Instructions First
Look beneath the seat for a manufacturer label or model number. Use a phone camera if that is easier than bending, keeping the chair upright and stable. Do not balance a heavy chair on its back or lift it alone if that would be awkward. Check your purchase record or ask the retailer when the label is missing.
Find the care instructions for both the chair model and its installed fabric. A model may be sold with several upholstery options, and the same collection can include fabrics with different treatments. Record the material name as well as the chair name. Ask the manufacturer which instructions apply if the label and online guide disagree.
A care-label decision chart
| What the instructions say | A sensible starting point | What this does not authorize |
|---|---|---|
| W: water-based upholstery treatment | Vacuum first; use the specified water-based product and method after a successful hidden test | Soaking the foam, machine washing the cover, or using any household spray |
| S: solvent-based treatment | Vacuum; ask the maker or an upholstery professional about the specified solvent process | Water, a homemade mixture, or an improvised solvent |
| WS or SW: either treatment category may be permitted | Follow the installed fabric’s detailed instructions and product label | Mixing products or assuming every water-based or solvent product is compatible |
| X: no water-based or solvent cleaner | Dry soil removal using the approved vacuum method | Foam, damp wiping, stain spray, or steam |
| No readable code, or conflicting guidance | Stop at gentle dry removal where the maker permits it; identify the fabric before treating marks | Guessing compatibility from color, texture, price, or a video |
The code is a starting point, not a complete recipe. Steelcase’s surface-material guidance explains that codes concern the outer fabric and that wetting can damage the filling. Coatings and laminations can also change the appropriate cleaning method. Keep the model-specific instructions above a generic code chart.
Manufacturer guidance can distinguish routine cleaning from treatment of a particular stain. The Herman Miller Sayl care guide warns against water or liquid solution for normal fabric cleaning, then gives separate instructions for specified stains. Do not treat those stain-specific directions as permission to wash the whole seat. Confirm that the guide applies to your installed upholstery, and ask the manufacturer if its directions are unclear. “Fabric chair” alone is not enough information to choose a cleaner.
Gather a small kit
Set out a vacuum with a clean upholstery nozzle, several soft white absorbent cloths, the approved product if one is needed, and the written directions. White cloths make transferred dye easier to notice. Use gloves and ventilation when the product label requires them. Keep children and pets away from the cleaning area, and return supplies to secure storage afterward.
Leave the steam cleaner, stiff brush, scrub pad, fragrance spray, and carpet-cleaning machine out of this routine. Do not use vinegar, baking soda paste, alcohol, bleach, or a disinfecting wipe as a universal fabric treatment. Never combine cleaning products. A product being suitable for the plastic arms does not make it suitable for the seat.
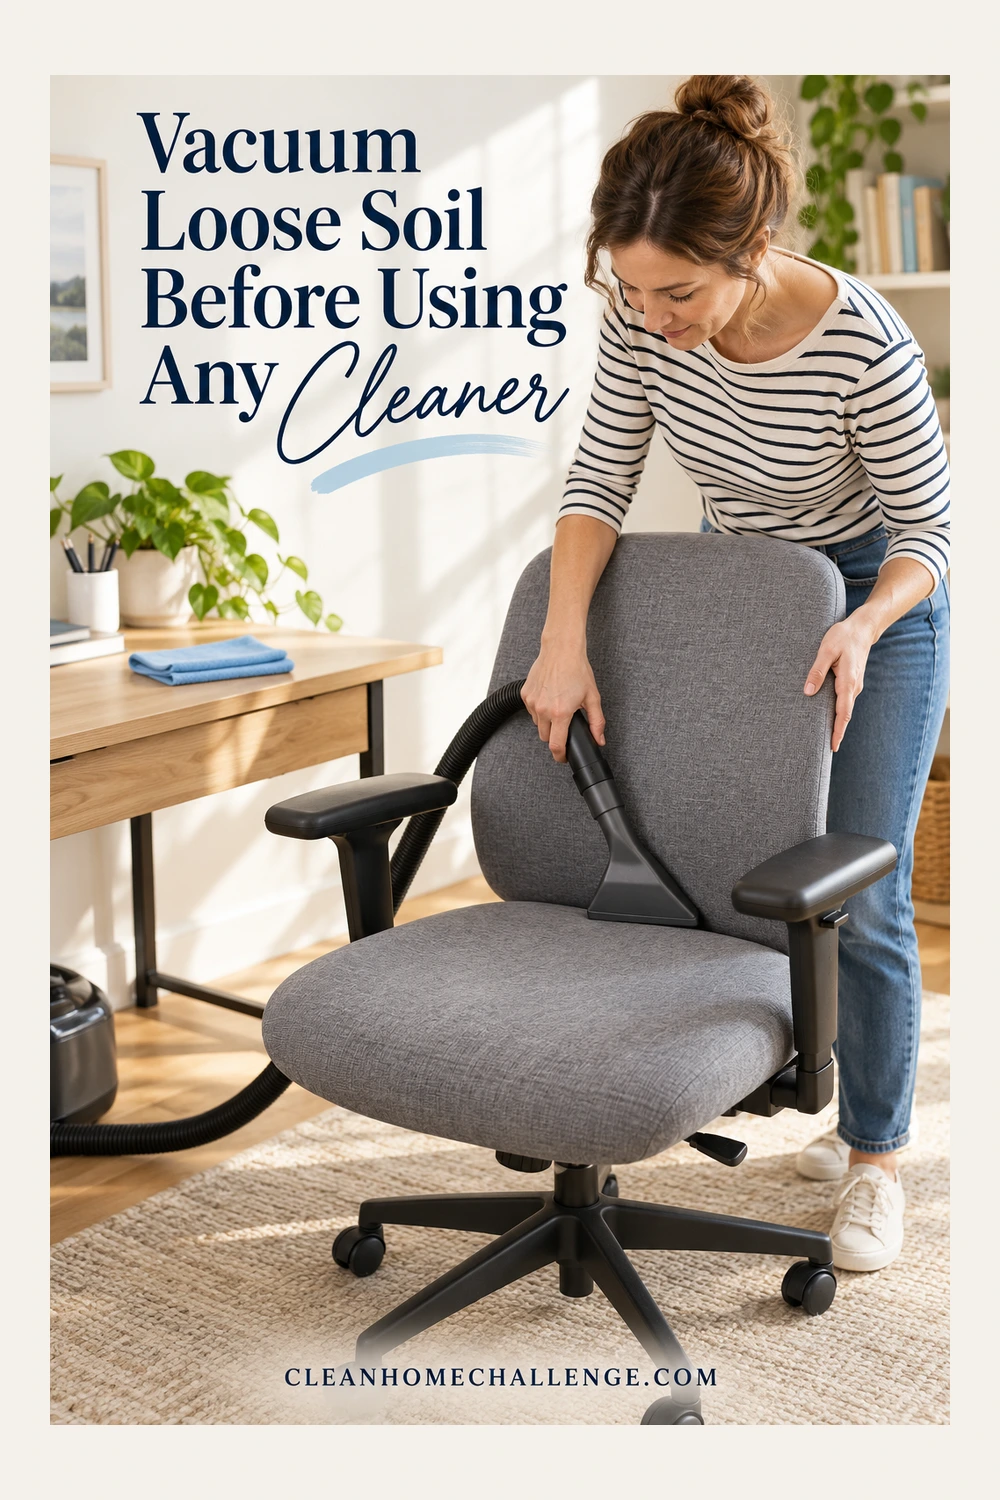
Vacuum Loose Soil Before Using Any Cleaner
Move papers and electronics away from the chair. Pick up larger loose pieces by hand so they do not catch in the nozzle. Check the upholstery attachment for grit or rough edges before touching the fabric, and follow the chair maker’s instructions about suction and attachments.
Work from the backrest down to the seat, then along accessible seams and edges. Use slow, light passes rather than pressing hard enough to stretch or pull the fabric. Support a loose fold gently if necessary, keeping your fingers clear of the nozzle. Do not force a crevice tool under trim or into a mechanism.
The Herman Miller Verus guide recommends an upholstery attachment and warns against rotary brushing. A soft-looking powered brush can still be the wrong tool. If the material snags or lifts, stop and check the instructions rather than increasing suction or brushing the spot.
Take a little extra time at the front edge, where dust and clothing lint collect, and in the join between the back and seat. Those small areas often make the chair look much fresher without any liquid. Use separate tools or cloths for the hard frame so you do not carry greasy dirt back onto the upholstery.
Decide whether a mark needs more work
After vacuuming, look at the fabric in even daylight. Some dark patches are wear, flattened texture, or a shadow from the weave rather than removable soil. You do not need to chase every variation. Compare a small patch from more than one angle before deciding it needs treatment.
For a fresh spill, gently blot excess liquid with a clean absorbent cloth as soon as possible; do not rub it across the seat. Then identify the approved treatment before adding anything. Use a fresh part of the cloth as it becomes soiled. Ink, grease, dyes, bodily fluids, persistent odors, or widespread staining need advice suited to the stain and fabric rather than repeated generic wiping.
If the chair has a heater, powered adjustment, speakers, or other electrical features, follow its shutdown and cleaning directions. Keep moisture out of controls, openings, and underneath the seat. Do not dismantle the chair or remove a gas cylinder to clean it.
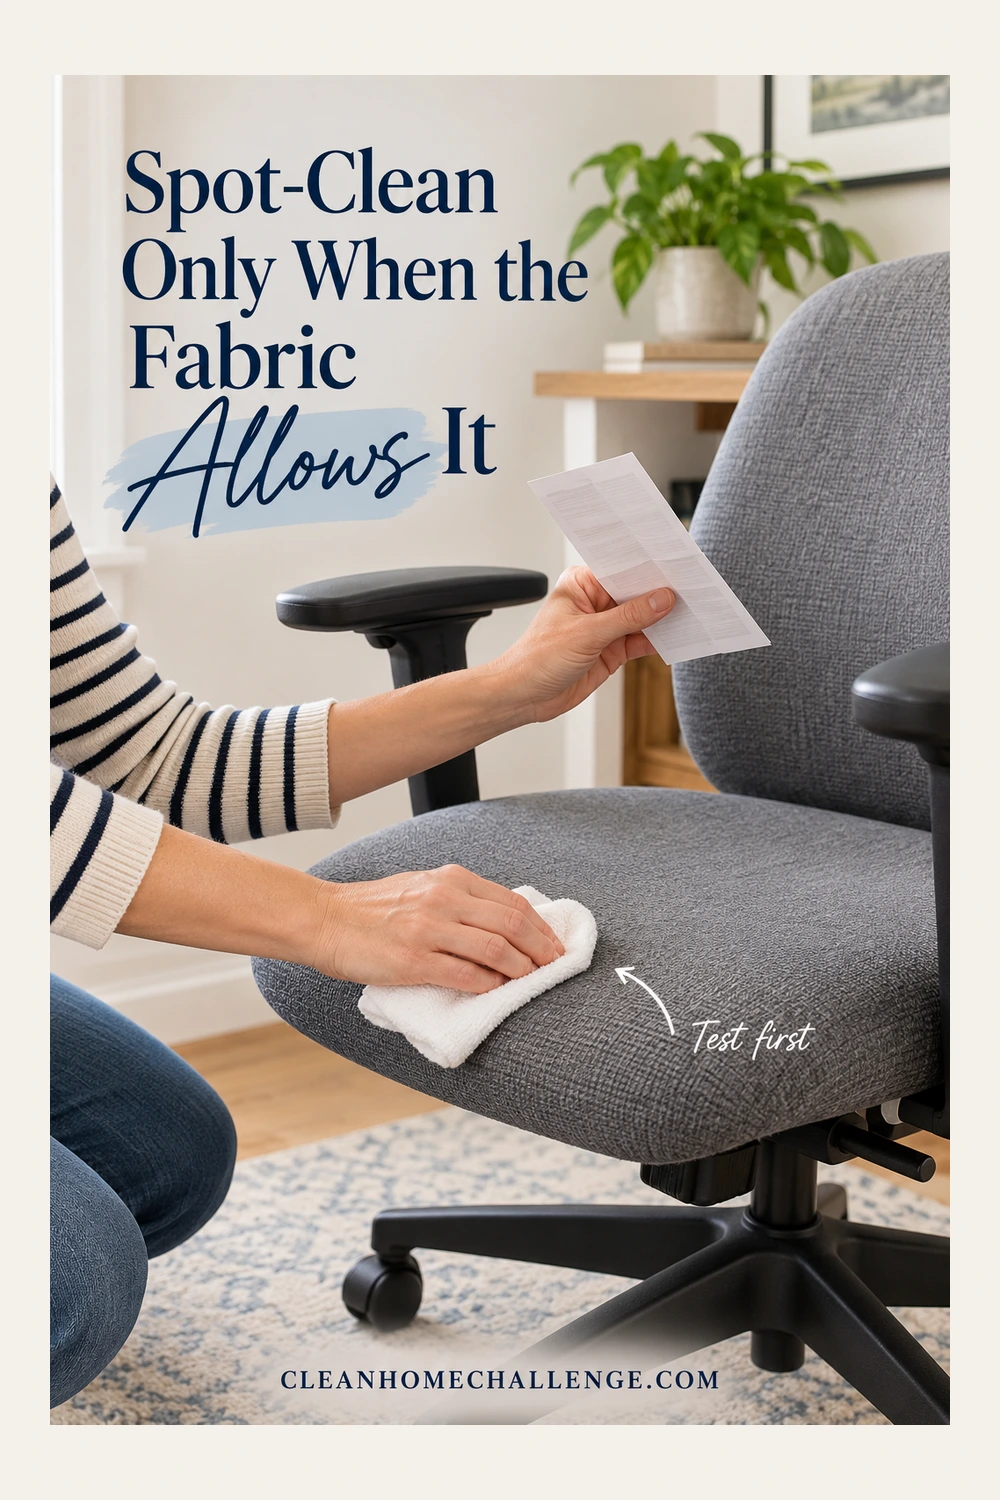
Spot-Clean Only When the Fabric Allows It
Use this section only when the installed upholstery instructions allow the proposed treatment. For S or X fabrics, an unknown material, or a guide that prohibits liquid, do not follow the water-based steps below. Getting professional help is a practical stopping point, especially for an expensive chair or a large stained area.
Test first and let the test dry
Read the cleaner label for fabric compatibility, application, dilution, contact time if specified, residue removal, and ventilation. Do not invent a stronger mixture. Test the complete permitted method on a concealed area of the same upholstery, not on a different underside lining. Allow it to dry fully before judging it.
Check for transferred dye, a pale or dark ring, changed texture, stiffness, puckering, tackiness, or a lingering product smell. A wet test that looks fine is not a finished compatibility test. Stop if you notice a change, and do not try to cancel it out with another chemical.
A controlled method for compatible small marks
- Protect the surrounding work area and have dry cloths ready. Keep any liquid container away from outlets, devices, children, and pets.
- Apply the approved cleaner exactly as directed. Where the chair and product instructions permit cloth application, put a small amount on the cloth away from the chair rather than spraying the whole seat. The cloth should not drip.
- Work gently on the small affected area using the permitted action. Avoid vigorous rubbing. Turn the cloth to a clean face as soil transfers, and stop if color comes off the upholstery.
- Remove residual cleaner only by the method the instructions specify. If damp-cloth residue removal is allowed, use a fresh well-wrung cloth; do not rinse by pouring water through the cushion.
- Blot remaining moisture with a dry absorbent cloth, without twisting, scrubbing, or repeatedly pressing liquid deeper into the padding. Leave the chair to dry before deciding whether further treatment is appropriate.
For example, the Verus guide permits specific water-based treatment for water-based stains, gentle residue removal, and thorough drying. That permission belongs to the materials named in that guide. It is not a reason to wet another chair that has different instructions.
Do one small treatment and assess the dry result. If the mark spreads, leaves a ring, or resists the approved method, stop. Cleaning the entire cushion to hide a small wet patch can turn a limited problem into widespread saturation. Ask an upholstery professional about compatible treatment for a large area rather than using a portable extractor by default.
When the seat already feels soaked
Stop adding liquid. Blot what you can with clean dry cloths and arrange gentle room airflow, keeping electrical equipment and trailing cords clear. Do not sit on the cushion, cover it with a towel for use, or add heat to rush it. Contact the manufacturer or a professional if the padding is deeply wet, odor develops, or the chair cannot dry adequately. This routine does not address flood damage, mold, or contaminated padding.
Let the Seat Dry Fully Before Sitting Down
Choose a time when you can use another suitable chair. Leave the cleaned chair in a ventilated room with space around it, away from children and pets. A room fan may help circulate air when it can be positioned safely, but it does not make an incompatible cleaning method safe or prove the inside is dry.
Avoid a hair dryer, heater, steam, or intense direct sun unless the chair’s instructions specifically allow that approach. Do not remove glued upholstery, open seams, or take off a cover simply because a zipper is visible. Removable parts should be handled only as the manufacturer directs.
There is no reliable universal “ready in two hours” promise. The amount of moisture, padding, fabric, room conditions, and airflow all matter. A surface can feel dry while the cushion underneath remains damp. If you are uncertain, give it more time and seek advice rather than sitting down to test it.
Dry-before-use checkpoint
- The full treated area, seams, and accessible cushion edges feel dry, with no dampness transferring to a clean white cloth under gentle pressure.
- The fabric has returned to its normal appearance and texture, without a new ring, stiffness, tackiness, or color change.
- There is no reason to suspect wet padding beneath a dry surface. A saturated cushion needs more than a touch test.
- Cleaner ventilation and re-entry instructions have been met, and any separately cleaned hard parts are dry.
- Any final vacuuming required by the chair instructions is complete, using the appropriate attachment.
These are useful home checks, not a measurement of moisture inside foam. A lingering damp or musty smell is a reason to investigate, not to cover it with fragrance. If a clean, fully dry chair still smells or has unexplained staining, ask for fabric-specific help.

Keep Chair Care Small and Manageable
Add the chair to your normal bedroom or living-area cleaning, depending on where you work. You do not need to deep-clean the whole office every time. A quick look at the seat, removal of loose debris, and a gentle vacuum when needed will usually be a more manageable routine than waiting for a heavily soiled cushion.
Keep mugs on a stable surface away from the chair and use the chair for sitting rather than holding laundry, damp towels, or cleaning supplies. If several people use the desk, agree on one care method and where the instructions are saved. This prevents a well-meant spray from undoing careful upkeep.
Clean any manufacturer-approved removable cover separately according to its own label, and let it dry fully before reassembly. Do not add an unapproved cover that interferes with chair controls, support, or ventilation. For the surrounding room, our home office cleaning guide helps you keep paper stacks in order while cleaning.
Copyable chair-care card
Save this in your household notes or copy it onto a card near your cleaning supplies:
Chair model and fabric: __________
Care guide or retailer contact: __________
Approved routine method and attachment: __________
Approved spot treatment, if any: __________
Hidden test location and dry result: __________
Avoid on this upholstery: __________
Last vacuumed / treated: __________
Return to use: only after the care directions and dry-before-use checks are met.
On a low-energy day, complete just the dry stage and leave the care card ready for later. If a mark remains after the permitted treatment, you have reached a useful decision point: get specific advice instead of repeating the same wash. A comfortable, usable chair and a routine you can keep are the aim.


CLEANERS CLUBHOUSE
Follow a Simple Room-by-Room Cleaning Plan
Break the house into manageable spaces and know exactly where to focus next. The Cleaners Clubhouse gives you a follow-along 12-month calendar, printable worksheets and motivating monthly challenges.