

THIS POST MAY CONTAIN AFFILIATE LINKS. PLEASE READ MY DISCLOSURE FOR MORE INFO.
A home office can collect several kinds of mess at once: dust behind the monitor, yesterday’s mug, a chair full of laundry, and a stack of papers that actually makes sense to the person using it. Clearing everything into one box may give you an empty desk, but it can also leave you hunting for tomorrow’s appointment letter.
This home office cleaning checklist starts by protecting that working order. You’ll clean one zone at a time, treat electronics separately from furniture, and put useful things back where you can find them. You do not need to sort years of records before you can remove today’s dust.
Allow roughly 60–90 minutes for an ordinary room, plus drying time, or split the work into three shorter sessions. That is a planning estimate, not a deadline. A crowded study, delicate equipment, or limited mobility may call for a slower pace. If you share the office, agree on what may be moved before you start.
The order is simple: protect papers, power down, dust high surfaces, clean devices, wipe furniture, finish the floor, and reset the space. Check the care instructions for each material and device. A cleaner that suits the desktop may damage the screen sitting on it.
Disclosure: This post may contain affiliate links. As an Amazon Associate, Clean Home Challenge earns from qualifying purchases. If you make a purchase through these links, we may earn a small commission at no extra cost to you. This helps us keep creating practical cleaning tips, routines and resources for busy families! 🧽
Protect Papers Before You Clean
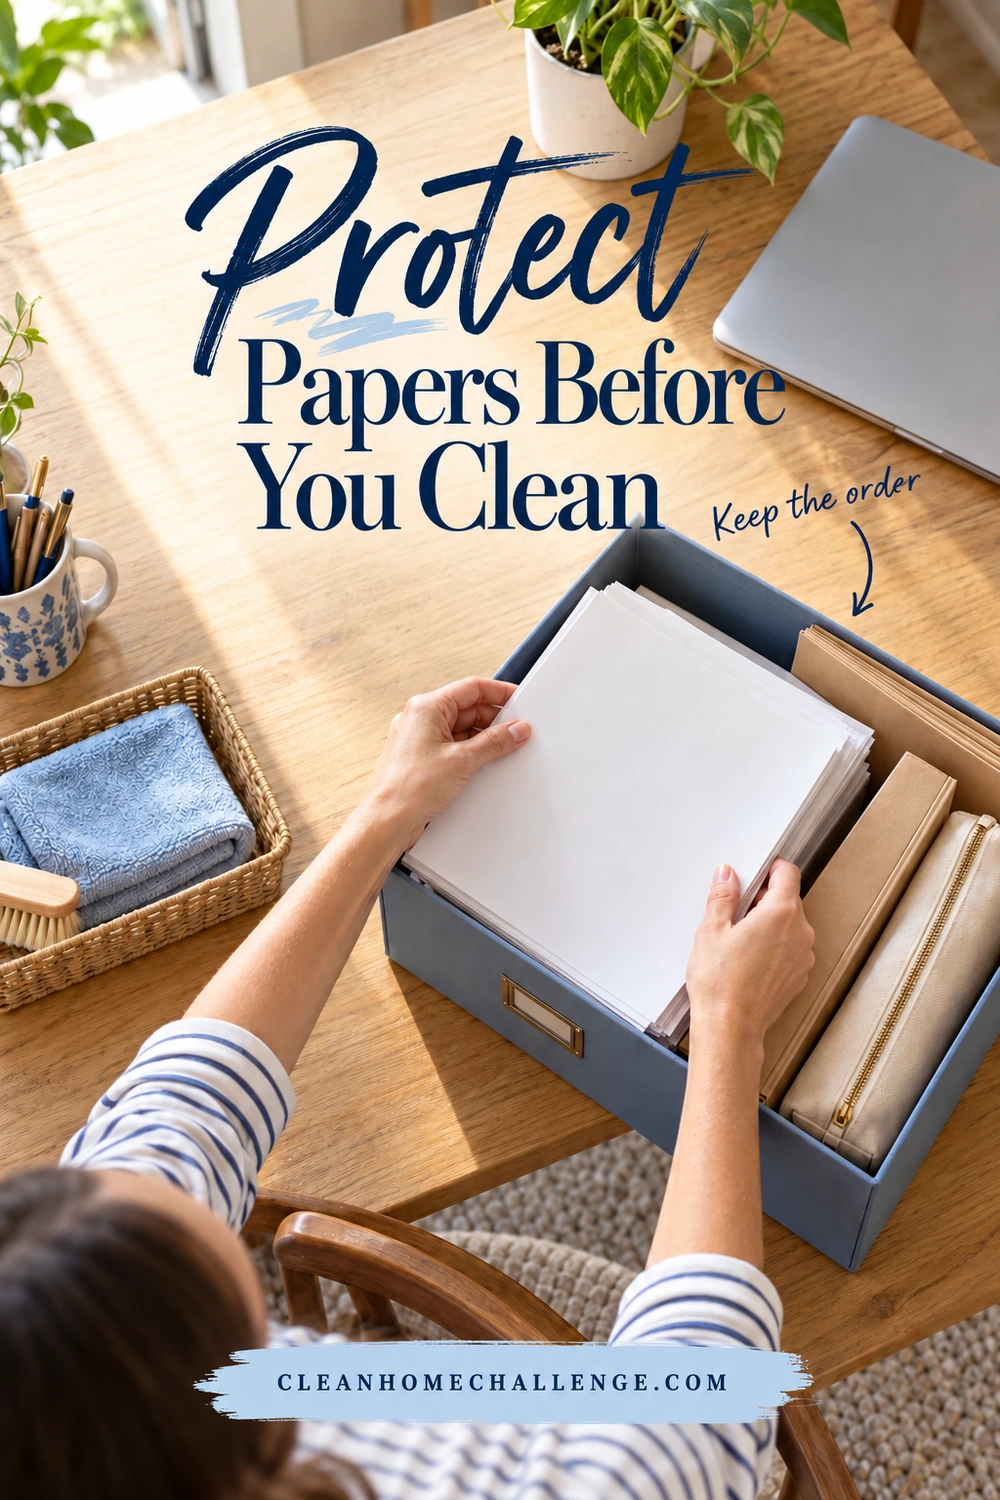
Start with a dry landing place outside the cleaning zone. A spare tray, clean shelf, or empty table works well. Keep it away from drinks, cleaning products, open windows, pets, and small children’s reach. Avoid the floor, where a paper stack can become mixed with recycling or get stepped on.
Before moving anything, take a quick reference photo for your own use. If papers show private information, keep the photo secure and do not upload or share it. You can also sketch a simple desk map: current project on the left, household forms on the right, appointment notebook beside the phone.
Keep the existing order intact
- Move one stack at a time. Slip it into a folder or place it in a shallow tray without rearranging the pages.
- Label the container by location or purpose, such as “left desk stack” or “forms to return.” Put temporary labels on the container, rather than directly on delicate documents.
- Keep loose receipts with the envelope, project, or notebook they belonged to. Do not shake a paper pile over the trash.
- Make one separate “check later” folder for anything you cannot identify. Uncertainty is a reason to keep it temporarily, not a reason to discard it.
- Leave another person’s papers in their original order and ask them to handle decisions about filing or disposal.
Set out a distinct recycling bag for obvious packaging and used envelopes only after checking their contents. Keep confidential material separate for the owner’s approved disposal method. A cleaning session is not the time to guess document-retention periods or shred papers simply because they look old.
For older letters, certificates, and photographs, use a clean work surface and handle them carefully. The National Archives’ handling guidance recommends clean, lotion-free hands for paper and gloves for photographs and negatives. Do not wipe original documents with cleaning products. Fragile, damp, moldy, or damaged items need appropriate preservation advice before ordinary room cleaning continues around them.
If paper decisions are the main thing slowing you down, save that job for a separate session with our paperwork decluttering guide. Today, a labeled tray that preserves the order is enough.
Power Down and Gather Gentle Tools
Save your work before switching devices off. Follow the manufacturer’s shutdown and disconnection instructions, unplug equipment you plan to clean, and let hot surfaces cool. For an employer-owned laptop, follow workplace IT guidance as well. Do not open computer cases, remove internal batteries, or disconnect equipment you do not understand just to reach a dusty corner.
Photograph the cable arrangement or label both ends before unplugging several similar leads. Avoid including passwords, account details, or other private information in a reference photo. If a device must remain running, leave its cleaning for a suitable shutdown window and clean the surrounding furniture only where you can do so safely.
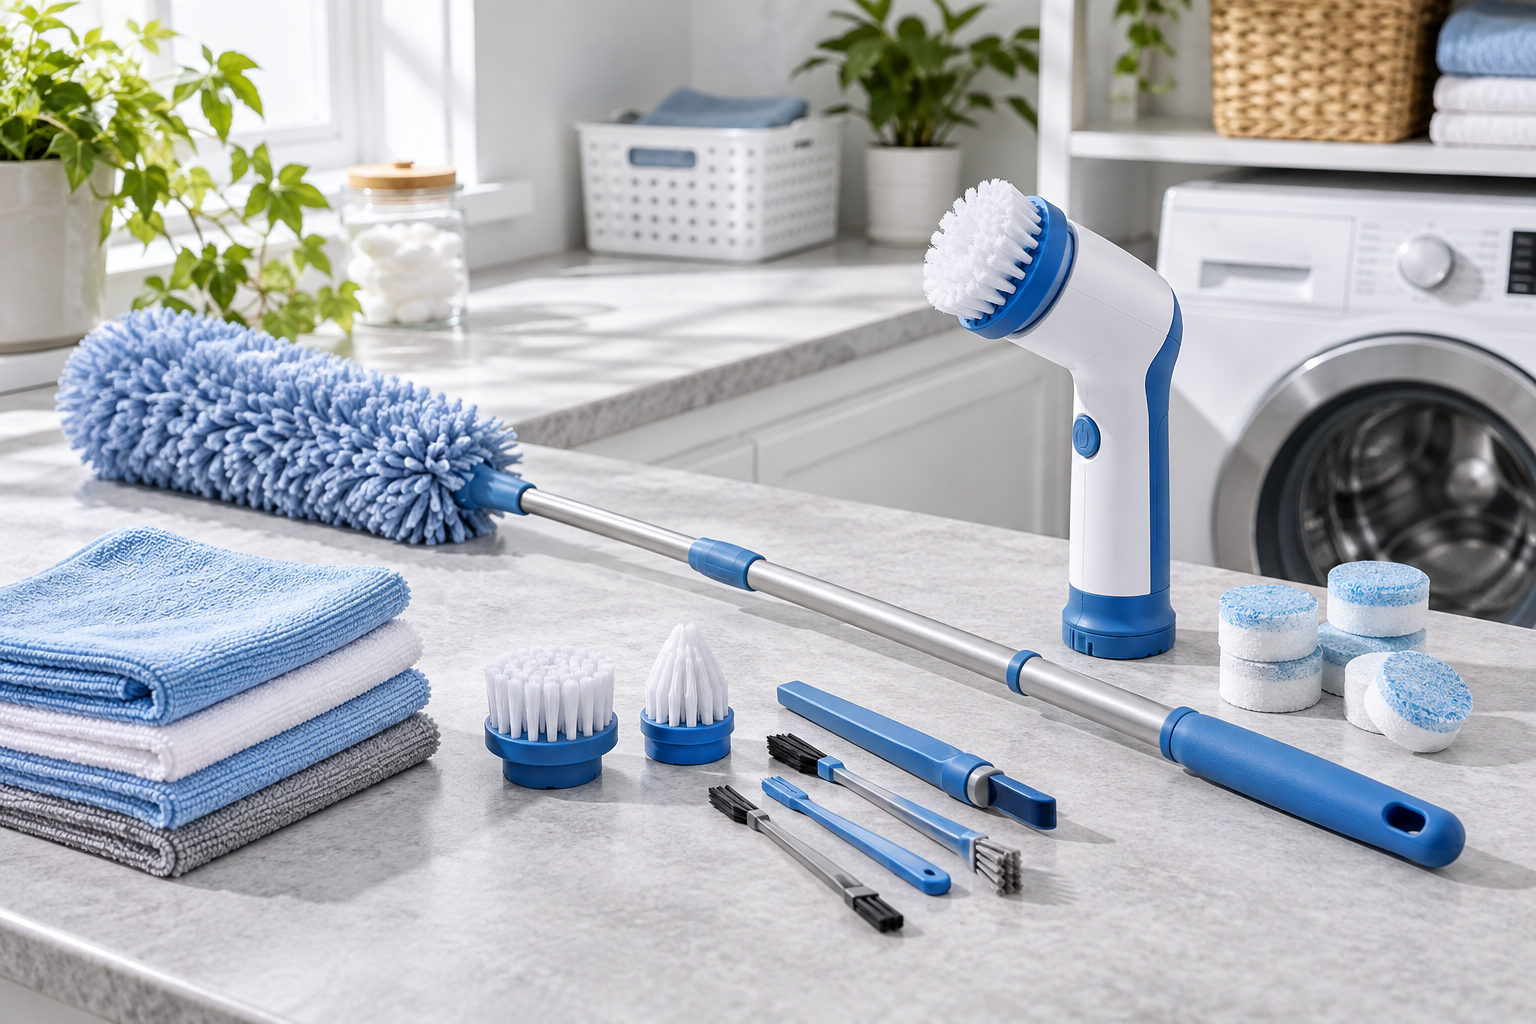
A small, useful kit
- Several clean, soft lint-free cloths, with one reserved for the screen
- A soft duster for shelves and high corners
- A vacuum with suitable floor, crevice, and upholstery attachments
- The furniture cleaner approved for your desk and storage finishes
- Distilled water if your display instructions permit it
- A dry tray or folders for papers, plus a separate container for small desk items
- Gloves when the cleaning-product label calls for them
Keep liquids in a stable location away from power outlets and devices. Apply an approved product to the cloth away from equipment, rather than spraying across the desk. Use the lightest amount needed; a cloth should not drip into seams or openings.
Ordinary vacuum attachments belong on the floor, furniture, and other compatible non-electronic surfaces. Dell’s computer-care guidance warns against using a vacuum or blower on computer equipment because of static. Use only the dust-removal method approved for your device; compressed air is not a universal shortcut for every keyboard or printer.
Keep the kit simple. Skip abrasive scrubbers, melamine sponges, household glass cleaner, furniture polish, and homemade mixtures on electronics. Do not mix cleaning products. Ventilate as directed, and put everything back in child- and pet-safe storage when you finish.

Dust the Room From the Top Down
With papers protected and equipment safely out of the dust path, work around the room in one direction. Start above the desk and finish at desktop height before moving lower. This avoids cleaning the same shelf three times while dust keeps falling onto it.
Use a long-handled duster for reachable ceiling corners and the top of bookcases. Do not balance on a rolling office chair or stretch across a desk to reach a high spot. Leave an awkward area for a suitable safe-access method or help from another adult. Turn lamps off and let bulbs cool before dusting their accessible exterior surfaces.
Work in small shelf sections
Lift a few books or objects onto your dry tray. Dust the empty section with a suitable cloth, clean each item’s exterior as its materials allow, and return it before starting the next section. Keep books upright and together rather than stacking them on top of the paper trays. Do not spray books or pull apart a collection of loose papers to reach the shelf beneath.
A soft cloth is usually a sensible first step for dry dust. If the shelf finish permits damp wiping, use a well-wrung cloth and dry the surface before replacing anything. Test an unfamiliar cleaner in a hidden spot and allow it to dry before treating the visible area. A finish that looks like solid wood may be veneer, laminate, or a coating with different care needs.
Dust picture frames, the top of the doorframe, windowsills, and the accessible exterior of storage units. Keep moisture away from artwork, photograph edges, electrical fittings, and unfinished wood. If blinds or windows need a full wash, decide whether to tackle them now or schedule them separately; they can easily turn a manageable office clean into an all-day project.
For a very dusty room, fold the cloth to expose a fresh face often and change it when loaded. Take the dirty cloth out of the work area rather than using it on the monitor later. Keep a separate clean cloth for screens so grit from shelves cannot be dragged across their coatings.

Clean Screens, Keyboards, and Desk Devices
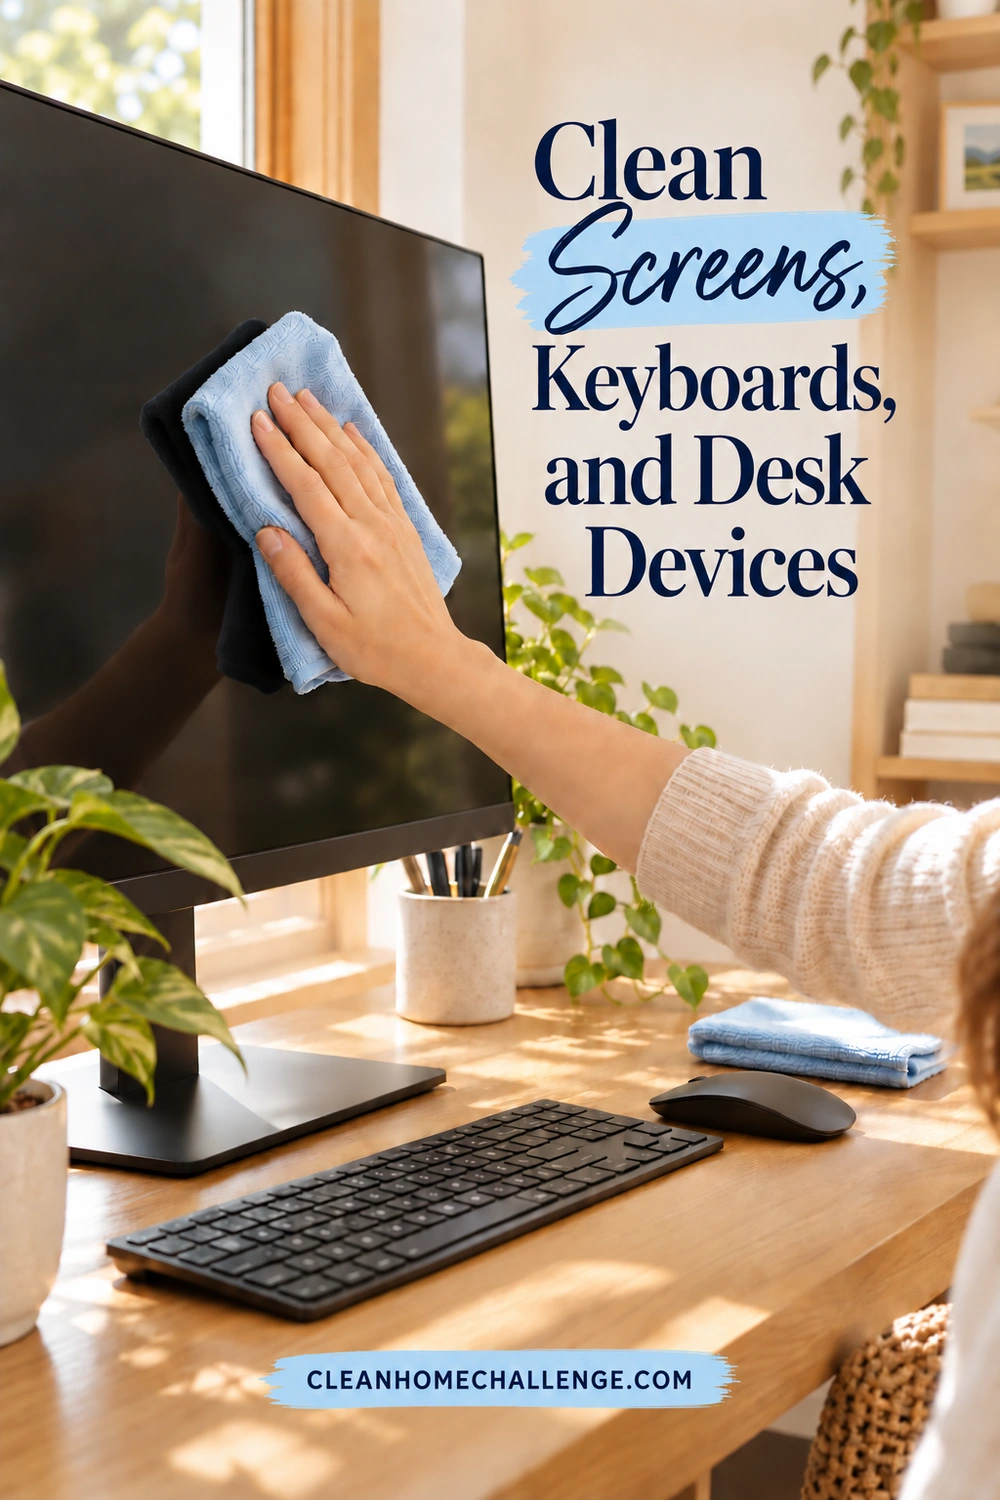
Treat each device as its own small job. Look up the model’s care instructions before using anything wet, including products labeled “screen cleaner.” Different coatings, fabrics, adhesives, and surface treatments need different care.
Screens and monitors
Begin with the display switched off, disconnected as instructed, and cool. Inspect your clean screen cloth for grit. Gently lift loose dust without pressing hard on the panel. If marks remain, use only the liquid and cloth method permitted for that specific display, then let it dry before reconnecting.
Samsung’s monitor instructions emphasize a soft microfiber cloth, gentle pressure, and applying moisture to the cloth rather than the screen. They warn against alcohol, ammonia, and ordinary window cleaners. Apple’s product-care guidance varies by product and display type, including special instructions for nano-texture glass. That difference is why a wipe suitable for one laptop should not automatically be used on a different monitor.
Do not spray the display, scrub stubborn spots, or let liquid run along the lower edge. If you cannot identify the coating, stop at gentle dry dust removal and find the correct instructions before attempting the mark. An intact screen is more important than removing every fingerprint today.
Keyboard, mouse, and phone
Power off or disconnect the device as its maker directs. Remove user-removable batteries only when the instructions call for it. Wipe the accessible exterior with the approved cloth or wipe, keeping moisture out of gaps. Clean the mouse’s outer shell and accessible edges without flooding the sensor opening.
For crumbs between keys, use the model-specific method. Do not pry off laptop keys, pour cleaning liquid into the keyboard, or improvise with a household vacuum. If approved compressed air is part of the instructions, follow the specified angle, distance, and can directions. Skip it if you cannot verify compatibility.
Clean a phone and its case separately according to their materials, and allow both to dry before reassembly. Do not assume a leather, fabric, or silicone case takes the same treatment as the screen.
Printers and other desk equipment
Dust the accessible exterior using the manufacturer’s method. Keep paper-feed slots and ventilation openings clear, but do not push dirt inside with a wet cloth. Leave toner spills, internal printer cleaning, sticky keys, and devices that have taken in liquid to the appropriate product guidance or service support. A household surface cleaner is not a repair tool.
Disinfecting is a separate decision. The CDC’s home-cleaning guidance says routine sanitizing or disinfecting is generally unnecessary unless someone is sick. When it is needed, use a device-compatible product exactly as directed, including its contact time, and follow the equipment maker’s restrictions. Do not sacrifice a screen coating to make the desk feel extra clean.
Wipe the Desk, Chair, and Storage
Once the dust and devices are dealt with, clean the furniture in small sections. Keep the protected paper trays away until every surface is dry. Empty just one drawer at a time into a divided tray so tiny items, spare keys, and important notes do not disappear into a mixed pile.
The desktop and drawers
Remove loose dust first. Then use the finish-approved product on a cloth and wipe the desktop, edges, drawer fronts, handles, and reachable legs. Pay attention to the front edge where hands rest. Use gentle passes rather than soaking a dried coffee ring and hoping it loosens.
On wood, veneer, or laminate, keep moisture out of seams, screw holes, damaged edges, and areas where the finish is lifting. Follow the manufacturer’s drying and residue-removal directions. For a glass top, use a suitable glass-care method while keeping overspray away from nearby screens, frames, and outlets. Do not treat every shiny surface as plain glass.
If a mark persists, identify it before escalating. Ink, adhesive, water damage, and worn finish need different responses. Test compatible treatments discreetly; an abrasive pad can turn a small mark into a much larger dull patch. Stop if color transfers to the cloth or the surface changes.
The office chair
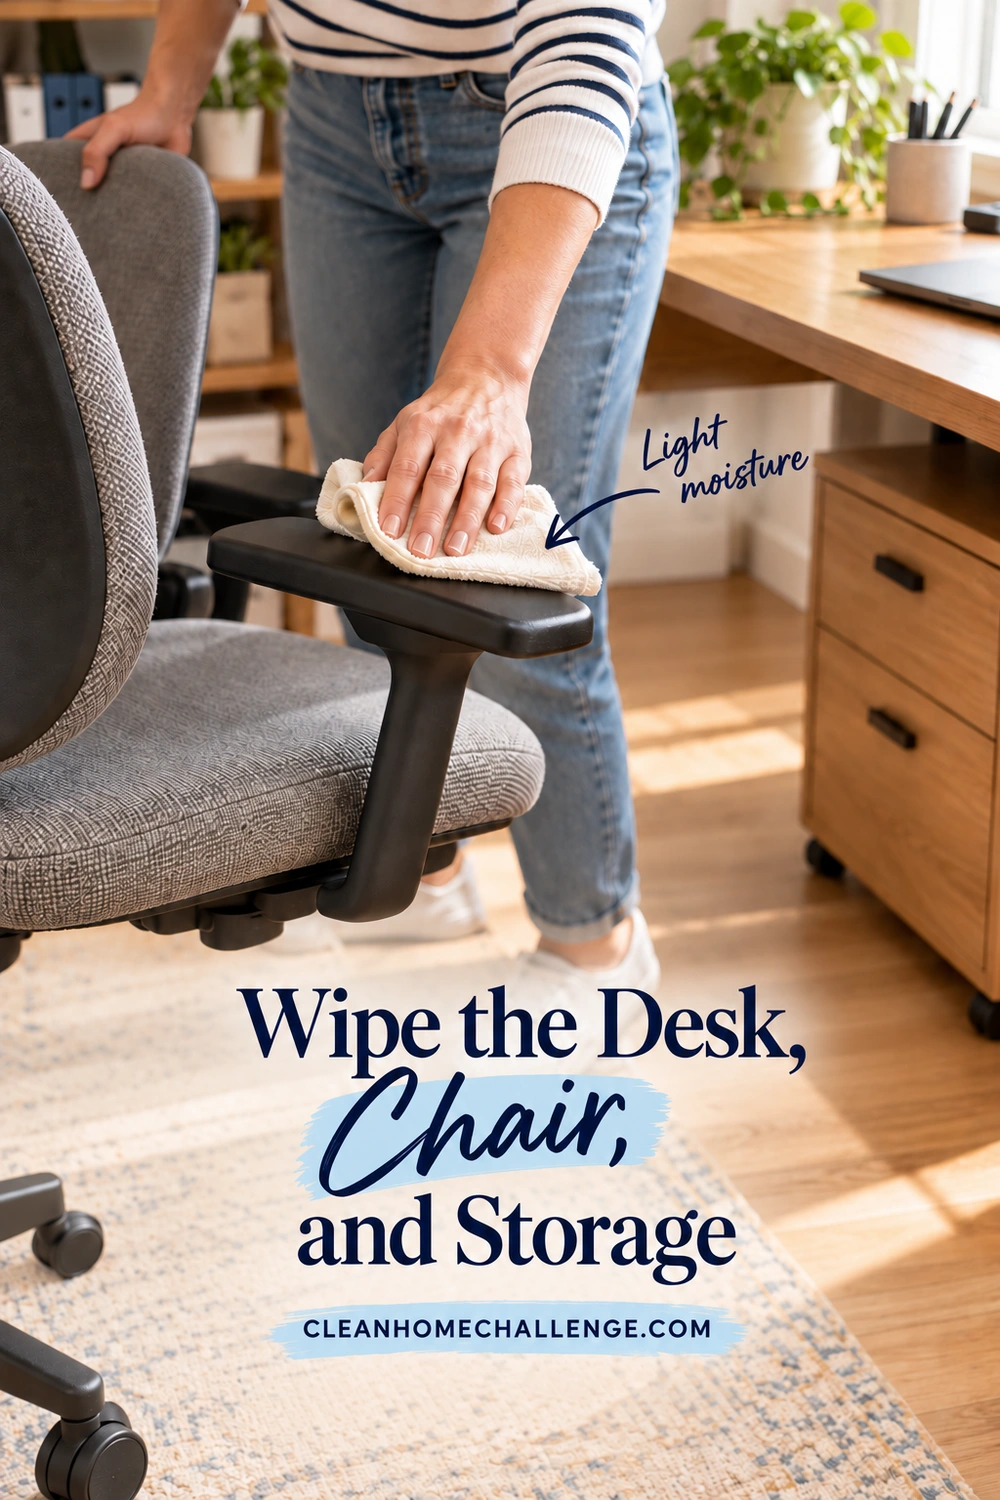
Check the chair label or product guide for each material. A fabric seat, mesh back, plastic arms, and metal base may all need different methods. Remove accessible crumbs from compatible upholstery with the appropriate vacuum tool and gentle suction. Wipe hard components as their finish allows.
Spot-clean upholstery only with a method approved for its fabric, test first, and avoid saturating padding. Let the seat dry fully before sitting down. Leather, wool, delicate mesh, and coated fabrics should not share a guessed all-purpose recipe. Steelcase’s cleaning guide is a useful example of why furniture care is material-specific and why electrical components need protection from liquids.
Check accessible chair wheels for trapped hair and fluff. Remove only what you can reach safely with the chair stable; follow its instructions before taking wheels off. Do not tip a heavy chair awkwardly or force a jammed component. If the chair has electric features, use its specific power and cleaning precautions.
Wipe the empty trash-bin exterior and interior using a material-compatible method, then dry it before replacing a liner. Put any loose paper found nearby into “check later” unless you are certain it is trash.
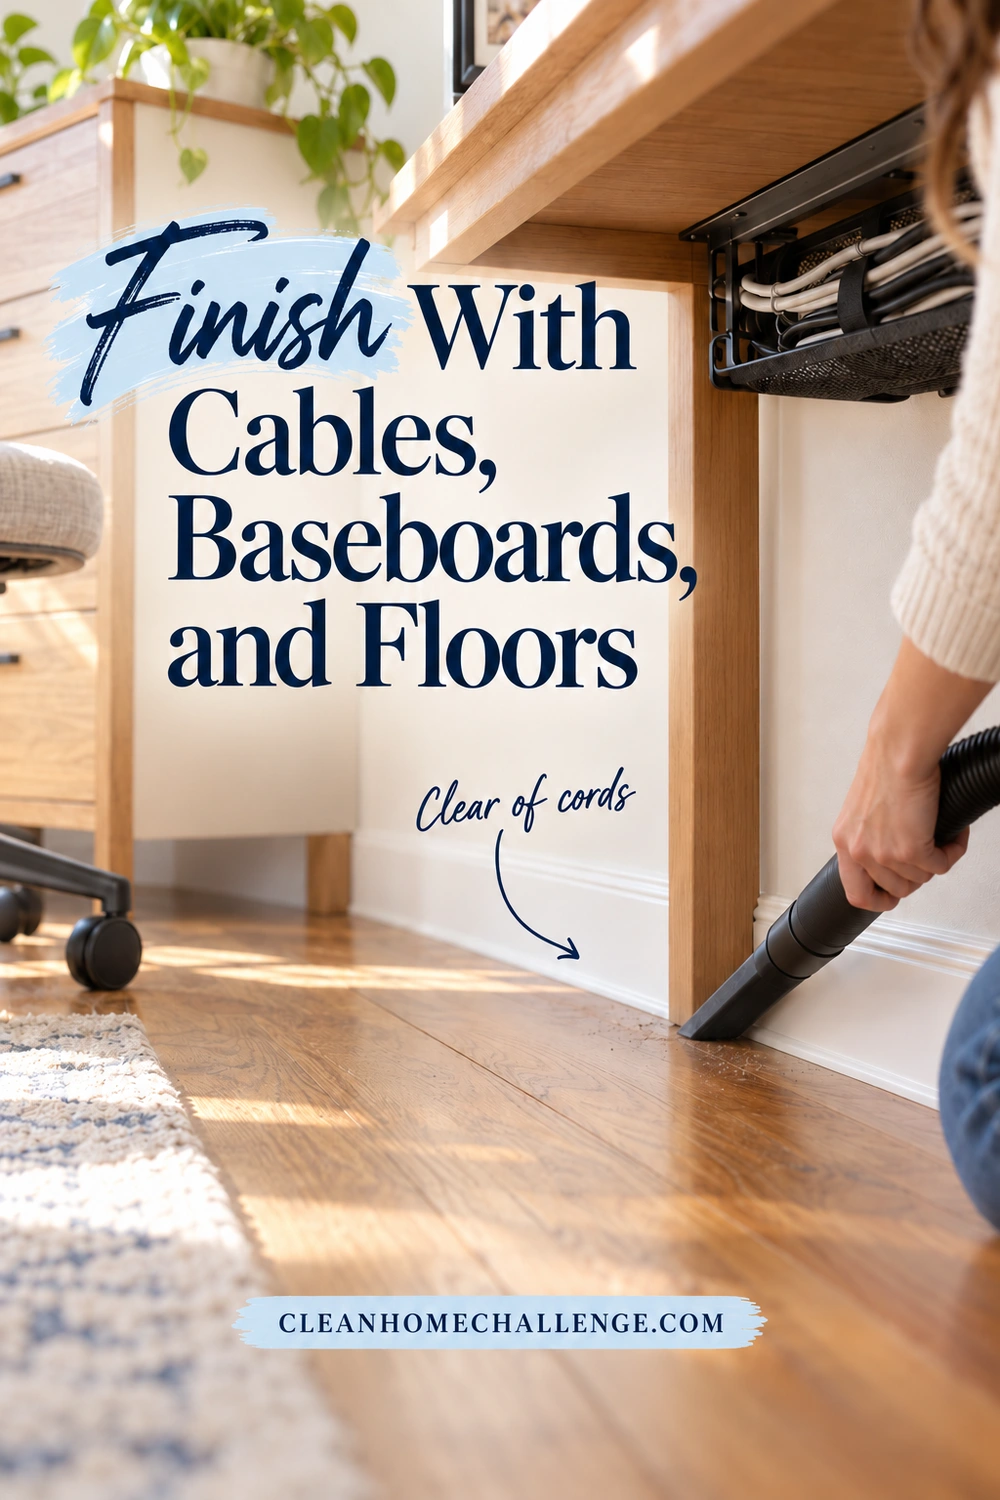
Finish With Cables, Baseboards, and Floors
The area under the desk often holds the last layer of dust, along with a surprising number of paper clips. Before vacuuming, pick up loose objects by hand and look for documents that have slipped behind drawers. This quick check protects both your paperwork and your vacuum.
Clean accessible cable exteriors only as their instructions allow and keep plugs, connectors, power strips, and outlets dry. Do not unplug a tangled bundle by pulling the cords. If you notice damaged insulation, scorch marks, or a loose connection, stop using the affected item and arrange appropriate advice or replacement. Cleaning cannot make a damaged electrical accessory safe.
Keep the desk setup easy to reach rather than aiming for a perfectly hidden cable wall. Labels and removable cable organizers can help you return the right lead to the right device. Leave the clearances recommended by the equipment maker and avoid pinching cords beneath furniture or running them through moving chair parts.
Clean the floor last
- Move the chair to a safe, clear spot. Lift small bins and lightweight items without upsetting the paper trays.
- Dust or wipe reachable baseboards with a method suitable for their finish. Keep the cloth away from outlets.
- Vacuum corners and floor edges, then the open floor. Use the correct setting and attachment for the flooring, and keep the tool away from loose leads.
- If the hard floor needs mopping, use its approved cleaner and moisture level. Work toward the exit and allow it to dry before bringing the chair back.
- Return items without dragging feet or wheels across a wet surface.
You do not need to move a heavy desk alone. Clean the areas you can access safely, use a suitable crevice tool only where it can pass freely, and save inaccessible areas for a planned move with help. Keep the desk upright and stable; never improvise a lift or remove supports to make a cleaning tool fit.
For carpet, avoid introducing unnecessary moisture around desk legs, cables, and electronics. Address a stain with the carpet manufacturer’s recommended process and allow adequate drying time. A deep office clean can finish with dry vacuuming if the carpet does not need a separate wet-cleaning treatment.
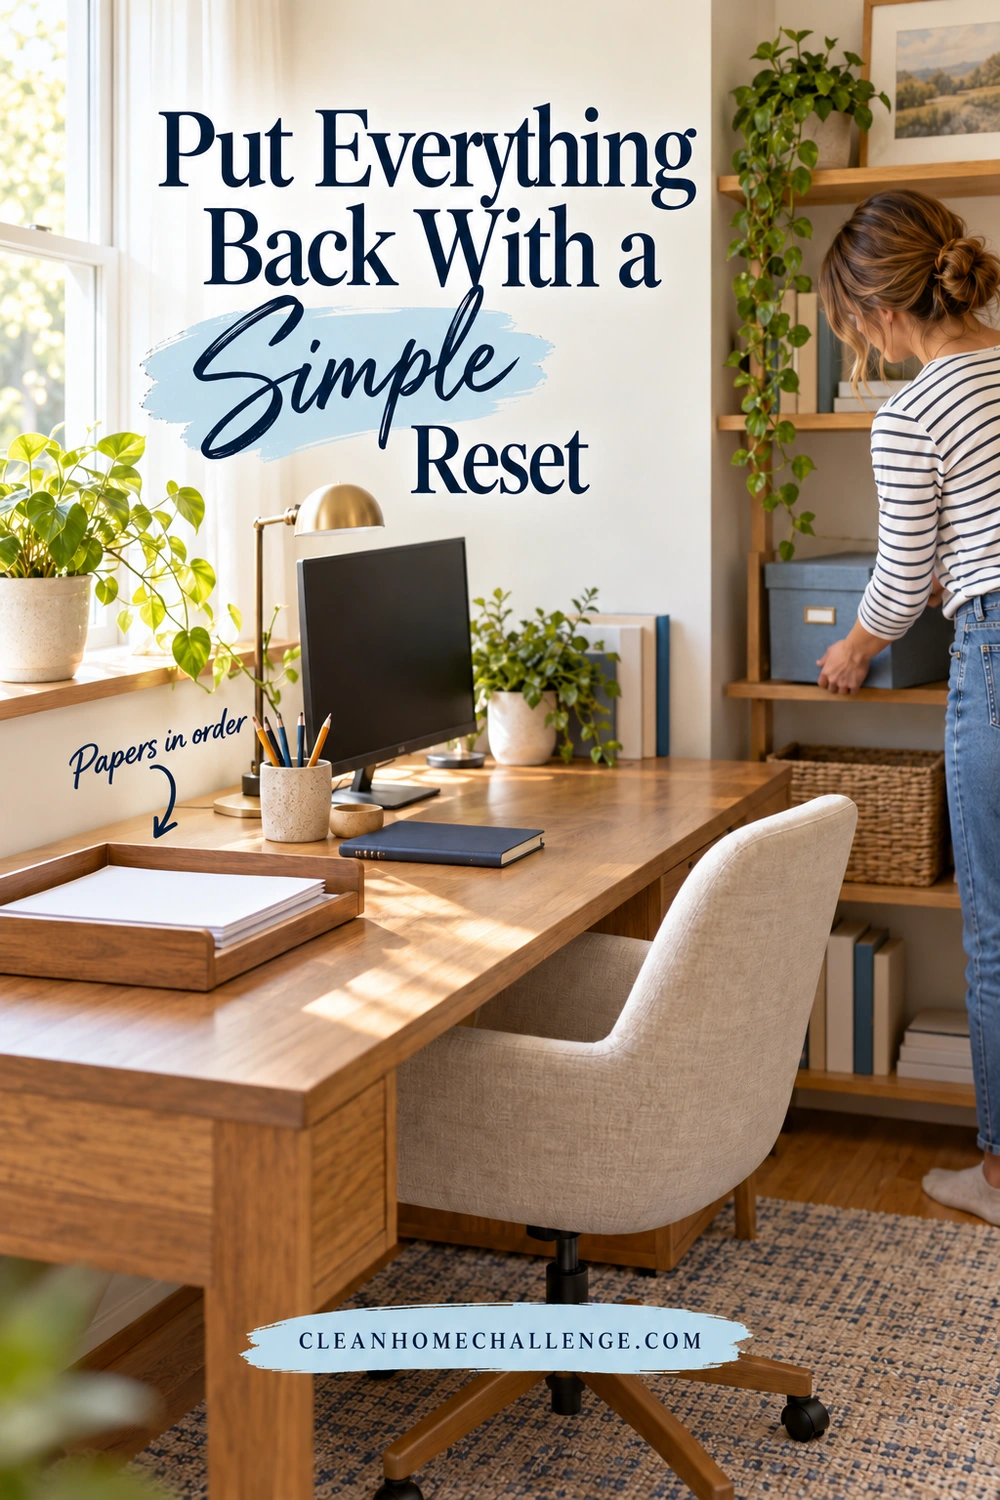
Put Everything Back With a Simple Reset
Wait until the furniture and equipment are fully dry, then rebuild the workspace in a calm order. Return devices using your reference photo or labels, reconnect them according to their instructions, and check that the keyboard, mouse, and display work before filling the desk again. Keep drinks and cleaning supplies away while reconnecting.
Bring papers back one labeled stack at a time. Check the front page against your desk map and return it to its original place. If a better location would help, decide that with the person who uses the papers. Do not quietly convert their working stack into an unfamiliar filing system.
The finished-office check
- Papers are accounted for, dry, and in a known order
- The “check later” folder has an owner and a time to review it
- Screens and device openings are dry, with no leftover cleaning liquid nearby
- Frequently used items are within easy reach
- The chair moves freely and cables are clear of its wheels
- The floor is dry, the walkway is open, and cleaning supplies are put away
A usable workspace is the finish line. You can keep the family photo, the favorite notebook, and the project you are still working on. An empty desk is not required.
Keep the next clean smaller
At the end of a work session, return cups to the kitchen, discard only obvious trash, and gather active papers into their usual tray. Once a week, clear one desk section, remove dust, check the chair and floor, and wipe compatible high-touch furniture surfaces as needed. Use visible dust, shared use, and the product instructions to decide when devices need attention.
For a busy week, try a ten-minute version: protect the active paper stack, remove dishes and obvious trash, dry-dust one accessible surface, and vacuum the open floor. Leave device cleaning for a safe shutdown window. You can do the remaining shelves and drawers another day without undoing that progress.
If a room-by-room plan helps you keep going, the Cleaners Clubhouse offers a supportive next step for breaking household cleaning into manageable areas. Choose the next small job before leaving the office, then get back to using the space.

CLEANERS CLUBHOUSE
Follow a Simple Room-by-Room Cleaning Plan
Break the house into manageable spaces and know exactly where to focus next. The Cleaners Clubhouse gives you a follow-along 12-month calendar, printable worksheets and motivating monthly challenges.
