

THIS POST MAY CONTAIN AFFILIATE LINKS. PLEASE READ MY DISCLOSURE FOR MORE INFO.
The laundry room works hard, even when it is a small cupboard beside the kitchen. Clothing comes in, clean towels go out, and somewhere between the two, lint settles on the shelves and detergent leaves a sticky ring on the counter. A useful laundry room cleaning checklist gives those overlooked surfaces their own turn.
Start high, collect dry dust before wiping, care for the appliances according to their manuals, and finish with the floor. You can divide the work into short sessions. Clearing one folding surface today and cleaning the shelves tomorrow still moves the room forward.
For planning, allow roughly 45–75 minutes of hands-on work for a modest room with light buildup, plus any washer cleaning-cycle and drying time. That is an estimate, not a deadline: crowded storage, persistent residue, or a large utility space will take longer. A dryer ventilation problem belongs with appropriate servicing, not inside a timed household challenge.
Disclosure: This post may contain affiliate links. As an Amazon Associate, Clean Home Challenge earns from qualifying purchases. If you make a purchase through these links, we may earn a small commission at no extra cost to you. This helps us keep creating practical cleaning tips, routines and resources for busy families! 🧽
Plan a Safe Laundry Room Cleaning Session
Choose a finish you can reach
Before emptying cupboards, decide whether this is a full room clean or a smaller reset. For the full version, aim to leave the surfaces, appliance fronts, sink, and accessible floor clean, with products put away safely. Write down jobs that need a manual, replacement part, or professional visit so they do not disappear from the plan.
For a 15-minute version, clear one counter, collect loose lint from reachable surfaces, wipe that counter, and return products to their secure storage. Leave appliance interiors and the floor for another session. A short version should have fewer tasks, not the same list performed in a rush.
Let appliances finish their cycles and cool before cleaning. Follow their instructions for disconnecting power for maintenance. Do not drag out a heavy washer or dryer, tug a hose, disconnect gas fittings, or climb on an appliance to reach a shelf. If cleaning behind a machine requires moving it, arrange suitable help. Stop using a machine with a suspected electrical fault or leak and have the cause assessed.
Keep children and pets outside the work area. Secure laundry chemicals while you clean, protect the walking route, and never leave a bucket where a child can reach it. Do not leave an appliance door open where a child or pet could climb inside.
Gather a small kit
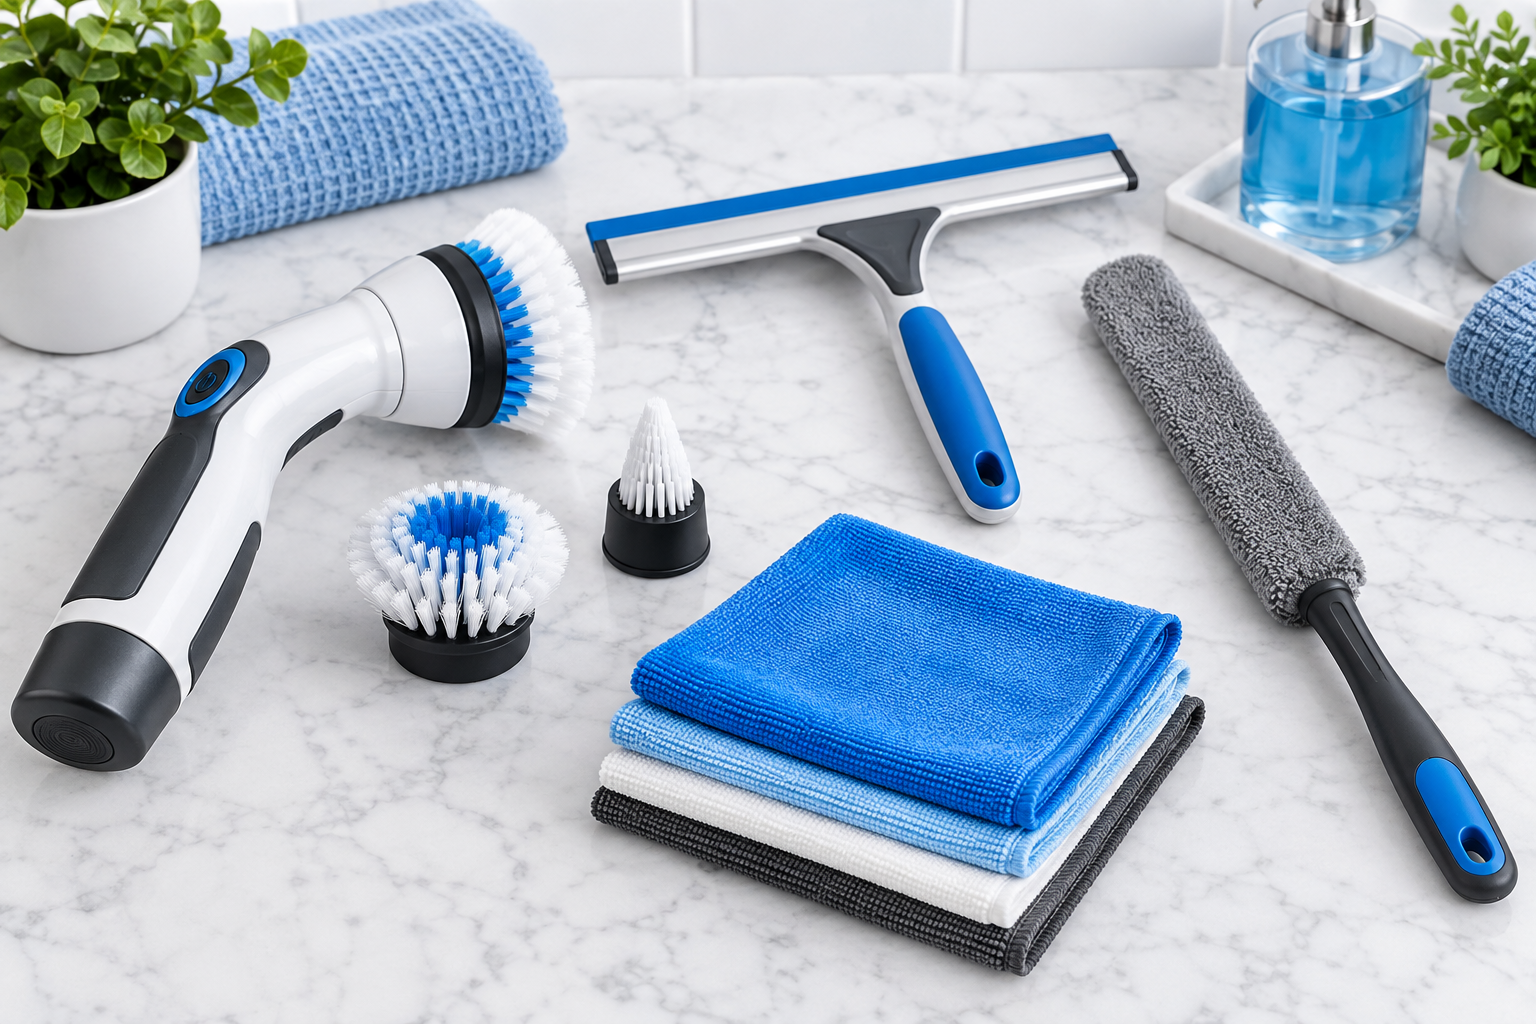
- A vacuum with an appropriate soft brush or crevice attachment for accessible dry lint.
- An extendable duster for safe, reachable upper surfaces.
- Clean microfiber cloths, including a separate cloth for the sink and floor edges.
- A soft brush, mild surface-compatible cleaner, and clean water for permitted rinsing.
- Your washer and dryer care guides, plus only the washer cleaner they allow.
- A floor tool suited to the actual flooring, and gloves if the product label calls for them.
- A small trash bag and an empty basket for items that belong elsewhere.
You do not need a collection of new sprays. Choose a product for the material, check its directions, and use it as labeled. Never mix cleaning products. Before trying a different cleaner, remove the previous product as its directions require. Ventilate as the labels direct, while keeping access and family safety in mind.

Clear Clutter and Dust the Highest Surfaces First
Start with a basket for items that belong in another room. Move completed laundry out of the folding zone, empty the small trash container, and remove abandoned packaging. Put clean laundry somewhere clean, rather than on the floor you are about to vacuum.
Work on one shelf or cupboard at a time. Place its contents on a protected surface, dust the empty space, and return only the items you use there. Avoid emptying every cupboard at once if you will need to stop soon. Check cloth pockets and folded items for misplaced small objects before they disappear into a storage bin.
Use an extendable duster on reachable cupboard tops, shelf edges, door trim, and accessible corners. Keep both feet on a secure surface and follow the tool instructions. A high fitting beyond safe reach can wait for appropriate help. Switch lighting off and let it cool before cleaning any permitted accessible exterior; keep liquid away from electrical fittings.
Next, vacuum or gently collect dry dust from accessible shelf surfaces, baseboard ledges, and the spaces beside the appliances. A soft attachment is useful where a hard nozzle might scratch a finish. Avoid probing appliance openings or reaching into hidden machinery. Collect loose lint before using a damp cloth so you do not smear it into a paste.
For finished shelves and cabinet fronts, use the cleaner allowed by their material manufacturer. A lightly damp cloth may suit some sealed finishes, while unsealed wood or delicate coatings need different care. Test an inconspicuous area first, avoid soaking joints, and dry permitted damp-cleaned surfaces before replacing the contents.
A small stopping point: finish one upper shelf and the surface beneath it. Return its contents and dispose of the collected dust before moving to the next zone. That makes the room usable if the rest of the day changes.

Clean the Washer and Check Dryer Lint Safely
Appliance care is model-specific. Find the actual manual rather than borrowing a cleaning recipe from a different machine. The washer cleaning cycle, removable dispenser parts, dryer lint-screen care, and ventilation requirements may differ between models.
Wipe the appliance exteriors
Remove dry surface dust first. For compatible appliance finishes, wipe with a soft cloth and a permitted mild cleaner, then dry. Whirlpool advises mild cleaning products and no abrasives for its washer exteriors; its guidance also says that controls on the lid must dry before operating. Treat that as a useful example, with your own manufacturer’s directions taking priority.
Apply cleaner to the cloth when the instructions allow it, rather than spraying into switches, openings, or controls. Do not saturate the appliance top, flood seams, or use a harsh scouring pad to remove a stubborn detergent mark. Give the approved cleaner time to work as labeled and repeat a gentle wipe if needed.
Follow the washer cleaning instructions
Empty the drum. Clean permitted door surfaces and accessible gasket areas gently, looking for trapped small items as your manual directs. Remove the dispenser drawer only if the model permits it; do not force a part that resists. Clean, rinse, and dry permitted parts as instructed, then reinstall them correctly.
Run the specified cleaning program with the specified dose of an approved cleaner. Do not add a homemade combination of bleach, vinegar, and other products. Cleaning an empty washer is separate from washing a load of clothes. A recurring smell after correct cleaning, visible damage, or a persistent leak needs diagnosis rather than extra fragrance.
Whirlpool recommends regular cleaning for its front-loading washers, generally after 30 cycles, around monthly for an average household. Your model may specify another interval. Add its actual reminder to your routine instead of treating one interval as universal. If the manual recommends drying with the door ajar, do so only while access is controlled and close it when children or pets could enter.
Give lint its own safety check
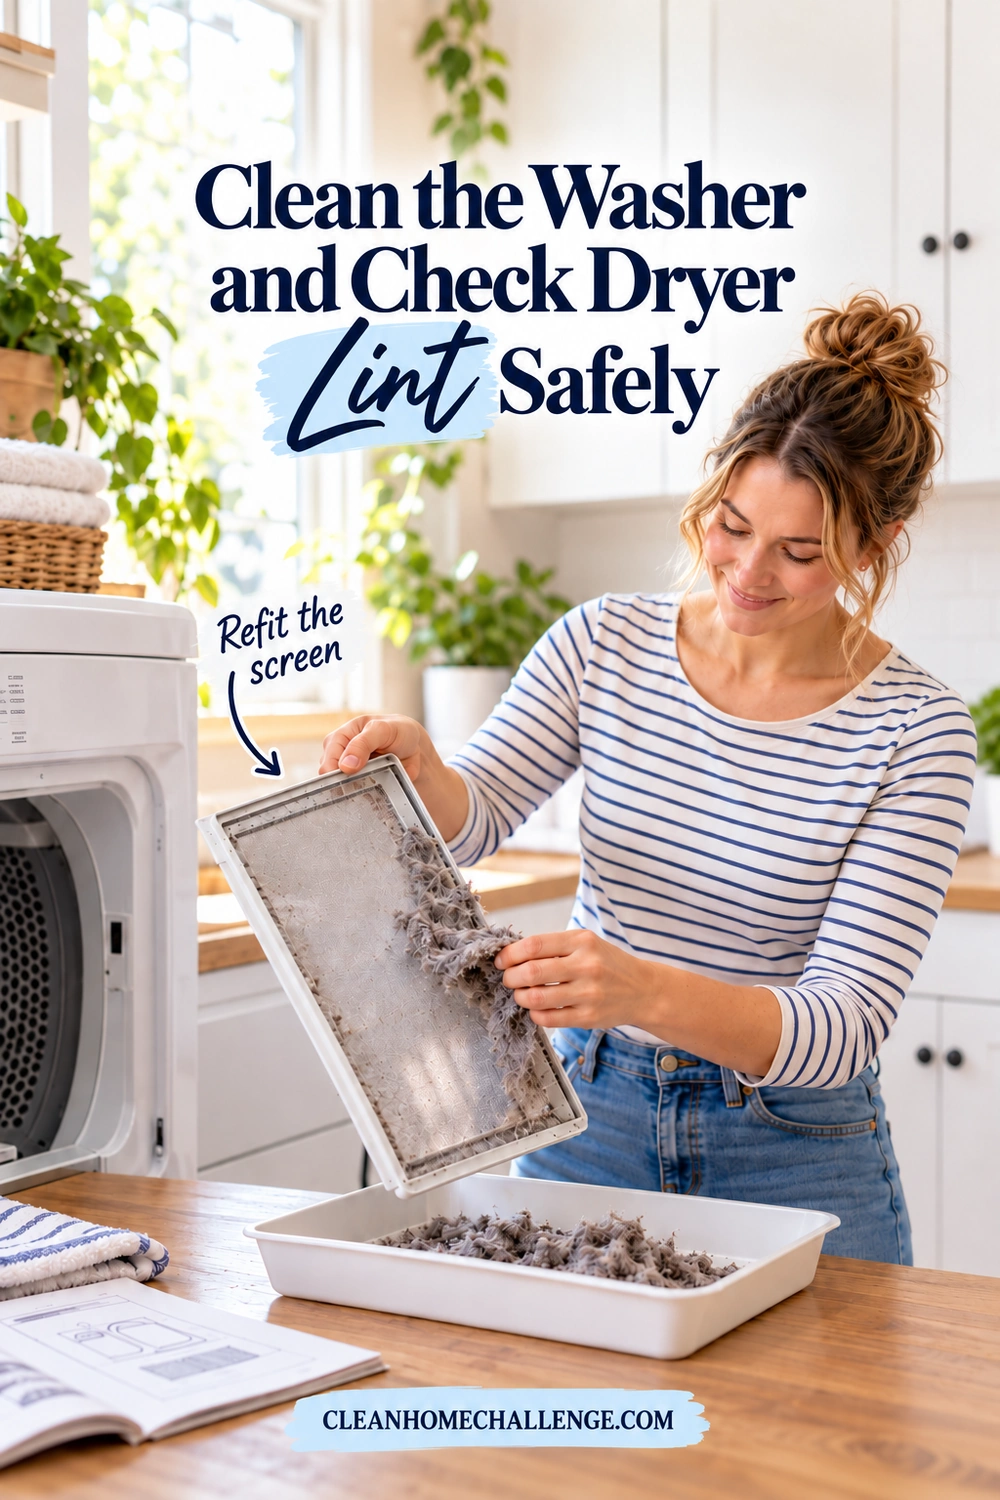
Let the dryer cool and follow its care instructions. The U.S. Fire Administration advises cleaning the lint filter before and after each cycle, keeping the filter in place during operation, and having installation and servicing handled professionally. Remove lint from the screen using the method your dryer manual allows. Refit it securely before the dryer is used again.
Collect accessible loose lint around the machine. Observe the visible vent connection without pulling or crushing it. A damaged or restricted connection, a suspected blockage, or an outdoor vent that does not open during operation needs attention. Do not assume a room-cleaning vacuum has cleared a hidden duct or the inside of a dryer. Arrange appropriate inspection and cleaning when needed, especially if reaching the area requires moving an appliance. Record the service task on the checklist rather than marking it cleaned.
Wipe the Sink, Counters and Frequently Touched Areas
With loose dust collected, clean the working surfaces. Clear a section of the counter, wipe away permitted residue, follow any rinsing directions, and dry it before returning clean laundry. Pay attention to the ring beneath a detergent bottle and the ledge behind the sink, where drips can gather unnoticed.
Use surface-specific care for a laundry sink. Stainless steel, porcelain, composite, and stone do not all tolerate the same products or scrubbers. Remove loose debris, clean the bowl and permitted faucet surfaces gently, rinse if directed, and dry accessible edges. Avoid leaving a cleaning product to sit for longer than its label allows. Do not combine drain chemicals with a cleaner left in the sink.
Clean cupboard handles, the door handle, the folding board, and other frequently touched washable surfaces. Keep switches and sockets dry; follow their manufacturers’ instructions for cleaning accessible exteriors. A damp wipe suitable for a countertop does not make it suitable for an electrical fitting.
Lift a washable mat only when you are ready to care for it. Read its label, check the backing, and keep it away from clean laundry while it waits. Do not assume a rubber-backed mat can tolerate a hot wash or a dryer. Put it back only after it and the floor underneath are dry.
If a mark does not come off
Identify the material and likely residue before increasing the strength of the cleaner. A discolored finish may not be removable dirt. A stain near a hose or sink may indicate an ongoing leak. Persistent dampness, damaged cabinetry, or a recurring musty smell deserves a cause check; covering it with a bin or scent does not resolve it.
Ordinary room cleaning does not automatically require disinfecting every surface. If a particular situation calls for a disinfectant, choose one appropriate to the surface and follow its label, including cleaning first where required, contact time, rinsing, and ventilation. Keep the product away from laundry and other incompatible materials.

Clean the Floor and Return Products to Secure Storage
Finish high-to-low work before tackling the floor. Vacuum or sweep the accessible area, including corners and baseboard edges. Work carefully around cords and hoses without moving them. If lint remains in an inaccessible gap, note it for suitable help instead of pushing a tool blindly underneath the machine.
Clean the floor with the method its manufacturer allows. Sealed wood, laminate, vinyl, tile, and natural stone need different moisture and product choices. Use the permitted amount of cleaner; extra product can leave residue. Keep liquid away from appliances and avoid flooding seams or thresholds. Work toward the exit and allow the floor to dry before replacing a mat or inviting foot traffic back in.
Now return supplies to a safe home. Keep laundry chemicals in their labeled original containers with closures secured. The Consumer Product Safety Commission specifically advises storing liquid laundry packets sealed in their original packaging, locked away and outside children’s sight and reach. Children should not handle the packets. An attractive clear jar or an open basket is not a substitute for secure chemical storage.
Separate clean textile storage from product storage. Use a washable tray beneath compatible containers if it helps collect routine drips, but follow labels about keeping products apart and do not treat a tray as protection against incompatible chemical leaks. Keep anything heavy on an appropriate secure shelf and avoid stacking supplies where they could fall onto a machine or person.
Give everyday tools a simple place: cloths together once washed and dry, a brush where it can dry, and an empty return basket ready for stray items. Check the walking route one more time. The useful result is a room where the next load can happen without shifting piles out of the way.

Keep the Laundry Room Manageable Between Deep Cleans
A few repeatable checks are easier than waiting for every surface to need attention at once. Adapt this rhythm to your household, surfaces, and appliance manuals.
Each load and short daily resets
- Follow the dryer lint-filter checks before and after each cycle.
- Wipe a detergent drip promptly with a compatible method.
- Move completed laundry along so the folding area stays usable.
- Secure products and close access to appliances when needed for family safety.
- Notice unusual leaks, damage, or changes in machine performance and arrange help rather than continuing around them.
Weekly room reset
Clear the folding surface, collect accessible loose lint, wipe compatible counters and handles, empty the trash, and clean the floor when needed. Split this across two small sessions if that fits better. A shared list can assign the safe routine jobs without sending a child to handle chemicals or appliance maintenance.
Periodic appliance and room checks
Use the washer’s specified cleaning reminder and the dryer’s maintenance guidance. Revisit shelf dust, cabinet fronts, mat care, and secure storage when buildup or household needs call for it. Check the room for dampness and inspect visible connections without disturbing them. Schedule dryer vent or appliance servicing as appropriate to the equipment, condition, and professional advice.
Laundry room cleaning checklist
- Plan the session; read the appliance and surface care instructions.
- Secure chemicals and keep children and pets outside the work area.
- Move completed laundry and items that belong elsewhere.
- Finish one storage zone at a time and dust safely reachable high surfaces.
- Collect accessible dry lint before damp wiping.
- Clean permitted appliance exteriors and dry controls.
- Perform the washer cleaning steps allowed by its model.
- Clean and refit the dryer lint screen; record ventilation or service concerns.
- Clean compatible sink, counter, and handle surfaces.
- Care for the mat according to its label.
- Clean the floor using its permitted method and let it dry.
- Return products to secure original-container storage and clear the walking route.
- Write down deferred jobs and choose a manageable next reset.
If you cannot finish today, stop after a complete zone: put away the products, dry the surface, and clear the route. The checklist is there to help you resume, not to turn a busy week into a failed cleaning challenge.
Sources and care guidance
Research checked October 2, 2026. Always use the instructions for your actual appliance, surface, and cleaning product.
- U.S. Fire Administration: Clothes Dryer Fire Safety
- Whirlpool: Cleaning the Exterior of a Washer
- Whirlpool: Cleaning a Front-Loading Washer
- U.S. Consumer Product Safety Commission: Liquid Laundry Packet Safety
Download the laundry room cleaning checklist (PDF)

CLEANERS CLUBHOUSE
Make Laundry Catch-Up Feel More Manageable
Use Saturday to catch up without letting laundry take over the whole weekend. Inside the Cleaners Clubhouse, practical routines and printable support help you keep washing, folding and household jobs moving.
