

THIS POST MAY CONTAIN AFFILIATE LINKS. PLEASE READ MY DISCLOSURE FOR MORE INFO.
A shower that has slowly changed from a strong, even spray to a thin drizzle often has a surprisingly simple cause: mineral buildup at the nozzles or debris caught behind the shower head. Cleaning those parts can restore a better spray pattern without replacing the fixture. The key is to identify whether the shower head is actually the restriction, then use the gentlest method that is safe for its finish.
This guide walks you through a quick diagnosis, a no-removal cleaning method, a deeper removable-head clean, and the checks that help you know when the problem belongs to the plumbing instead. Plan on about 20 minutes of hands-on work, plus any soaking time allowed by your shower head manufacturer.
Disclosure: This post may contain affiliate links. As an Amazon Associate, Clean Home Challenge earns from qualifying purchases. If you make a purchase through these links, we may earn a small commission at no extra cost to you. This helps us keep creating practical cleaning tips, routines and resources for busy families! 🧽
Check Whether the Problem Is the Shower Head or the Water Supply
Start by comparing the weak shower with another bathroom faucet. If several fixtures have suddenly lost pressure, cleaning one shower head is unlikely to solve the whole problem. Check whether a shutoff valve has been partly closed, ask whether your water utility is doing work nearby, and look for signs of a leak. A plumber should investigate pressure that is low throughout the home, keeps fluctuating, or arrives with banging pipes or discolored water.
If only one shower has an uneven spray, a few nozzles are pointing sideways, or you can see white crust around the spray face, the shower head is a reasonable place to start. A clogged inlet screen can also reduce flow. Cleaning removes restrictions; it does not raise the supply pressure coming into your home.
Do not judge performance by flow rate alone. The EPA WaterSense program limits labeled shower heads to 2.0 gallons per minute and also requires independent testing for spray force, coverage, and performance across a range of household pressures. A water-efficient shower head can still feel satisfying when it is clean and functioning as designed.

Gather the Right Tools and Protect the Finish
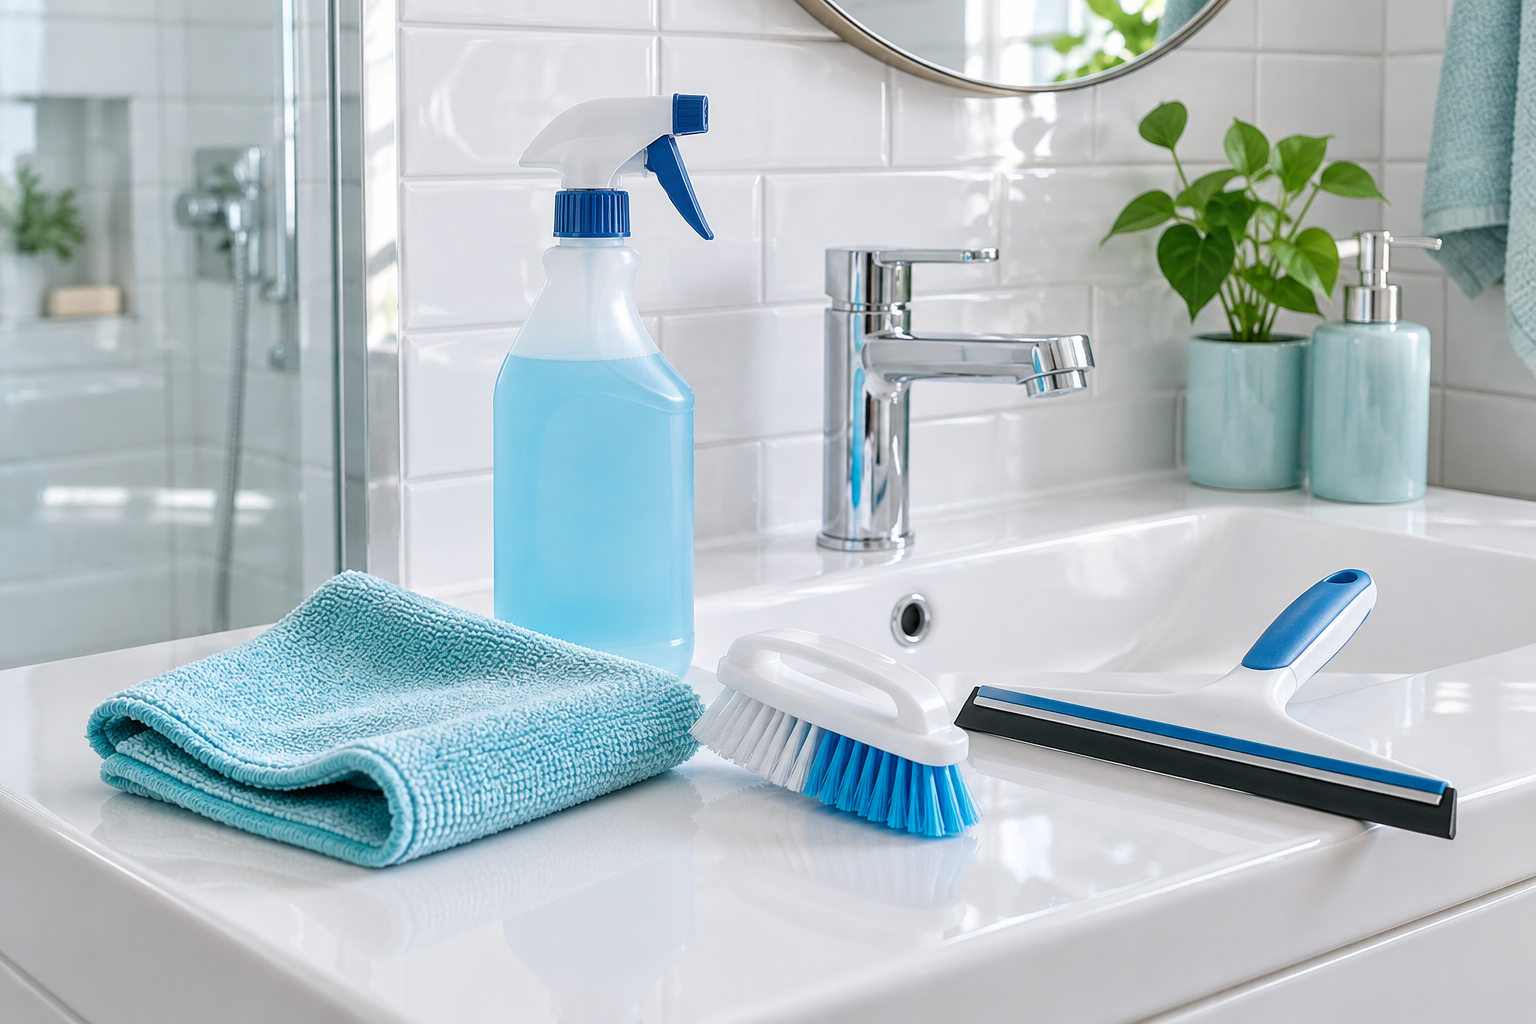
You need a microfiber cloth, mild liquid dish soap, a soft toothbrush or small nylon detailing brush, a bowl, and an adjustable wrench or tongue-and-groove pliers if you plan to remove the head. Add a second cloth or a piece of rubber shelf liner to protect the fitting from tool marks. Keep the manufacturer’s care instructions nearby if you can identify the model.
White vinegar is useful on many chrome fixtures, but it is not universal. Some living finishes, stone components, decorative coatings, and mixed-material heads can be damaged by acids. California Faucets, for example, warns that vinegar can irreversibly damage its living finishes. Moen’s finish-care guide allows a diluted vinegar solution on several finish families only for a limited time, followed by a thorough rinse and soft-cloth drying.
When the finish is unknown, begin with warm water and mild dish soap. Avoid chlorine bleach, abrasive powders, green scouring pads, metal brushes, and concentrated limescale remover unless the manufacturer specifically approves them. Never mix vinegar with bleach or any other cleaner.

Clean the Shower Head Without Removing It
Turn the shower off and let the fixture cool. Wipe the face and body with a damp microfiber cloth and a drop of dish soap. Work around the nozzles and seams, then rinse the cloth and wipe away every trace of soap. This surface clean may be enough when the problem is soap residue rather than mineral scale.
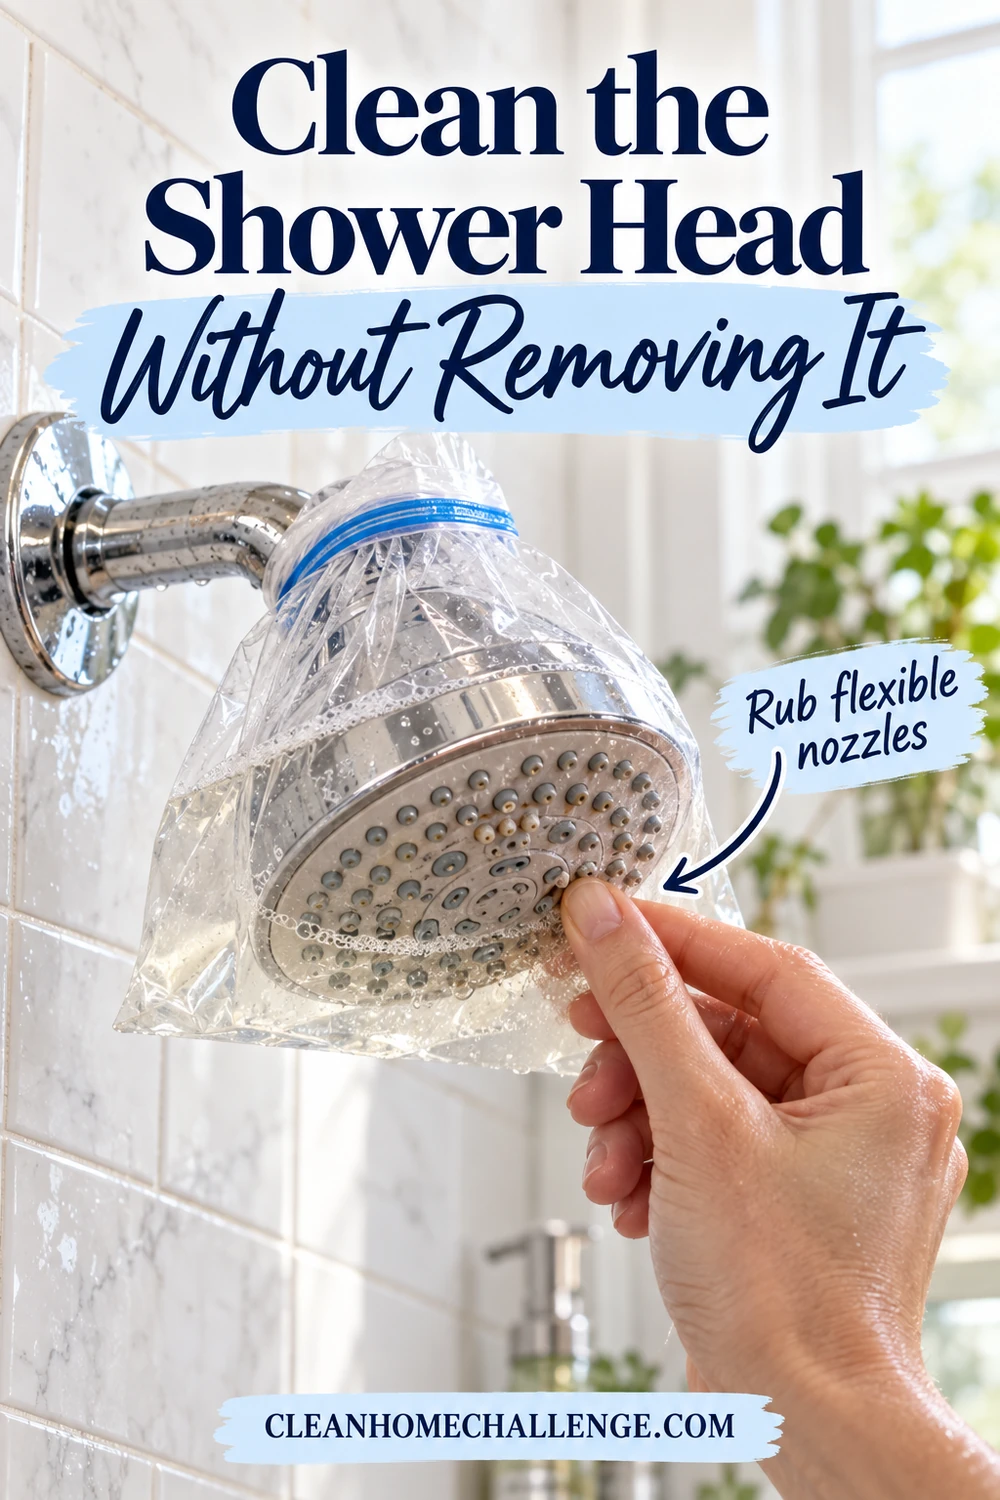
If the spray face has flexible silicone nozzles, gently massage each one with your fingers. Many heads are designed so dry mineral flakes release when the rubber tips are rubbed. Follow with a soft toothbrush, moving lightly across the face instead of digging into the openings with a pin. A metal pin can enlarge a jet, damage a membrane, or push debris farther inside.
For a fixed head whose manufacturer permits vinegar, fill a sturdy plastic bag with enough approved descaling solution to contact the spray face but not the entire fitting. Slip it over the head and secure it without overtightening. Keep the liquid off decorative arms, joints, and unapproved finishes. Use the maker’s recommended concentration and contact time; longer is not automatically better. Remove the bag, rinse the exterior thoroughly, and run the shower on cool or warm water for a minute.
Remove and Descale a Detachable Shower Head
Removing the head lets you clean the inlet screen and keep acidic solution away from the wall arm. First place a towel over the drain so a small washer cannot disappear. Grip the shower arm with one protected hand so it does not twist inside the wall. Turn the connection nut counterclockwise with your other hand. If a wrench is necessary, wrap the nut with a cloth or rubber pad before applying gentle pressure.
As the head comes free, note the order of any rubber washer, O-ring, flow regulator, or screen. Take a quick phone photo before lifting anything out. The EPA recommends checking and replacing a worn washer or O-ring when making a shower head repair. Do not remove or drill out a flow regulator; it is part of the fixture’s designed performance and may be required by local rules.
Wash the removable head in warm, soapy water. If its manual approves vinegar, soak only the compatible parts in the stated dilution for the stated time. Keep mixed finishes, electronic controls, magnets, and adhesive trim out of the liquid unless the manufacturer says otherwise. Use a soft brush on loosened deposits, then rinse repeatedly with clean water.

Clear Flexible Nozzles and Rinse the Filter Screen
After descaling, rub each flexible nozzle again and brush across the spray face. Hold the head under running water so loosened particles travel out, not deeper into the channels. For rigid holes, use only the cleaning tool recommended by the manufacturer. Skip needles, wire, and drill bits.
Look into the threaded inlet for a small mesh screen. Lift it out only if the model’s instructions show it as removable. Rinse the screen from the clean side toward the dirty side and brush it gently with soapy water. Sediment trapped here can create weak flow even when the front looks spotless. A torn or distorted screen should be replaced with the correct part rather than discarded.
Inspect the washer for cracks, flattening, or stiffness. A damaged seal can cause a leak at the connection and should be replaced with the size specified for the shower head. Rinse every component and let excess water drain before reassembly.

Reinstall the Shower Head and Test the Flow
Return the clean screen, regulator, washer, and other parts in their original order. Thread the shower head onto the arm by hand, turning clockwise. Stop if the connection feels crooked; cross-threading can damage both parts. Most modern shower heads seal with a washer, while some threaded connections call for plumber’s tape. Follow the product instructions rather than automatically adding tape.
Hand-tighten first. If the connection drips, protect the finish and add only a small additional turn with a wrench. Overtightening can crush the washer, crack a plastic nut, or loosen the arm inside the wall.
Turn on cool or warm water while standing outside the spray. Let the fixture flush, then test each spray setting. Look for an even pattern and leaks at both ends of the arm. If cleaning has improved the pattern but the shower still feels weaker than other fixtures, the cartridge, diverter, hose, shutoff, or household supply may be responsible.

What to Avoid When Cleaning a Shower Head
Do not assume that every metallic-looking surface is bare chrome. Powder coating, PVD finishes, living brass, plastic chrome, and natural-stone details need different care. The safest default is mild soap, water, a soft cloth, a prompt rinse, and drying. Manufacturer instructions take priority over a general cleaning recipe.
Avoid leaving a vinegar bag on overnight. Prolonged acid contact can dull, discolor, or etch a finish and may attack internal parts. Do not combine vinegar with baking soda inside the head; the fizz looks active, but neutralizing the acid reduces its ability to dissolve mineral scale. Never combine vinegar with chlorine bleach because the mixture can release toxic chlorine gas.
Do not force a seized connection. If the shower arm moves with the head, stop before damaging the pipe behind the wall. Also stop if you find corrosion, a cracked housing, a persistent leak, or debris that quickly returns. Those signs call for the manufacturer, a replacement part, or a licensed plumber.

Keep Water Pressure Steady With a Simple Monthly Routine
Once a month, look at the spray pattern while the shower is running. Rub flexible nozzles, wipe the face with a damp cloth, and dry the fitting. This one-minute habit removes fresh deposits before they harden. In a hard-water area, inspect more often and schedule a manufacturer-approved deeper clean when the jets begin to wander.
Drying matters as much as scrubbing. California Faucets recommends wiping fixtures dry after use to reduce water spots and mineral buildup. Moen likewise advises rinsing cleaning products away and drying with a soft cloth. That routine is especially helpful on matte black, brass, and other finishes that show water marks easily.
If the head remains clogged after careful cleaning, compare the cost of a model-specific replacement part with a new fixture. A WaterSense-labeled replacement uses no more than 2.0 gallons per minute and is tested for spray performance. Choose a finish you can maintain, keep its care guide, and add a recurring shower-head check to your Tuesday bathroom routine.
Clean nozzles, an open screen, and an intact washer can make a dramatic difference when the shower head is the bottleneck. When they do not, you have still completed the most useful first test—and you can describe the result clearly to a plumber instead of guessing.


CLEANERS CLUBHOUSE
Take the Guesswork Out of Bathroom Cleaning
Use Tuesday as your bathroom reset day and work through the job in a sensible order. Inside the Cleaners Clubhouse, you’ll find practical routines, printable support and challenges that make deeper cleaning easier to manage.