
THIS POST MAY CONTAIN AFFILIATE LINKS. PLEASE READ MY DISCLOSURE FOR MORE INFO.
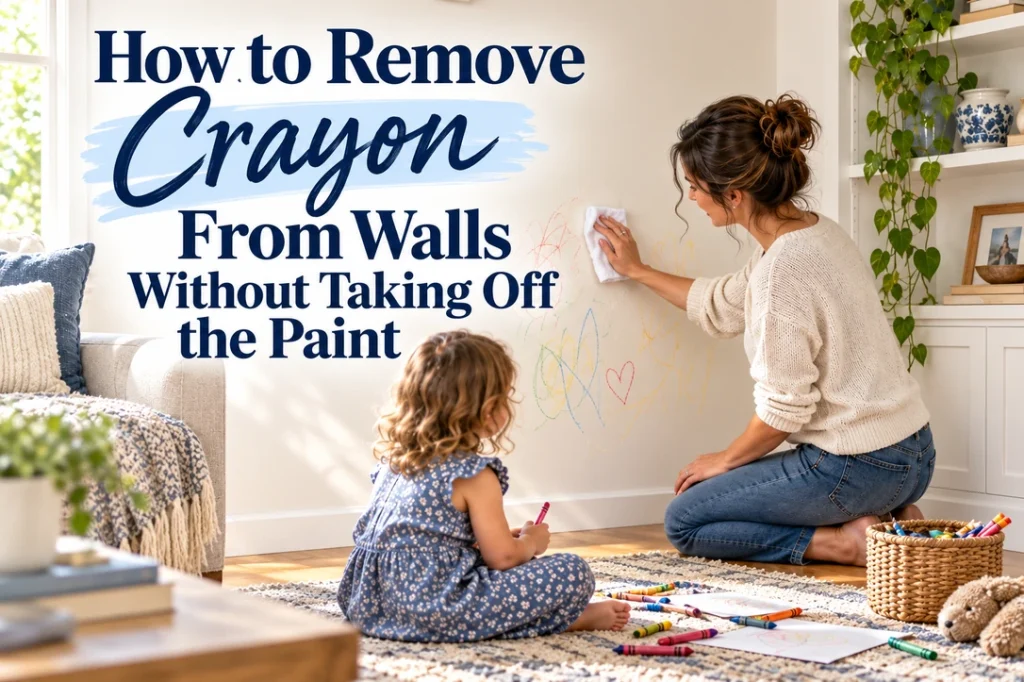
Crayon on the wall can turn a quiet five minutes into a very colorful surprise. The good news is that most marks can be lifted without repainting, as long as you work gently and stop before the paint begins to change.
The safest approach is to start with the least aggressive option: a barely damp microfiber cloth, then a little mild dish soap if needed. Paint finish, age, and condition matter, so test every method in a hidden spot first. If the wall is newly painted, check the paint manufacturer’s curing guidance before washing it.
You will need two soft microfiber cloths, a bowl of slightly warm water, a drop or two of mild dish soap, a dry towel, and an old plastic card for any thick wax. Keep a small piece of matching touch-up paint nearby only as a backup—not as the first solution.
Disclosure: This post may contain affiliate links. As an Amazon Associate, Clean Home Challenge earns from qualifying purchases. If you make a purchase through these links, we may earn a small commission at no extra cost to you. This helps us keep creating practical cleaning tips, routines and resources for busy families! 🧽
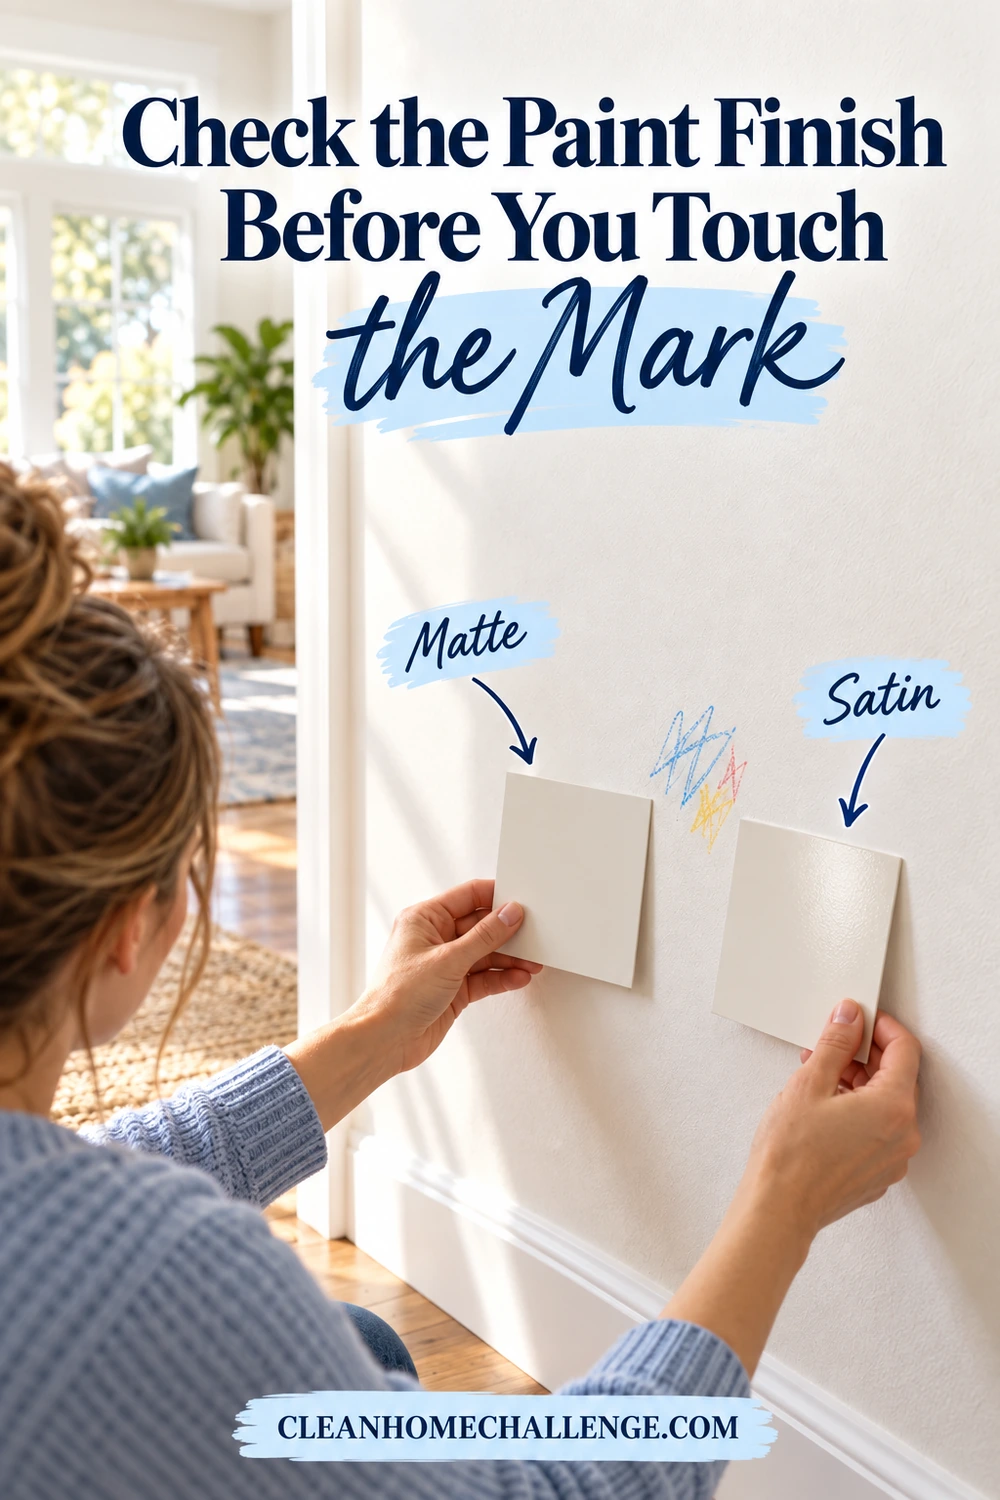
Check the Paint Finish Before You Touch the Mark
Start by looking at the wall in side light. Flat and matte finishes usually show rubbing, shine changes, and water marks sooner than satin, semigloss, or gloss paint. Older, chalky, cracked, or peeling paint also needs extra care.
Press a clean white cloth against a hidden area with only water. If color transfers to the cloth, the finish becomes shiny, or the surface feels powdery, stop. Cleaning may make the patch more obvious, and a careful touch-up is likely the better option.
Also consider how recently the wall was painted. Paint can feel dry long before it has fully cured, and washing too soon may soften or mark the finish. Check the can, product data sheet, or paint manufacturer’s website rather than relying on a universal waiting period. If you cannot identify the paint, treat it like a delicate matte finish.
Wallpaper, limewash, distemper, and specialty coatings are not covered by this method. Their care requirements can be very different, so pause and identify the surface before adding moisture.
If the home may contain old lead-based paint, do not sand or aggressively abrade a damaged area. Keep children away from peeling paint and follow EPA lead-safe guidance before disturbing it.
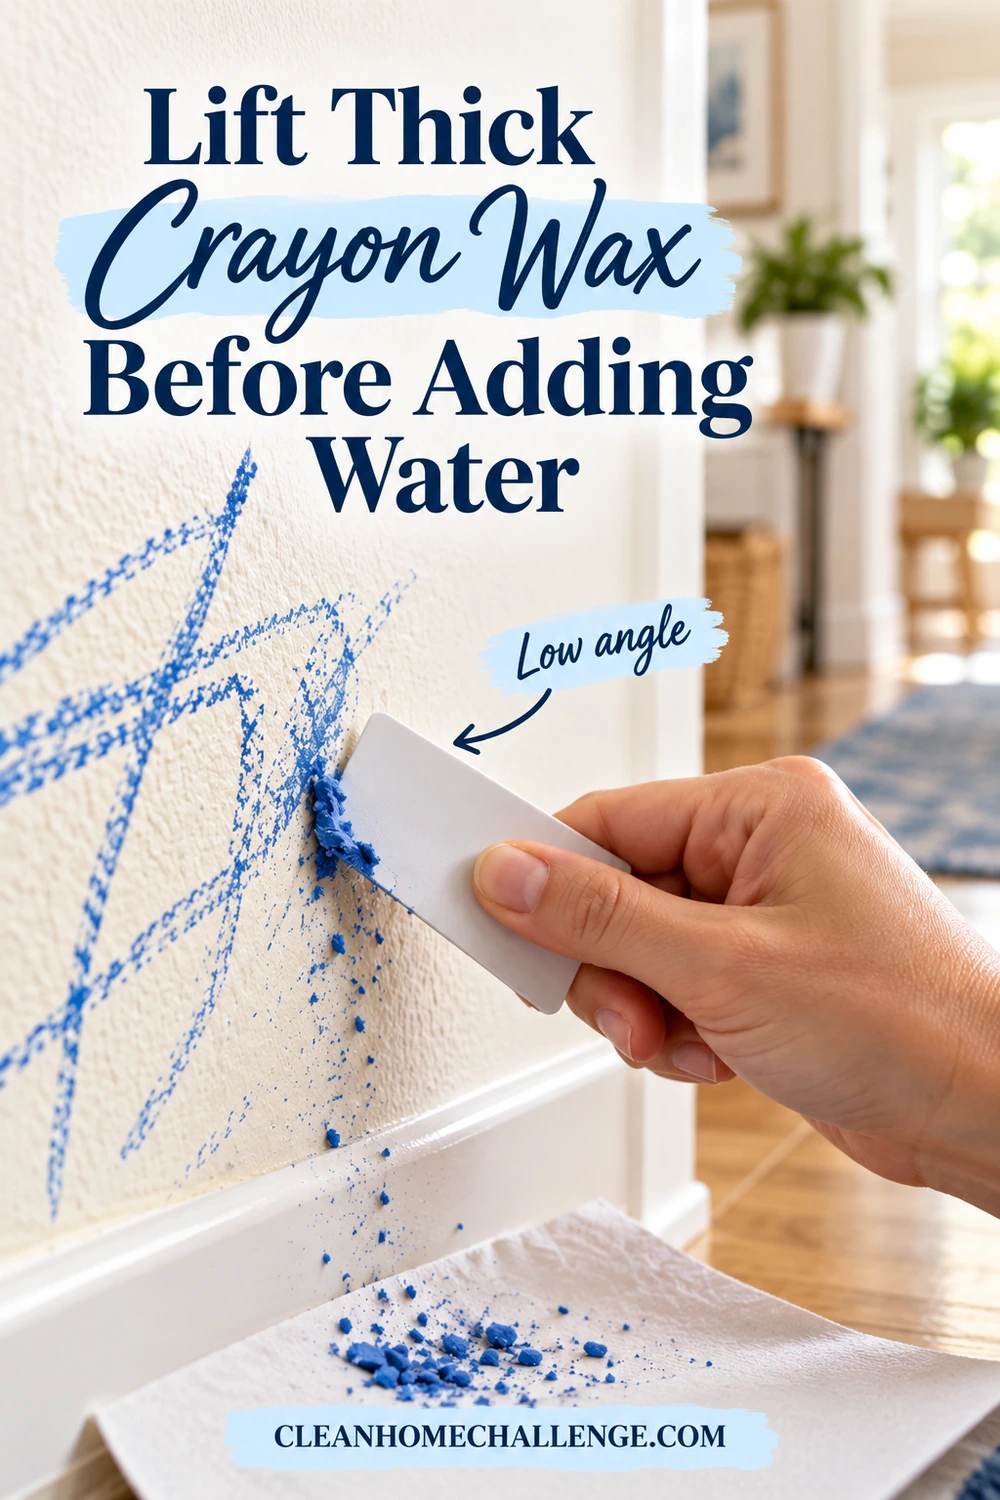
Lift Thick Crayon Wax Before Adding Water
If the drawing has raised wax ridges, remove only the loose excess first. Hold an old plastic card almost flat against the wall and slide it gently across the wax. Work from the edge toward the center so you do not spread the mark.
Do not use a razor blade, metal scraper, or fingernail. These can cut through the paint film. Skip the hair dryer too: heat can soften the wax and push pigment farther into a porous matte finish.
Wipe the loosened crumbs into a dustpan or onto a paper towel. Once the wall feels smoother, move to the mild cleaning step.
If the card catches, digs into the finish, or makes the wall look lighter, stop immediately. You only want to skim off wax sitting above the paint. A thin film that will not lift easily belongs in the next, damp-cleaning stage.
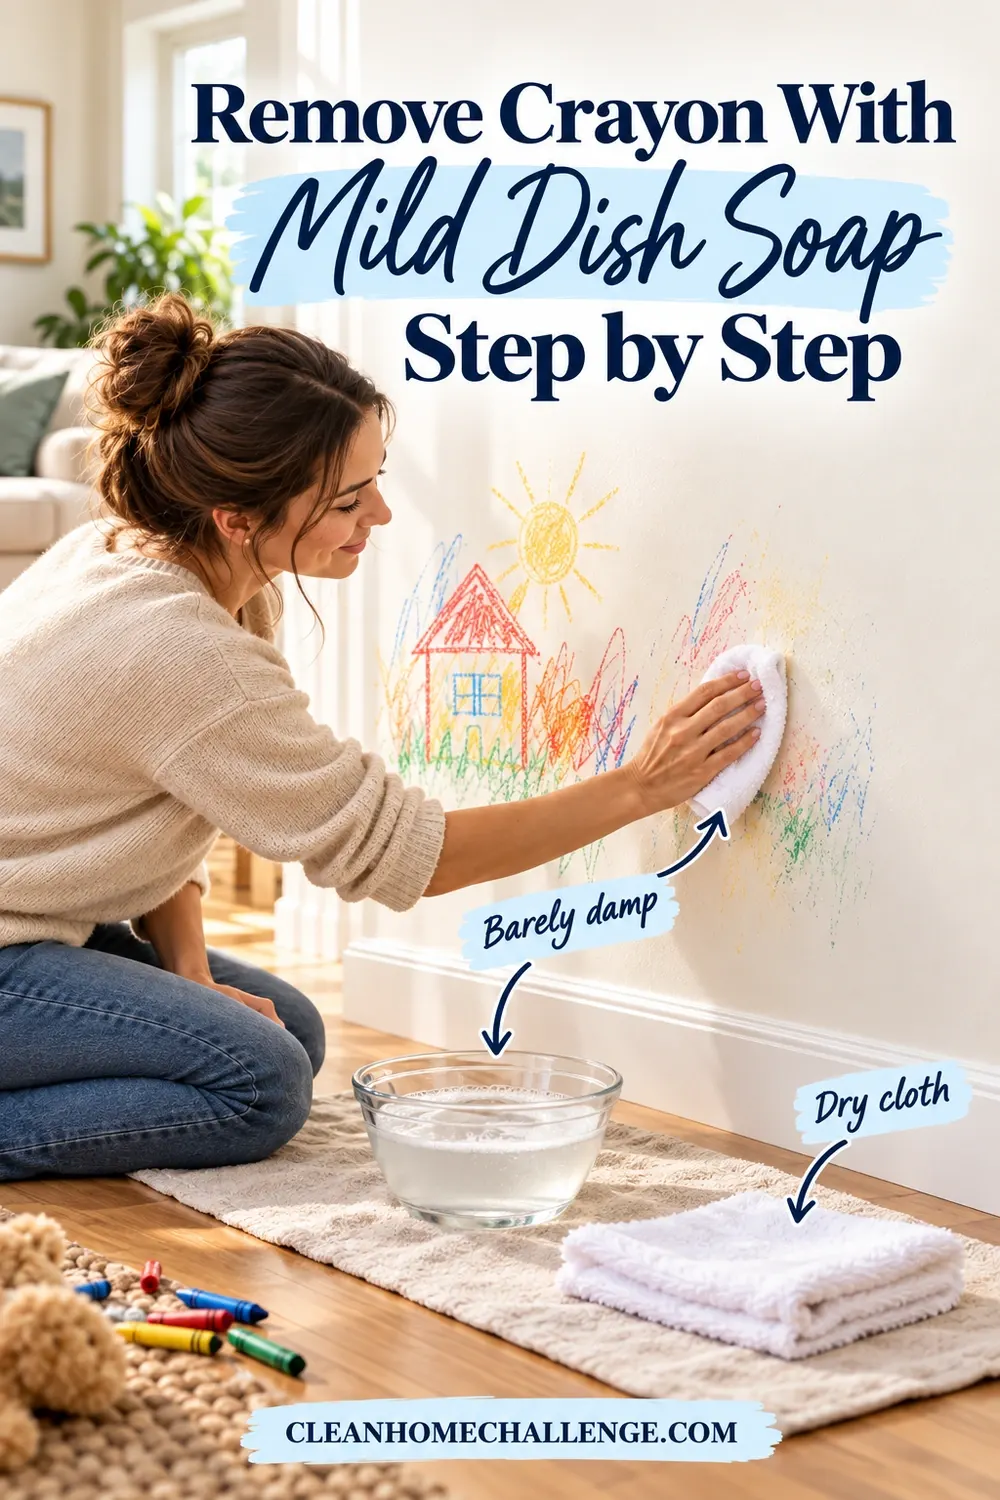
Remove Crayon With Mild Dish Soap Step by Step
Benjamin Moore’s painted-wall guidance recommends a soft sponge, mild soap, and slightly warm water, with gentle pressure rather than hard scrubbing. Sherwin-Williams similarly recommends mild detergent, a well-wrung soft cloth, a clean-water rinse, and drying the wall. For a small crayon mark, the same paint-safe principle works with microfiber.
- Add one or two drops of mild dish soap to a bowl of slightly warm water.
- Dip a clean microfiber cloth into the solution, then wring it out very well. It should be damp, not dripping.
- Dab the crayon from the outside inward for 10 to 15 seconds.
- Make two or three light passes with a clean section of cloth. Avoid fast, repeated scrubbing.
- Wipe the spot with a second cloth dampened with plain water.
- Blot dry with a soft towel and let the wall finish air-dry before judging the result.
Work in a small area so moisture does not run down the wall. If the mark is fading, repeat one gentle cycle after the surface dries rather than increasing pressure.
Use a fresh section of cloth as pigment transfers. Rubbing the same blue or red patch of cloth across the wall can spread color beyond the original drawing. For a large masterpiece, divide it into hand-sized sections and finish the full dab-rinse-dry sequence on one section before moving sideways.
Keep the bowl and wet cloth on a towel or tray, especially above timber, laminate, or carpet. This protects the floor from drips and gives you somewhere clean to place the used cloth without transferring wax to another surface.
Treat the Waxy Shadow Without Overcleaning
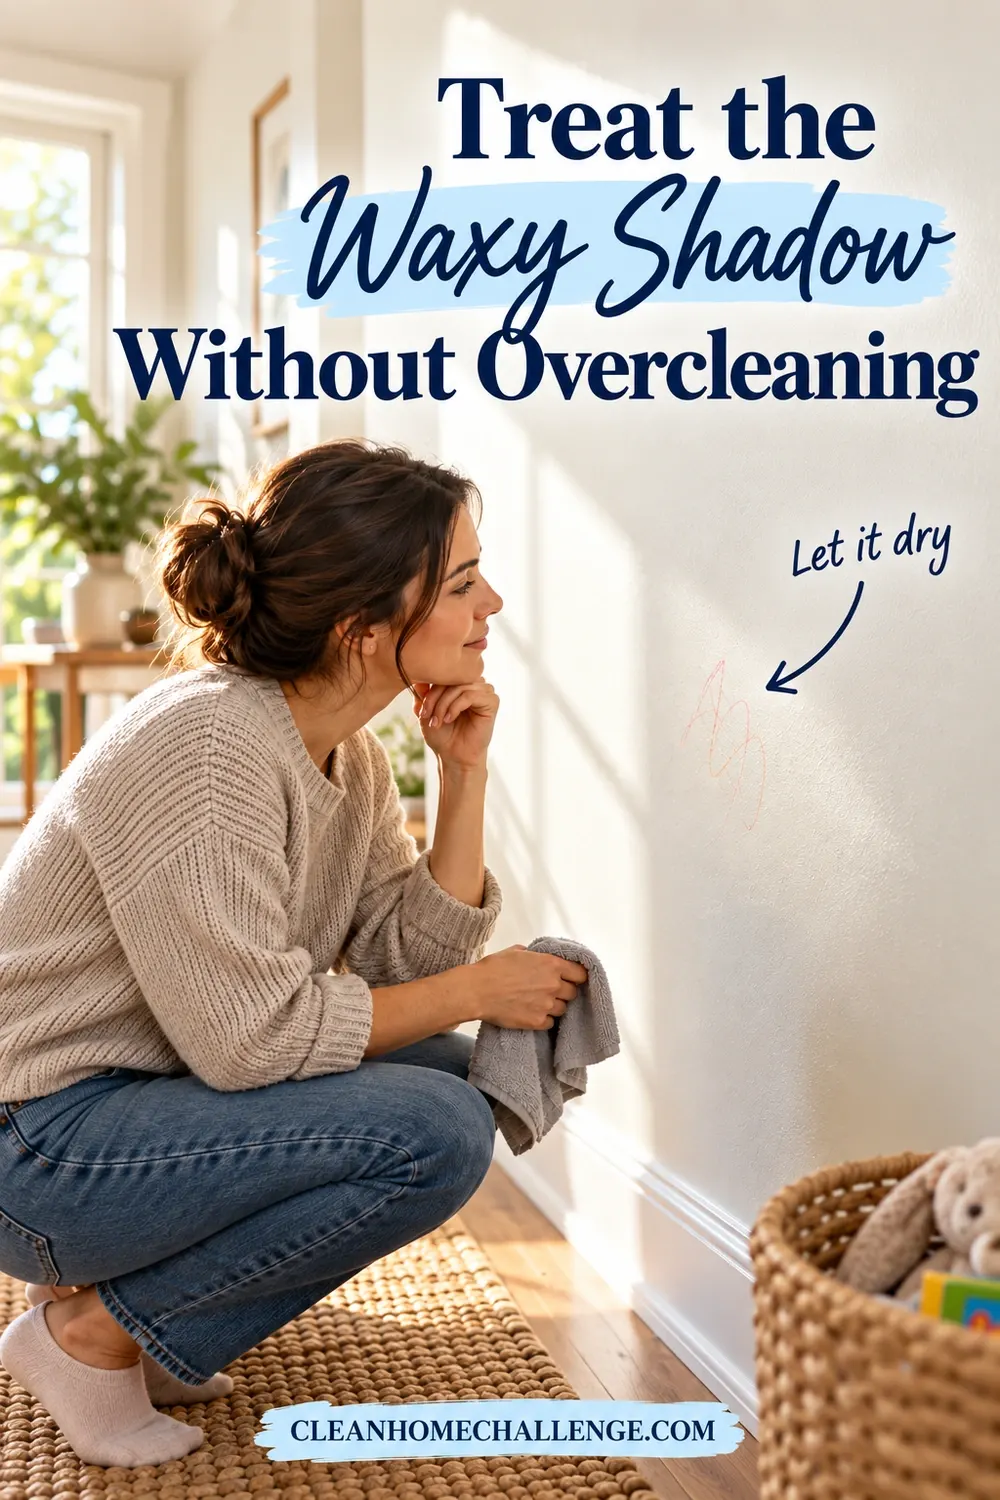
A pale waxy shadow may remain after the color lifts. Before reaching for a stronger cleaner, let the wall dry completely; damp paint can look darker or glossier than the surrounding area.
If the shadow is still visible, repeat the mild soap method once. For washable satin or semigloss paint, you can then try a paint-manufacturer-approved wall cleaner, following its label and your paint brand’s care instructions. Apply it to the cloth rather than spraying directly onto the wall.
Stop immediately if the paint feels tacky, color appears on the cloth, or the cleaned patch develops a different sheen. A faint shadow is usually less noticeable than a burnished circle or missing paint.
Do not chase the last trace while the wall is wet. Give the area at least enough time to return to the same temperature and color as the surrounding paint. Check it in daylight and with the room lights on; a mark that looks obvious in close side light may disappear at normal viewing distance.
Use a Melamine Sponge Only as a Last Resort
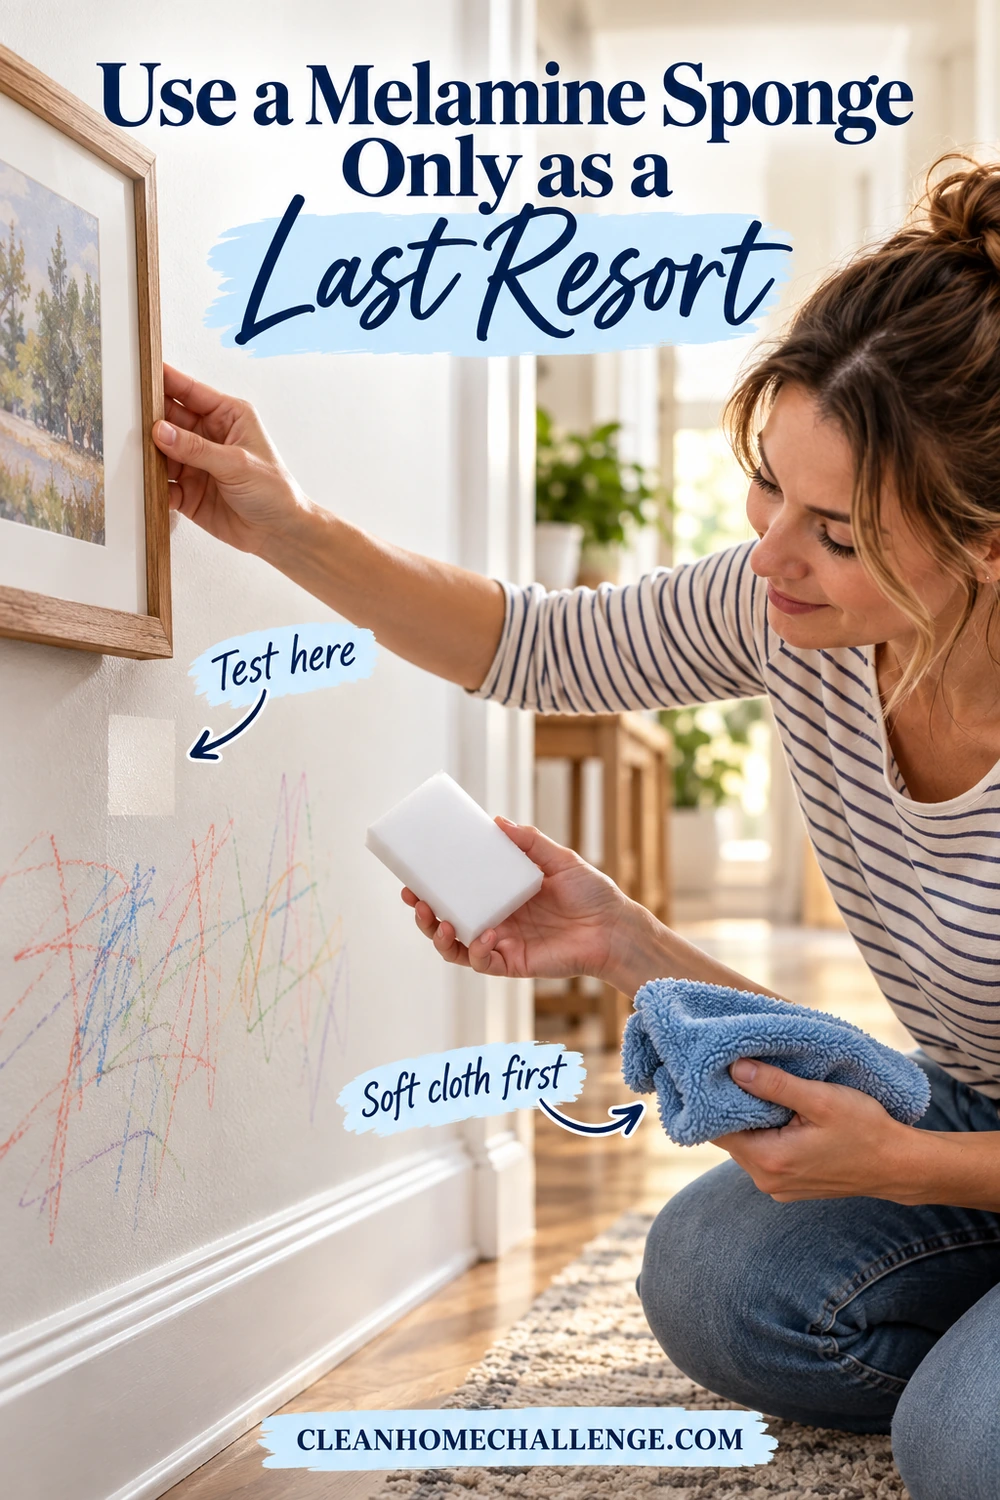
Melamine sponges are popular for crayon, but they work like an extremely fine abrasive. Benjamin Moore specifically advises avoiding Magic Eraser-type products on freshly painted walls because they can alter or remove the finish.
If the wall has a durable washable finish and the manufacturer permits it, test a small piece in a hidden spot. Dampen it, squeeze it almost dry, and make one feather-light pass over the mark. Do not scrub back and forth. Check the wall from several angles before deciding whether to continue.
Avoid melamine sponges on flat, matte, chalky, dark, or freshly painted walls. If preserving the paint matters more than removing the final trace, stop with mild soap and plan a touch-up.
Cutting a large sponge into a small piece does not make it non-abrasive, but it can help you confine a manufacturer-approved test to the exact mark. Keep your fingers behind the sponge, use no extra cleaning chemical, and inspect after every single pass.
Avoid Popular Hacks That Can Damage Paint
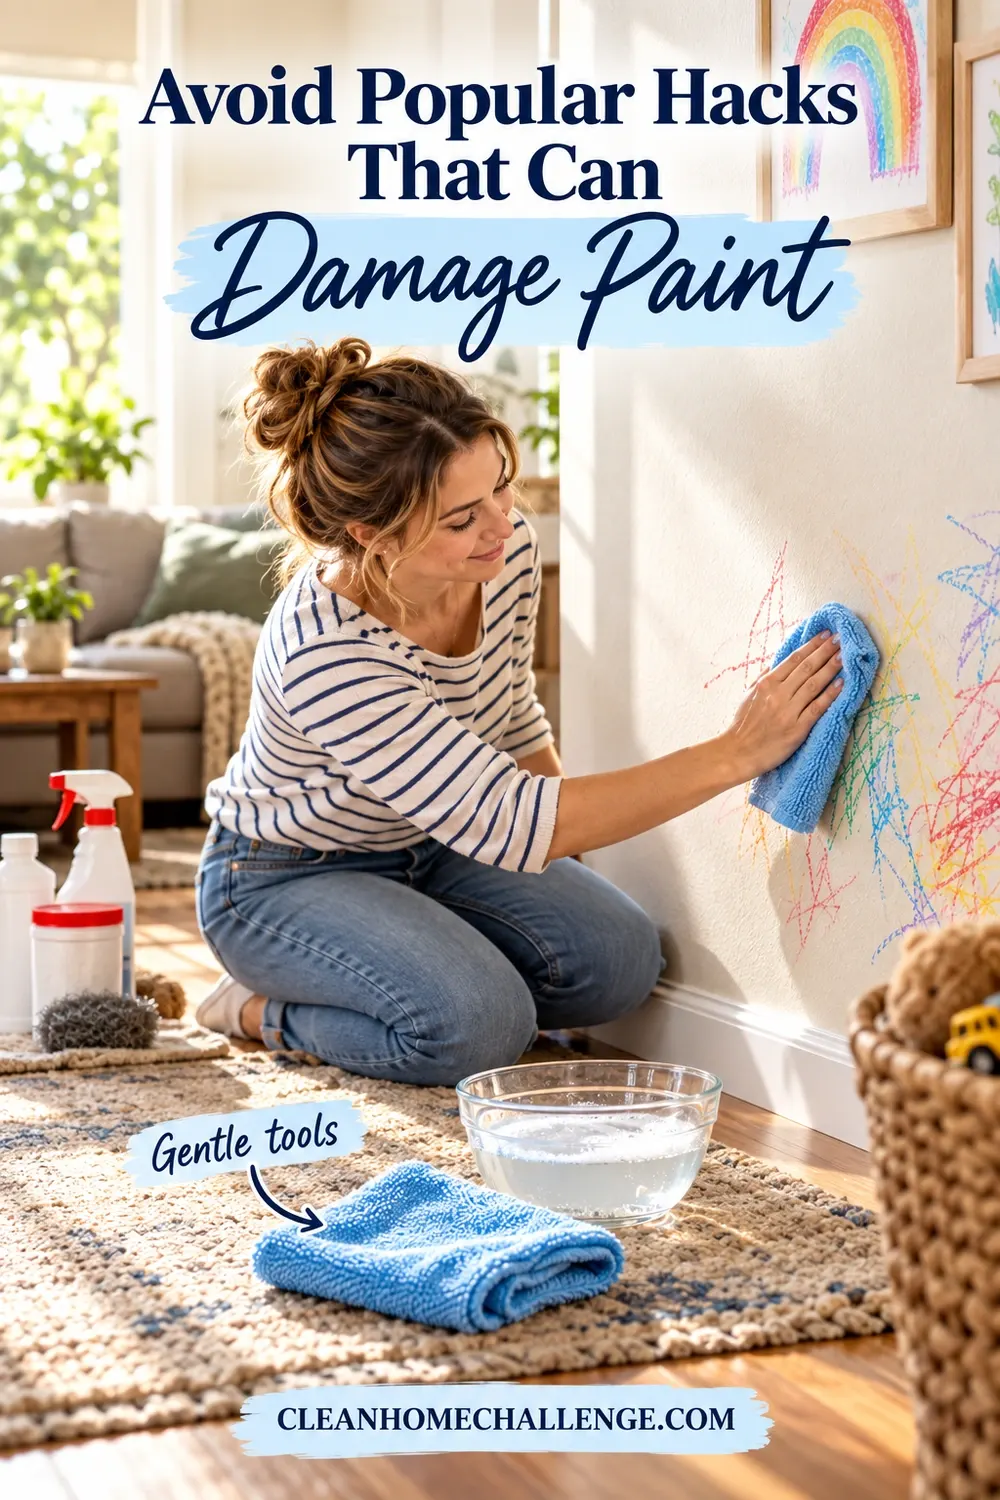
Toothpaste, baking soda paste, abrasive powder, rubbing alcohol, vinegar, citrus solvent, and concentrated degreaser can all change the sheen, soften the coating, or remove color. They may appear to work because they remove part of the paint along with the crayon.
Do not mix cleaning products. Never combine bleach with other cleaners, and keep all products away from children and pets. Protect the floor beneath the mark and follow the product label if you use any commercial wall cleaner.
The safest rule is simple: use the least moisture, mildest product, and lightest pressure that works. More scrubbing is not always more cleaning.
Be particularly cautious with solvent-based adhesive removers or citrus oils. Even when a label lists crayon, it may be written for hard, nonporous surfaces rather than interior wall paint. A product claim never overrides your paint manufacturer’s care instructions or the result of a hidden patch test.
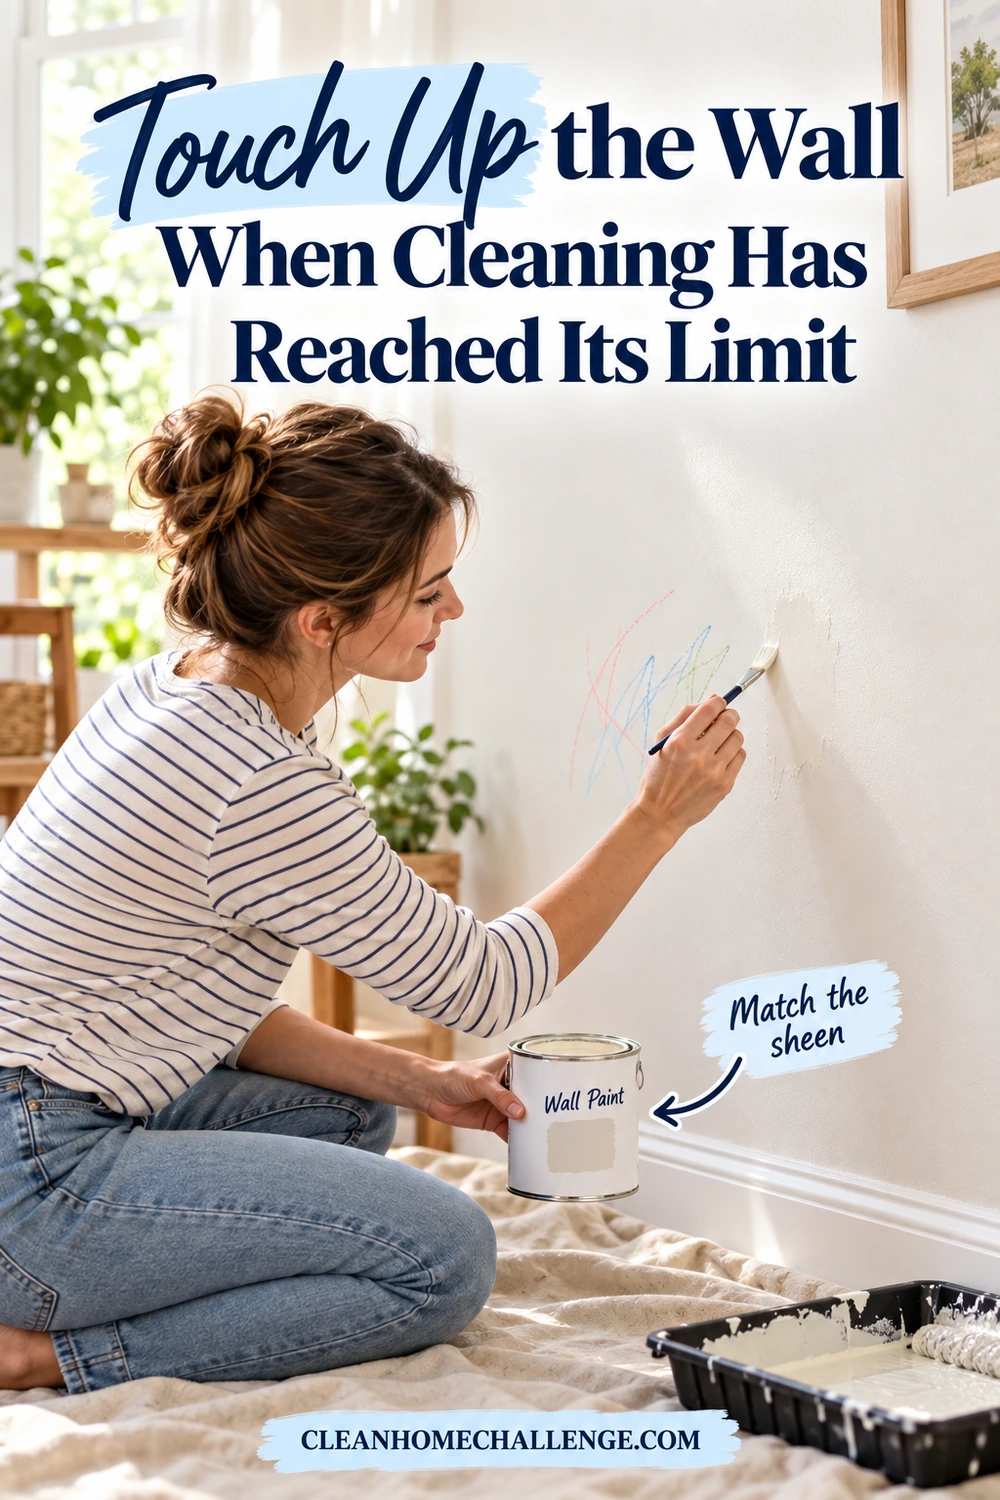
Touch Up the Wall When Cleaning Has Reached Its Limit
Repainting a tiny patch is sometimes the most paint-safe finish. Stop cleaning when the crayon is only faintly visible but the wall begins to look polished, pale, soft, or patchy.
Clean away soap residue, let the wall dry, and use the original paint if it is still in good condition. Stir it thoroughly, then apply a very small amount with the same type of applicator used originally. Feathering a patch can be difficult on flat paint or walls that have faded, so a corner-to-corner repaint may blend better.
If the coating is peeling, cracked, or potentially lead-based, do not create dust by sanding. Get appropriate professional or local guidance before repair.
Write the paint brand, color name, sheen, room, and purchase date on the can or a photo stored on your phone. Touch-up paint changes as it ages, and the wall itself can fade, so test the match after it dries. Use a small amount; a thick repair creates its own visible texture.
If you no longer have the original paint, a paint store may be able to scan a clean sample, but an exact invisible match is not guaranteed. On a highly visible wall, repainting from corner to corner often looks more even than enlarging a series of small patches.
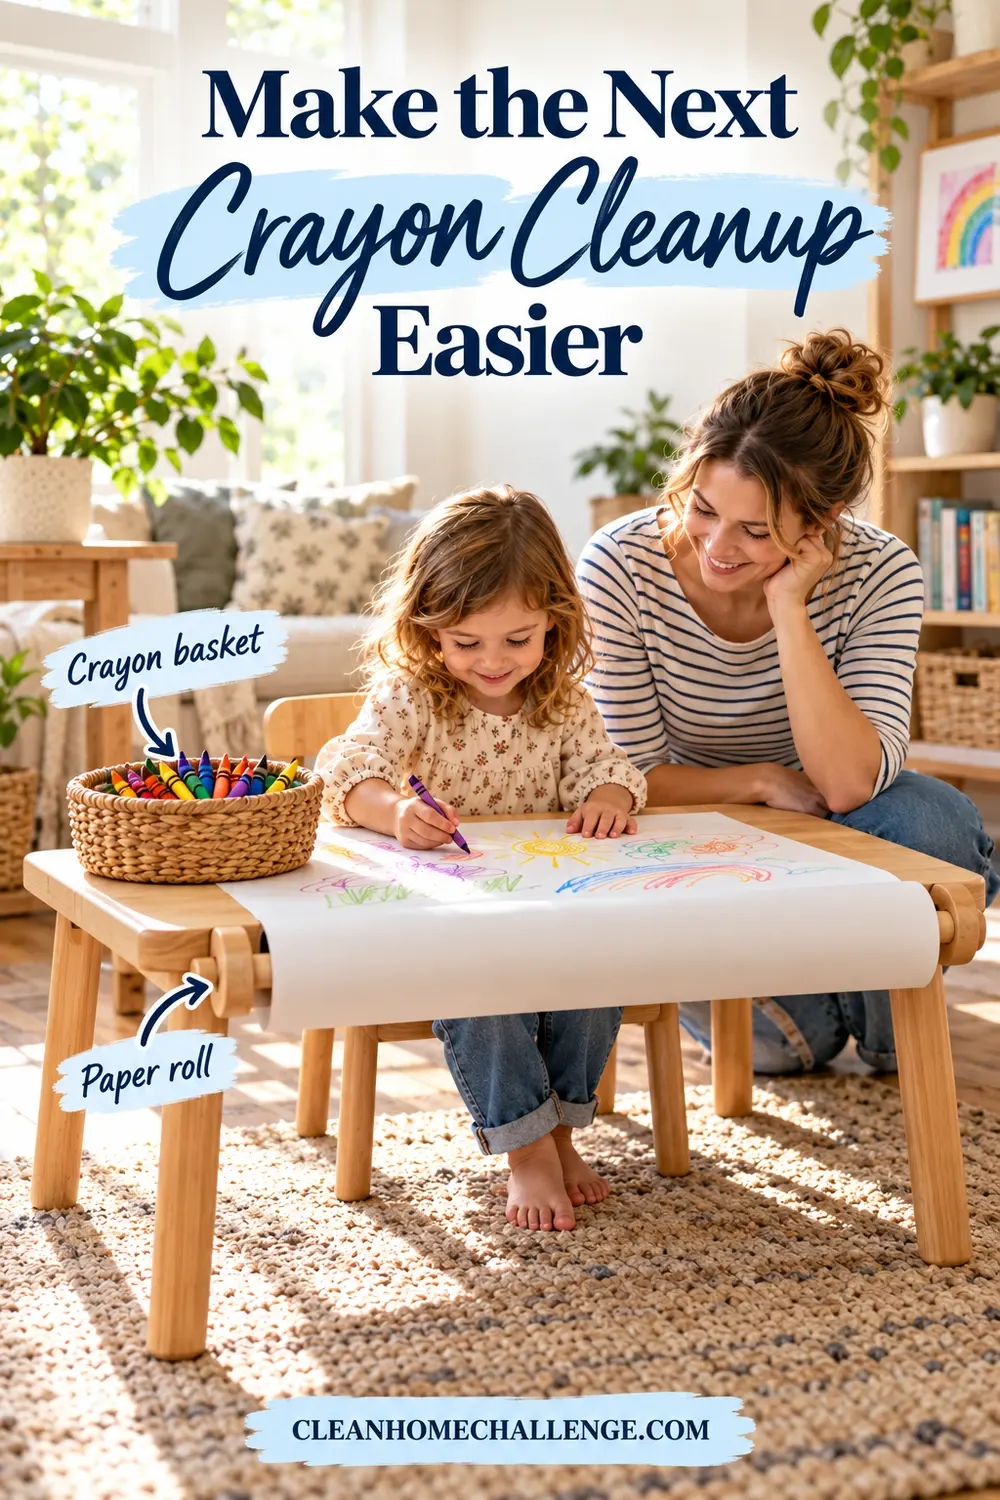
Make the Next Crayon Cleanup Easier
Store crayons with paper, coloring books, and a wipeable mat in one easy-to-reach art basket. A roll of butcher paper taped to a table or a dedicated drawing board gives children a large surface without turning the wall into the canvas.
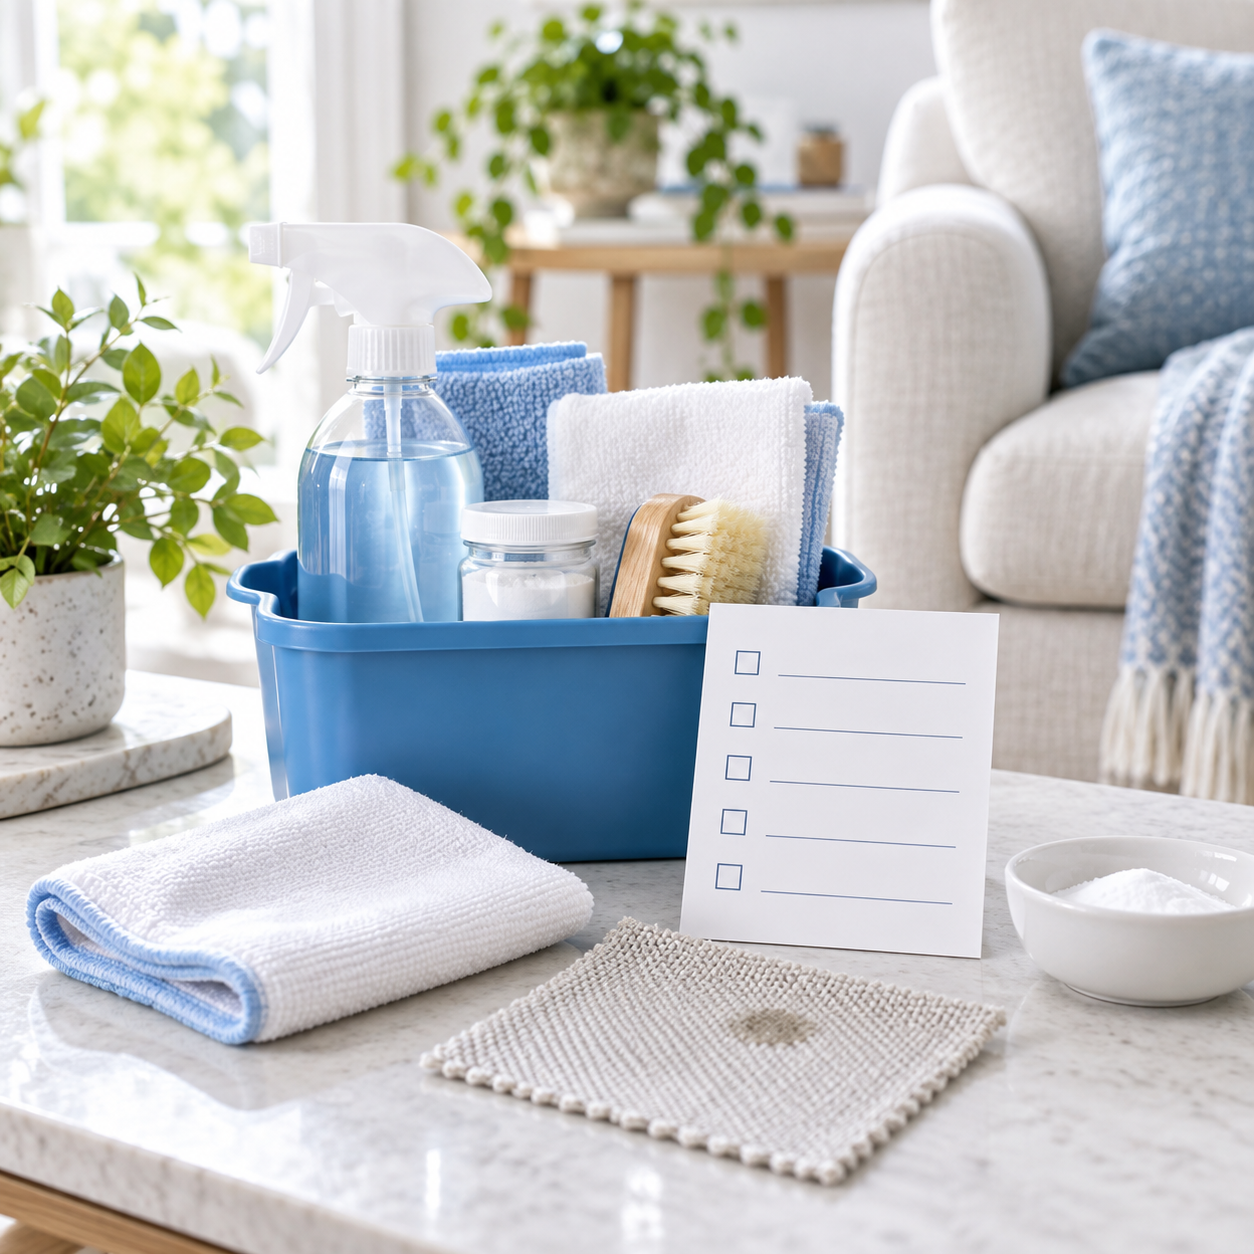
Keep a small wall-care kit with two microfiber cloths, mild dish soap, and the paint name and finish written on a card. Fresh marks are usually easier to lift than old wax that has collected dust.
For younger children, put drawing supplies where they can reach them but keep the cleaning kit and any paint or commercial cleaner out of reach. Wash hands after the cleanup, and return crayons to the art basket only after the floor is checked for dropped pieces that could be stepped on and ground into carpet.
Most importantly, keep the response calm. Save the artwork with a quick photo, invite the child to help wipe the final safe pass, and reset the art station. A practical cleanup and a simple boundary are far more useful than expecting a busy family home to stay mark-free.
CLEANERS CLUBHOUSE
Get Step-by-Step Help With Tricky Cleaning Jobs
When a stain, smell or stubborn cleaning problem has you stuck, a clear plan makes all the difference. The Cleaners Clubhouse gives you practical guidance, useful printables and routines you can actually follow.
