
THIS POST MAY CONTAIN AFFILIATE LINKS. PLEASE READ MY DISCLOSURE FOR MORE INFO.
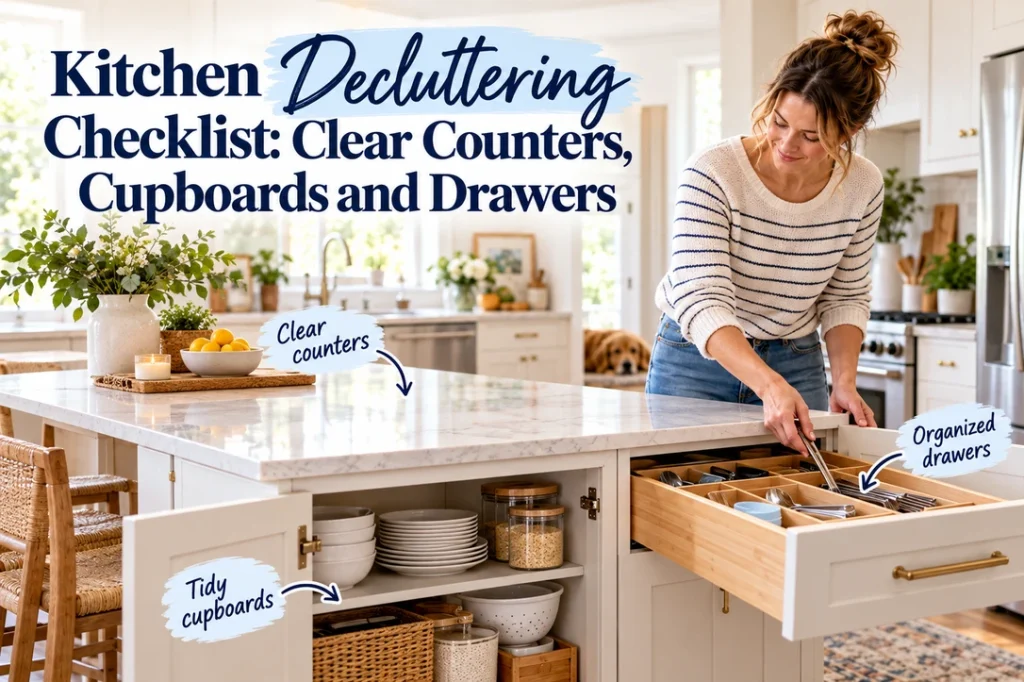
A cluttered kitchen is rarely a sign that you need more storage. More often, the things you use every day are mixed with duplicates, half-used food, bulky appliances, and “I might need that” items that have never earned a practical home. The result is a counter that is hard to wipe, cupboards that hide what you already own, and drawers that snag every time you open them.
This kitchen decluttering checklist is designed for a real family kitchen. You do not need to empty every cabinet onto the floor or finish the room in one exhausting day. Work in short sections, make decisions in a clear order, and stop when the area you opened is complete. A small finished zone is far more useful than five half-sorted cupboards.
Allow 20 to 30 minutes for one drawer or shelf, or two to three hours for a focused kitchen reset. Keep a damp microfiber cloth, dish soap, trash and recycling bags, a donation box, sticky notes, and a tape measure nearby.
Disclosure: This post may contain affiliate links. As an Amazon Associate, Clean Home Challenge earns from qualifying purchases. If you make a purchase through these links, we may earn a small commission at no extra cost to you. This helps us keep creating practical cleaning tips, routines and resources for busy families! 🧽
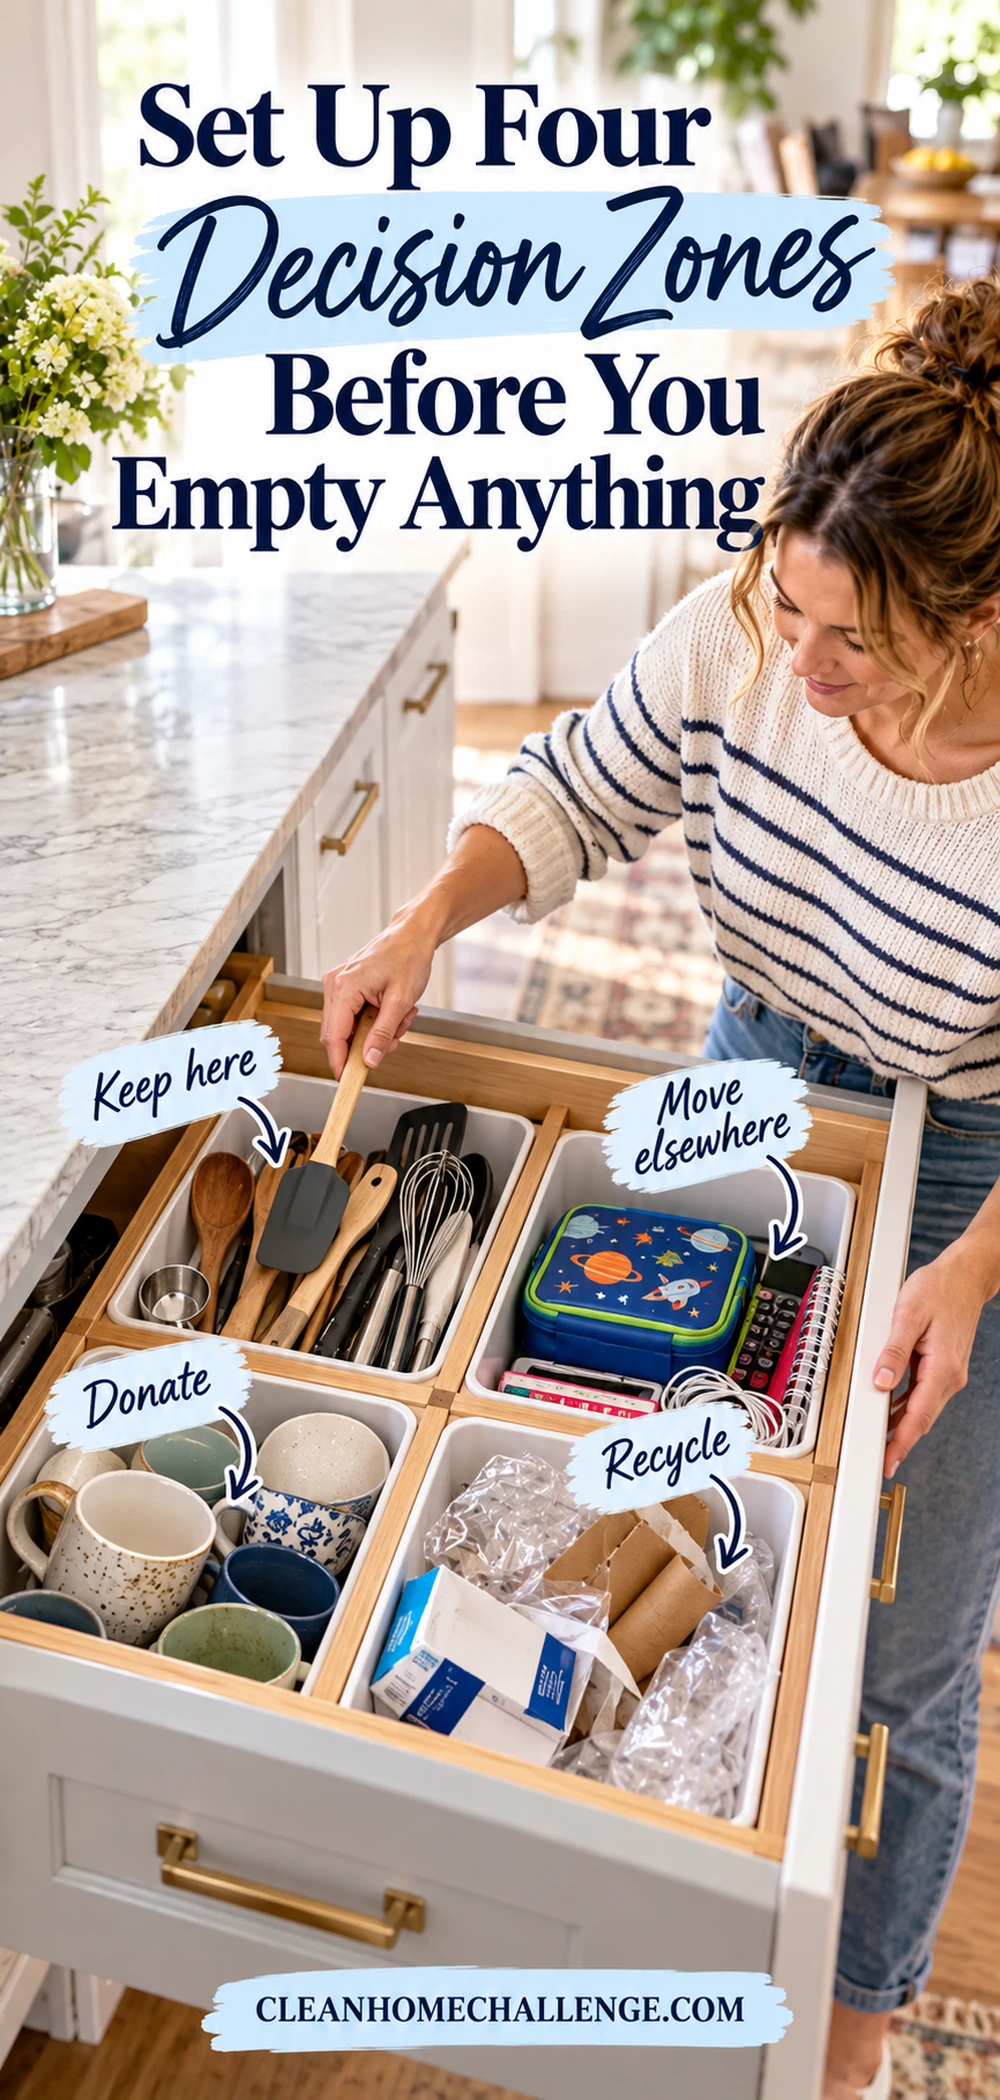
Set Up Four Decision Zones Before You Empty Anything
Start with four clearly labeled zones: keep here, move elsewhere, donate, and trash or recycle. A laundry basket works well for items that belong in another room. Use a box for safe, clean donations and separate bags for trash and local recycling.
Work on only one contained area at a time. Empty one drawer, one shelf, or one counter section. This prevents the common mistake of turning a cluttered kitchen into a completely unusable kitchen before dinner.
Use these questions as you handle each item:
- Do we use it often enough to justify kitchen space?
- Is it the best version of this item, or is it a duplicate?
- Is it complete, safe, and in working condition?
- Would I buy or choose it again today?
- Does it belong near the task where it is used?
Put uncertain items in a small dated “decide later” box, not back into the cupboard. If no one looks for them during the next month, the decision is usually easier.
Clear the Counters Without Losing Everyday Convenience
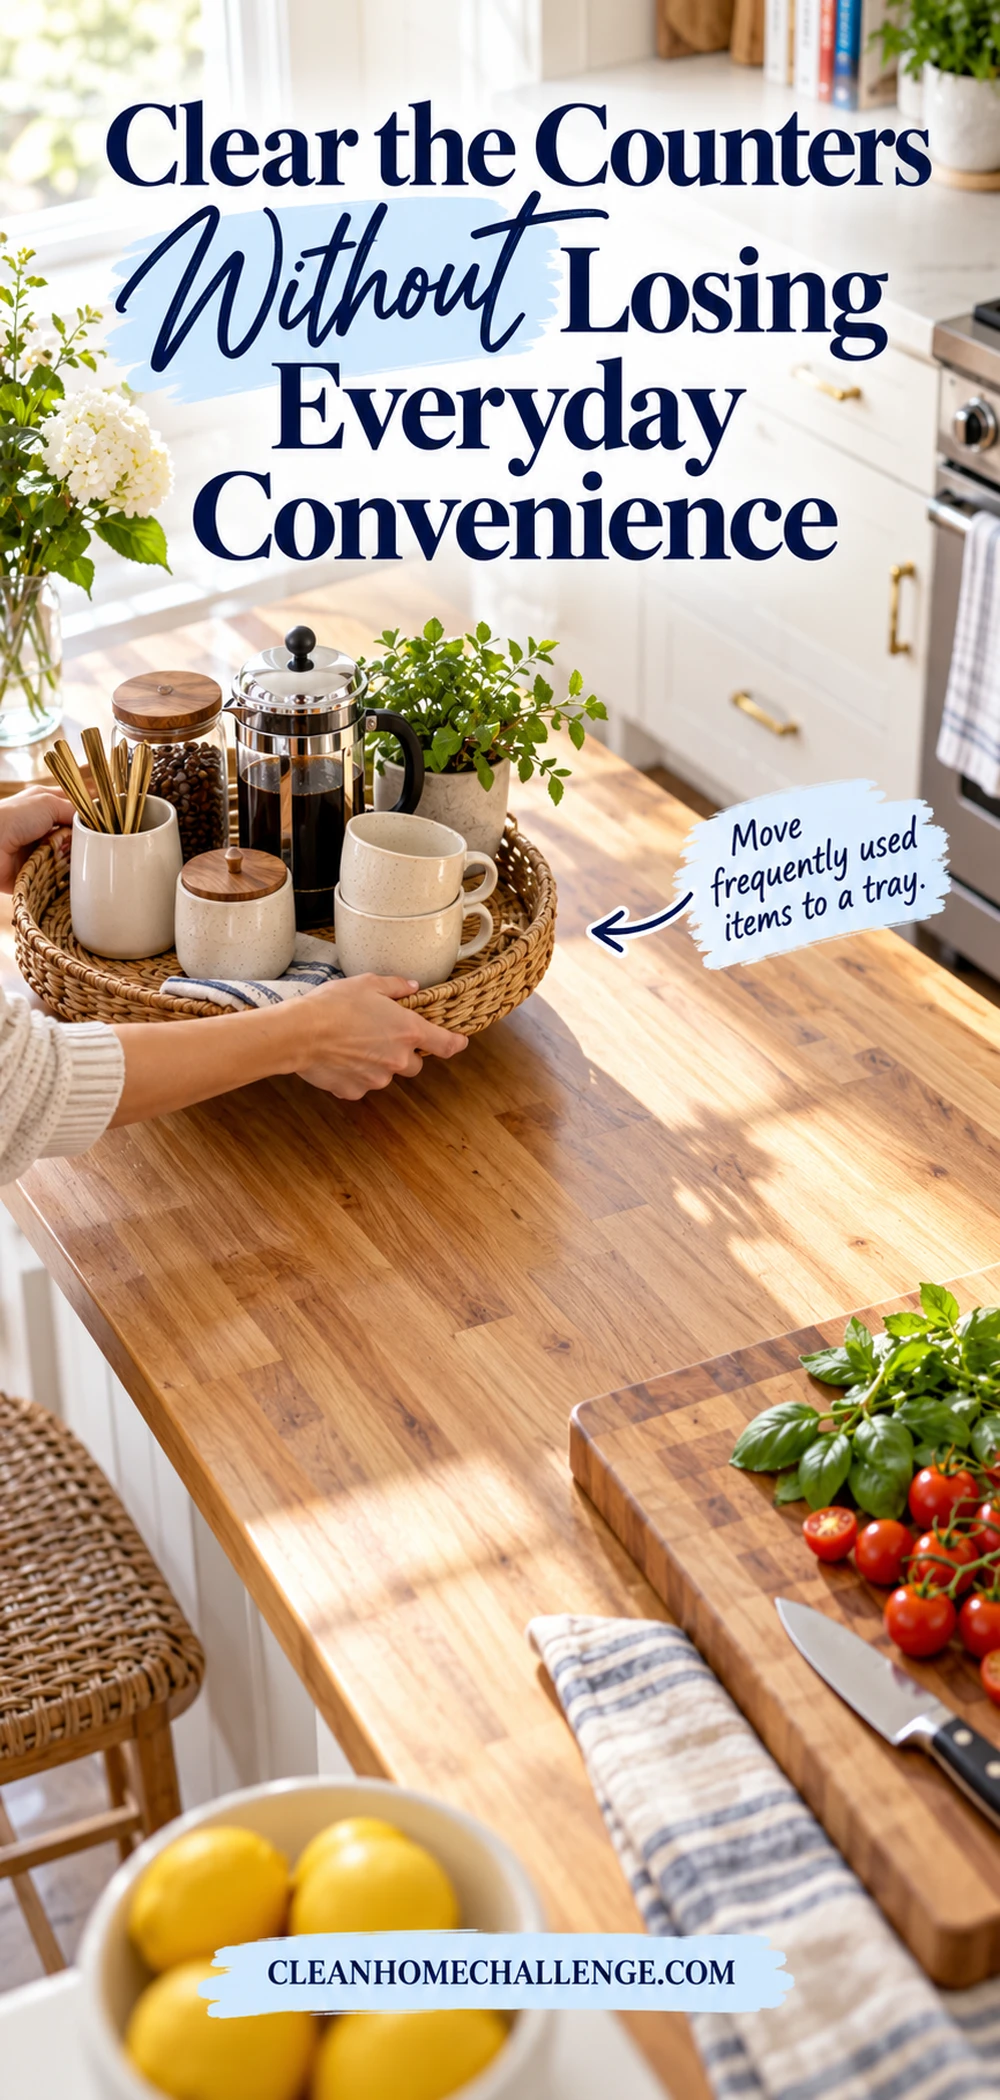
Counters should support cooking, not display everything the household owns. Begin by removing rubbish, paperwork, empty containers, and items that belong elsewhere. Then group what remains by purpose: hot drinks, breakfast, food preparation, washing up, and daily medication or supplements.
Keep only true daily-use items on the counter. A kettle and coffee machine may deserve a permanent drink station; a bread maker used twice a year probably does not. Place smaller essentials on one washable tray so the whole group can be lifted when you wipe the counter.
Leave a clear preparation zone beside your main chopping area. Also keep paper towels, cloths, cardboard packaging, cooking oils, and other items that can burn away from the cooktop. The U.S. Fire Administration advises keeping anything flammable away from the cooking area.
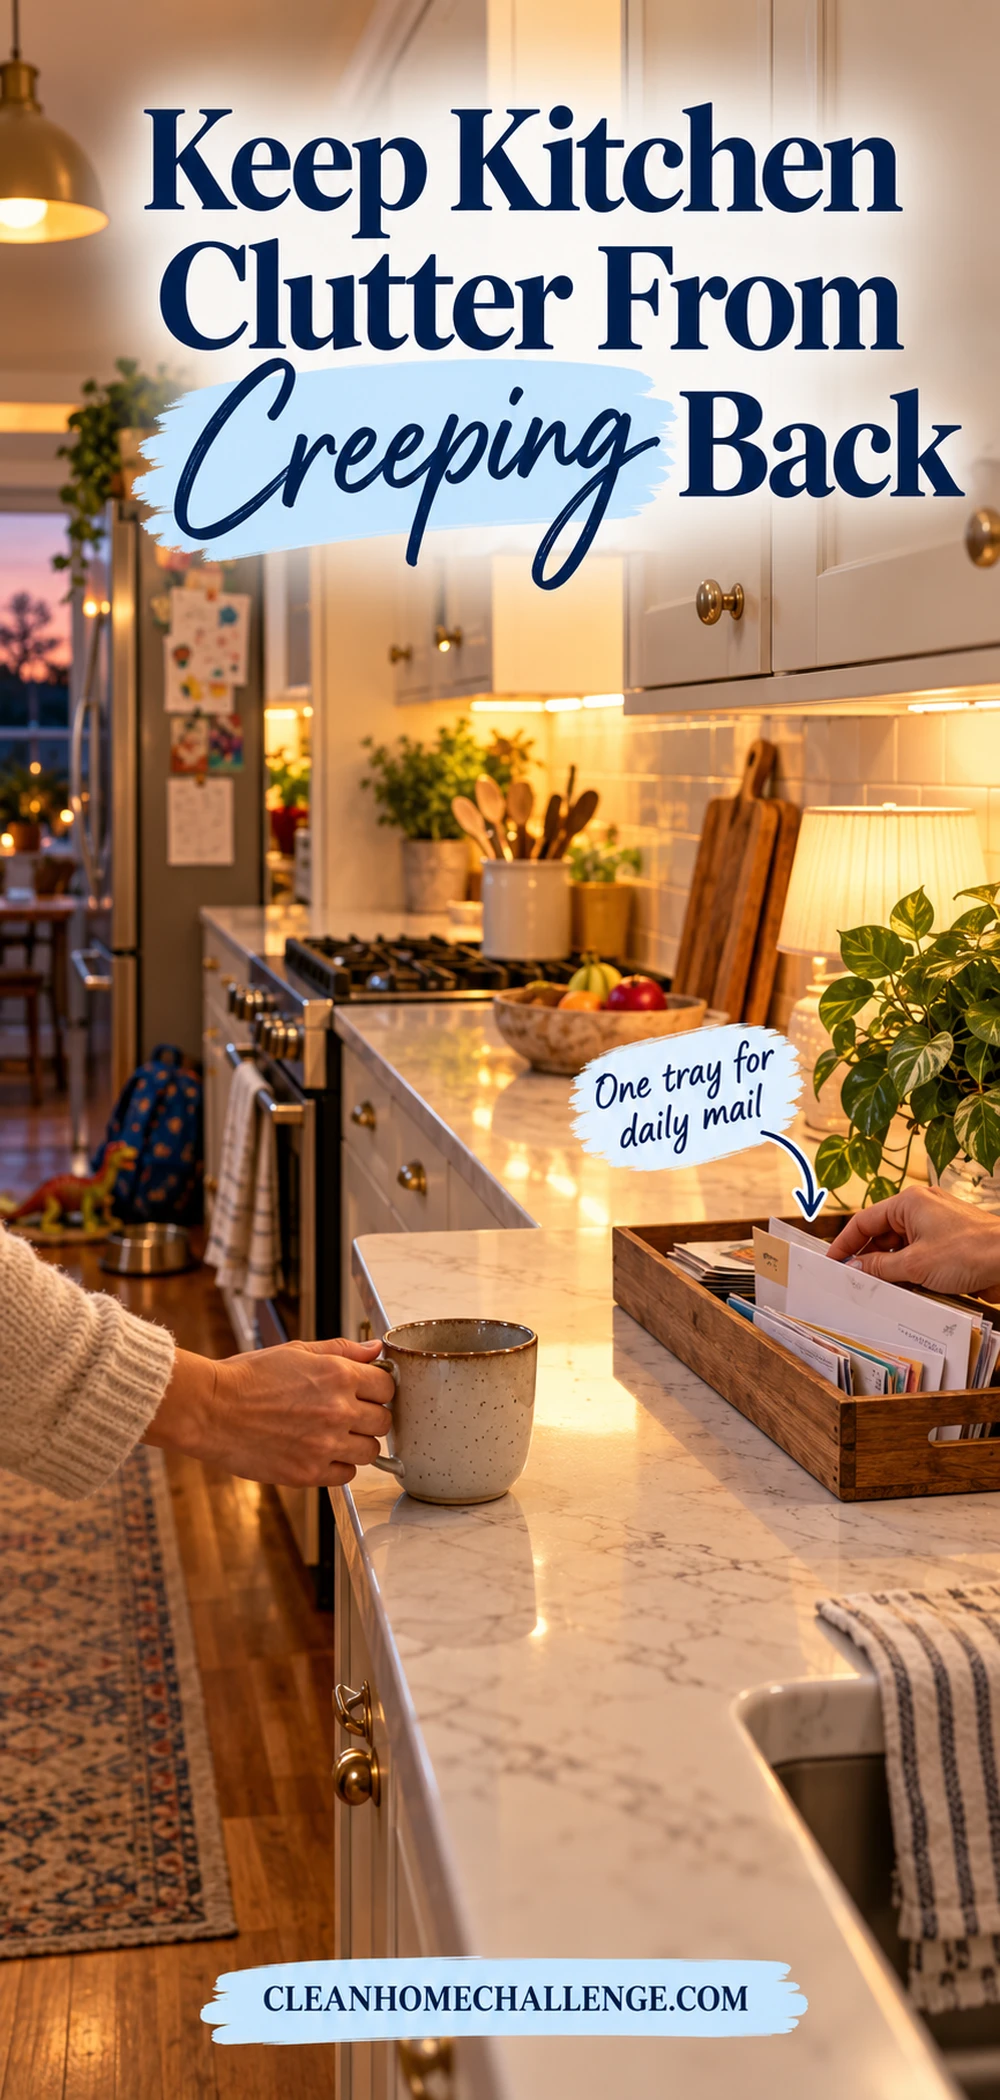
If paperwork repeatedly lands in the kitchen, give it a deliberate landing place outside the food-preparation zone: one wall file, a lidded box, or an action tray that is cleared on a set day. A single boundary is easier to maintain than several drifting piles.
Declutter Food Cupboards One Shelf at a Time
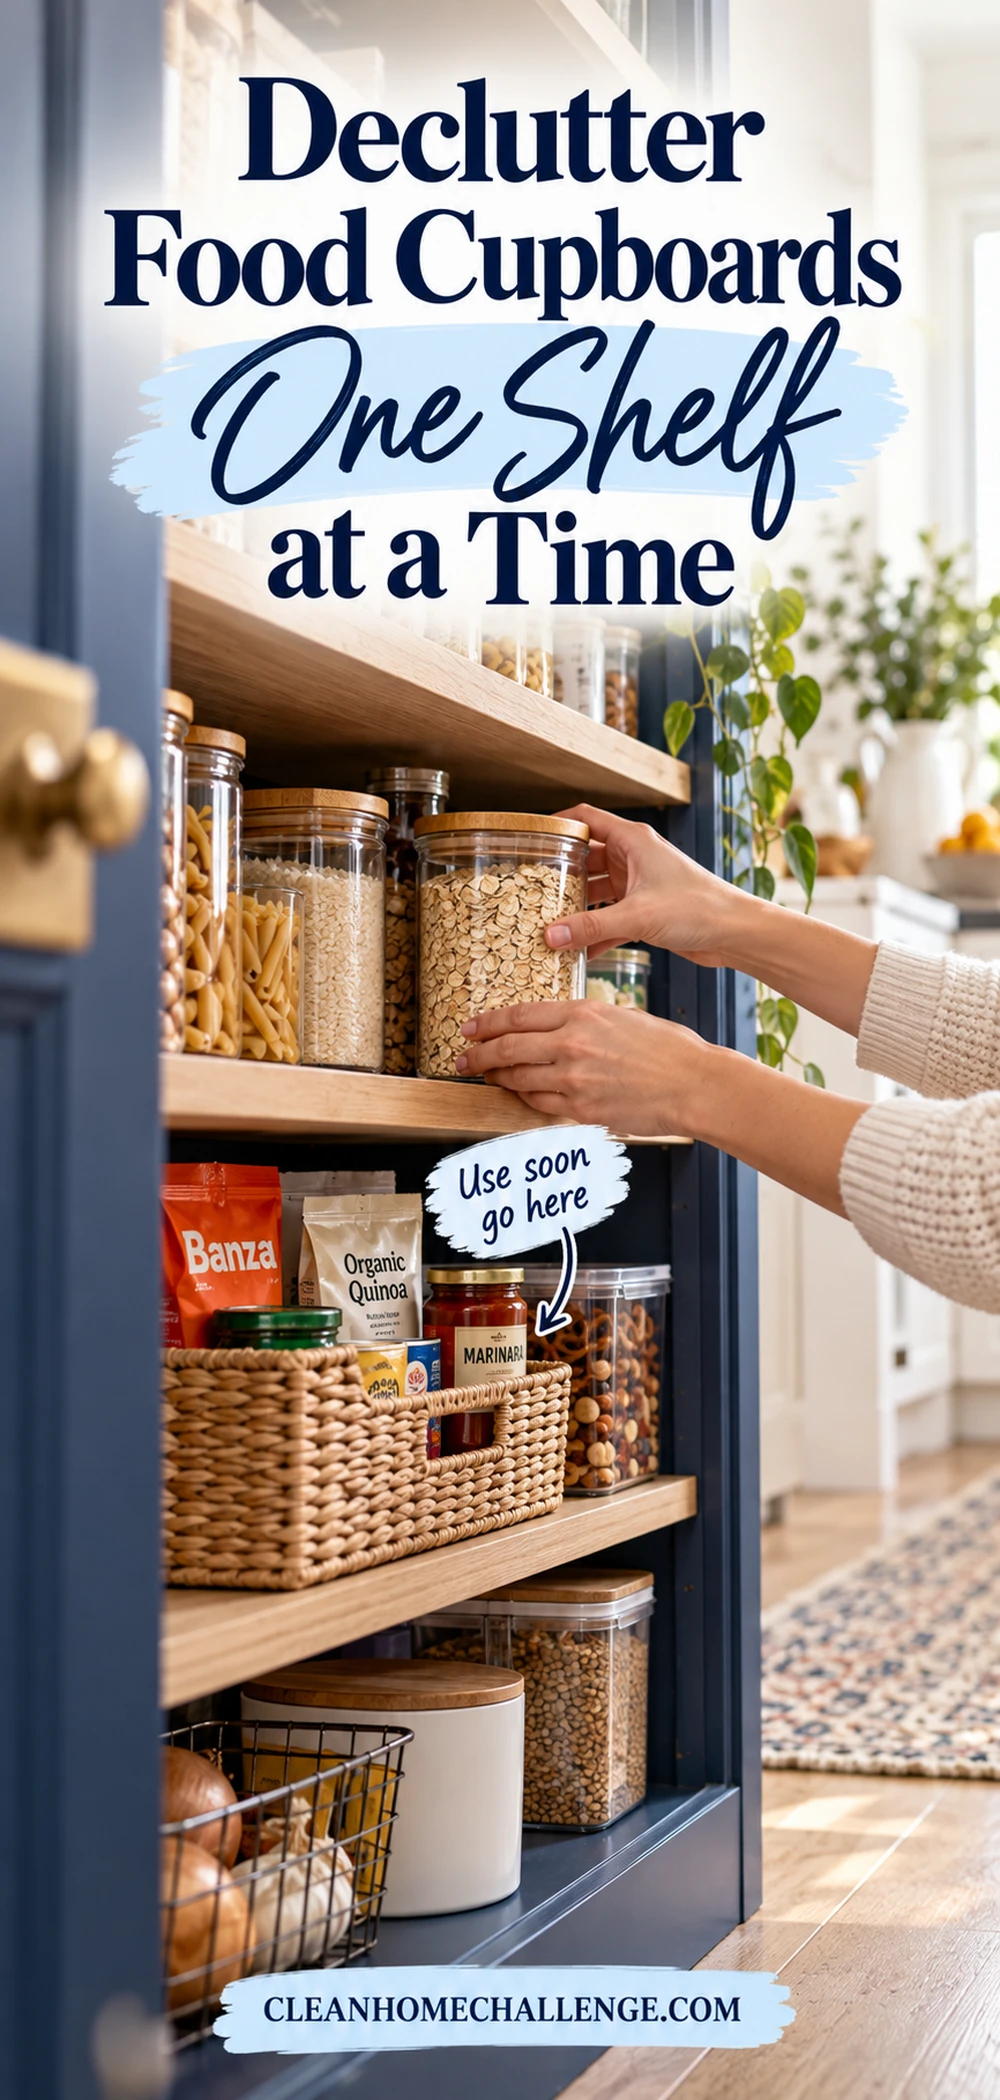
Take everything from one shelf and wipe it before you sort. Group food into categories such as breakfast, baking, snacks, canned goods, grains, and quick meals. This reveals duplicates and makes it easier to plan where each category should live.
Check for damaged packaging, signs of pests, leaks, swollen cans, and foods that were stored contrary to their label directions. Follow package instructions and current food-safety guidance. Printed quality dates do not all mean the same thing, so use the USDA FoodKeeper resource when you are unsure rather than making one blanket rule for every pantry item.
Move older usable food to the front and newer purchases behind it. Put soon-to-use ingredients in a clearly marked basket and plan them into the next few meals. Donate unopened, in-date food only where local organizations accept it.
Avoid decanting everything simply because matching containers look tidy. If you do decant dry goods, keep the original label or record the product name, allergens, preparation directions, lot information, and date. Transparent containers are useful only when they genuinely help you see stock levels and fit the shelf.
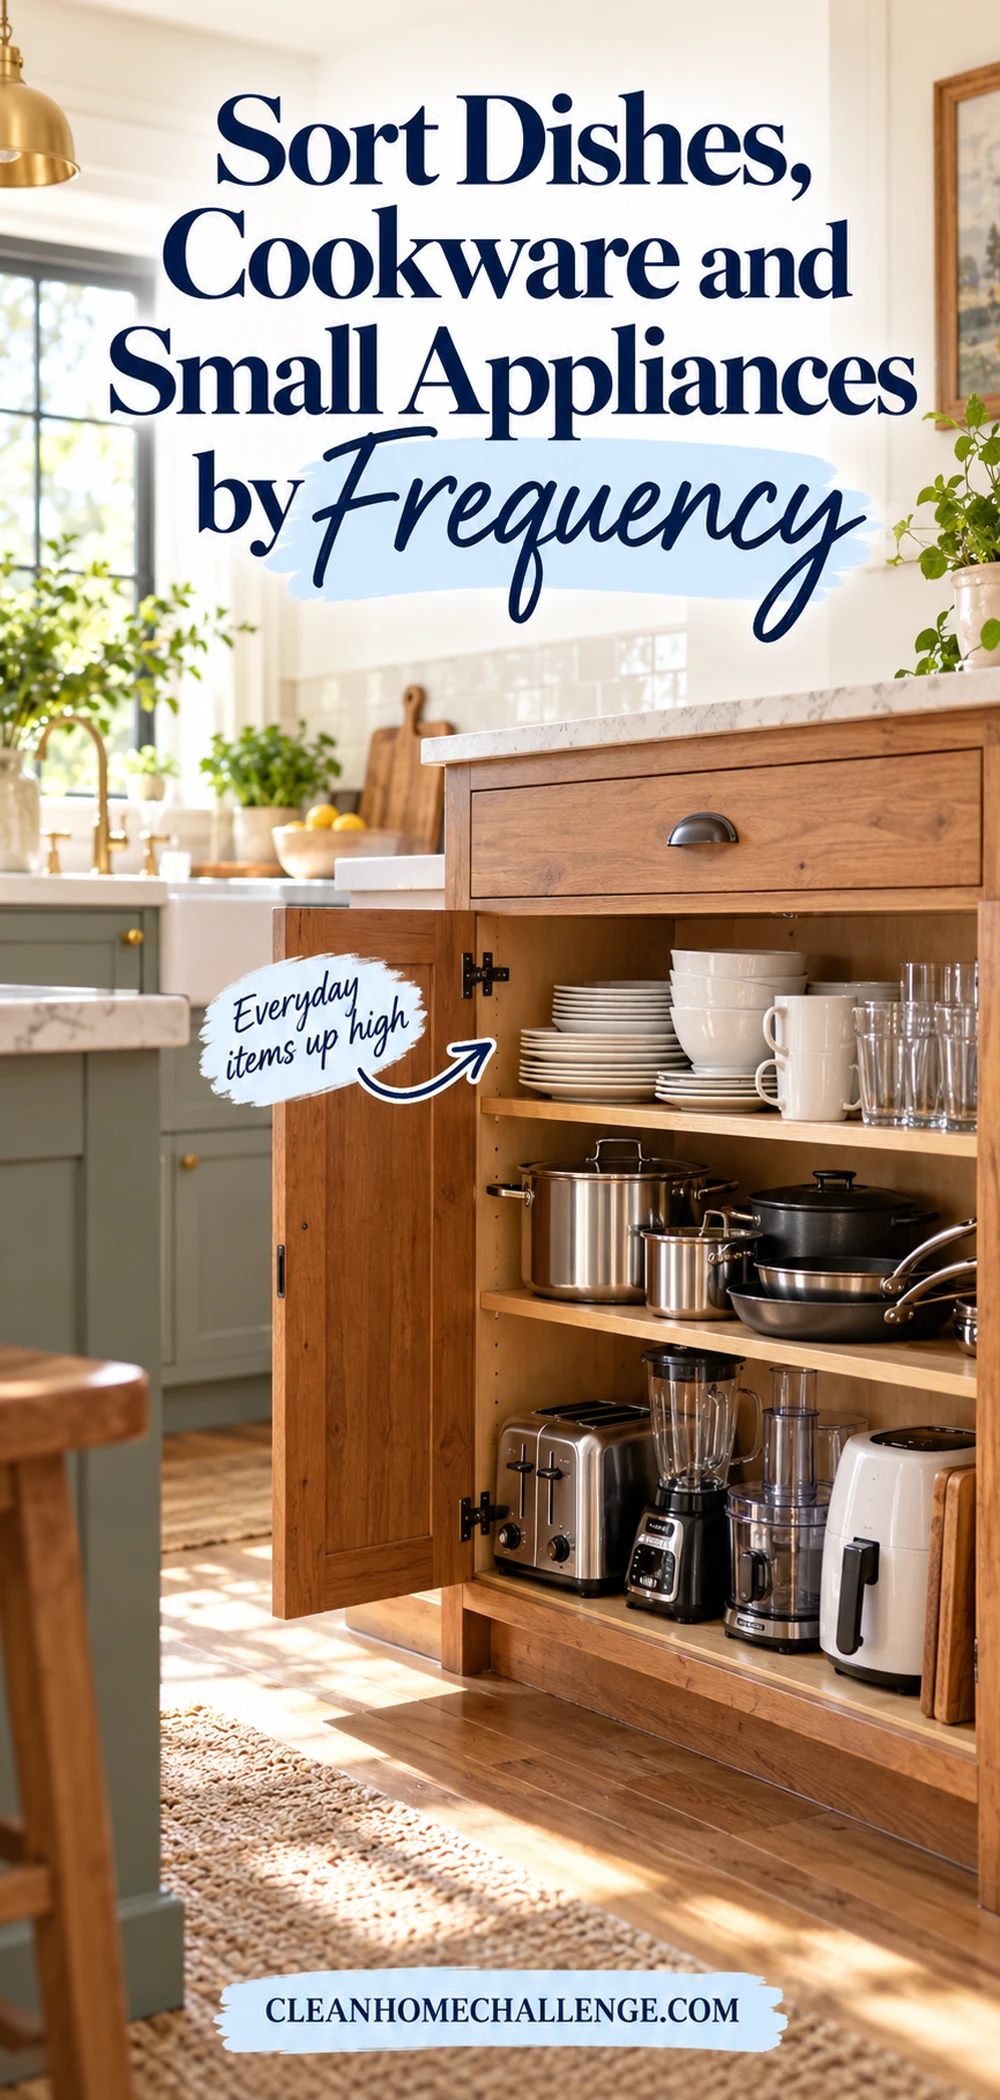
Sort Dishes, Cookware and Small Appliances by Frequency
Store items according to how often and where you use them. Everyday plates and glasses should be easy to reach. Seasonal platters, specialty bakeware, and entertaining pieces can use higher shelves. Heavy pots belong below waist height where possible, while frequently used pans should not require moving three other items first.
Match every lid to a container or pan. Recycle or discard damaged pieces according to local rules, and let go of orphaned lids that no longer have a useful partner. Keep a sensible number of food-storage containers based on your actual leftovers and lunch routines rather than the largest stack the cupboard can hold.
For appliances, ask when you last used each one and whether another tool does the same job. Keep daily appliances accessible, weekly appliances in a nearby cupboard, and occasional appliances higher or farther away. Check cords and plugs for damage; do not donate unsafe electrical items.
A shelf riser can make two usable levels for mugs, bowls, or cans. Vertical dividers can separate trays and cutting boards. These tools work best after you have reduced the contents, not as a way to squeeze more clutter into the same space.
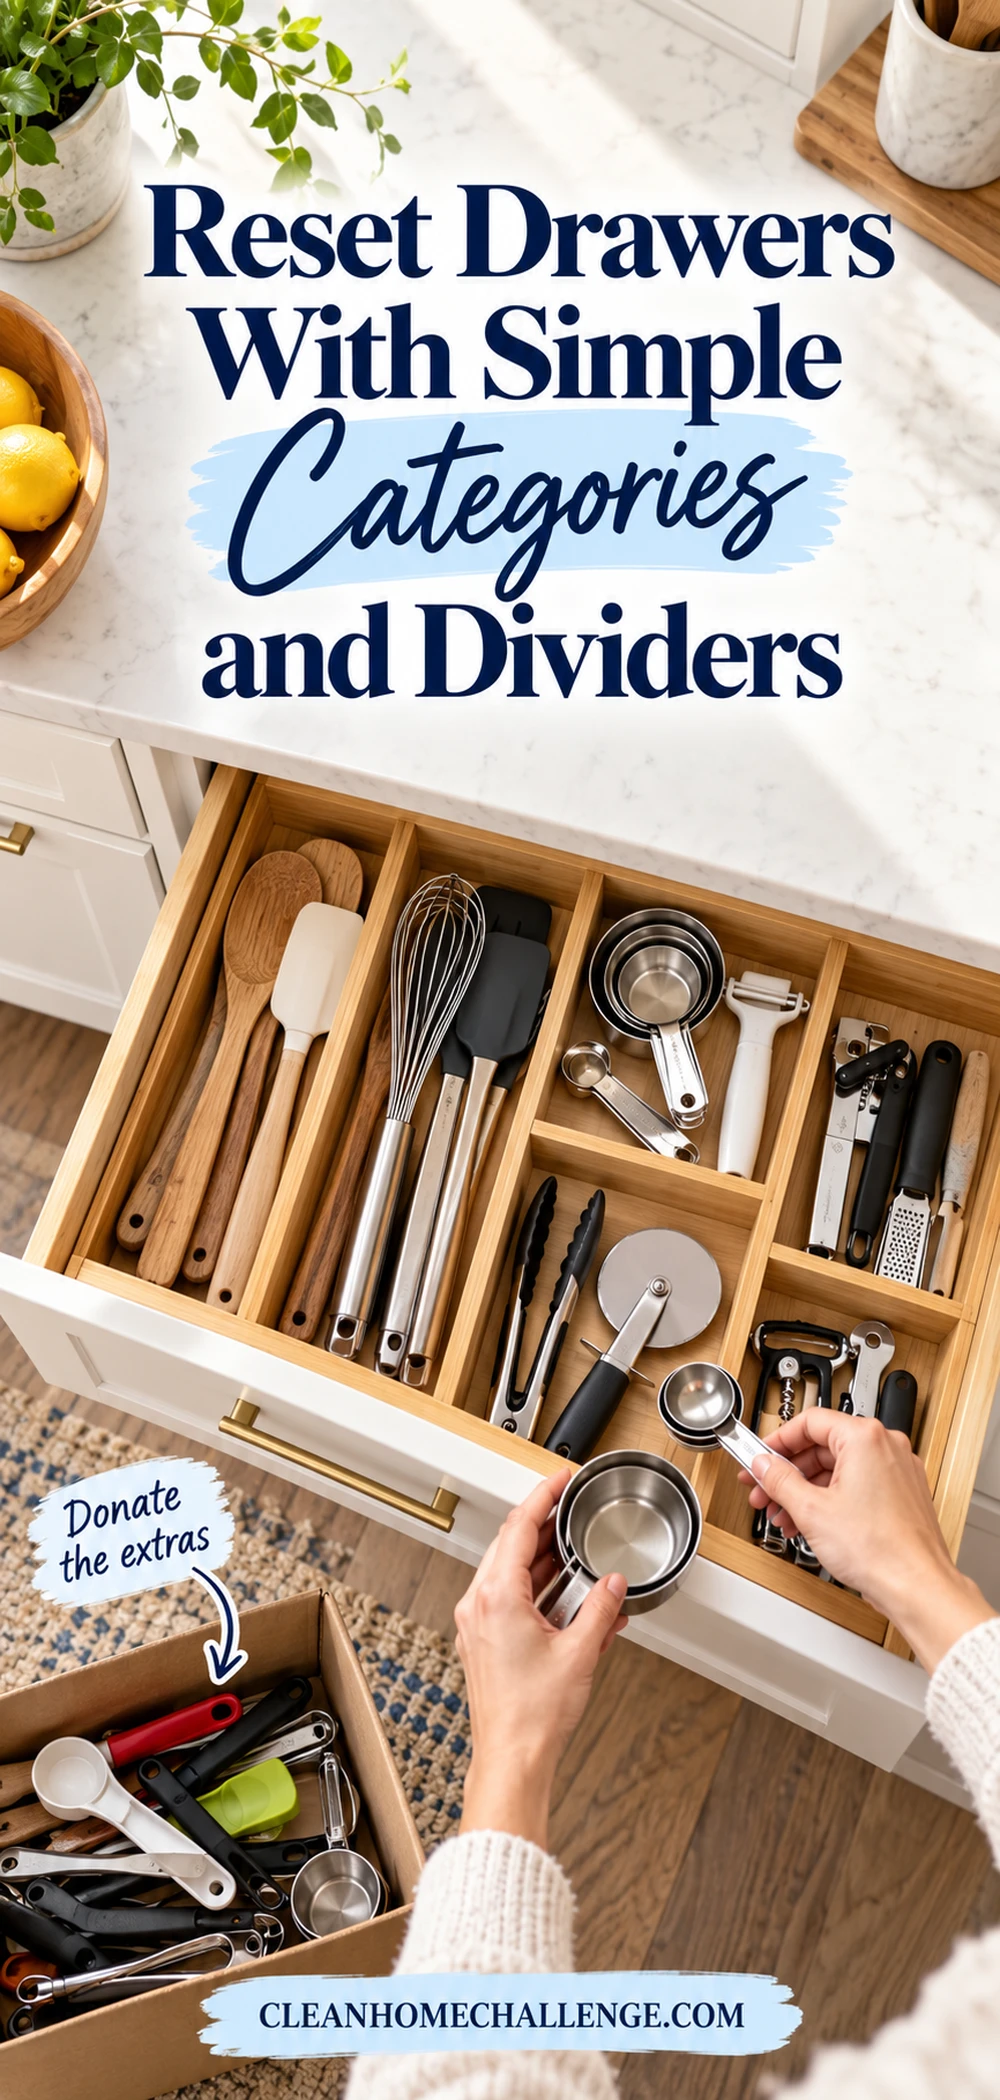
Reset Drawers With Simple Categories and Dividers
Empty one drawer, vacuum crumbs, and wipe it with a cleaner suitable for the drawer material. Dry it fully before returning anything. Remove duplicates, broken gadgets, blunt peelers, takeaway cutlery, mystery keys, and utensils that never get chosen.
Give each drawer a single main purpose. For example:
- everyday cutlery;
- cooking utensils;
- food-preparation tools;
- wraps, bags, and clips;
- tea towels and oven mitts; or
- the household “useful bits” drawer, kept to one shallow organizer.
Arrange tools by frequency rather than by perfect appearance. The spatula used every night belongs at the front. Rare cake-decorating tools can move to a labeled baking box. Adjustable dividers or small removable trays are easier to clean than a permanent system and can change as your household changes.
Do not overfill a drawer just because an organizer has another compartment. Leave a little open space so items return easily and the drawer can close without a careful puzzle.
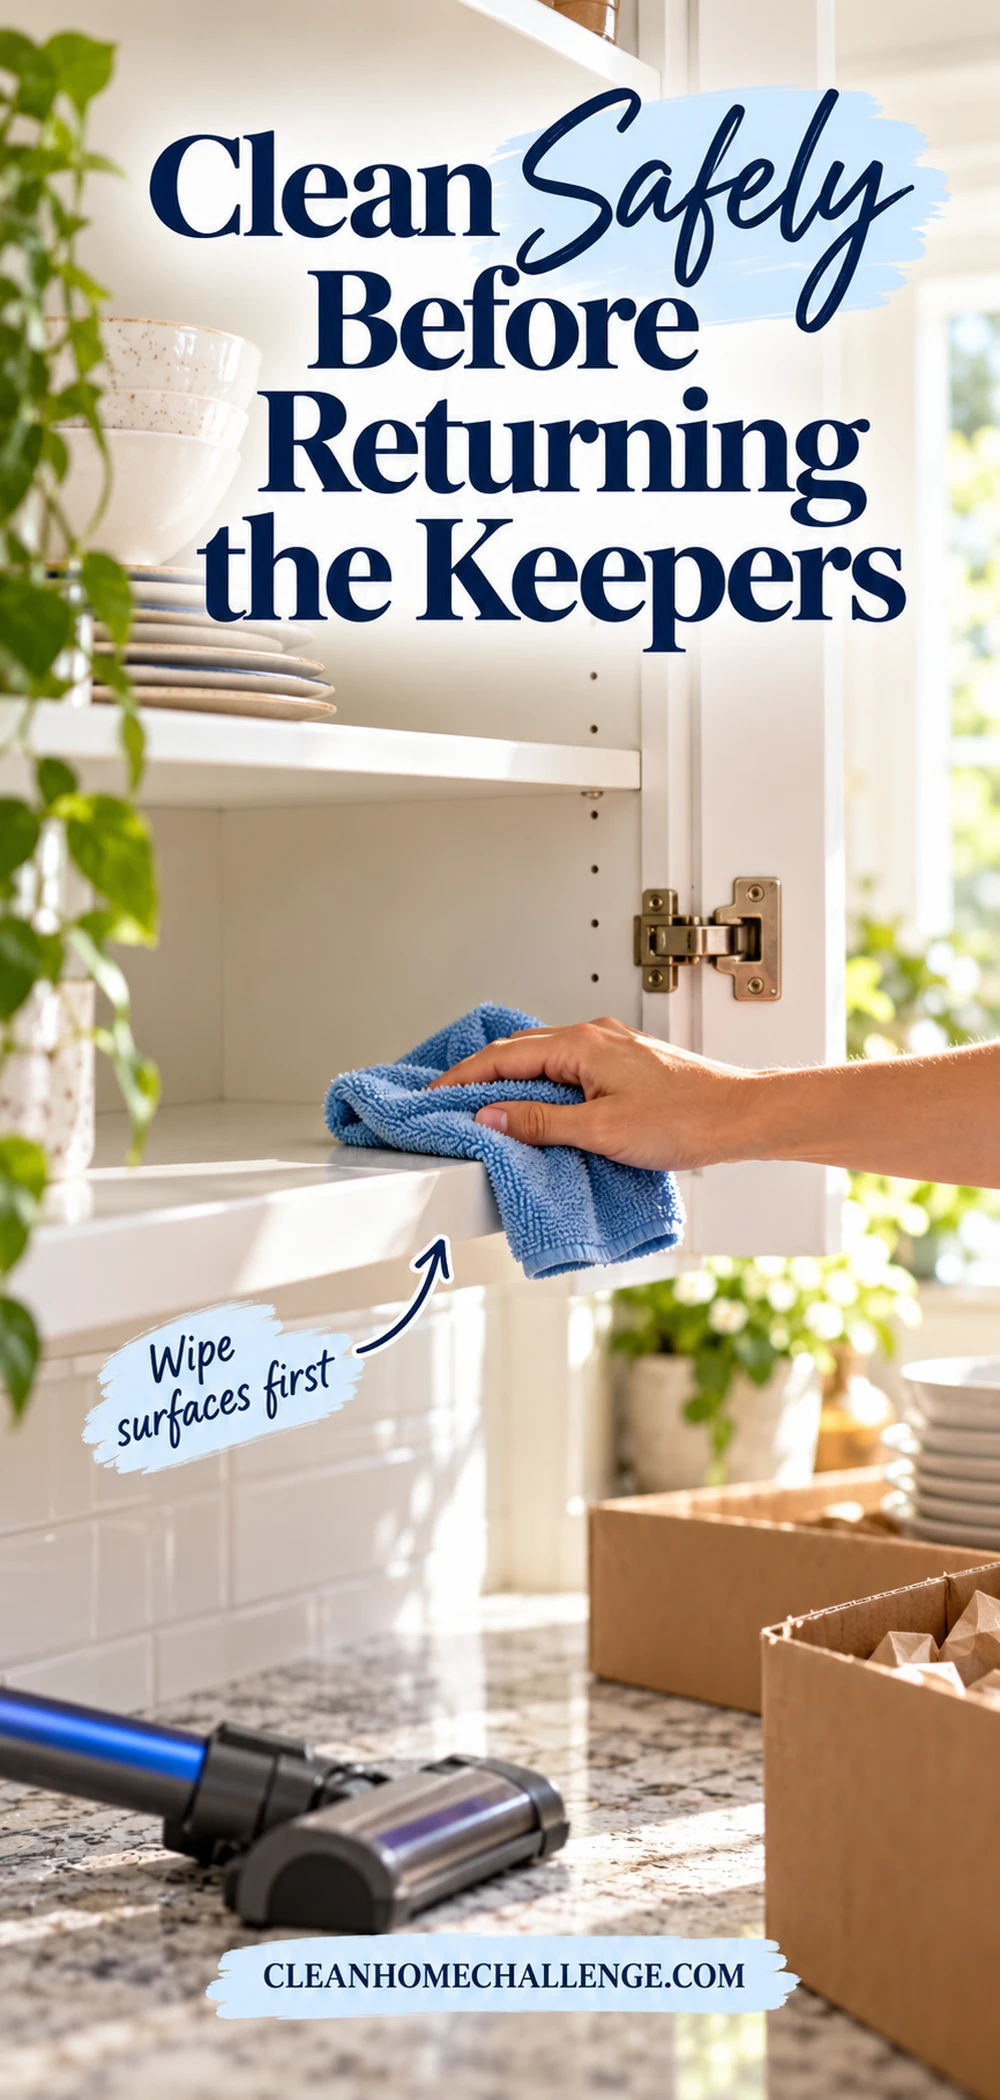
Clean Safely Before Returning the Keepers
Decluttering creates a good opportunity to clean crumbs and sticky spills, but the aim is not to soak cupboards. Vacuum loose debris first. Then use a lightly damp microfiber cloth and a small amount of mild dish soap where the surface manufacturer allows it. Dry shelves, corners, and drawer bases before replacing food or utensils.
Do not mix cleaning chemicals, spray cleaner directly over exposed food, or return packages to a damp shelf. Wear gloves if the product label recommends them, ventilate the room, and keep children and pets away from open cupboards and cleaning supplies.
If you find droppings, widespread pest damage, moldy building materials, or a persistent leak, pause the decluttering job and address the underlying issue. Cleaning and reorganizing will not solve a moisture or infestation problem.
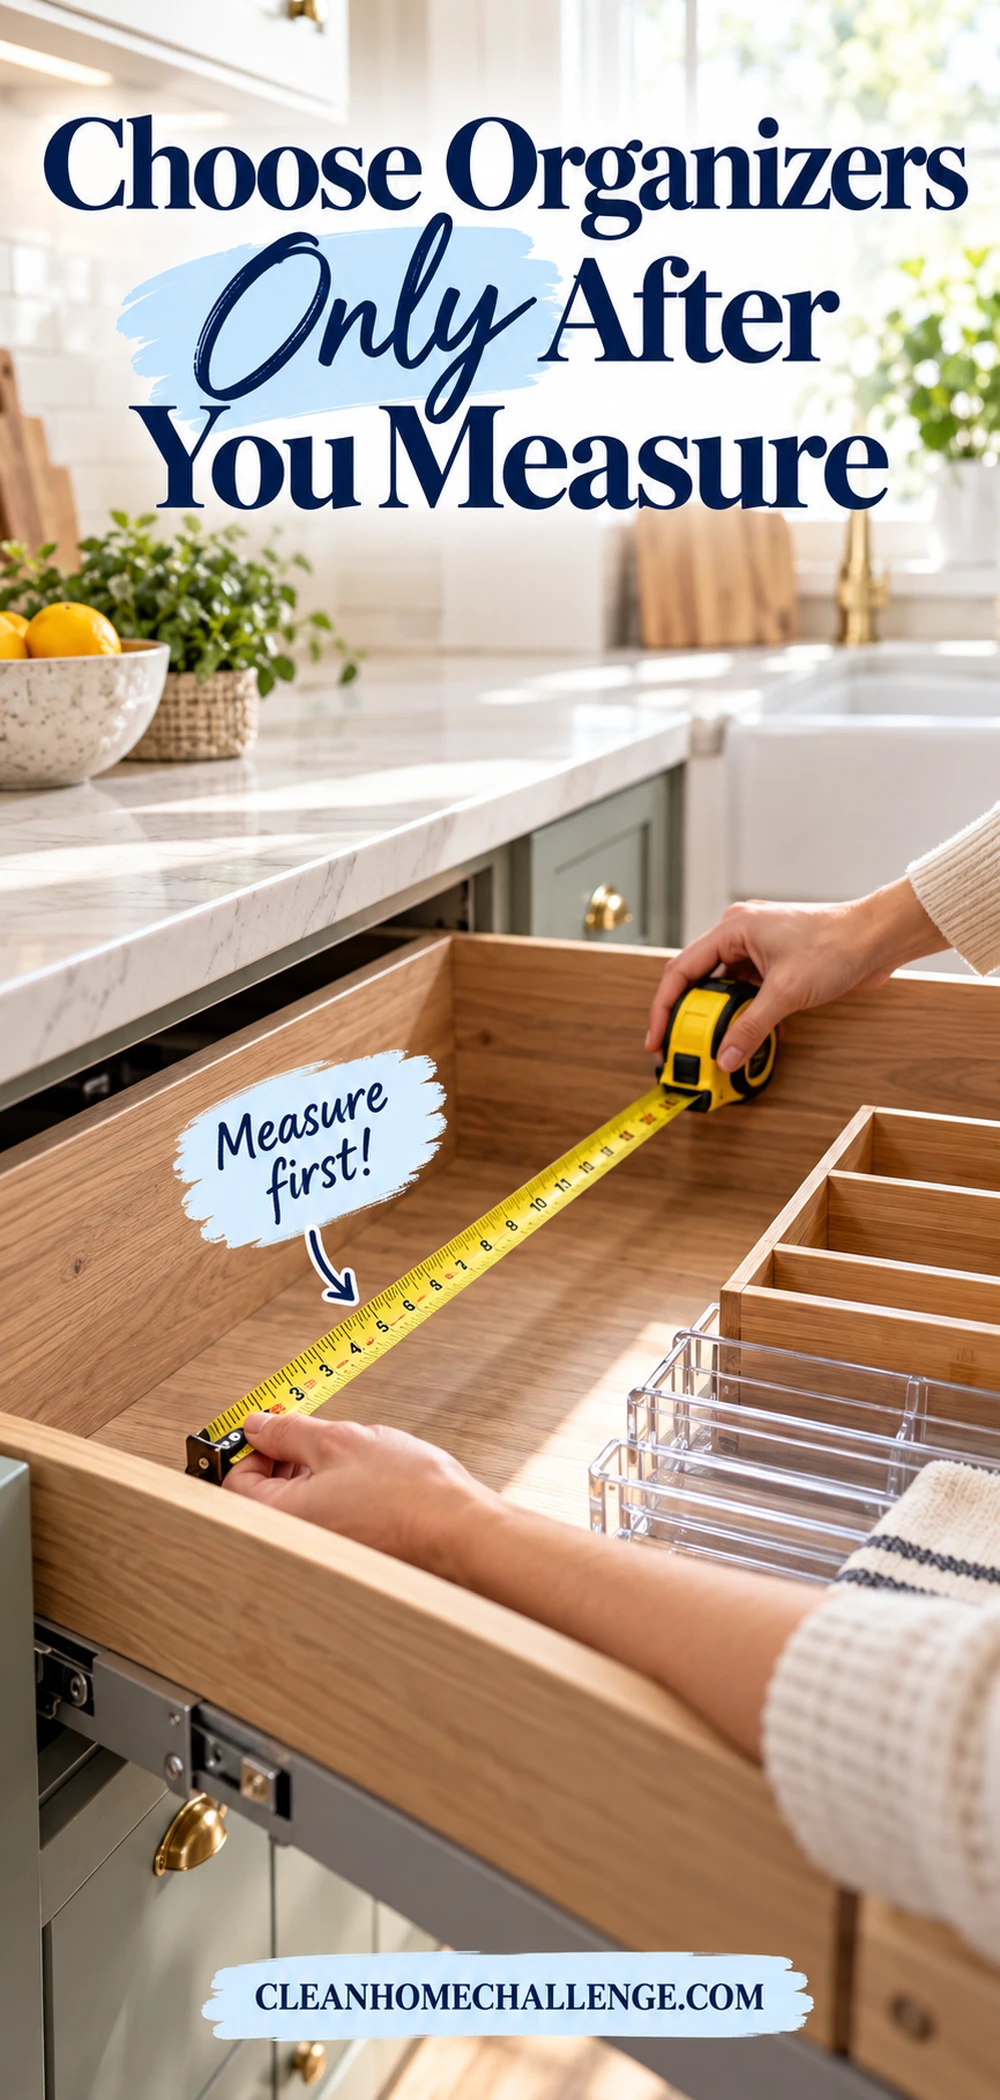
Choose Organizers Only After You Measure
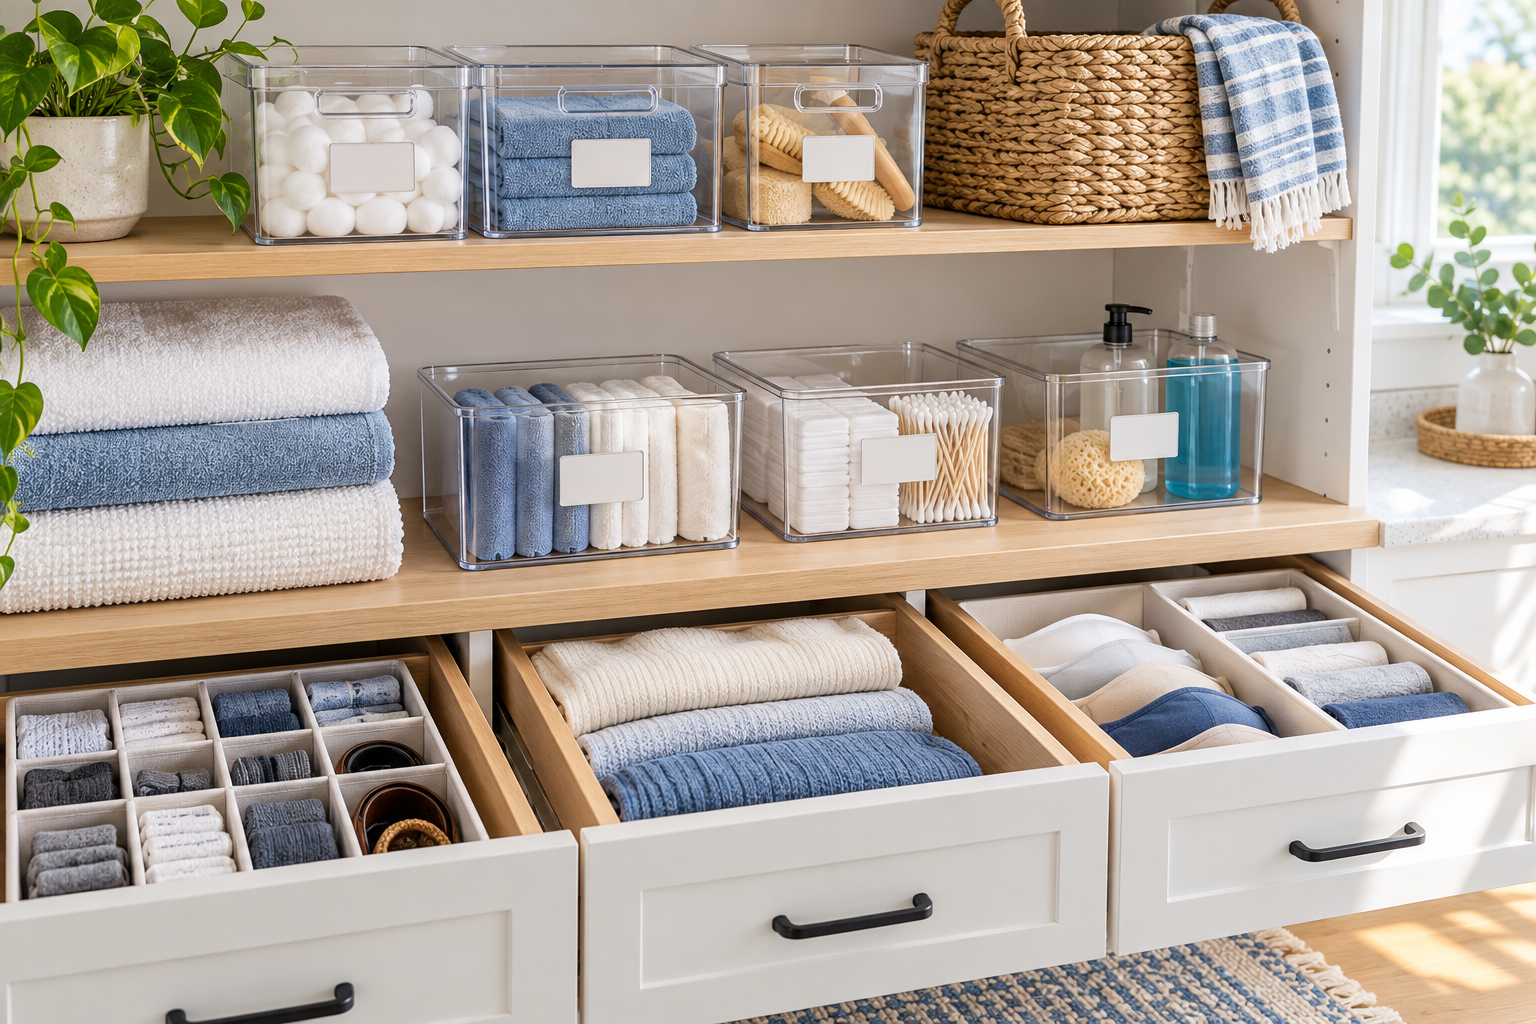
An organizer should solve a specific problem: items disappearing at the back, tall shelves wasting vertical space, or categories mixing together. Measure the internal width, depth, and height of the shelf or drawer, including hinges, pipes, lips, and handles that reduce usable space.
Use what you already own for a short trial. A shoebox-sized container can test whether a snack basket helps; a spare tray can test an oil station. After a week, buy a durable, washable version only if the system is working.
Prioritize adjustable drawer dividers, shelf risers, clear handled bins for high shelves, vertical tray dividers, and a turntable only where it can rotate freely. Avoid filling deep cupboards with many tiny containers that create more categories to maintain.
Label categories rather than individual products. “Baking,” “school snacks,” and “quick dinners” can adapt as groceries change. A system that survives an ordinary shopping week is more valuable than one that looks perfect on the first day.
Keep Kitchen Clutter From Creeping Back
The easiest maintenance routine is a small reset attached to tasks you already do. Put away clean dishes before starting dinner, return counters to their zones after the evening wipe-down, and check one food shelf before writing the grocery list.
Once a week, spend ten minutes on these jobs:
- return items that wandered into the kitchen;
- clear the paperwork landing zone;
- move older food forward;
- match containers and lids;
- wipe one drawer or shelf; and
- place one unused item in the donation box.
Use a simple one-in, one-out rule for mugs, gadgets, water bottles, and duplicate utensils. Keep a donation box somewhere convenient and empty it regularly. If one category keeps overflowing, reduce the quantity or give it more appropriate space instead of buying another random basket.
You do not need a magazine-perfect kitchen. You need clear work surfaces, food you can find, drawers that open, and tools stored near the jobs they support. Finish one small zone, use it for a week, and adjust it before moving on. That steady approach creates a kitchen that stays easier to cook in and far easier to clean.
CLEANERS CLUBHOUSE
Ready to Clear the Clutter One Step at a Time?
Join the 30-Day Declutter Challenge and work through your home in small, achievable steps. The Cleaners Clubhouse includes the plan, printable support and encouragement to help you keep going.
