THIS POST MAY CONTAIN AFFILIATE LINKS. PLEASE READ MY DISCLOSURE FOR MORE INFO.
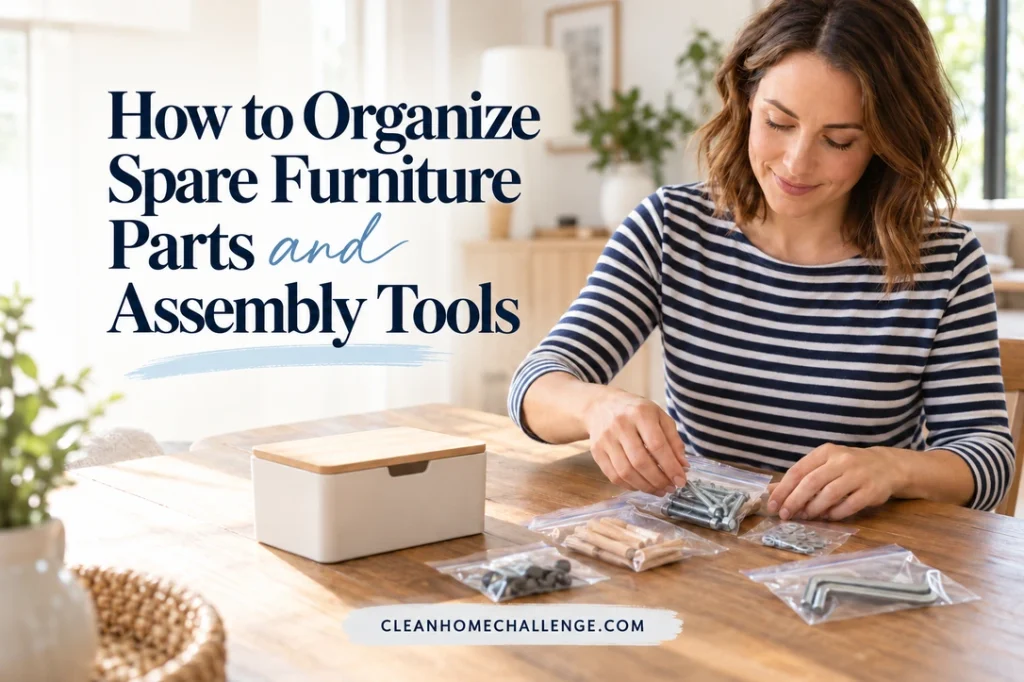
That tiny Allen key probably belongs to something. The trouble is remembering whether it tightens the dining chairs, the bed frame, or a bookshelf you no longer own. Add a handful of bolts and mystery shelf pegs, and a useful spare-parts collection becomes another drawer you avoid opening.
The easiest furniture parts organization system keeps each piece’s confirmed spare hardware, specialty tool, and identifying information together. Give the packet a clear name, put it in one secure home, and update it when furniture arrives or leaves. You do not need a workshop wall or a cabinet full of new organizers.
Start with one item of furniture and the parts you can confidently identify. A small tray, a few suitable containers, paper labels, and a pen are enough to test the system. The free furniture parts inventory and labels below will help you record what belongs where without turning this into an all-day project.
Disclosure: This post may contain affiliate links. As an Amazon Associate, Clean Home Challenge earns from qualifying purchases. If you make a purchase through these links, we may earn a small commission at no extra cost to you. This helps us keep creating practical cleaning tips, routines and resources for busy families! 🧽
Match Spare Parts to the Furniture You Own
Choose a clear work surface away from food preparation and children’s play. Bring over one small group of spare parts, rather than tipping every tool drawer onto the floor. Put loose pieces in a shallow tray so they cannot roll away. Keep children and pets away from screws, plastic bags, sharp hardware, and other small parts; a closed organizer is not automatically child-resistant.
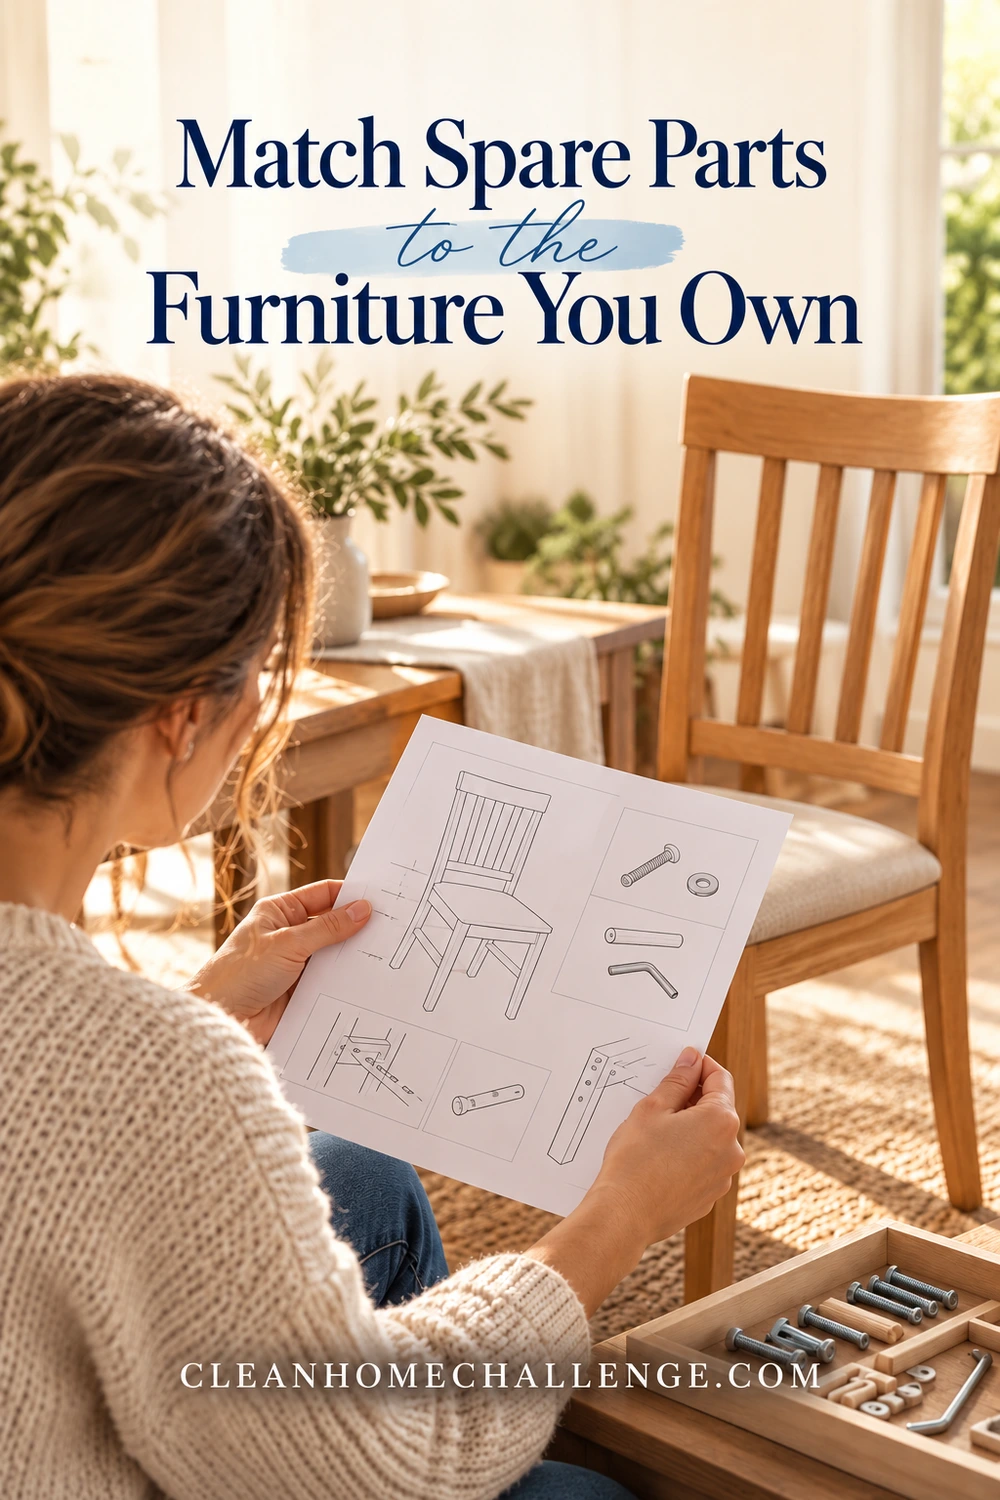
Gather the furniture information before deciding that anything is surplus. Useful clues include an order confirmation, a product label, a model or article number, a photo, and the original assembly instructions. Ask other household members before removing parts or changing their tool storage. Something unfamiliar to you may be needed for an adjustment they make regularly.
Work through one furniture item in this order:
- Write an everyday name, such as “oak dining table” or “guest bed,” plus its current room.
- Find the brand and model or article number where available. Two white bookcases can use different hardware even when they look alike.
- Locate the exact assembly manual. Check the manufacturer’s product or support pages if the paper copy has gone missing.
- Compare the parts with the manual’s drawings and identifiers. Record a part number when one exists, and count the confirmed loose spares.
- Add the relevant specialty tool only after confirming its purpose. Do not force a nearly fitting key into a fastener to test it.
IKEA’s US support guidance explains that assembly instructions can be found from the relevant product’s assembly documents. Its spare-parts page provides a starting point for asking about replacements. Other manufacturers have their own routes, so keep the exact product identity rather than assuming every replacement service works the same way.
Similar-looking does not mean interchangeable. Bolt diameter, length, thread, head, and the intended connection can matter. A longer screw may damage a panel even when it goes into the hole. This sorting session is not a repair assessment: do not remove installed hardware to build your collection, loosen a stable joint, or try unidentified fasteners in furniture. Ask the manufacturer about an uncertain replacement, particularly for a structural connection, a bed, or children’s furniture.
Set unidentified pieces in a separate container marked “Unknown – identify before use.” Add the date and any real clue, such as “found beside desk after move.” Keep it small enough to review. A guess written confidently on a label is harder to correct than an honest unknown.
If you have only five minutes, identify one furniture item, gather its confirmed parts, and close the packet. Leave the remaining collection safely contained for another day. One usable packet is progress, even if the rest of the drawer still needs attention.
Make a Labeled Kit for Each Furniture Item
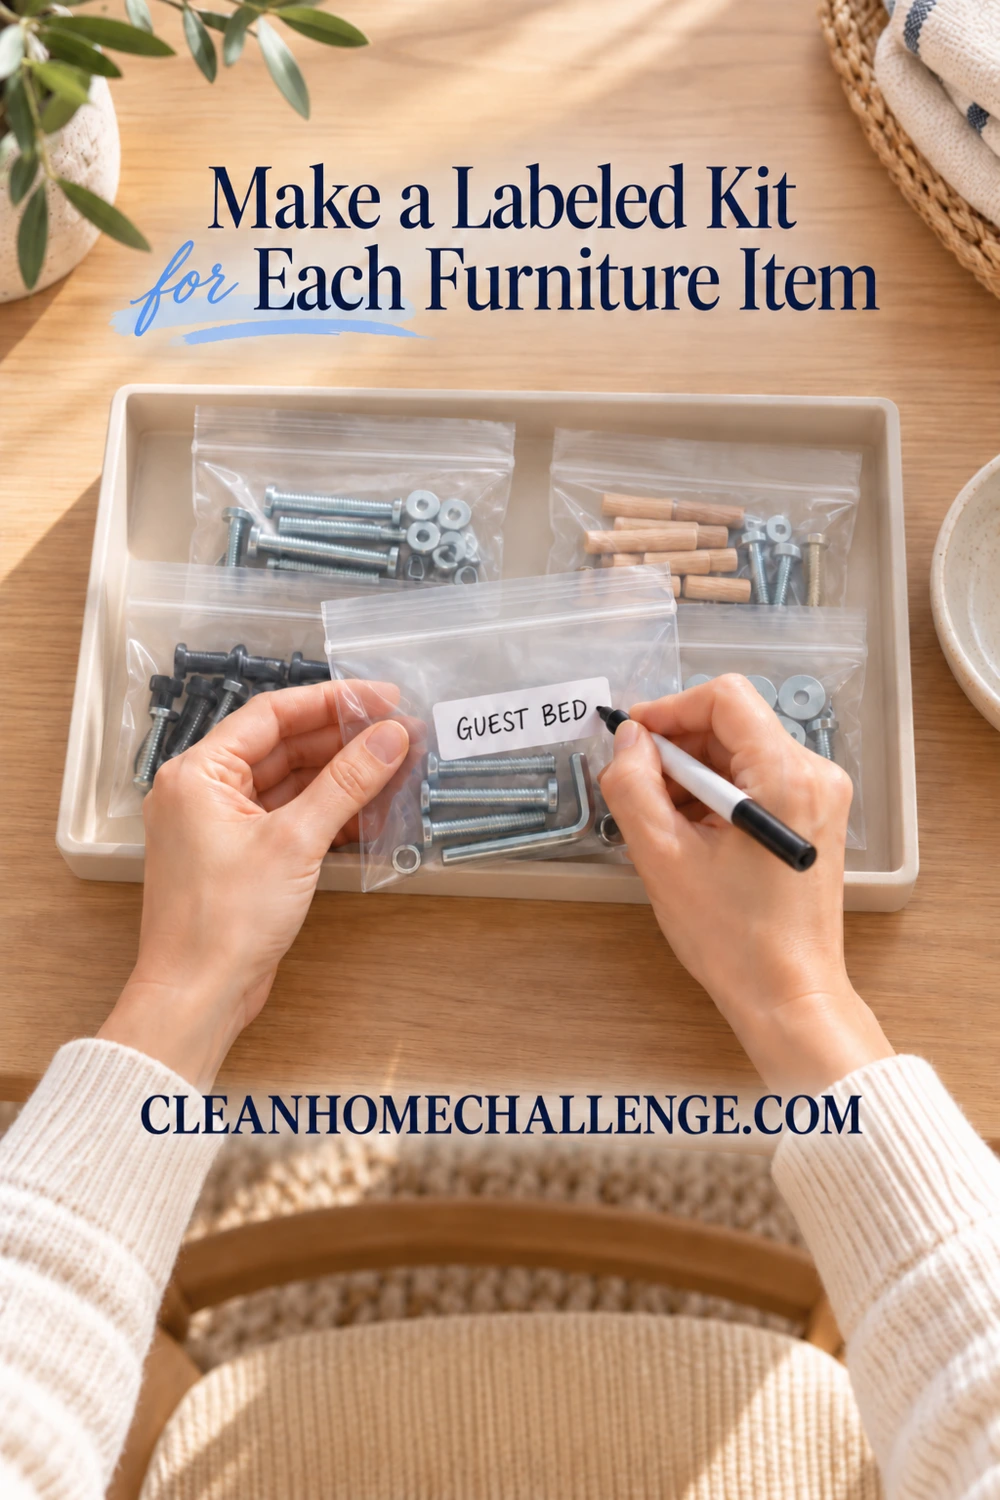
An item-based kit answers “Where are the parts for this bed?” without requiring anyone to remember which compartment contains its bolts. Keep confirmed spares separate from a mixed household hardware supply. Within each kit, use smaller closed packets or compartments if several fastener types would otherwise become muddled.
Small sturdy bags can work for smooth, lightweight parts, provided sharp edges cannot puncture them. Use a suitable rigid container for sharp, heavy, or awkward pieces. Avoid overfilling either option. A reused container is fine when it is clean, dry, sound, and clearly labeled for hardware. Do not use a food package in a way that could confuse someone about its contents.
Put the label on the outside and, where practical, a matching paper slip inside. Labels can peel or rub off. Include enough information to distinguish the item without creating an inventory that takes longer to maintain than the furniture itself.
| Label field | Useful example |
|---|---|
| Furniture and room | Guest bed – spare bedroom |
| Brand / model | Copy the actual product label |
| Confirmed contents | 2 spare bolts; 1 matching assembly key |
| Manual location | Home folder > Furniture > Guest bed |
| Container location | Utility cabinet, box F1 |
| Checked | Your actual check date |
The contents example is an illustration, not a suggested number of spares. Record what you actually have. If you do not know whether a piece is an extra or a missing installation part, leave that uncertainty visible and check the instructions or contact the maker. A bag labeled “spares” does not establish that the furniture was assembled completely.
Keep assembly information beside the hardware record. A printed manual can go in a separate folder with the same furniture name. For digital manuals, use a readable filename that includes the model, and note its location on the inventory. A direct manufacturer link is helpful, but saving the appropriate manual for personal reference can also prevent a future search. Do not write account passwords or unnecessary personal purchase details on storage labels.
A photo can help you recognize the kit later. Photograph the furniture and its product identification where accessible without unsafe lifting or moving. If you photograph loose parts, place them beside their label and keep the image with the furniture record. Pictures support identification; they do not prove that an unknown bolt is suitable for a load-bearing connection.
What about identical Allen keys? There is no need to keep every duplicate merely because it arrived free. First confirm which tools are genuinely interchangeable and which are unusual sizes or designs. You can keep one suitable shared tool in the household toolkit and write its location on each relevant furniture record. Retain an item-specific tool when its exact fit or special shape matters. Do not guess a tool’s size from appearance.
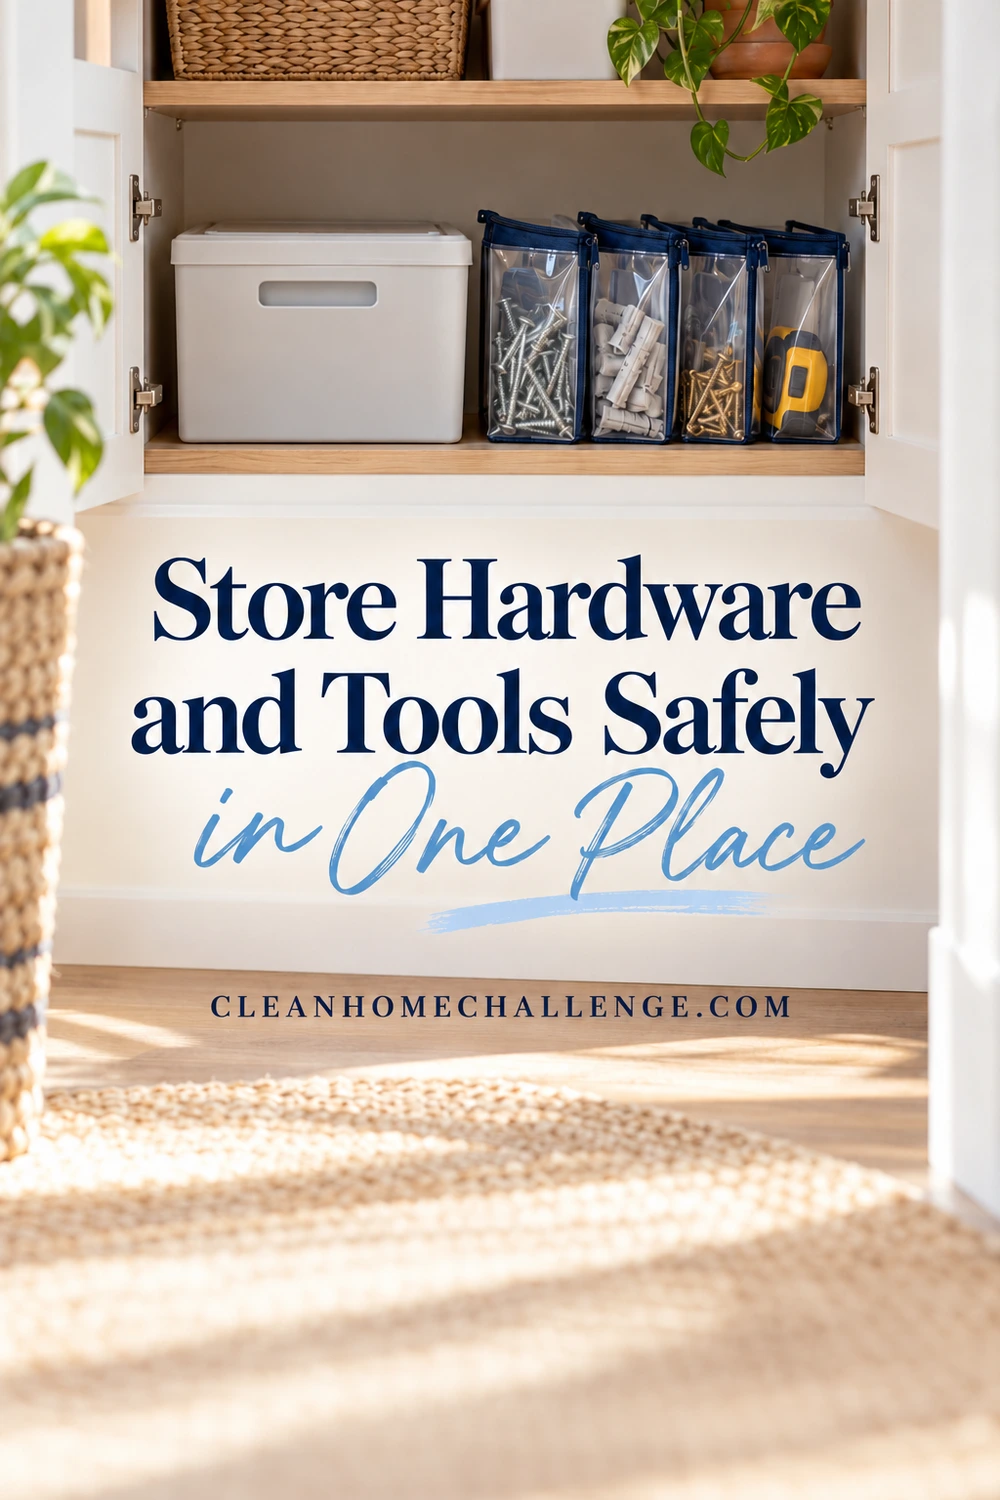
Store Hardware and Tools Safely in One Place
Once the kits are labeled, choose one storage location that adults can use and return items to consistently. A secure utility cabinet or another appropriate controlled storage space is more useful than scattering bags across several junk drawers. Keep the location dry and avoid places where dampness, spills, or excessive loading could damage the parts or container.
Use the smallest sound container that comfortably holds the identified kits. A plain box with upright packets may be enough. If you prefer a compartment organizer, check that the dividers keep tiny pieces from migrating when the lid closes or the box moves. Heavy hardware needs a container and shelf that can safely support it; do not put a heavy box overhead just to keep it out of sight.
Separate the collection into three practical zones:
- Furniture kits: one labeled packet or container for each item you still own.
- Shared assembly tools: known reusable tools, with their size marked when confirmed and a predictable return spot.
- Unknown parts: a small dated container awaiting identification, kept apart from ready-to-use kits.
Keep the unknown container within the same secure system, rather than leaving it on a counter as a reminder. Record a next action: check the office desk manual, ask the person who assembled the bed, or contact the manufacturer. A review date prompts a decision; it is not a rule that everything unidentified must be discarded after an arbitrary number of days.
Safety fittings need a separate decision. Anti-tip straps, brackets, and their specified fasteners are not decorative extras. The US Consumer Product Safety Commission’s Anchor It guidance recommends anchoring furniture to prevent tip-overs. Do not store a required anchor kit as though an unanchored dresser is finished, and do not detach existing anchors to make a photograph or tidy the room. Follow the furniture and anchoring instructions, including suitable fixings for the wall, and get appropriate help if you cannot install them safely.
If an unused fitting may be safety-related, mark it “Check installation” and resolve its purpose before treating it as a spare. Do not improvise a structural repair, mix random anchoring hardware, or assume a replacement part is compatible because it is the same color. This guide organizes parts; the manufacturer and appropriate installation guidance determine safe assembly.
For small homes, the best improvement may be putting six labeled packets inside one existing box. You can browse the relevant organization products below if you need a better container, but sort and measure first. Matching baskets are optional. Secure storage, a clear label, and a system the household understands are what make the collection usable.
Keep the System Useful When Furniture Changes
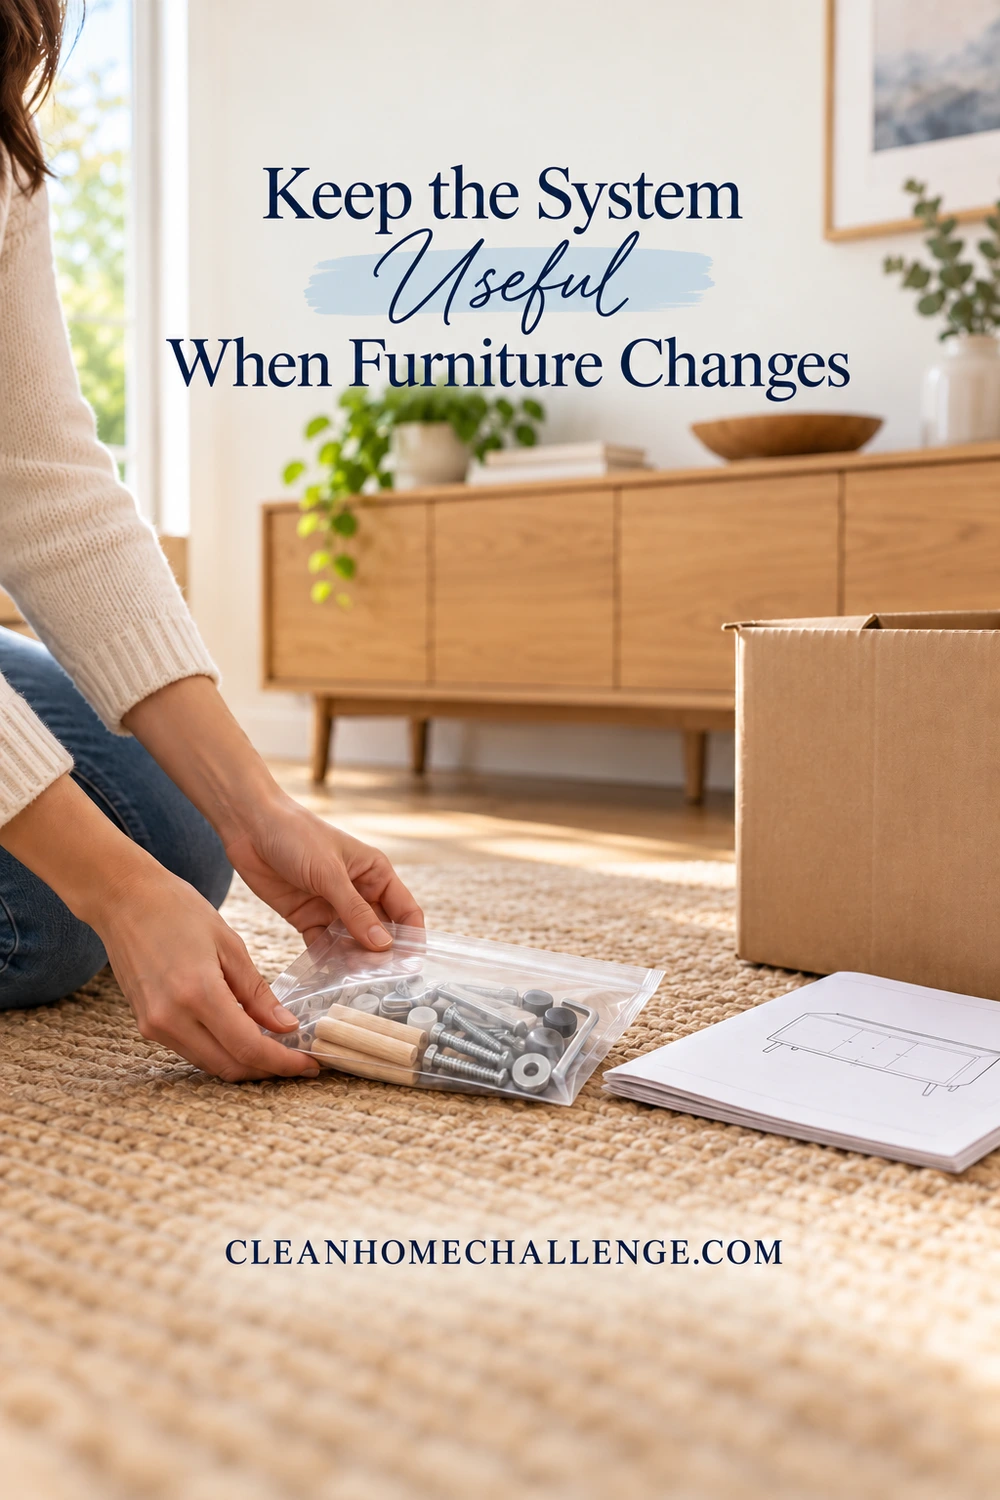
Maintain this collection at the moments when its contents change. A new flat-pack item, a room move, a repair, or furniture leaving the house is a better prompt than another weekly sorting chore. Add a kit when you have confirmed the extra parts after assembly, and record where the manual and shared tool live.
Before calling something a spare, finish the assembly checks required by the instructions. If there are unexpected leftover fasteners or a connection seems incomplete, check with the manufacturer. Extra hardware may be supplied, but that should not be assumed for every product. Keep the furniture out of use if its safety or assembly is in doubt until the issue has been resolved appropriately.
When an item is sold or donated, check whether its confirmed hardware, specialty tool, and instructions should travel with it. Give the recipient a clearly identified packet and an honest description. Do not pass on recalled, unsafe, or incomplete furniture as ready to use. For children’s furniture, check the exact product’s current recall and manufacturer information before transfer. Keep any necessary anchors installed while the furniture is still in use; plan safe removal and reinstallation during the move.
When furniture is no longer owned, review its packet rather than automatically keeping it forever. Confirm with the household that it truly belongs to the departed item. Known general-purpose tools can return to the toolkit. Compatible, useful hardware can remain in a separately labeled general supply if you actually use one. Check your local recycling or disposal service before putting metal hardware into household recycling; accepted materials and collection methods vary. Contain sharp pieces appropriately for the route your service specifies.
When a kit is borrowed, return the tool and unused parts together at the end of the job. Update the count if parts were used. If a piece is damaged or you need more, record the exact part identifier and the next action instead of leaving an empty packet that looks complete. Follow the furniture maker’s maintenance instructions for any inspections or tightening; do not invent a universal tightening schedule.
Download the free furniture parts inventory and labels (PDF) to create your first kit. Page one records furniture, confirmed contents, manual location, and storage location. Page two provides cut-out labels, including an unknown-parts label that keeps uncertainty clear. Print another copy when you need it, and keep small cuttings away from children while you work.
For a low-energy finish today, choose one furniture item, label its confirmed parts, and put the kit away securely. Write one next action for the remaining unknowns. If you would like support with other small decluttering projects, you can explore Cleaners Clubhouse through the invitation below. This free download is available without joining.
A quick return check: Can another adult identify the furniture, find its manual, and return the tool without asking you? If yes, the system is doing its job. It does not need to look like a hardware store to save your family a frustrating search.
Sources and further help
- IKEA US: missing parts and finding assembly instructions
- IKEA US: current spare-parts support
- CPSC: Anchor It furniture and television safety
- CPSC: product recalls
Manufacturer and safety guidance checked October 24, 2026. The labeling and storage workflow is an original practical organization method; it does not replace product-specific assembly or safety instructions.
CLEANERS CLUBHOUSE
Ready to Clear the Clutter One Step at a Time?
Join the 30-Day Declutter Challenge and work through your home in small, achievable steps. The Cleaners Clubhouse includes the plan, printable support and encouragement to help you keep going.