
THIS POST MAY CONTAIN AFFILIATE LINKS. PLEASE READ MY DISCLOSURE FOR MORE INFO.
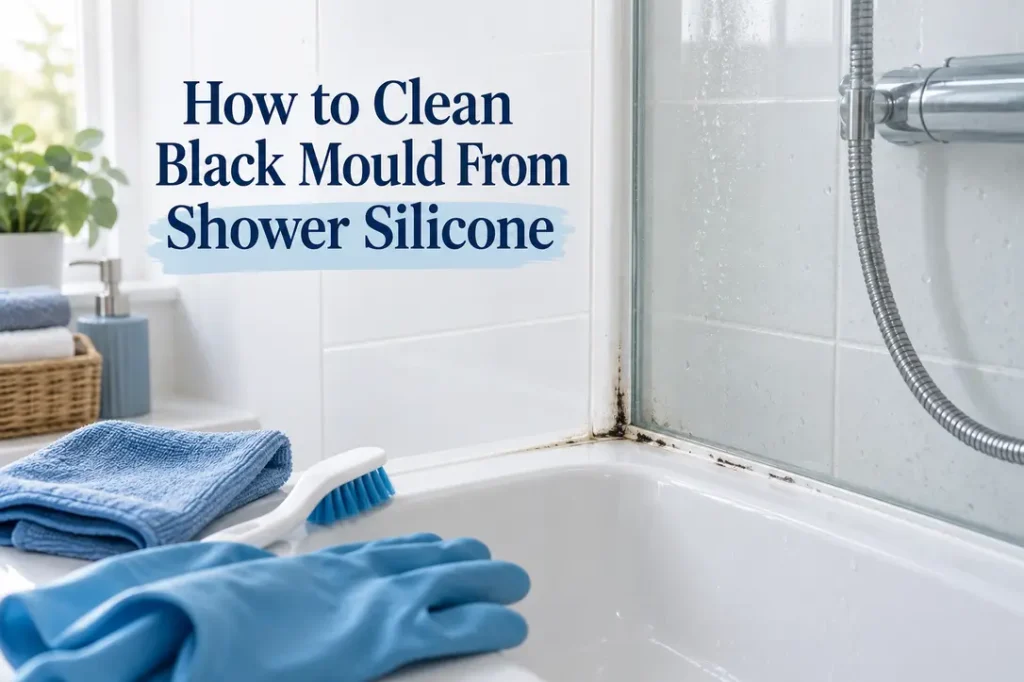
Black marks along shower silicone can make a freshly cleaned bathroom still look grubby. The good news is that a small patch of surface mould can often be cleaned. The less-good news is that mould can also grow into old, porous or lifting sealant, where more scrubbing will not solve the underlying problem.
This guide helps you decide which situation you have, clean the area safely, and know when replacing the silicone is the better use of your time. Set aside about 20 minutes of hands-on work, plus the product’s stated contact and drying time.
Safety first: ventilate the bathroom, wear gloves, follow the product label and keep children and pets away. Never mix bleach or a bleach-based mould remover with vinegar, ammonia, acids, alcohol or any other cleaner.
Disclosure: This post may contain affiliate links. As an Amazon Associate, Clean Home Challenge earns from qualifying purchases. If you make a purchase through these links, we may earn a small commission at no extra cost to you. This helps us keep creating practical cleaning tips, routines and resources for busy families! 🧽
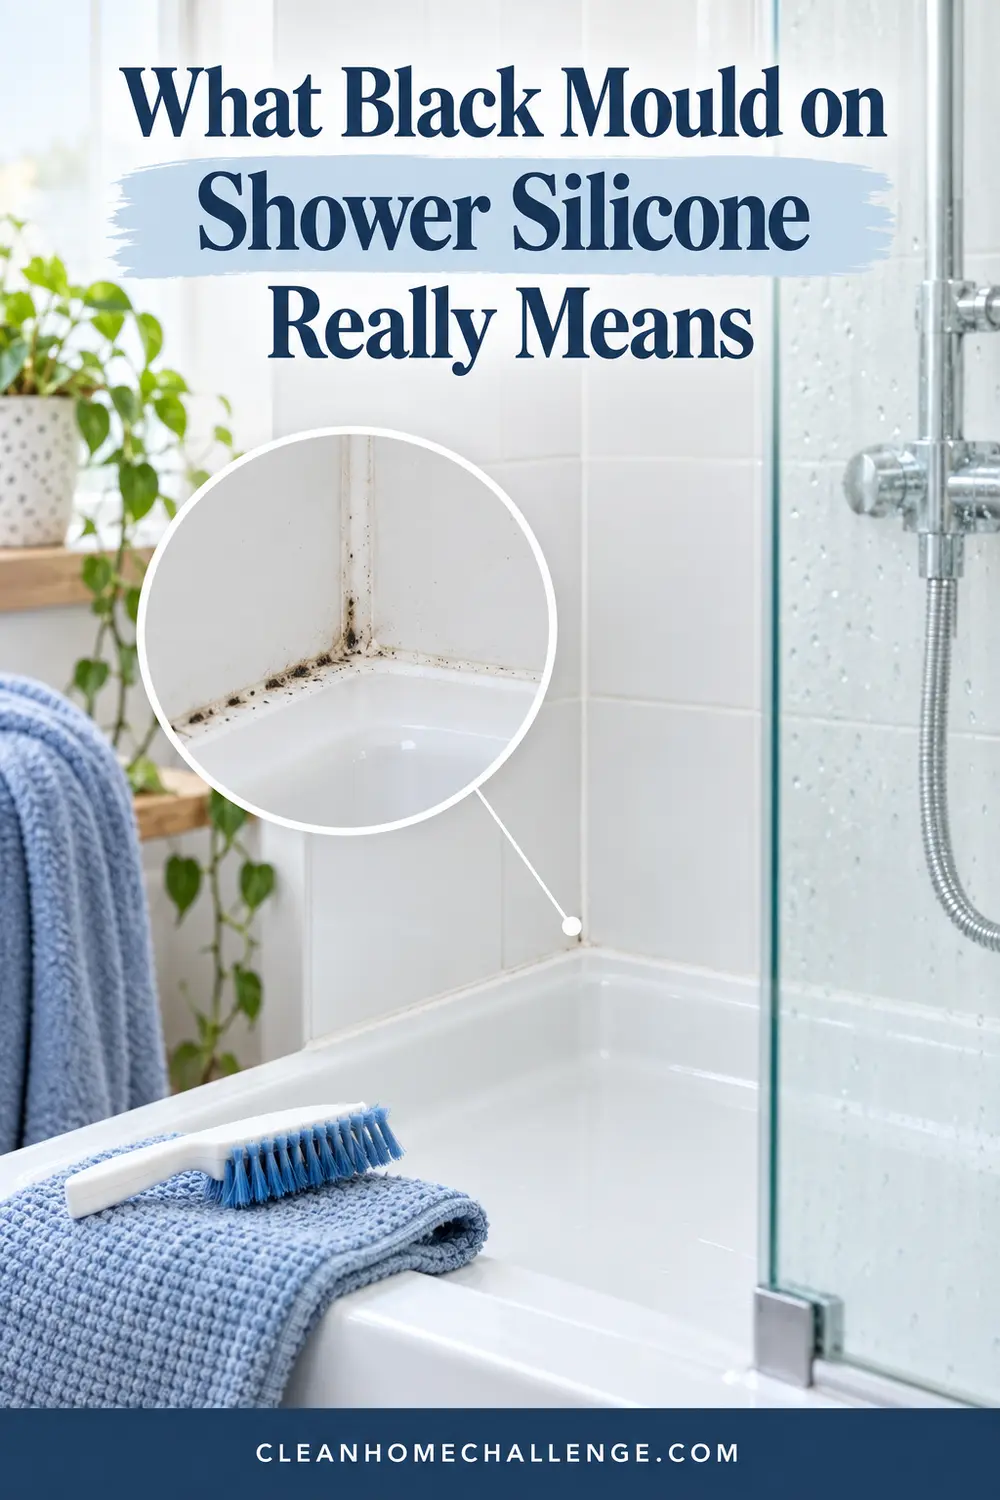
What Black Mould on Shower Silicone Really Means
Mould needs moisture and something to feed on. In a shower, lingering water, soap residue, body oils and poor airflow create an easy place for spotting to return. The black colour does not identify the species by sight, so avoid trying to diagnose it from appearance alone.
If the problem is a small patch sitting on intact silicone, careful cleaning may be enough. If it spreads beyond the shower, follows a leak, covers a large area, or anyone in the home is particularly vulnerable to mould exposure, get appropriate professional advice rather than repeatedly treating the surface.
Check the Silicone Before You Start Cleaning
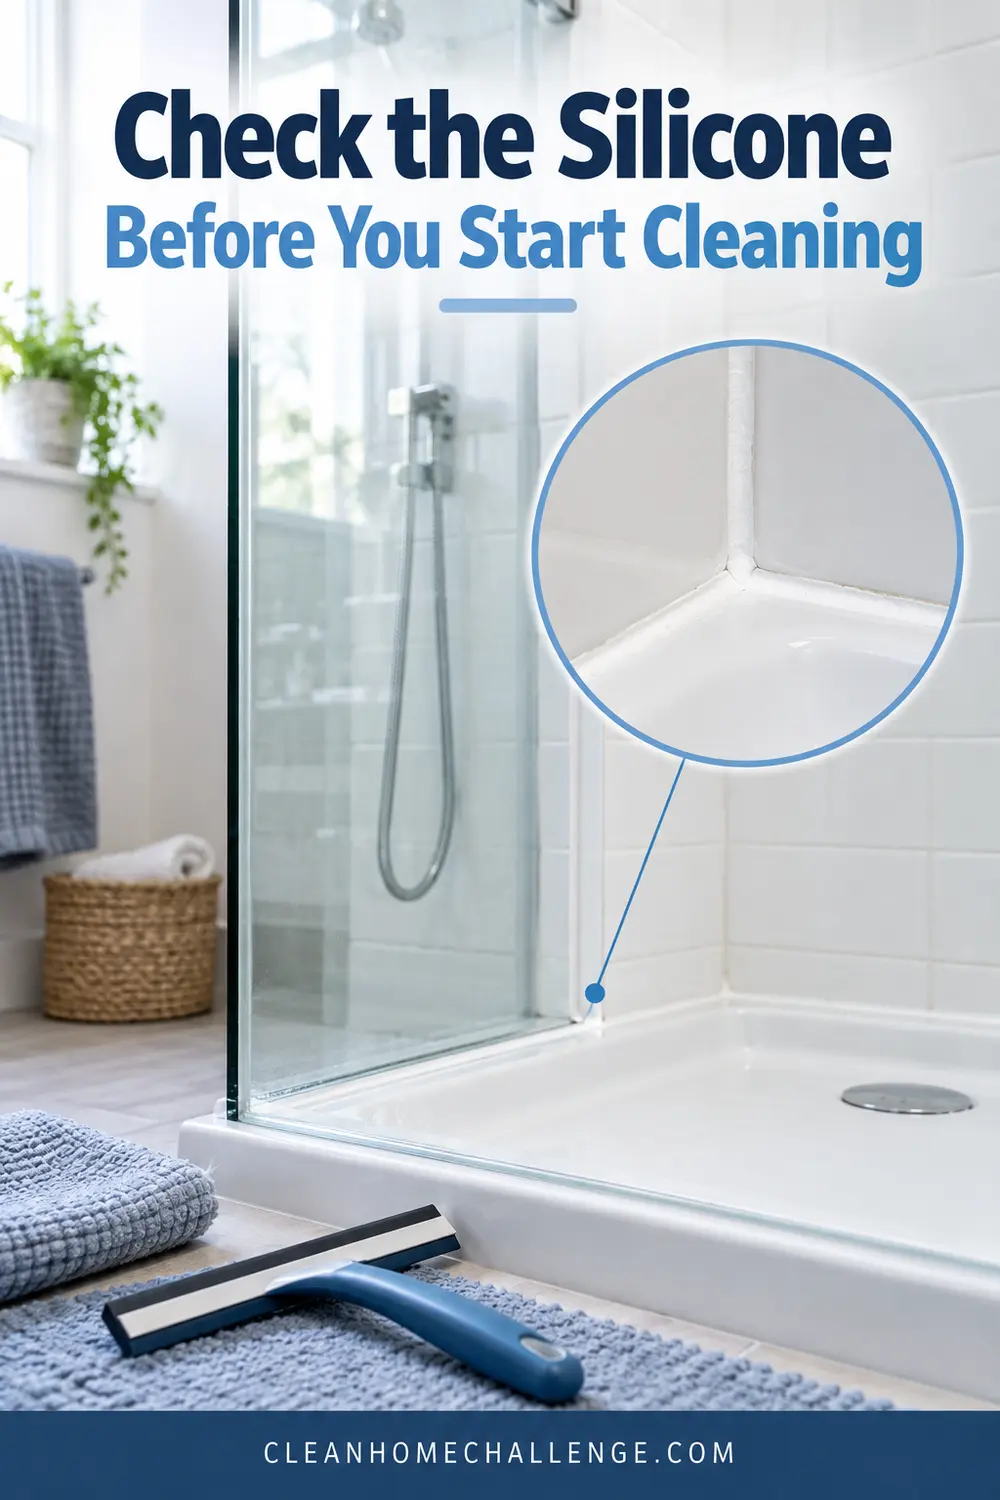
Run a gloved finger near—not across—the affected bead and inspect it closely. Cleaning is worth trying when the silicone is firmly attached, smooth, flexible and affected only by light surface spotting.
Plan to replace it when it is cracked, peeling, shrinking away from the wall, soft, permanently discoloured through its depth, or allowing water behind the joint. Also check for loose tiles, damp walls, swelling or a musty smell outside the shower. Those signs point to a moisture problem that cleaning alone cannot fix.
What You Need to Clean Mouldy Shower Silicone
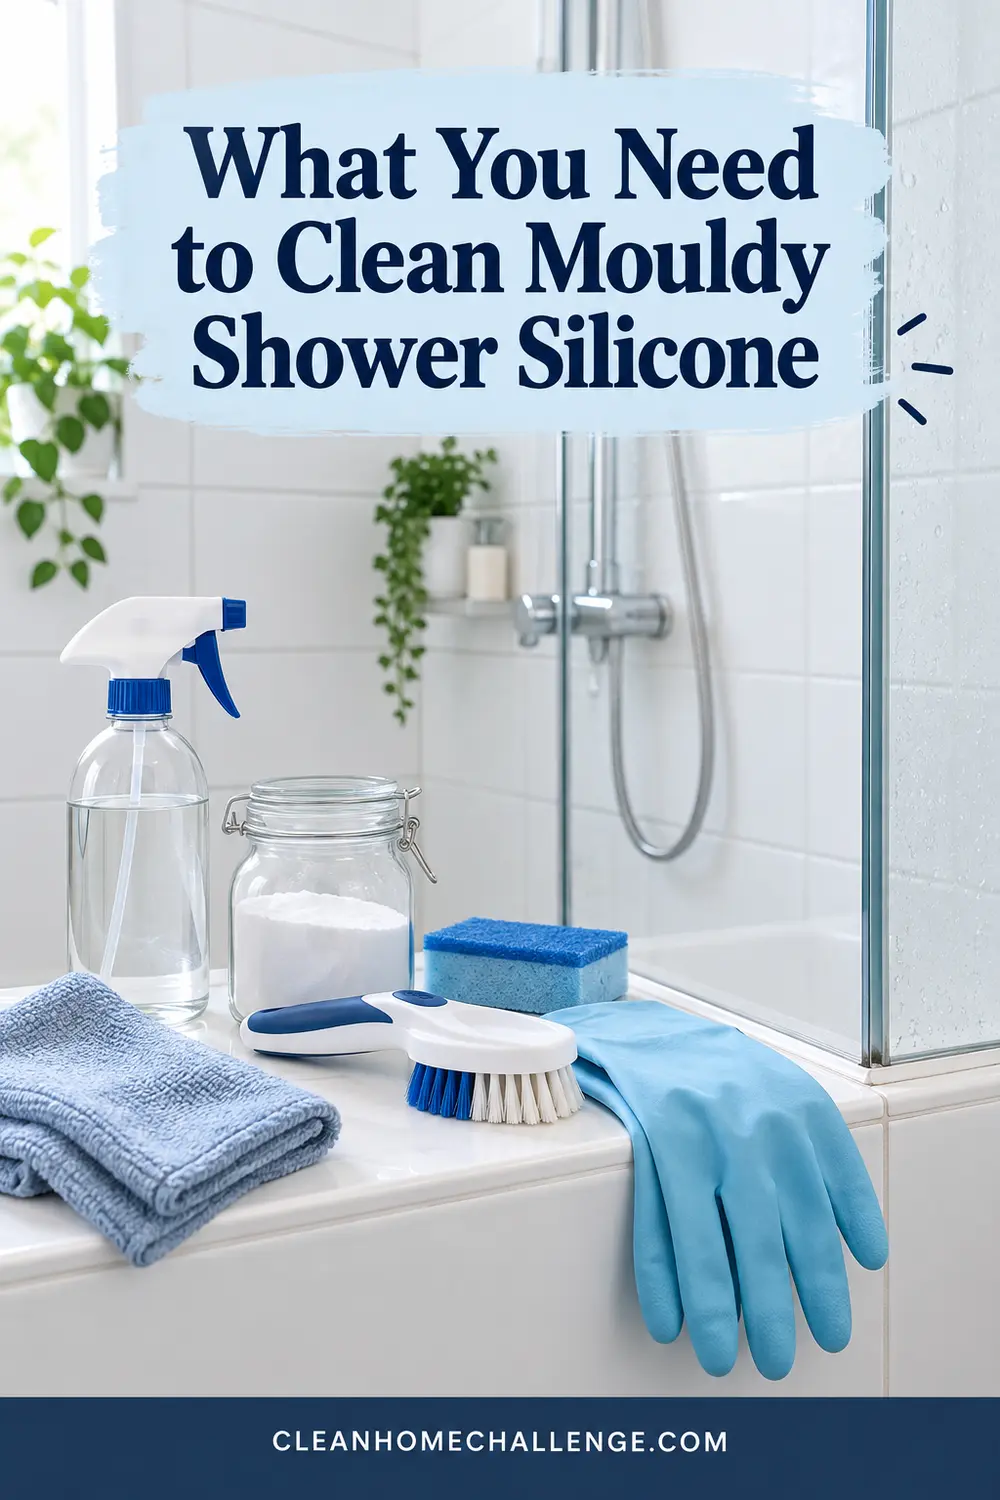
- Gloves and eye protection if the chosen label calls for it
- An open window or working exhaust fan
- A bathroom mould-removal product confirmed as suitable for silicone and nearby surfaces
- A soft detail brush or old toothbrush reserved for cleaning
- White microfiber cloths or paper towel
- Clean water for rinsing
- A dry cloth
Choose one cleaning product, not a collection of ingredients. Patch-test first, especially near natural stone, coloured grout, metal trim or acrylic shower bases.
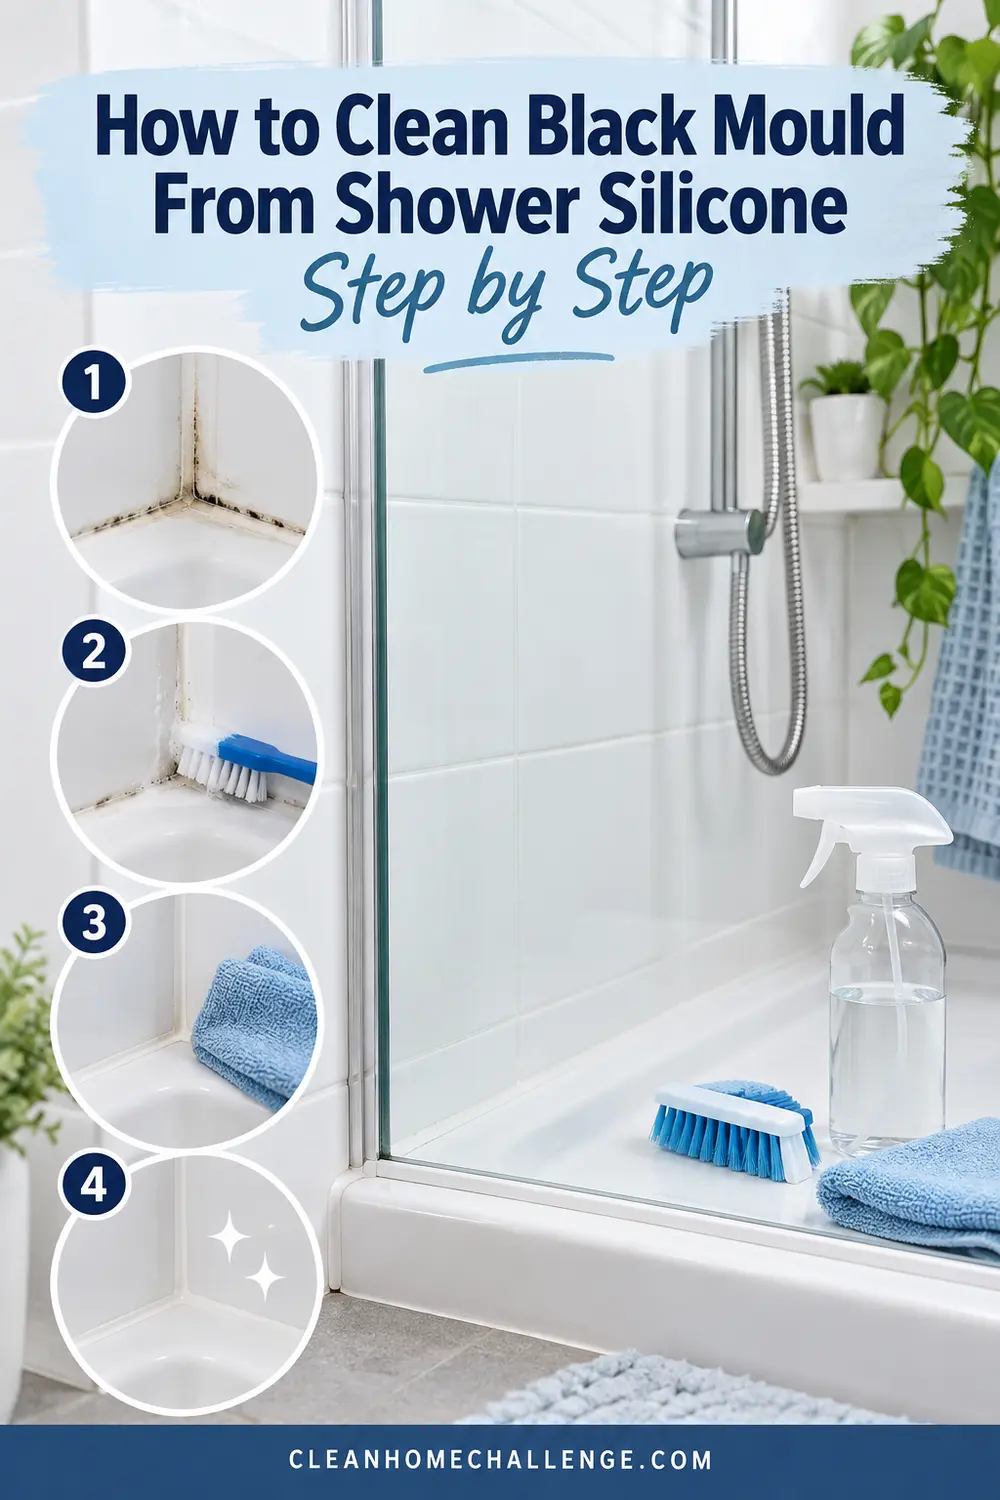
How to Clean Black Mould From Shower Silicone Step by Step
- Remove bottles, bath toys and loose items. Rinse away hair and surface debris.
- Ventilate the room and put on the protection stated on the product label.
- Wash off obvious soap residue with a compatible bathroom cleaner, rinse thoroughly, and do not layer another chemical over it.
- Apply your chosen mould remover exactly as directed. Keep it on the silicone rather than spraying the entire room.
- Leave it for the label’s stated contact time. More time is not automatically better and may damage nearby finishes.
- Agitate gently with a soft brush. Hard scrubbing can roughen or lift the seal.
- Rinse thoroughly with clean water and wipe the joint.
- Dry the area and inspect it in good light. Repeat only if the label allows. If dark staining remains inside intact silicone, replacement may be more realistic than endless treatments.
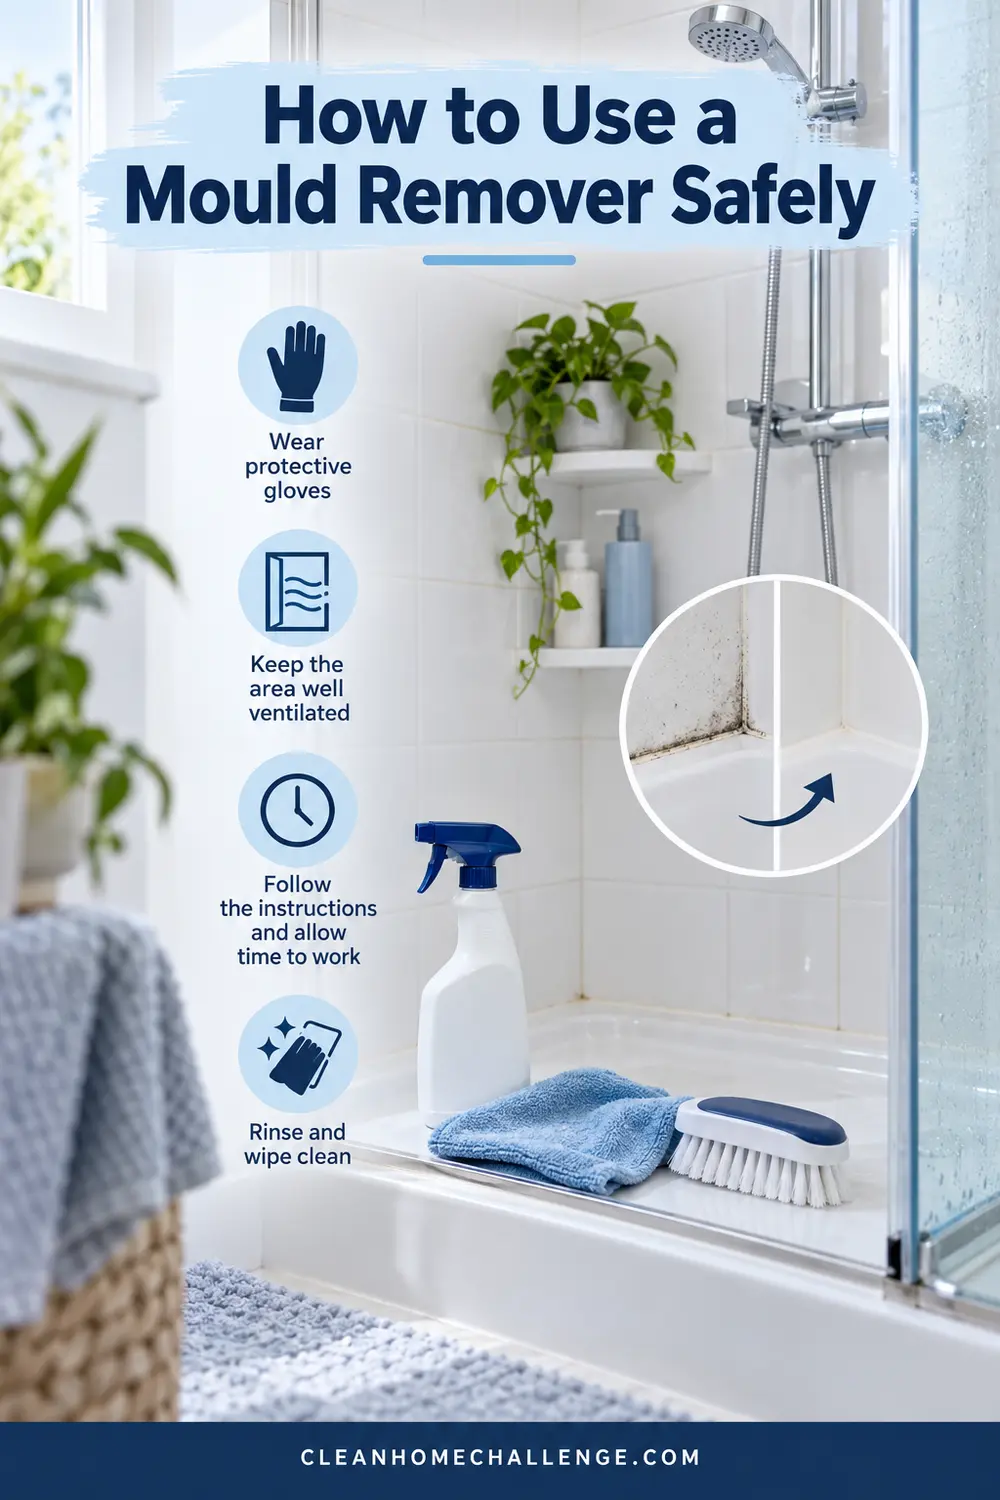
How to Use a Mould Remover Safely
Read the entire label before opening the bottle. Check the permitted surfaces, required ventilation, protective equipment, contact time, rinse instructions and first-aid information. Spray close to the surface to reduce airborne mist, and never use more than directed.
If the product contains bleach, protect fabrics and nearby finishes from splashes. Do not use it on natural stone or metal unless the label explicitly says it is suitable. When finished, rinse as directed, wash your hands and store the product securely in its original container.
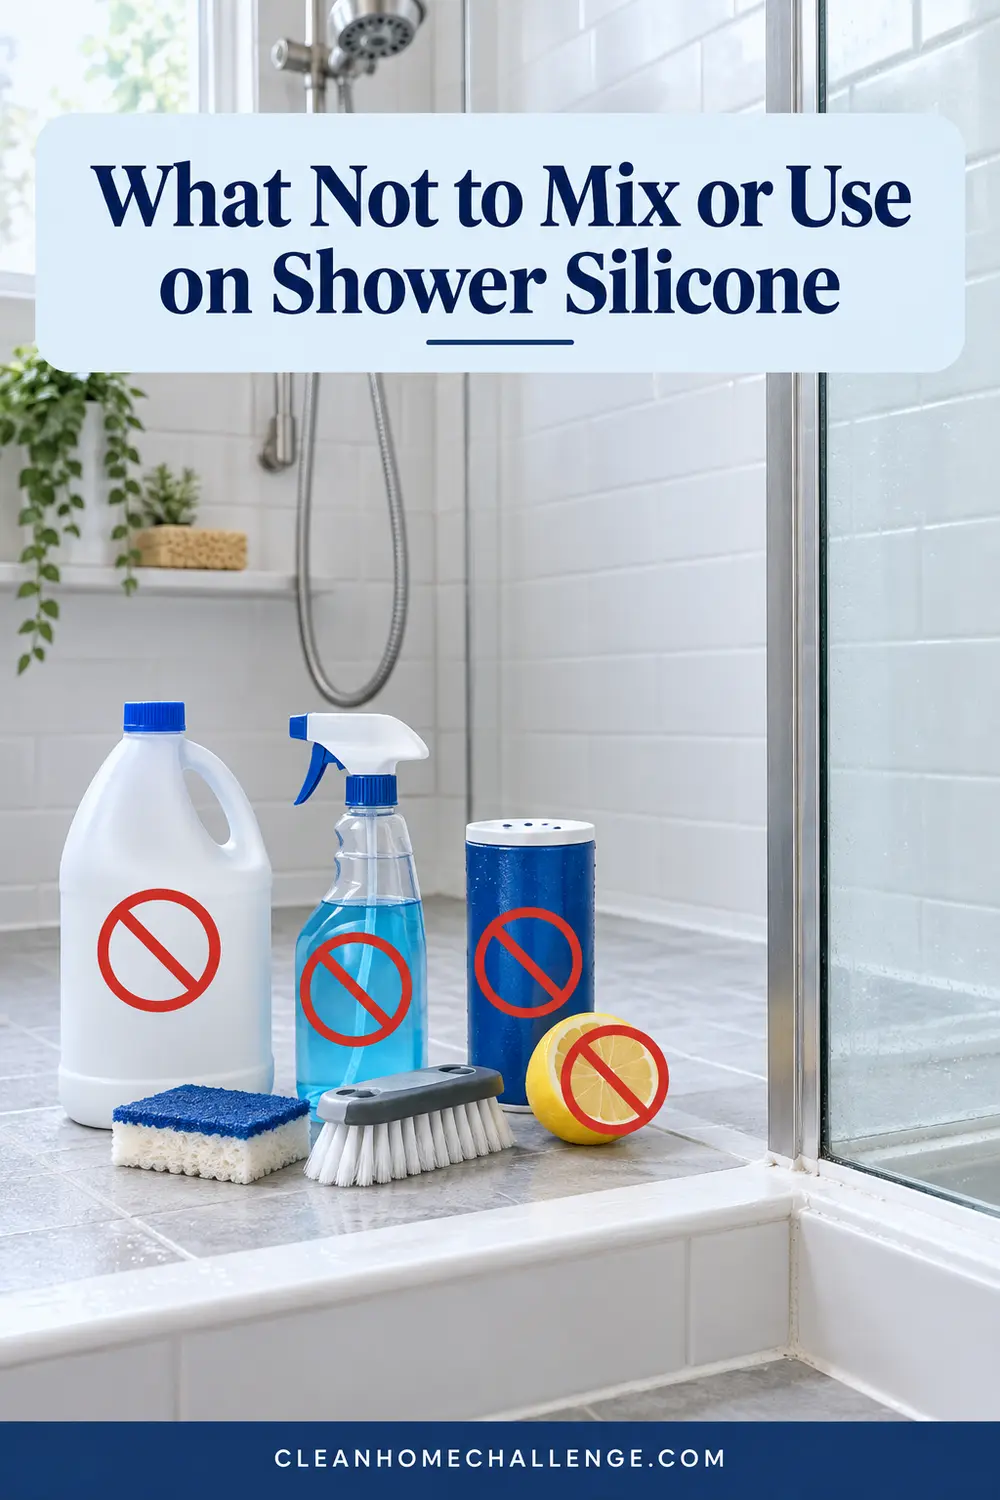
What Not to Mix or Use on Shower Silicone
Never mix bleach with vinegar, ammonia, toilet cleaner, descaler, alcohol or any other cleaner. Dangerous gases or reactions can result. Do not follow one chemical immediately with another unless the first has been thoroughly rinsed away and the labels permit it.
Avoid metal scourers, razor blades against installed silicone, and aggressive scrubbing. A bicarbonate-and-vinegar mixture is not a magic mould solution; the acid and base largely neutralise each other, and neither fixes failed sealant or trapped moisture.
How to Tell When Cleaning Is Not Enough
Clean silicone can remain stained. That does not always mean active surface growth is still present, but it does mean the joint may never look white again. Replacement is the sensible next step when:
- black marks appear embedded beneath the surface;
- the bead has gaps, cracks, lifting edges or a spongy texture;
- water is getting behind the joint;
- spotting returns quickly despite drying and ventilation; or
- repeated label-directed cleaning makes little difference.
Fix any leak or ventilation issue first, otherwise new silicone may develop the same problem.

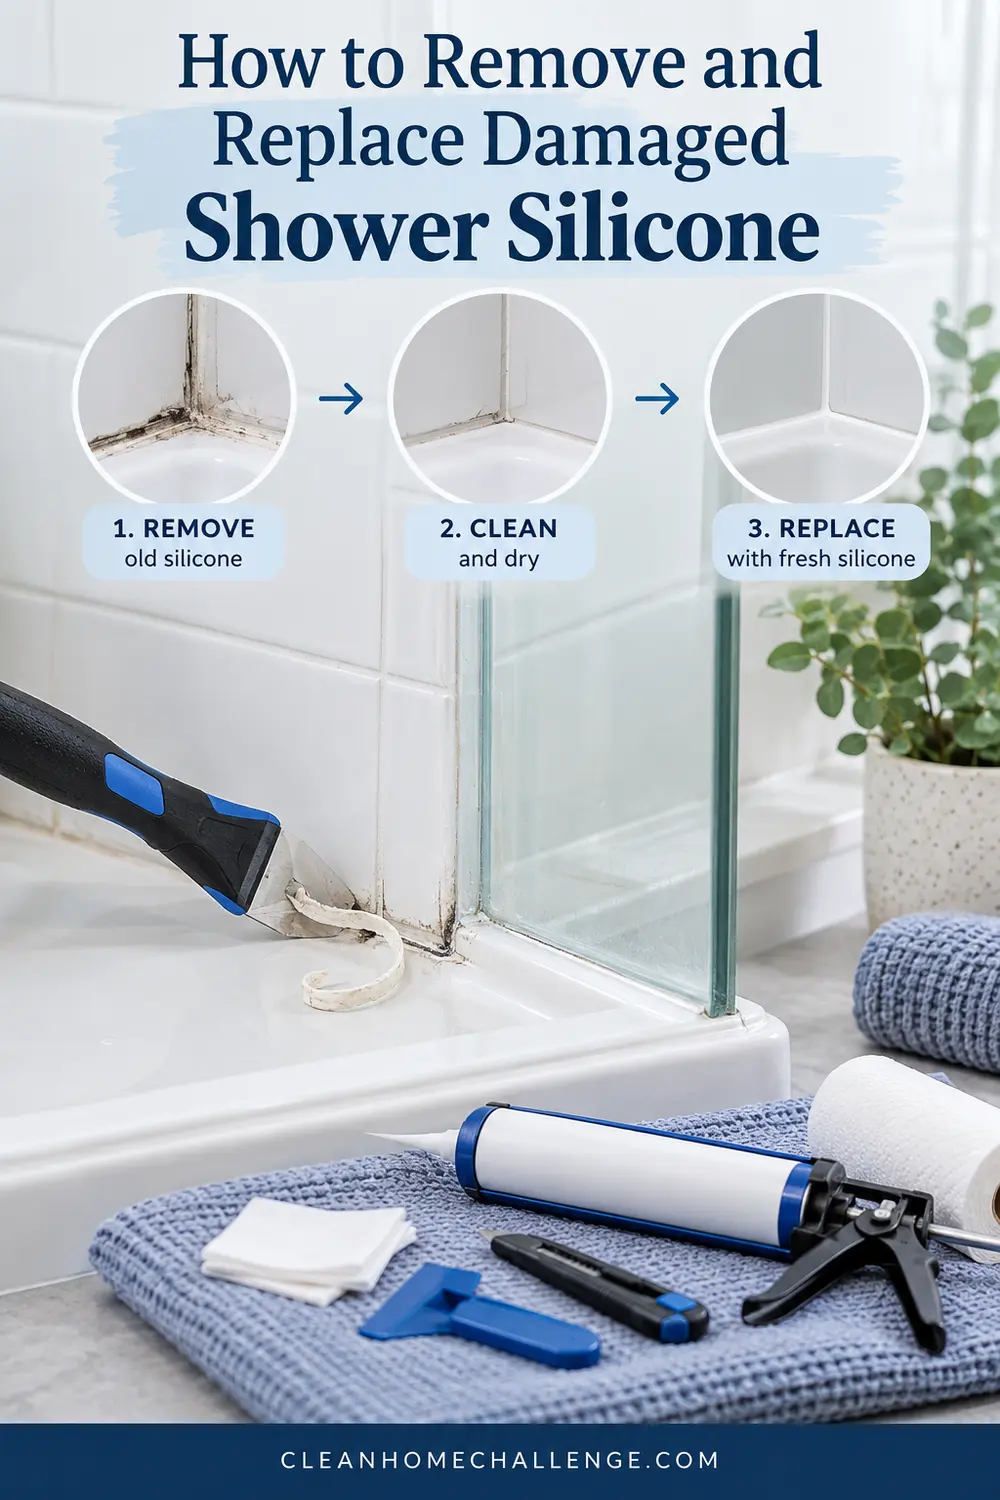
How to Remove and Replace Damaged Shower Silicone
If you are confident doing a neat waterproof joint, remove the old bead with a purpose-made silicone removal tool, taking care not to scratch the shower base, glass or tiles. Remove residue using a compatible product, then clean and dry the joint completely.
Apply a sanitary, bathroom-grade silicone that suits the adjoining materials. Follow the manufacturer’s bead size, tooling, ventilation and curing instructions, and keep the shower dry for the full cure time. If the joint is structural, difficult to reach, repeatedly leaks or shows hidden water damage, call a qualified tradesperson.
How to Stop Mould Coming Back
Moisture control does more than harder scrubbing. Run the exhaust fan during showers and for the period recommended for your room, open a window where practical, and leave the shower door or curtain positioned so air can circulate.
Squeegee glass and walls, wipe pooled water from silicone ledges, and avoid storing bottles directly on wet corners. Wash towels and bath mats regularly and let them dry fully. Repair leaks and check that the fan actually vents and moves humid air effectively.

A Five-Minute After-Shower Routine
On ordinary busy days, keep it simple:
- Rinse soap from the lower walls and corners.
- Squeegee the glass and wet wall surfaces.
- Wipe the silicone ledge and any pooled water.
- Hang towels and bath mats so they can dry.
- Leave the fan running and give the shower space airflow.
You do not need to polish the whole bathroom after every shower. Removing water from the places where it sits longest is the useful win.

CLEANERS CLUBHOUSE
Take the Guesswork Out of Bathroom Cleaning
Use Tuesday as your bathroom reset day and work through the job in a sensible order. Inside the Cleaners Clubhouse, you’ll find practical routines, printable support and challenges that make deeper cleaning easier to manage.
A Realistic Weekly Bathroom Maintenance Plan
Make the shower part of the Clean Home Challenge Tuesday bathroom routine. Clear products, wash the shower surfaces with one compatible cleaner, gently brush corners, rinse, dry and inspect the silicone. Check the exhaust fan cover and remove visible dust when needed.
If the week has been exhausting, do the minimum: clear the drain, squeegee the screen, wipe the silicone edge and put the fan on. A five-minute reset is still maintenance, and it makes the deeper clean easier next time.

Frequently Asked Questions About Mouldy Shower Silicone
Can vinegar remove black mould from silicone?
Vinegar may affect some surface growth, but it is not appropriate for every adjoining surface and should never be combined with bleach. Use a product labelled for the job and materials, or replace sealant that is stained through, lifting or damaged.
Can I leave bleach-soaked cotton wool on silicone overnight?
Do not improvise a long contact time. Prolonged exposure can damage materials, create irritating fumes and increase splash risk. Follow the cleaner label’s stated application and contact time.
Why does the black staining return so quickly?
The joint may remain wet, have mould embedded in old sealant, or sit beside a leak or poorly ventilated area. Clean the surface, improve drying and inspect the seal for failure.
How often should shower silicone be cleaned?
Wipe and dry wet ledges after showers where practical, then inspect and clean the joint during the weekly bathroom routine. Increase attention in humid weather or heavily used bathrooms.
Is it safe to paint over mouldy silicone?
No. Standard paint does not adhere well to silicone, and covering a moisture problem does not fix it. Remove failed sealant and replace it correctly.
The aim is not to keep every shower corner perfect. Clean intact silicone carefully, control the moisture you reasonably can, and replace a failed bead instead of losing hours to repeated scrubbing.