
THIS POST MAY CONTAIN AFFILIATE LINKS. PLEASE READ MY DISCLOSURE FOR MORE INFO.
Spring cleaning does not have to mean losing an entire weekend to scrubbing. A good spring cleaning checklist is simply a planned reset: clear what is in the way, clean the areas routine cleaning misses, and leave each room easier to maintain.
This guide is designed for busy families. You can complete it in one focused weekend, spread it across seven days, or choose only the jobs that will make the biggest difference in your home. The aim is a fresher, more workable home—not perfection.
Disclosure: This post may contain affiliate links. As an Amazon Associate, Clean Home Challenge earns from qualifying purchases. If you make a purchase through these links, we may earn a small commission at no extra cost to you. This helps us keep creating practical cleaning tips, routines and resources for busy families! 🧽
Start With a Realistic Spring-Cleaning Plan
Before touching a cleaning product, walk through the home with a notebook or your phone. Look for the jobs that have built up since your last deeper clean: dusty fans, fingerprints on doors, crowded cupboards, grimy tracks, neglected skirting boards and furniture that needs moving.
Choose your level before you begin:
- Quick reset: one to two hours, focused on the most visible spaces.
- Room-by-room reset: one room each day for a week.
- Whole-home deep clean: a weekend plan with help from the family.
Do not put every possible job on today’s list. Mark tasks as essential, useful or optional. Essential jobs affect hygiene, safety or how the room functions. Useful jobs make a noticeable difference. Optional jobs can wait if time or energy runs out.
Set up three containers as you move: put away, donate and rubbish/recycling. Decluttering is not the same as cleaning, but removing obvious excess first makes surfaces and floors much faster to clean.

Gather Your Supplies and Clean Safely
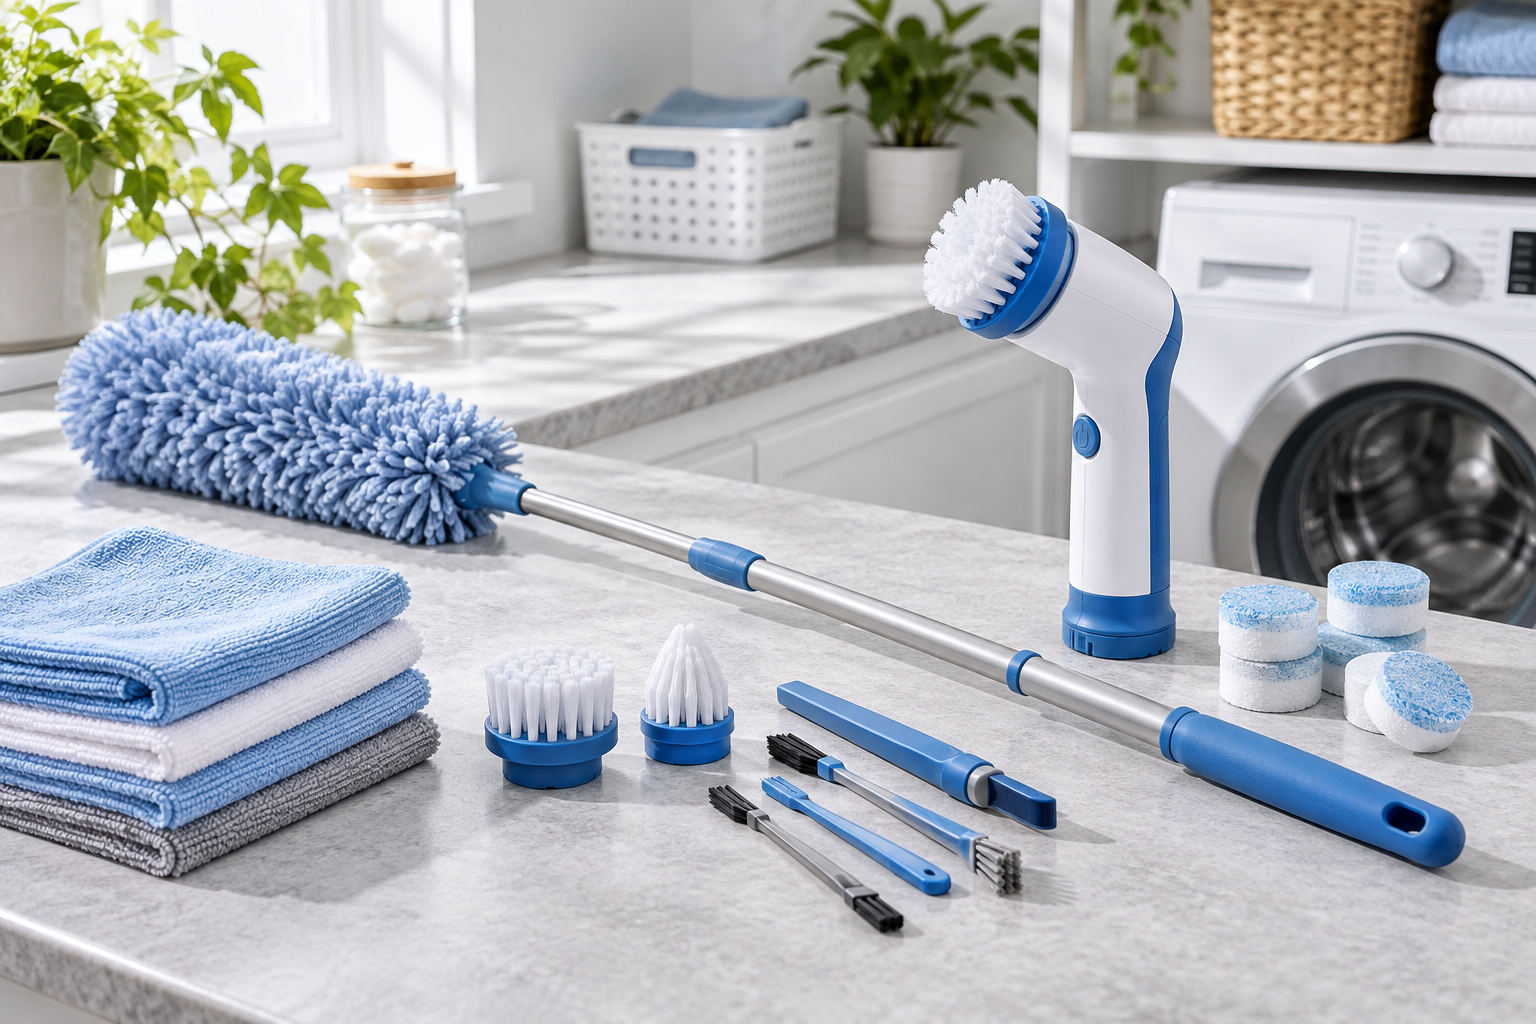
Keep your kit simple. Most homes need microfiber cloths, a vacuum with attachments, a mop suitable for the flooring, a bucket, a soft brush, a non-scratch sponge, dishwashing liquid, an all-purpose cleaner suitable for the surface, glass cleaner, gloves and a long-handled duster.
Read every product label and follow its directions, including dilution and contact time. Open windows or use exhaust fans when the label calls for ventilation. Never mix bleach with ammonia, vinegar, acids, alcohol or another cleaner. Store products away from children and pets, and patch-test unfamiliar products on an inconspicuous area.
Cleaning removes soil. Sanitising reduces germs to a level defined by the product or standard, while disinfecting is intended to kill specified germs when the label directions and contact time are followed. Routine spring cleaning usually needs thorough cleaning; save disinfectant for situations and surfaces where it is genuinely appropriate.
Work from dry to wet. Dust and vacuum before wiping or mopping so you are not turning loose dust into streaky residue. Use separate cloths for bathrooms and food-preparation areas.

Use a Top-to-Bottom Whole-House Cleaning Order
A consistent order prevents you from cleaning the same area twice:
- Open curtains and windows where practical.
- Remove rubbish, dishes and items that belong elsewhere.
- Dust ceiling corners, fans, light fittings and the tops of cupboards.
- Dust blinds, frames, shelves, furniture and skirting boards.
- Spot-clean doors, switches, handles and marks on washable walls.
- Vacuum upholstery, under furniture and along floor edges.
- Clean glass and mirrors.
- Vacuum or sweep the entire floor.
- Mop suitable hard floors using the correct product and minimal water.
Start in the room furthest from the exit and finish near the door. If you use a flat mop, work in controlled pull-back passes, overlapping each pass slightly rather than pushing dirty water around the room.

Spring Clean the Kitchen
Begin by clearing benches and washing dishes so you have room to work. Empty one cupboard or drawer at a time—never the entire kitchen at once. Discard expired food, wipe the shelf with a product suitable for the finish, dry it, then replace only what belongs there.
Kitchen checklist:
- Dust the tops of cupboards, pendant lights and the refrigerator.
- Wipe cabinet fronts, handles, splashbacks and switches.
- Clean the rangehood exterior and wash removable metal filters with hot water and dishwashing liquid, following the manufacturer’s instructions.
- Clean the microwave, toaster crumb tray, kettle exterior and small appliances.
- Deep clean the oven according to its manual; avoid abrasive tools on coated surfaces.
- Pull out movable appliances only if it is safe, then vacuum crumbs and wipe the floor beneath.
- Empty and wipe the refrigerator, checking seals and discarding spoiled food.
- Clean the sink, tap base and drain area without mixing products.
- Finish with skirting boards, bin, vacuuming and mopping.
For natural stone benches, use a stone-safe cleaner rather than acidic products. Stainless steel usually looks best when wiped with the grain and dried afterward.

Spring Clean the Bathrooms
Remove towels, bathmats, bottles and bins first. Dry-dust vents and high ledges, then apply bathroom cleaner only where needed and allow the label’s stated dwell time.
Work through the shower glass, tiles, bath, vanity, mirror and toilet. Use a soft brush for grout and a non-scratch pad for compatible surfaces. Do not use a blade on shower glass unless the manufacturer confirms the glass is compatible and you know how to hold the blade at a safe, shallow angle.
Wash shower curtains according to the care label and clean removable shower screens or tracks carefully. Check silicone, grout and ceilings for mould. Small surface spots may be managed with an appropriate labelled product and ventilation, but widespread, recurring or moisture-related mould needs the moisture source addressed and may require professional advice.
Finish by washing bins, wiping doors and handles, vacuuming hair, then mopping toward the doorway. Launder bathmats and replace only the products your family actually uses.

Spring Clean Bedrooms and Wardrobes
Strip the bed and check the care labels before washing protectors, quilts, pillows or blankets. Vacuum the mattress surface with an upholstery attachment if the manufacturer permits it; do not soak it. Rotate or flip only when the mattress instructions recommend it.
Dust the bedhead, lamps, frames, blinds, curtain rods and wardrobe shelves. Move lightweight furniture to vacuum along edges and underneath. Wipe door handles and switches, then clean mirrors and windows.
Work through clothes in small sections. Put obvious off-season items into clean, dry storage, set aside donations, and return clothes with enough space to see what you own. Avoid packing damp textiles into sealed containers.
For children’s rooms, involve them in simple decisions such as choosing five toys to donate or matching books to a shelf. Keep the task short and specific so it does not become an exhausting room makeover.

Reset Living, Play and Work Areas
Start with the things that collect: cups, paperwork, toys, chargers and blankets. Return them to their homes before cleaning. Use a basket for items that belong in other rooms and empty it when the room is finished.
Vacuum sofas and chairs using the correct attachment, checking care labels before spot-cleaning upholstery. Move cushions, vacuum creases and look underneath for small items. Dust electronics with the device switched off and follow the manufacturer’s guidance; spray cleaner onto a cloth rather than directly onto screens.
Clean shelves from top to bottom, dust picture frames and lamps, wipe remote controls, and vacuum under movable furniture. Wash cushion covers and throws only according to their labels. In work areas, clear the desk, wipe frequently handled items and route loose cables so the floor is easier to maintain.

Refresh the Laundry and Entryway
In the laundry, remove lint and dust from around appliances, wipe shelves and sort products. Clean the washing machine and dryer according to their manuals, including accessible dispensers, seals and filters. Never block vents, and arrange professional help if an appliance must be disconnected or moved unsafely.
Discard empty containers and store detergents securely away from children and pets. Give each family member a laundry basket or a clearly labelled sorting place if that helps prevent floor piles.
At the entry, shake or vacuum mats, wipe the door and handle, clean glass, and reduce the number of shoes and bags competing for space. A hook, tray and small basket can contain everyday items without turning the entry into a storage room.

Remember the Easy-to-Miss Spring-Cleaning Jobs
These jobs are often missed because they sit above, behind or beneath the areas we normally see:
- Ceiling fans and air-conditioner grilles, following the unit manual.
- Tops of doors, cupboards, picture frames and curtain rods.
- Window tracks, flyscreens and sliding-door channels.
- Skirting boards, floor edges and behind accessible furniture.
- Vacuum attachments, mop heads, buckets and cleaning caddies.
- Indoor bins, recycling containers and the cupboard around them.
- Door handles, switches, stair rails and cupboard pulls.
- Pet beds, washable toys and feeding mats, following care labels.
- Smoke-alarm testing according to local fire-service guidance—never clean, paint or disable the alarm in a way the manufacturer does not permit.
Add only the jobs relevant to your home. Specialist tasks involving heights, electricity, pests, hazardous materials or inaccessible areas should be left to an appropriately qualified person.

Follow This Seven-Day Spring-Cleaning Schedule
If a marathon clean is unrealistic, use one focused session each day:
| Day | Focus | Core jobs |
|---|---|---|
| 1 | Plan and declutter | Walk-through, supplies, rubbish, donations and clear surfaces |
| 2 | Kitchen | Cupboards, appliances, fridge, sink and floor |
| 3 | Bathrooms | Shower, vanity, toilet, storage and floor |
| 4 | Bedrooms | Bedding, dusting, wardrobes and under-bed vacuuming |
| 5 | Living areas | Upholstery, shelves, electronics, toys and floors |
| 6 | Laundry and entry | Appliance care, storage, mats, shoes and doors |
| 7 | Whole-house finish | Windows, forgotten jobs, vacuuming and mopping |
Aim for 30 to 60 minutes on weekdays and stop when the timer finishes. If you miss a day, continue with the next session that suits you; the plan is a guide, not a test.

CLEANERS CLUBHOUSE
Need Help Getting Through a Proper Deep Clean?
Follow the 7-Day Deep Clean Bootcamp when your home needs more than a quick tidy. The Cleaners Clubhouse breaks the work into achievable steps with printable support and seasonal cleaning guidance.
Keep the Home Fresher After the Spring Clean
The easiest spring clean to maintain is one that returns to a simple routine. Each day, make the bed, pick up obvious clutter, wipe the surfaces that need it, complete one laundry load if required and spot-clean floors. Then give one area extra attention through the week: kitchen Monday, bathrooms Tuesday, bedrooms Wednesday, living areas Thursday, floors Friday and laundry catch-up Saturday.
Keep a short “next time” list rather than reopening the whole checklist. Record optional jobs you skipped, repairs you noticed and supplies that need replacing. A ten-minute reset after dinner and a weekly floor clean will protect far more of your effort than trying to keep every room spotless.
Your home does not need to look untouched to feel clean and calm. Choose the jobs that improve daily life, work in a sensible order and stop when you have done enough.

Spring Cleaning Checklist FAQs
How long should spring cleaning take?
A visible reset can take one or two hours, while a detailed whole-home clean may take several sessions across a weekend or week. Home size, condition, number of helpers and how much decluttering is involved matter more than an arbitrary deadline.
Should I declutter or clean first?
Remove rubbish and obvious donations first, then clear the surface or small zone you are about to clean. Avoid turning the day into a complete organising project unless that is your main goal.
What is the best room to start with?
Start with the room that will make daily life easier—often the kitchen—or the room furthest from the exit if you are completing a whole-house clean. A quick, visible win can build momentum.
Do I need to disinfect the whole house?
Usually no. Thorough cleaning is appropriate for most routine household surfaces. Use a registered disinfectant only where it is warranted, and follow the label’s surface, dilution, ventilation and contact-time directions.
What if I cannot finish the checklist?
Circle the unfinished jobs that still matter and schedule one or two for another day. A partly completed spring clean is still useful, and maintaining the rooms you finished is more valuable than exhausting yourself trying to tick every box.

Sources and safety guidance