

THIS POST MAY CONTAIN AFFILIATE LINKS. PLEASE READ MY DISCLOSURE FOR MORE INFO.
Christmas leaves behind more than a tree. There are serving dishes waiting for a home, mysterious food containers in the refrigerator, bags of gifts by the sofa, and decorations that somehow take up more space going back into their boxes.
This post Christmas cleaning checklist gives those jobs a sensible order. Start with food and clear walkways, sort the seasonal items while they are already out, then clean the spaces you uncover. You can spread the work over several days and leave the decorations you are still enjoying until you are ready, provided the tree and electrical items remain safe.
The goal is a working kitchen, usable rooms, and holiday storage that will make sense next December. A full-house deep clean can wait. Use the suggested sessions as planning estimates, shorten them when needed, and let each finished area be enough for today.
Disclosure: This post may contain affiliate links. As an Amazon Associate, Clean Home Challenge earns from qualifying purchases. If you make a purchase through these links, we may earn a small commission at no extra cost to you. This helps us keep creating practical cleaning tips, routines and resources for busy families! 🧽
Choose a Small, Safe Starting Point
Begin with one place that will make the next job easier: the route between the living room and kitchen, a section of dining table, or the counter beside the sink. Avoid emptying every decoration box onto the floor. You need somewhere to work and somewhere to stop.
Gather a small kit before you begin:
- A trash bag and a separate container for locally accepted recycling
- A basket for things that belong in another room
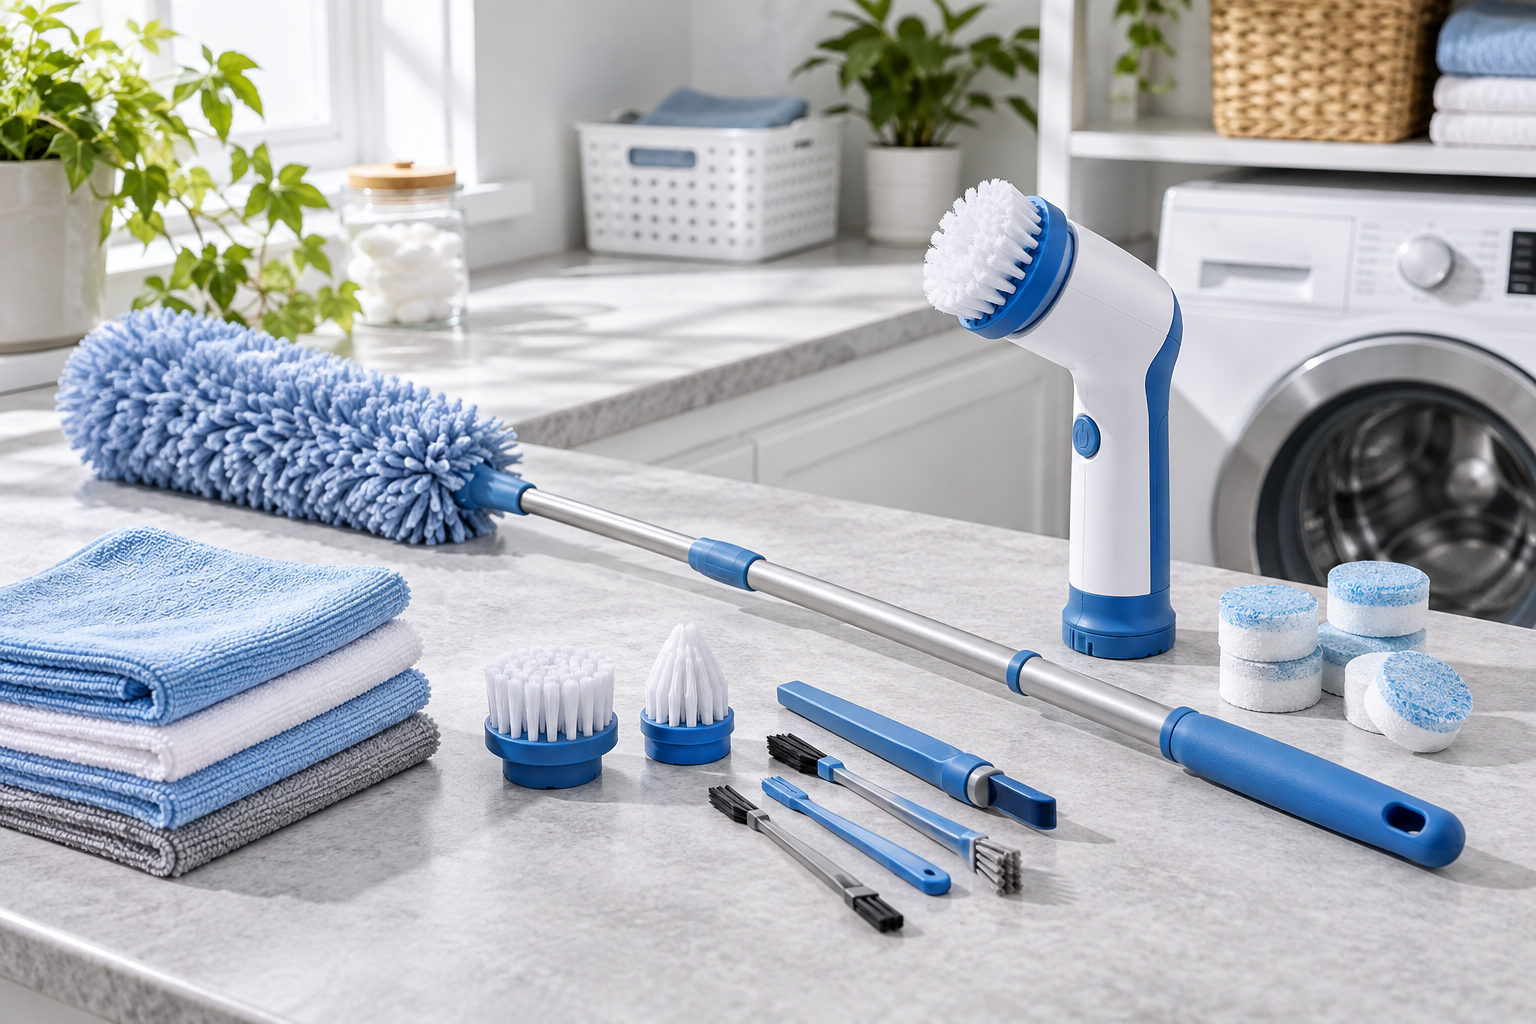
- A few clean cloths and a cleaner suitable for the surface you will tackle
- A laundry basket, labels, and a pen
- An empty box for items you have already decided to donate
Spend the first 10–15 minutes collecting five everyday obstacles: used dishes, obvious trash, loose packaging, laundry, and belongings that are away from their usual homes. Carry dishes on a tray if that is easier. Return only the obvious items now; a drawer full of mystery cables can stay closed.
Check gift bags before discarding them. Small accessories, gift cards, receipts, batteries, and ornament hooks can disappear among tissue paper. Put loose batteries and sharp or breakable objects somewhere children and pets cannot reach. Keep bags, cords, and stacked boxes out of doorways and off stairs.
Use a stable step stool for reachable decorations rather than balancing on furniture. Save high, heavy, or awkward work for a suitable helper. If a task requires stretching, unstable footing, or carrying a box you cannot see over, change the plan.
Your stopping point: one clear route and one usable work surface. If that is all you manage, you have still made tomorrow’s cleanup simpler. Take a quick photo of any display you want to recreate before packing it away.

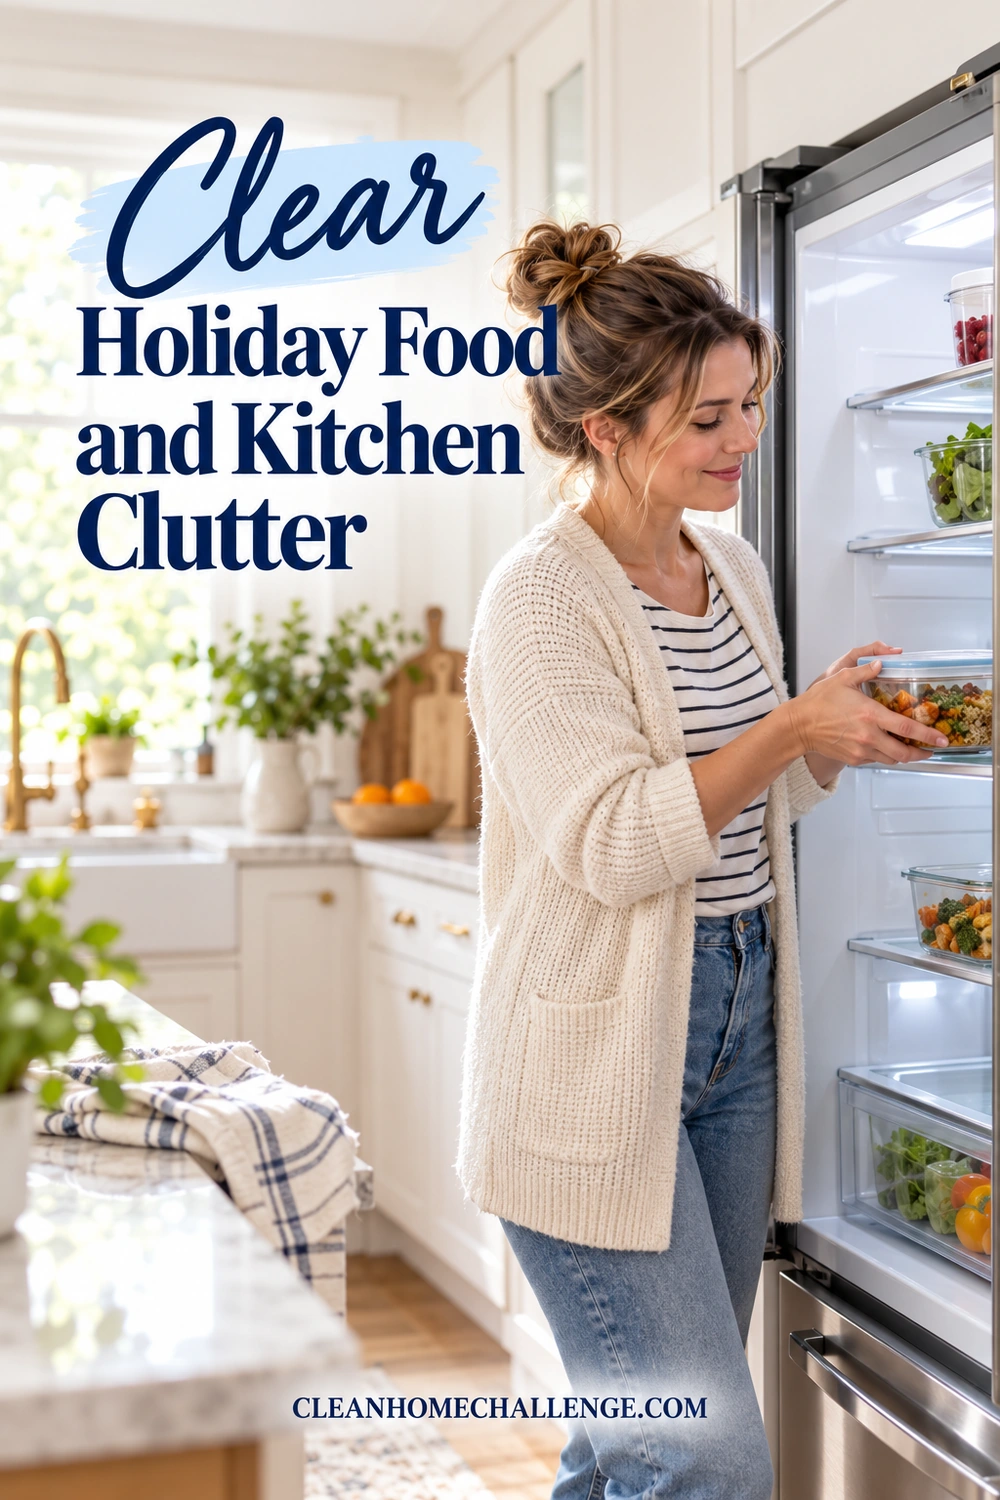
Clear Holiday Food and Kitchen Clutter
Food decisions come before reorganizing pantry shelves. Open the refrigerator and identify what each leftover is, when it was cooked, and whether it was stored safely. Changing the container or reheating a portion does not make old food newly cooked.
USDA advises refrigerating perishables within two hours, or one hour above 90°F. Keep refrigerated leftovers at 40°F or below, use them within three to four days, and divide large amounts into shallow containers for prompt cooling. Freeze suitable portions while they are still within their safe storage window. Reheat leftovers to 165°F, checked with a food thermometer. Discard food that exceeded safe time limits; if its storage history is uncertain, do not taste it to decide. See USDA’s leftovers and food safety guidance.
Work through one shelf at a time so refrigerated food is not sitting out while you clean the whole kitchen. Label the food you keep with its name and original cooking date; add a freezing date when relevant. Put portions you plan to use soon where you can see them, then choose an actual meal for them. A container marked “turkey” is easier to use when you have decided that tomorrow’s lunch is turkey sandwiches.
Next, restore the kitchen in a practical order:
- Load the dishwasher or wash one manageable batch. Check that special serving pieces are dishwasher-safe.
- Return dry platters and holiday dishes to their usual storage. Keep borrowed items together for return.
- Clean spills on the refrigerator shelf you have cleared, following the appliance instructions. Finish and return the food promptly.
- Clear and wipe one food-preparation area with a compatible product, following any rinse directions.
- Remove food trash and deal with crumbs on the floor.
Keep unopened shelf-stable treats together rather than scattering them across the counter. Check food-donation requirements before offering anything to a local organization; opened packages or homemade foods may not be accepted.
Only have ten minutes? Make the food-safety decisions, gather dishes, and clear enough counter for the next meal. Oven interiors, cupboard makeovers, and polishing every appliance can have their own later session.
Sort Decorations Before You Store Them
The easiest time to decide what earns storage space is while each decoration is in your hand. Begin with one category, such as tree ornaments, tabletop decorations, or stockings. Keep the remaining categories contained until there is room to handle them.
Make four simple destinations: keep, give away, repair, and discard responsibly. You do not need four new containers; a tray, a box, and clearly separated spots on the table will do.
For each item, ask:
- Did we enjoy using this, or is there a clear reason we want it next year?
- Is it complete, safe, and in a condition worth storing?
- Does it fit the way we decorate now?
- Is it a meaningful keepsake, even if it no longer belongs on display?
An unused ornament is not automatically clutter. You may have skipped a room this year, changed the display, or had less time. Give that decision some context rather than forcing a quota. For sentimental pieces, choose a small keepsake container and protect what matters most. A photo can help you remember a bulky project, but you do not have to replace every treasured object with a photograph.
Make the repair pile specific. Write “reattach hanging loop” rather than “fix later,” and choose a date to revisit it. Damaged electrical decorations belong in a separate safety decision, never in the ordinary craft-repair pile.
Keep reusable gift bags, good ribbon, and wrapping supplies within the space you already have. Flatten sound bags, nest smaller ones inside larger ones, and discard damaged scraps according to local rules. Check before putting foil, glittered paper, or mixed-material wrapping in recycling.
Before closing a box: remove anything assigned to donation or disposal. Otherwise you will reopen the same unresolved collection next year. Ask the intended donation organization whether it accepts seasonal decorations now, and put the drop-off on your calendar only after you know where they can go.

Pack Lights and Ornaments With Care
Set up a packing station at a comfortable height, with padding, suitable containers, and labels within reach. Keep fragile items away from the table edge and work with one ornament or one light strand at a time.
Protect the ornaments you chose to keep
Use original fitted packaging when you have it. Otherwise, separate delicate pieces so they cannot knock together, cushion them with clean soft packing material, and give unusually shaped decorations enough room. Avoid pushing a lid down over an item that does not fit. Balsam Hill’s decoration-storage guide includes compartmented ornament storage and separate organization for light strands; use your own item’s instructions for delicate finishes and specialty decorations.
Remove loose hooks into a small closed container. Keep heavier pieces apart from fragile glass, and do not place a heavy box on top of a lightly built ornament tray. Washable stockings and tree skirts can join an appropriate laundry load; follow their care labels and let them dry completely before storage. Leave delicate handmade pieces dry unless their materials can safely be cleaned.
Check and contain each light strand
Unplug lights before taking them down, untangling them, or packing them. As you handle each strand, inspect the cord and fittings. The U.S. Fire Administration advises discarding strands with frayed or pinched wires. Do not hide damaged wiring with tape or pack it for someone else to use. Follow local disposal or electrical-recycling guidance.
Gently loop sound, disconnected strands around a suitable reel or a smooth piece of rigid cardboard. Keep the winding loose enough to avoid sharp bends, crushing bulbs, or pulling on the cord. Secure the bundle gently and protect the plug. Label its location, such as “living-room tree,” so next year’s decorating starts with the right strand.
Finish each container with a useful label: room or purpose, contents, and any handling note. “Living room: glass ornaments, fragile” helps more than “Christmas.” Place the items you use first where they will be accessible. Choose dry storage suitable for the decorations and their manufacturer instructions; an attic or garage is not automatically appropriate for heat-sensitive, delicate, or electronic items.

Remove the Tree Without Spreading the Mess
Choose the tree-removal day around the tree’s condition and your local collection arrangements. A natural tree that has dried out should move up the list, even if some other decorations are staying. USFA recommends removing a Christmas tree after Christmas or when it is dry.
Before starting, check your local sanitation or recycling provider’s current instructions. Collection dates, accepted trees, bagging rules, flocking restrictions, and stand-removal requirements vary. There is no universal curbside procedure.
For a natural tree
- Clear the whole route to the exit, including shoes, rugs that bunch up, and nearby furniture that obstructs movement.
- Unplug and remove the lights, then remove every ornament, hook, ribbon, and piece of tinsel. Check the inner branches.
- Protect the floor with an old sheet or suitable tree-removal cover. Keep the work area off-limits to children and pets.
- With a helper steadying the tree, carefully remove accessible stand water using a small cup and an absorbent cloth. Do not tip a full stand across the floor.
- Have a helper support the tree while it is released from the stand. Loosely contain the branches in the sheet or cover, and carry it along the cleared route without dragging it over the floor.
- Remove any wrapping at the collection point if your local program requires a bare tree.
If the tree is too large or awkward for the help available, arrange suitable assistance instead of wrestling it through the doorway alone.
For an artificial tree
Follow its assembly and storage instructions in reverse, including any special connectors or locking mechanisms. Do not assume all pre-lit trees separate the same way. Work in manageable sections, keep the stand hardware together, and avoid forcing branches or wires into an undersized container.
After either tree is gone, lift and fold the sheet inward to contain debris. Sweep up the main pile of needles first. Before vacuuming what remains, check whether the machine permits that debris; avoid water, glass, hooks, and bulky material. Inspect the floor for spills or marks, then use the surface’s recommended cleaning method. Clean and dry the stand before storing it with the tree supplies.

Reset the Rooms Guests Used
Walk the route your guests used: entryway, living room, bathroom, and sleeping space. Concentrate on signs of actual use. There is no need to empty every cupboard because people stayed for Christmas.
In the living room, collect cups and return displaced items. Check sofa cushions for small belongings before vacuuming accessible seams with a compatible upholstery attachment. Look at the care label before treating a spill. Blot rather than spreading the stain, use a product intended for that fabric, and test an inconspicuous area first. Avoid soaking upholstery or spraying a general-purpose cleaner onto it.
In the guest bedroom, gather used sheets and towels into the hamper, check drawers and outlets for forgotten possessions, and return borrowed bedding to its home. Start one suitable laundry load and plan when you will dry and put it away. Leaving five loads in a pile merely relocates the job.
In the bathroom, remove trash, replace the hand towel, replenish toilet paper, and clean the sink and toilet with suitable products. Use separate cloths for the toilet and other surfaces. Finish the floor after the other work, keeping it clear while it dries.
CDC recommends cleaning frequently touched surfaces after visitors. Ordinary cleaning is generally sufficient; disinfect when someone is sick or has a weakened immune system. If disinfecting, clean first, choose a suitable product, follow its required wet contact time, use ventilation and any specified protection, and never mix cleaners. Keep products away from children and pets. Launder according to care instructions and dry items completely. Electronics need their manufacturer’s cleaning method. See CDC’s home cleaning and disinfecting guidance.
Low-energy version: remove dishes and trash, refresh the bathroom essentials, and start the guest linens. Finish the busiest floor area once the decorations and boxes have stopped traveling across it. Save windows, curtains, and rarely used rooms for another day.

Find Homes for Gifts and Donations
New gifts need an ordinary place to live before the gift bags become permanent storage. Start with one category, such as books, clothing, toys, or kitchen items, and bring it to the area where it will be used.
Try this short decision sequence:
- Keep and use: check the parts, read any essential instructions, and choose an accessible home.
- Return or exchange: keep the receipt and required packaging together. Check the seller’s actual deadline and conditions before discarding anything.
- Donate: set aside clean, complete items the recipient organization currently accepts.
- Decide later: use one small temporary container with a date to review it, rather than leaving bags around several rooms.
Make room by looking at the specific shelf, drawer, or cubby the gift needs. A new board game may prompt you to rearrange one shelf or let go of a game nobody wants. It does not require a whole-playroom purge. Ask children about their belongings and let them help choose a reachable spot for new favorites. Keep small parts appropriate to their age and away from younger siblings.
Avoid using a strict one-in, one-out rule when it creates unnecessary pressure. Space, usefulness, and the family’s preferences are more useful guides. Do not donate somebody else’s possessions without their agreement.
Once you know where gifts belong, deal with their packaging. Save what is needed for a return or safe storage, then flatten eligible cardboard and follow local collection rules. Check for manuals and accessories first.
Give the donation box a real destination and an achievable drop-off plan. Check opening hours and acceptance requirements, and never leave items outside a closed collection point. If an organization cannot take your things, find another suitable option before they become a car-trunk storage system.

Keep the Fresh Start Manageable
You can spread this post Christmas cleaning checklist across three sessions, three days, or several weekends. These are groups of jobs, not deadlines to beat:
- First session: make the home usable. Handle food safely, collect dishes and trash, clear paths, and refresh the bathroom essentials.
- Second session: close the holiday-storage loop. Sort and pack one decoration category at a time, label finished containers, and remove the tree when safe and practical. Bring a drying natural tree forward rather than waiting for this session.
- Third session: return to everyday life. Finish guest laundry, clean the newly exposed floor, put gifts away, and complete the planned returns or donation drop-off.
At the end of each session, leave the next starting point obvious. Close the boxes you have finished, put cleaning products away safely, and write one small next action. “Pack the mantel decorations” is easier to begin than “finish Christmas.”
Before storing the last box, leave yourself a brief note for next year: which lights go where, what genuinely needs replacing, and any decoration you would like to use differently. Check that note and your existing supplies before shopping the clearance aisle.
Once the seasonal work is finished, return to a few familiar daily habits: pick up, wipe a used surface, and keep laundry moving at a pace your household can manage. For help rebuilding the broader weekly rhythm, use our guide to restarting a cleaning routine after the holidays or illness.
A working kitchen, a clear place to sit, and decorations safely put away are a useful fresh start. You can enjoy that progress without adding another cleaning marathon to January.


CLEANERS CLUBHOUSE
Need Help Getting Through a Proper Deep Clean?
Follow the 7-Day Deep Clean Bootcamp when your home needs more than a quick tidy. The Cleaners Clubhouse breaks the work into achievable steps with printable support and seasonal cleaning guidance.
