THIS POST MAY CONTAIN AFFILIATE LINKS. PLEASE READ MY DISCLOSURE FOR MORE INFO.
If the toilet bowl looks clean but the bathroom still smells like urine, give the surrounding area a closer look. A small splash beneath the seat, a damp bath mat, or residue beside the toilet can be easy to miss during a quick bathroom clean.
The most useful first step is to remove the residue from the surfaces you can safely reach. Start with the seat and hinges, work down the toilet exterior, and finish with the nearby floor. Use a cleaner that suits each material, remove leftover product as directed, and let everything dry before deciding whether more treatment is needed.
You do not need a cabinet full of strong products to remove urine smell from bathroom surfaces. A careful, targeted clean is a better starting point than layering scented sprays over the area. If the toilet rocks, water appears around the base, or the smell seems sewage-like, stop treating it as an ordinary cleaning problem and arrange a plumbing check.
Disclosure: This post may contain affiliate links. As an Amazon Associate, Clean Home Challenge earns from qualifying purchases. If you make a purchase through these links, we may earn a small commission at no extra cost to you. This helps us keep creating practical cleaning tips, routines and resources for busy families! 🧽
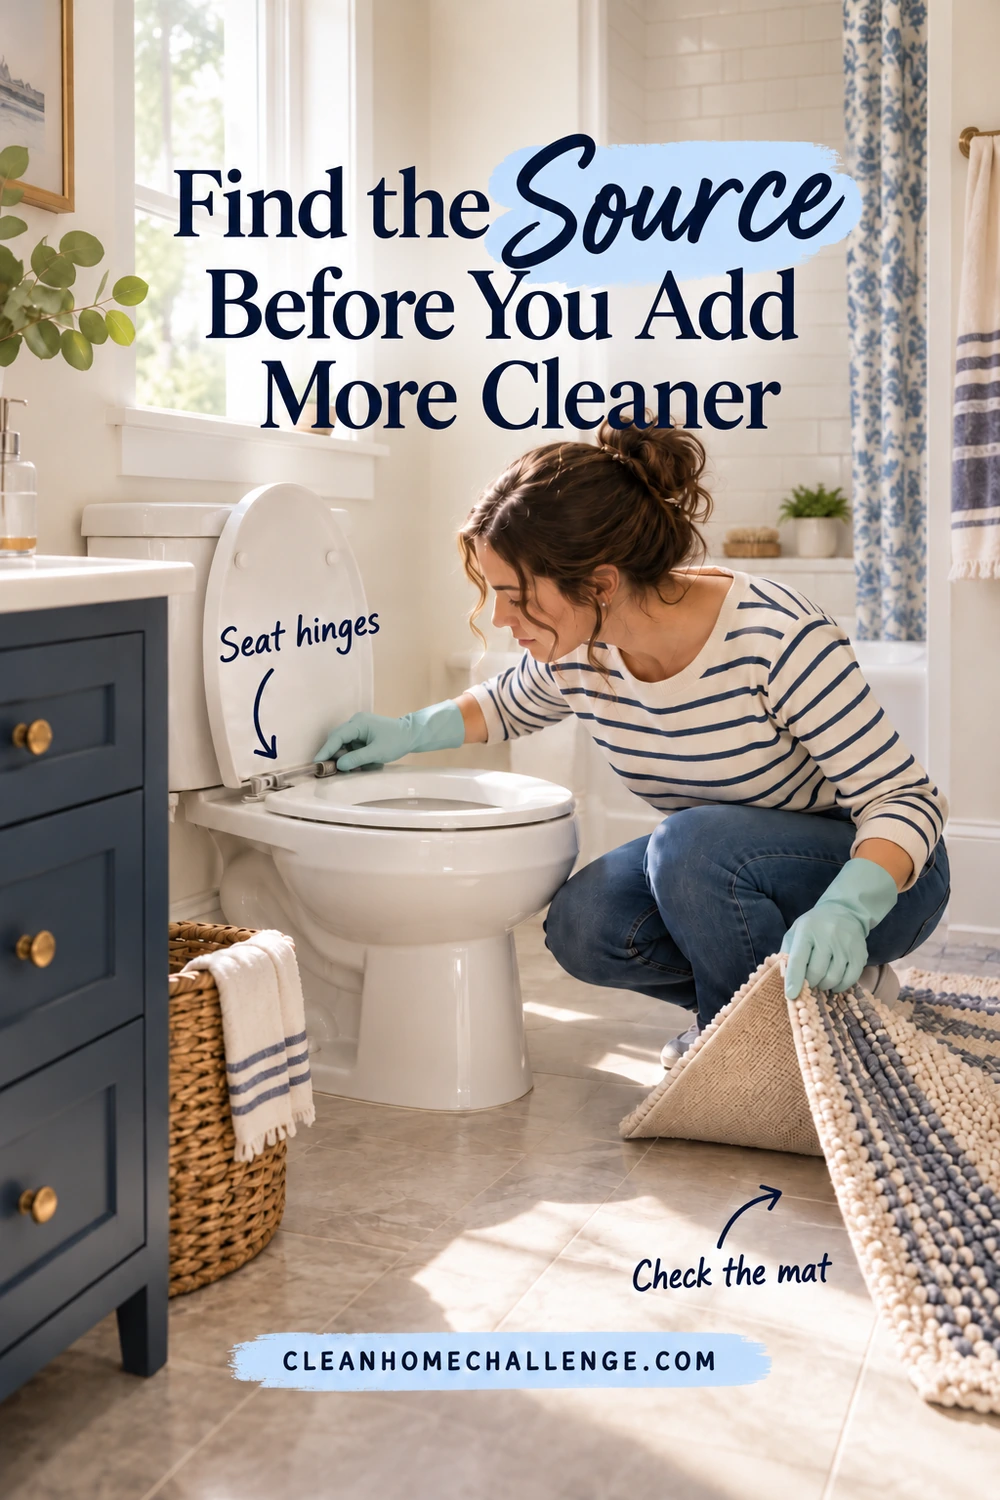
Find the Source Before You Add More Cleaner
Move the bath mat, toilet brush holder, small trash can, and any floor storage away from the toilet. This makes the area easier to inspect and prevents you from overlooking an item that needs cleaning separately. Keep those items off kitchen counters and other food-preparation surfaces.
Look at the room in zones rather than repeatedly scrubbing the bowl:
- The underside of the seat and lid, including the bumpers
- The hinge area and the porcelain behind the seat
- The outside of the bowl and the lower sides of the toilet
- Accessible floor around the base, especially grout lines
- Nearby baseboards, wall surfaces, and the outside of the trash can
- Bath mats, toilet rugs, brush holders, and other removable items
Use good light to look for visible splashes, residue, or dampness. Do not put your face close to dirty surfaces or open bottles to identify a smell. Odor alone cannot tell you exactly where the problem is or whether a surface has been disinfected.
If a mat appears to be the source, read its care label and wash it using the permitted method. Check the floor underneath before putting it back. If a brush holder contains dirty liquid, empty and clean it according to its material and care instructions. Wash your hands after handling these items, even if you wore gloves.
Notice when the odor is strongest. Does it return only after the bathroom is used? Is it concentrated around the seat? Does water appear near the base after a flush? Those observations help you choose between another accessible cleaning pass and a repair call. They are clues, not a diagnosis.
Take care with surfaces that look damaged. A cracked seat, swollen painted wood, crumbling grout, or a soft area of flooring may need repair or replacement. Repeatedly soaking damaged material is unlikely to be a sensible solution.
For a larger odor problem elsewhere in the house, use the guide to finding a mystery smell rather than assuming every smell starts at the toilet.
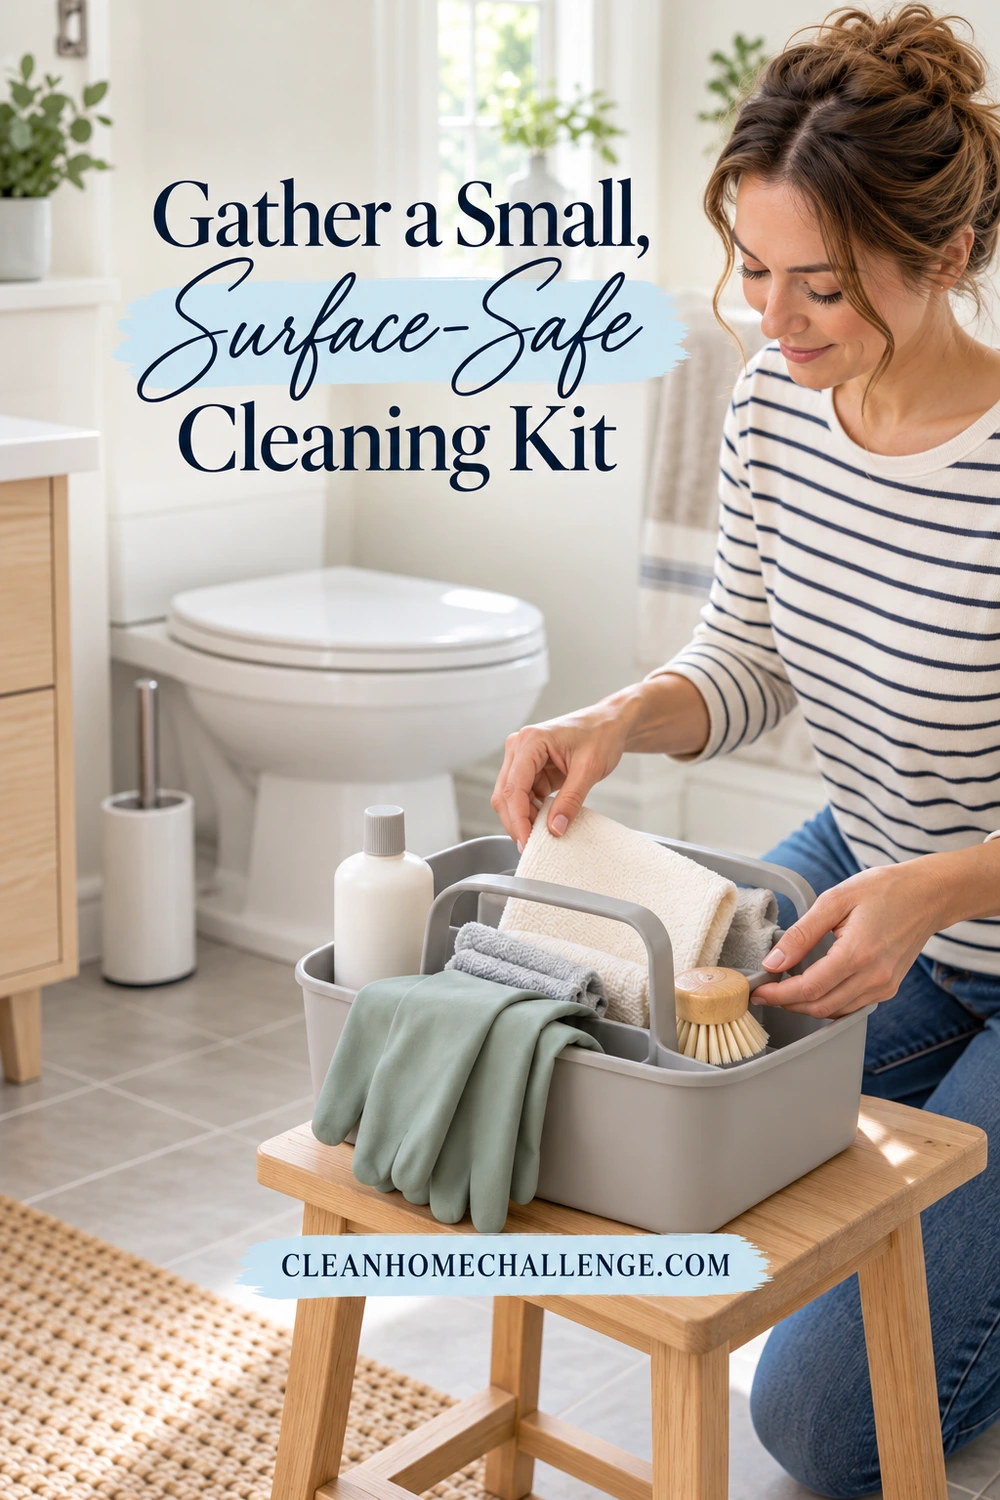
Gather a Small, Surface-Safe Cleaning Kit
Check the toilet-seat instructions and the floor manufacturer’s care guidance before choosing a cleaner. A product suitable for the ceramic bowl may be unsuitable for the seat, hinges, natural stone, or nearby woodwork.
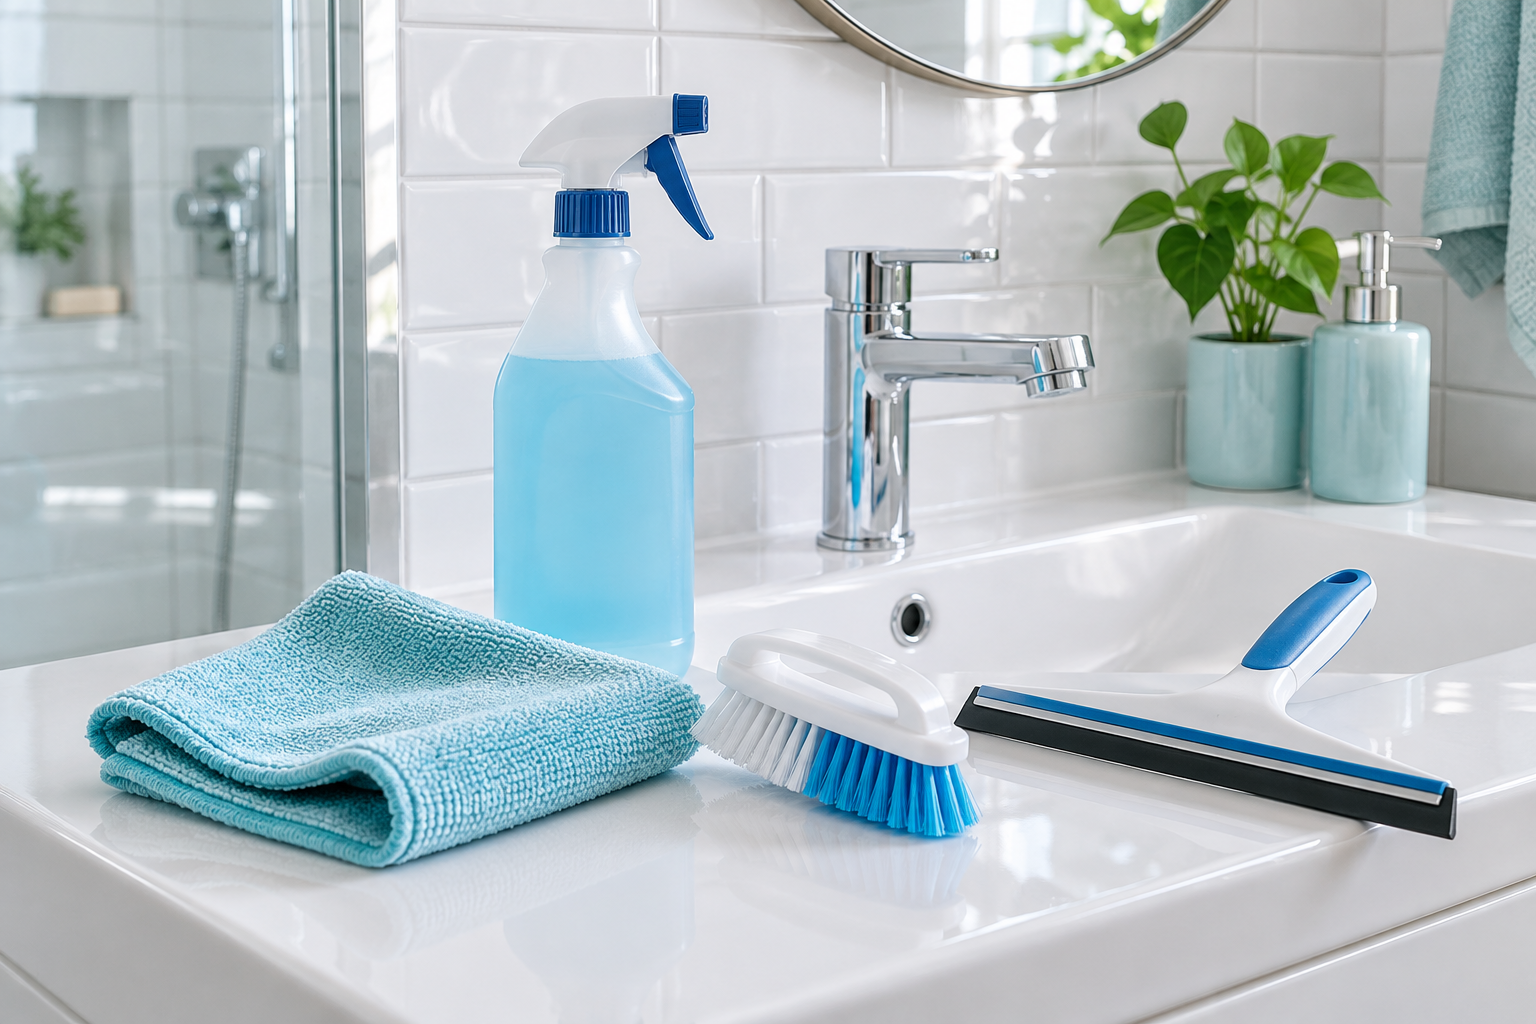
A useful starting kit is:
- Gloves appropriate for the cleaner you will use
- Several soft cloths or disposable towels
- A mild cleaner permitted for the seat and toilet exterior
- A floor cleaner suited to the flooring and grout
- A small, soft cleaning brush dedicated to this bathroom job
- A toilet brush for the inside of the bowl
- A bag or container for used cloths
Keep bowl-cleaning tools separate from the cloths used on the seat and exterior. Once a cloth has touched a dirty lower area or the floor, do not use it higher up. Start with enough clean cloths that you can change them without interrupting the job.
Mild dish soap and water are recommended for many ordinary toilet seats, but your model’s instructions still come first. Bemis advises gentle soap and water and cautions against harsh cleaners; KOHLER also calls for particular care with painted wood seats. A soft cloth is more appropriate than an abrasive pad on these finishes. See the Bemis toilet-seat cleaning guidance and the KOHLER care instructions, page 4.
Use one product at a time. Never combine bleach with ammonia, vinegar, acidic toilet-bowl cleaner, or another cleaning product. Do not pour several products into the bowl in sequence because the first one seems ineffective. If you do not know what was used previously, avoid adding a different chemical and check the labels or ask the manufacturer for guidance. Poison Control explains why these mixtures are dangerous. If cleaning fumes cause irritation, leave for fresh air and contact Poison Control for advice. Seek urgent medical help for trouble breathing or other serious symptoms.
Ventilate the bathroom as the label directs, keep children and pets away while you work, and return products to secure storage afterward. Do not decant cleaner into a drink bottle. A short cleaning session still needs the same basic precautions as a deep clean.
Set aside a manageable block of time for the accessible surfaces. You can split the work into a seat-and-toilet session and a separate floor-and-textiles session. Product contact time and drying time depend on the label and materials, so a timer should not rush those steps.
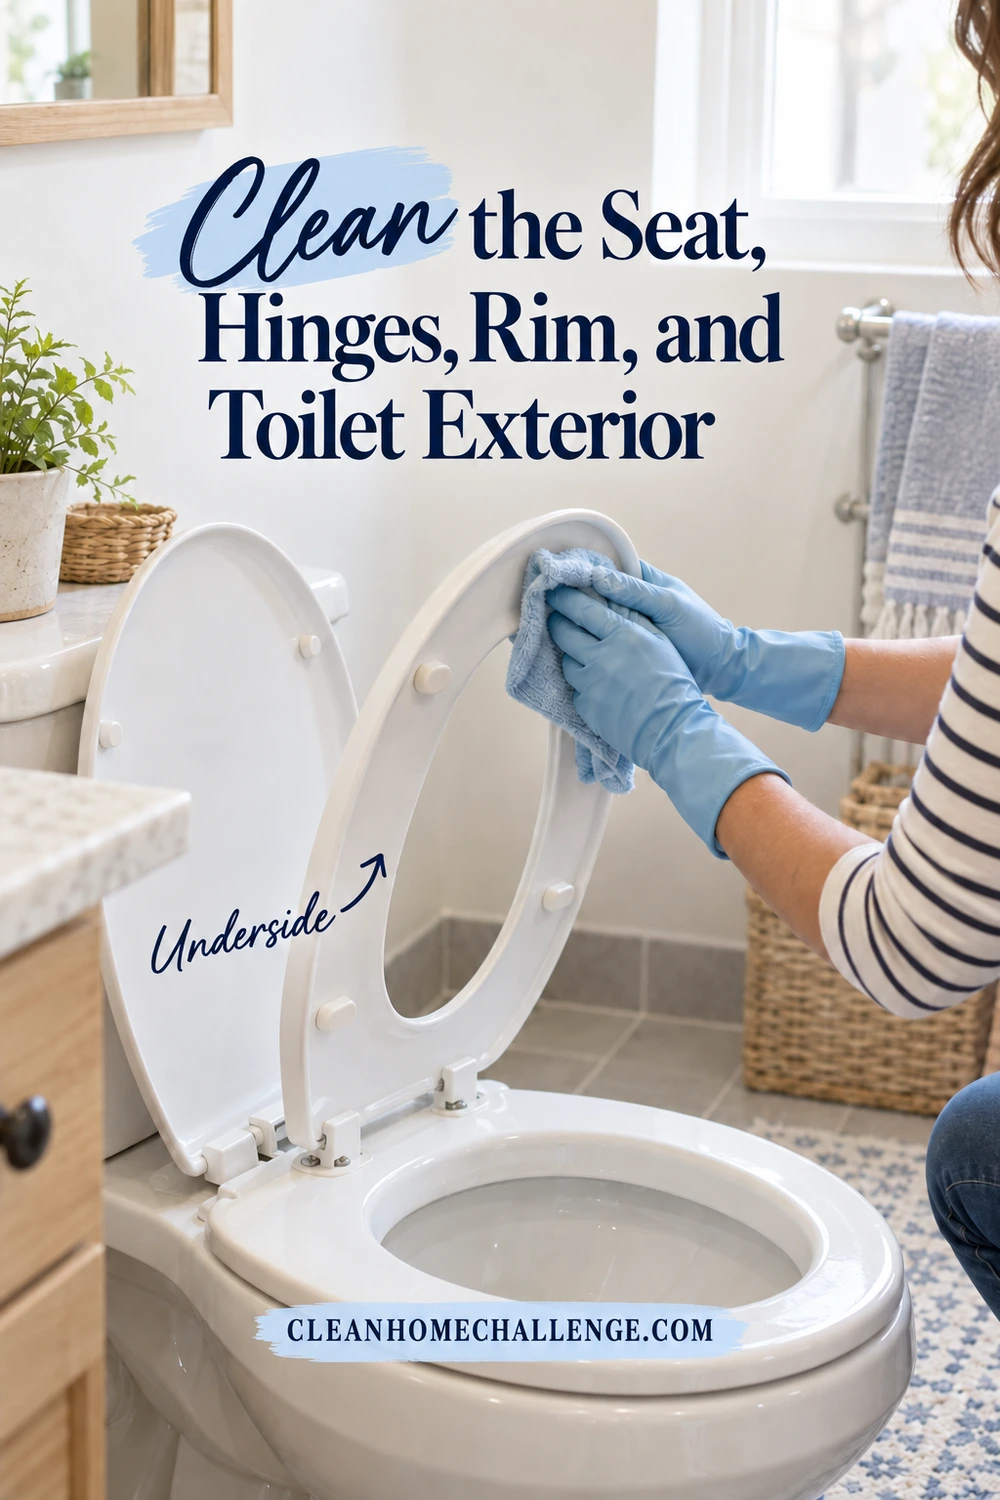
Clean the Seat, Hinges, Rim, and Toilet Exterior
Work from the cleaner upper surfaces toward the dirtier lower areas. Keep the bowl cleaner inside the bowl unless its label and the relevant surface manufacturer explicitly allow another use.
- Wipe the tank exterior, flush handle or button, and lid with an appropriate cleaner and a soft cloth. Follow any special directions for electronic controls.
- Clean both sides of the seat lid. Then clean the top of the seat, lift it, and clean the underside and bumpers. Use a fresh part of the cloth as it becomes dirty.
- Clean the exposed rim and the area around the seat mounting hardware. A small soft brush can help with accessible crevices when the seat manufacturer permits it.
- Wipe the outside of the bowl, the pedestal, and the accessible surface where the toilet meets the floor.
- Remove cleaner residue as the product and seat instructions direct. Dry the surfaces and allow the hinge area to finish air-drying.
For a removable or quick-release seat, follow the exact removal instructions for your model. Some lift off easily; others have mounting hardware that needs a different method. Keep loose parts together and clean the exposed mounting surface before reinstalling. Do not force hinge covers, pry sealed parts apart, or remove the toilet itself.
Use a lightly dampened cloth around hinges and hardware when that matches the care instructions. Avoid flooding bolt holes or spraying product into mechanisms. The aim is to reach the dirty surface, not fill hidden spaces with liquid. Confirm that the seat is securely reinstalled before anyone uses it.
An electronic bidet seat needs its own manual. Follow the manufacturer’s power and cleaning instructions, and keep liquid away from electrical connections and controls. A general toilet-cleaning routine is not a substitute for that model’s guidance.
Clean inside the bowl with a compatible bowl cleaner and toilet brush according to the label. Pay attention to the accessible underside of the rim. Keep harsh bowl products away from the seat and surrounding floor, and immediately address accidental drips as the surface guidance directs. Do not add chemicals to the tank unless the toilet manufacturer specifically allows them.
Once the outside is clean and dry, check whether the smell has reduced before repeating the job. If it has, you have useful evidence that accessible residue was contributing. If it has not, move to the nearby floor and removable items instead of immediately choosing a stronger cleaner.
Wash the Floor, Grout, and Nearby Splash Areas
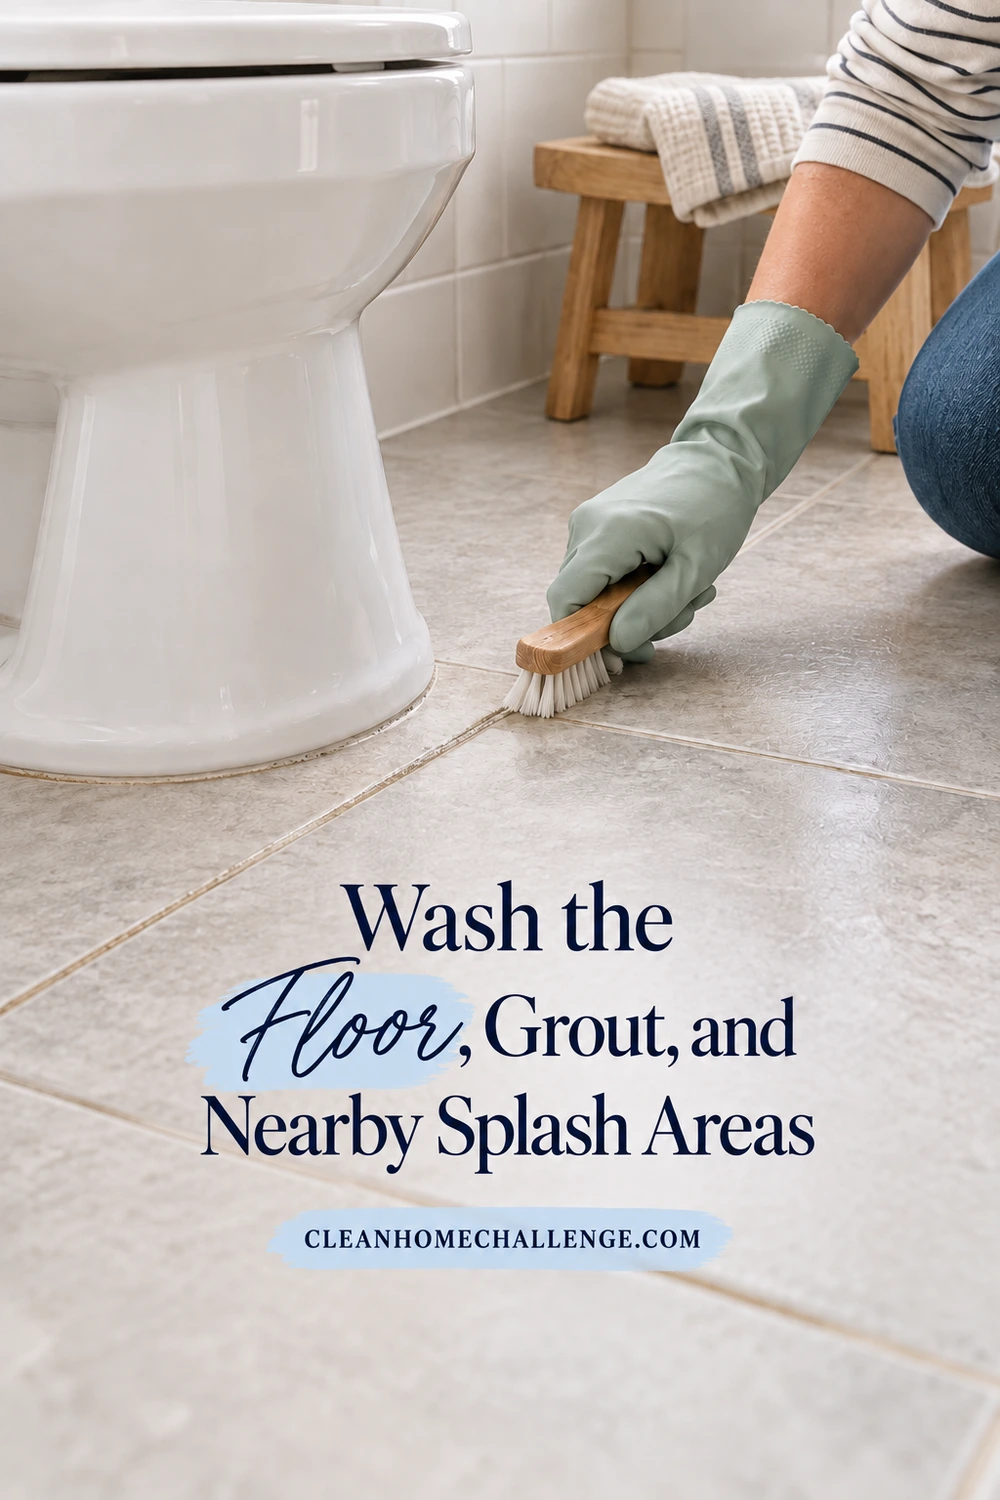
Use the cleaner intended for your floor and finish. The safest method can differ between glazed tile, natural stone, vinyl, laminate, and wood. Check both the cleaning-product label and the surface-care instructions, especially if you do not know whether grout or stone is sealed.
If there is a fresh urine spill, put on gloves and absorb it with disposable towels first, without spreading it. Put used towels in the trash; do not flush them. Remove any remaining loose debris with a method appropriate to the floor, then clean the accessible area around the toilet. Use controlled moisture and work on a small section at a time so you can pick up loosened soil rather than push dirty liquid around the room.
For compatible tile and grout, a soft brush can help clean visible residue along grout lines. Apply only the product amount allowed by its directions. Do not leave puddles around the base, force cleaner under the toilet, or soak damaged grout. Rinse when directed and remove excess moisture. Daltile’s ceramic and porcelain care guide emphasizes choosing a cleaner suitable for the grout as well as the tile and removing leftover residue.
Natural stone needs extra caution. Acidic cleaners, including vinegar, can damage acid-sensitive stone such as marble. Choose a cleaner approved for the particular stone and follow the stone supplier’s care instructions. Avoid treating a bathroom floor as ordinary ceramic tile simply because it looks similar. The Natural Stone Institute care guide explains the importance of identifying the material and choosing a suitable cleaner.
With wood, laminate, or moisture-sensitive trim, use only the permitted cleaning method and avoid standing water. If the floor is swollen, separating, soft, or persistently damp, stop adding liquid and have the damage assessed. A cleaning product cannot repair material affected beneath the surface.
Wipe nearby washable baseboards, the outside of the toilet brush holder, and low wall areas if visible splashes extend there. Patch-test a painted finish in an inconspicuous place and avoid scrubbing hard enough to remove the paint. Do not use the same dirty cloth across the whole room.
Allow the area to dry before replacing the mat and other items. Launder reusable cloths according to their care instructions and let them dry fully. Clean and dry the dedicated brush before storing it. Keep bathroom cleaning tools away from kitchen supplies.
If the floor itself needs a more thorough routine later, the floor-cleaning checklist for family homes can help you plan that as a separate job.
Use an Odor Treatment Only Where It Fits
If odor remains after thorough cleaning and drying, an odor-removing product may be useful on a compatible surface. Choose it by the label’s stated use and approved materials, rather than assuming every product with “enzyme” on the bottle suits every bathroom.
Read the directions before buying or applying it. Check whether the product is intended for urine, whether it is approved for that particular floor or fixture, whether the area must stay wet for a specified time, and whether rinsing is required. Follow the actual label; there is no single soaking time that works for every odor treatment.
Some enzyme products are designed for particular pet stains or particular materials. That does not establish that they are suitable for a painted toilet seat, unsealed grout, natural stone, or a toilet with electronic parts. If the bottle does not answer your surface question, ask the manufacturer or choose a permitted alternative.
Test an approved product in an inconspicuous area as directed. Keep it away from incompatible materials nearby, and prevent children and pets from accessing the treated area until the label says it is ready. Do not layer it over a different cleaner or combine it with disinfectant. Follow the product’s instructions for any necessary preparation between treatments.
Cleaning and disinfecting have different purposes. Removing odor does not prove that germs have been killed, and a disinfectant claim does not guarantee an odor problem will disappear. For ordinary household use, cleaning removes dirt and many germs. Extra disinfection is important when someone is sick or has a weakened immune system. Clean first, then use a surface-compatible disinfectant and keep it wet for the labeled contact time. The CDC household cleaning guidance explains these distinctions.
Skip improvised mixtures of vinegar, baking soda, bleach, or several scented products. Shaving foam and air freshener are not a reliable substitute for identifying and cleaning the affected material. A strong scent can make it harder to judge whether the underlying problem remains.
After the label’s treatment and drying steps are complete, assess the result. If the same small area still smells or becomes damp again, investigate that specific location. Repeatedly saturating the entire bathroom adds work and may expose finishes to unnecessary moisture.

Know When the Smell Needs a Plumbing Check
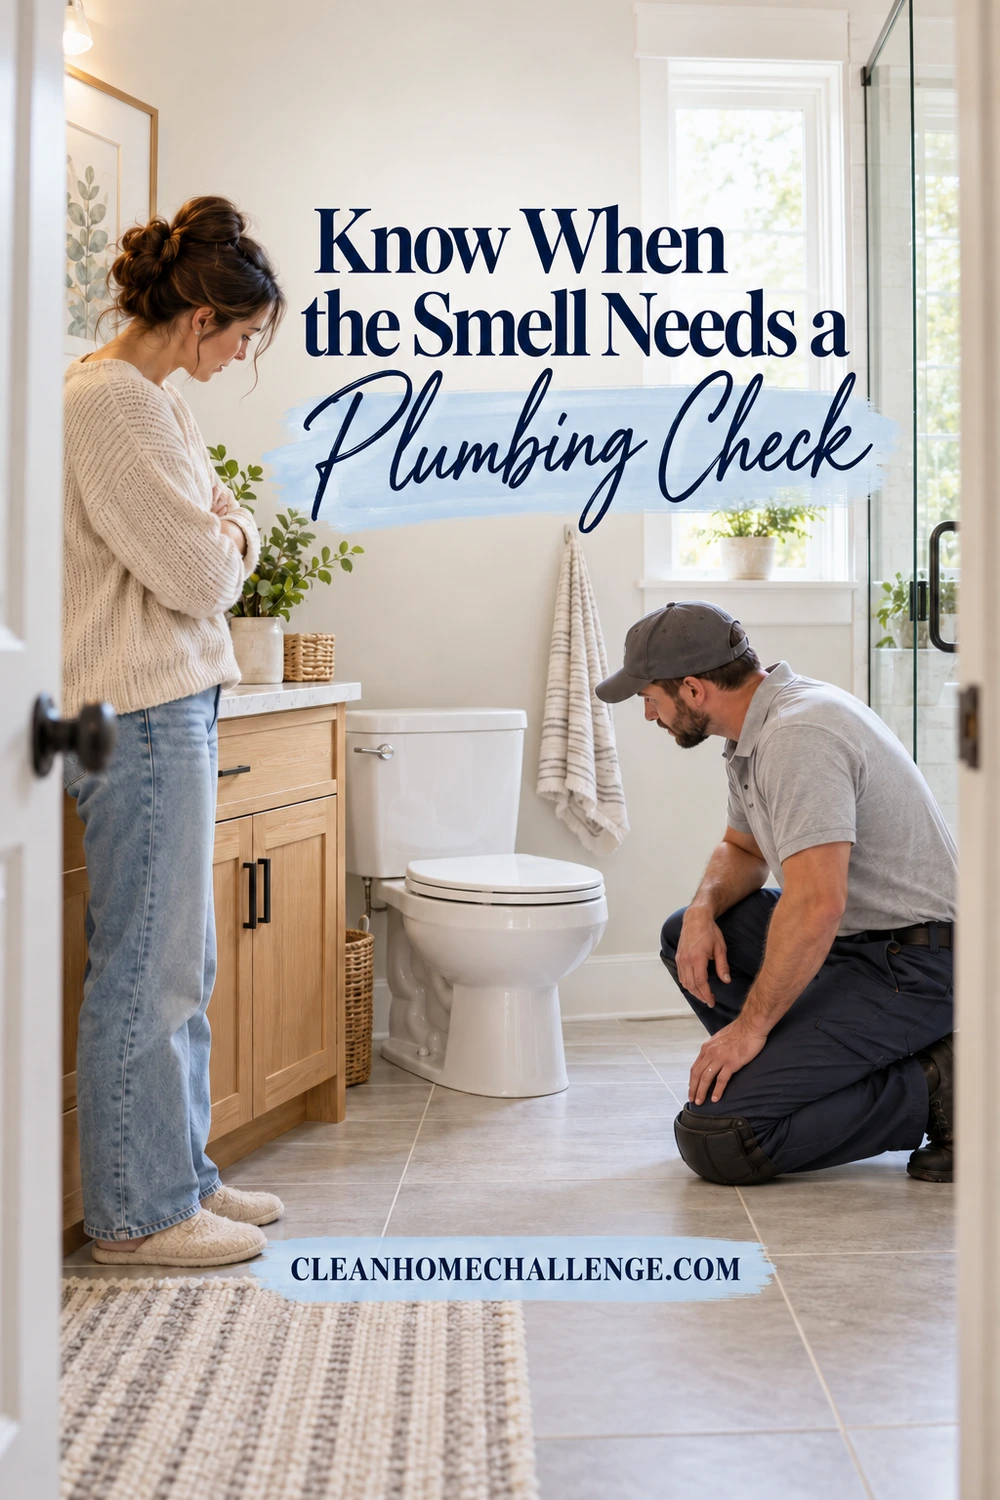
Cleaning should not continue indefinitely when the toilet or floor shows signs of a leak. A sewage-like smell can have a plumbing cause, and scent alone cannot reliably distinguish that from residue on nearby surfaces.
Arrange a plumber or landlord inspection if you notice:
- Water collecting around the toilet base or returning after a flush
- A toilet that rocks or shifts during normal use
- Persistent sewage-like odor after accessible surfaces are clean and dry
- Soft, stained, swollen, or deteriorating flooring near the toilet
- Water damage on the ceiling below the bathroom
- Repeated drainage trouble or gurgling alongside the odor
Oatey’s toilet-seal guidance describes several of these warning signs. A seal or connection issue requires the cause to be assessed; scrubbing the porcelain does not repair it.
Do not lift the toilet, tighten bolts aggressively, or add a new bead of caulk simply to hide dampness or odor. Overtightening can damage fixtures, and covering visible leakage can make the problem harder to monitor. Toilet removal, seal replacement, and decisions about damaged flooring belong to a suitable repair process.
If water is leaking when the toilet is used, stop using it and arrange prompt help. Keep people away from wet or damaged flooring. In a rental, report the observations to the landlord or property manager: where you see moisture, whether it follows flushing, and when the odor occurs. Clear observations are more helpful than guessing a failed part.
A nearby rarely used drain may also deserve attention. Check whether the smell is strongest at that drain rather than the toilet. Follow appropriate fixture guidance or ask a plumber; do not pour random chemicals down several drains in an attempt to locate the source.
If the toilet and floor appear dry and stable but the odor keeps returning, bring the details from your cleaning check to the professional. Explain which accessible surfaces and removable items have been cleaned and which products were used. That helps avoid simply repeating the same cleaning steps.
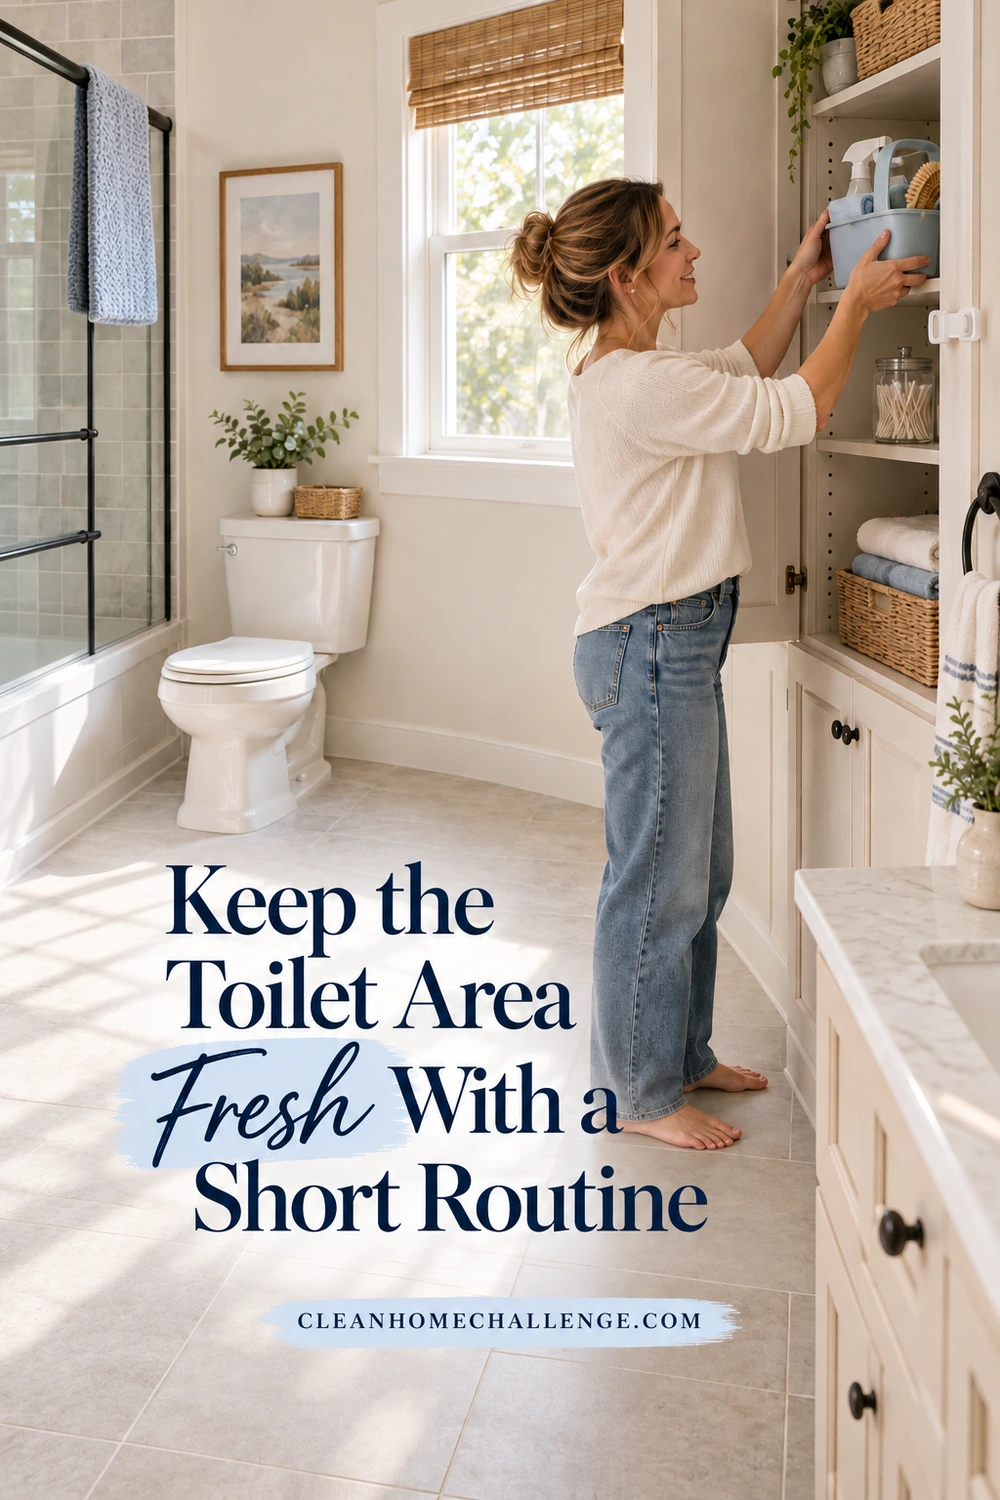
Keep the Toilet Area Fresh With a Short Routine
Once the source is resolved, a small repeatable routine is easier than waiting for the whole bathroom to need attention. Choose a frequency that fits how often the bathroom is used and how quickly mess appears.
For a quick daily check, look for visible splashes on the seat, rim, and nearby floor. Clean them promptly with a method suitable for those surfaces. Return the cloth to the laundry or dispose of it appropriately, put the cleaner away, and wash your hands. If someone else uses the room heavily, share this small job rather than leaving one person to discover every mess.
During the weekly bathroom clean, include the seat underside, accessible hinges, toilet exterior, floor around the base, mat, and brush holder. Tuesday is the Clean Home Challenge bathroom day, but a different day is fine if it works better for your household. Consistency matters more than the calendar label.
Keep the space around the base reasonably clear so splashes are easy to see and reach. A washable mat should be easy to remove, wash as permitted, and dry completely. If it repeatedly catches spills, consider keeping that patch of floor clear instead.
For toilet-training or mobility-related accidents, use calm, practical cleanup steps. Provide the support or equipment the person needs, keep supplies accessible to the responsible adult, and address fresh mess without blame. Cleaning products should remain securely stored away from children and anyone who cannot use them safely.
On a low-energy day, focus on three things: visible spills, the surfaces people touch, and a safe, dry floor. Save the nonessential detail work for a time when you have more capacity. If the odor returns despite that care, revisit the source checklist rather than automatically increasing the product strength.
A fresh bathroom comes from removing the residue, respecting the surfaces, and fixing a repair problem when one is present. Start with the smallest area that needs attention, let it dry, and use what you observe to choose the next step.
CLEANERS CLUBHOUSE
Take the Guesswork Out of Bathroom Cleaning
Use Tuesday as your bathroom reset day and work through the job in a sensible order. Inside the Cleaners Clubhouse, you’ll find practical routines, printable support and challenges that make deeper cleaning easier to manage.