

THIS POST MAY CONTAIN AFFILIATE LINKS. PLEASE READ MY DISCLOSURE FOR MORE INFO.
A splash of coffee lands on the couch. Pasta sauce catches a shirt sleeve. Something orange appears beside the bathroom faucet, and nobody remembers how it got there. The urge to grab a brush is understandable, especially when you only have a few minutes.
The most useful first move is to identify both the mark and the material underneath it. A treatment that helps a washable cotton shirt could leave a ring on upholstery or damage a countertop finish. This household stain removal guide gives you a practical way to make that decision before adding water, heat, or cleaner.
Allow a few minutes for the initial cleanup, then extra time for a patch test, any labeled treatment, washing, and complete drying. You do not need a cupboard full of rescue products. A small kit and a calm sequence will handle the first decisions for most everyday fabric and surface stains.
Disclosure: This post may contain affiliate links. As an Amazon Associate, Clean Home Challenge earns from qualifying purchases. If you make a purchase through these links, we may earn a small commission at no extra cost to you. This helps us keep creating practical cleaning tips, routines and resources for busy families! 🧽
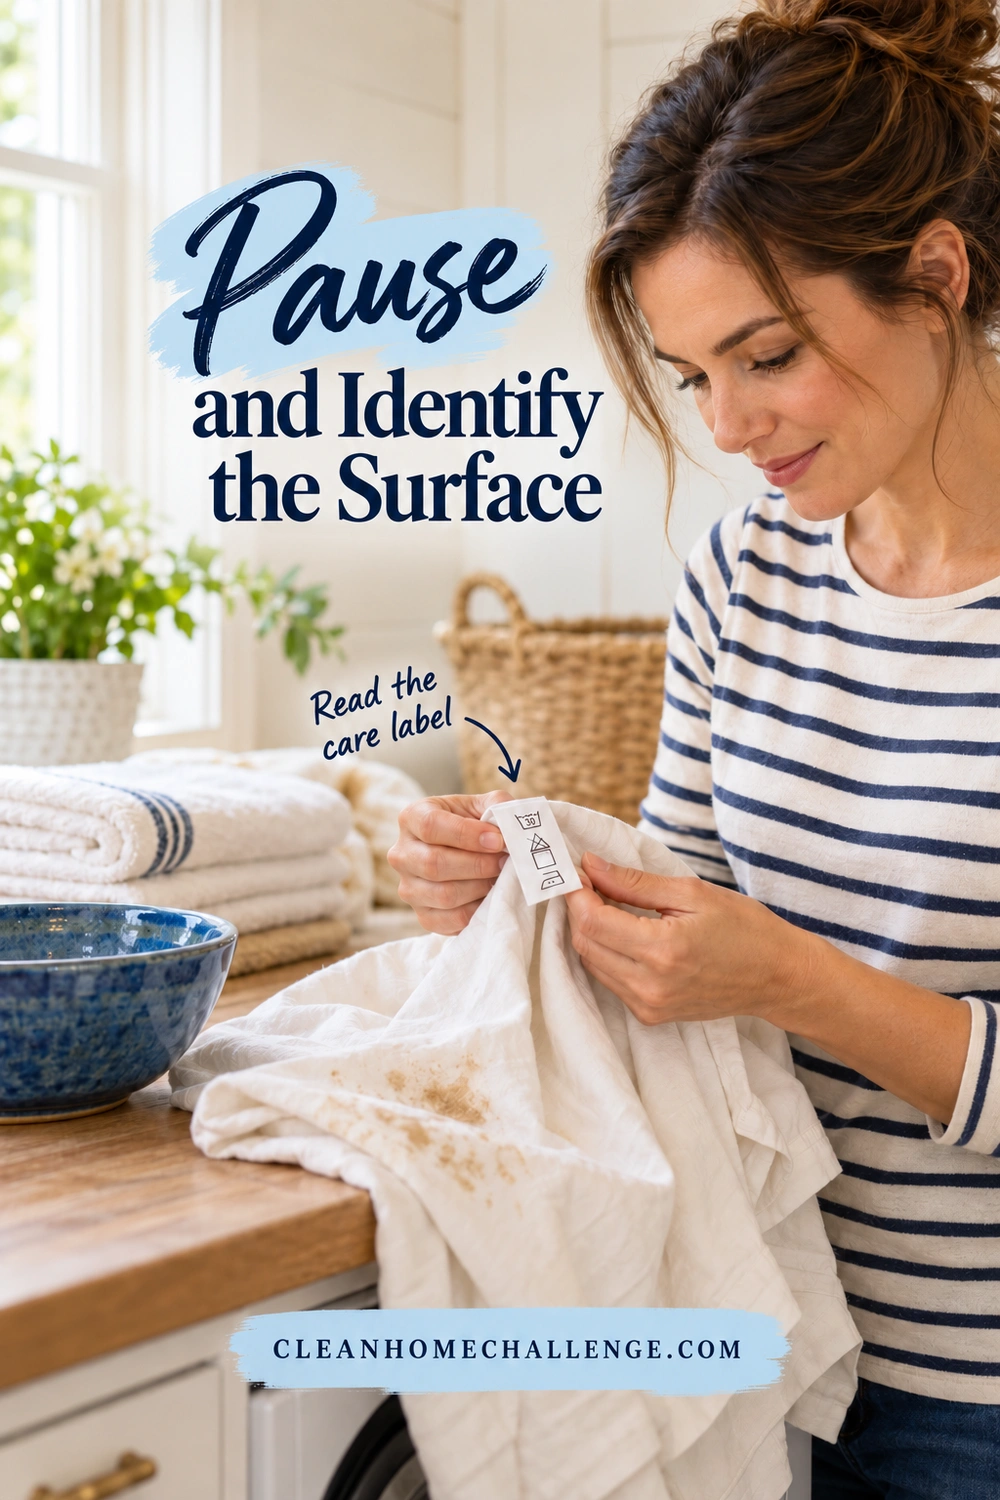
Pause and Identify the Surface
Start with three questions: What spilled? What did it land on? What has already been tried? Those answers matter more than how dramatic the mark looks.
Check the clothing care label, furniture tag, flooring instructions, or countertop manufacturer’s care page. “Looks like stone” and “feels washable” are not reliable material identifications. A finish, backing, trim, or adhesive can limit cleaning even when the visible surface seems sturdy.
For household textiles, sort the item into a workable route:
- Machine-washable clothing, towels, and linens: Follow the care label and use a treatment compatible with the fiber and color.
- Upholstery and attached carpet: Find the permitted cleaning method before adding liquid. You cannot rinse these as freely as a shirt.
- Dry-clean-only, delicate, vintage, or valuable items: Blot an ordinary liquid spill gently with a dry white cloth, then get material-specific advice.
- Hard surfaces: Identify both the material and its finish. Coated wood, laminate, painted walls, and natural stone need different decisions.
A zippered cushion cover does not automatically belong in the washer. Sunbrella specifically advises checking with the furniture manufacturer before removing and machine-washing covers, because the construction can vary.
Gather a small first-response kit
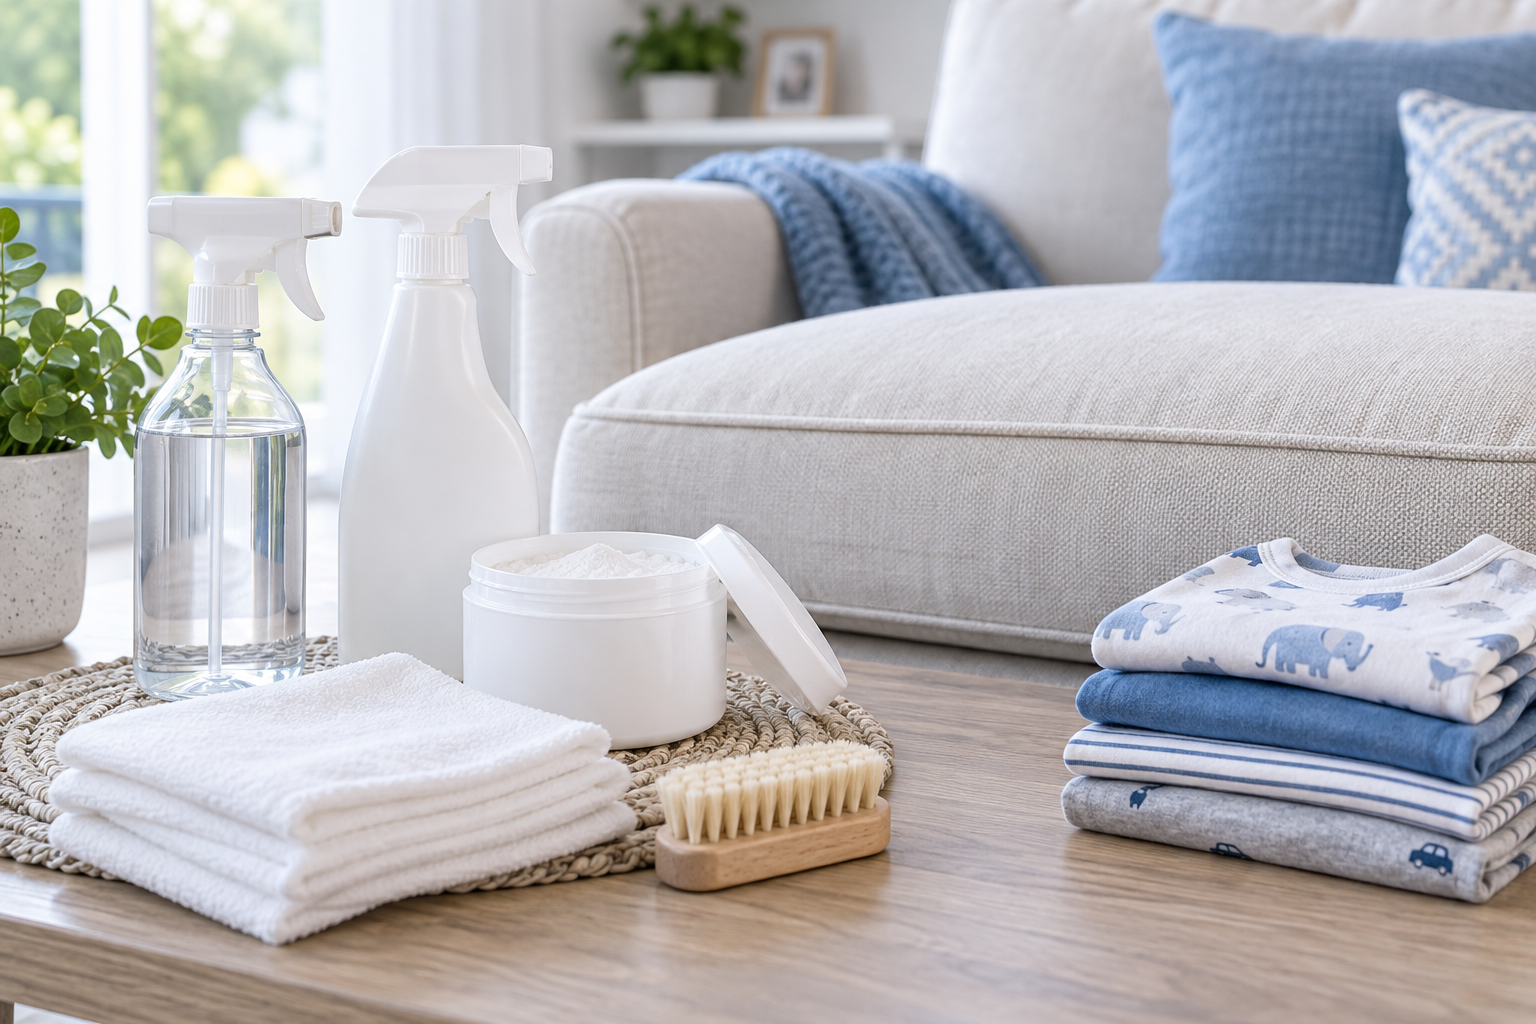
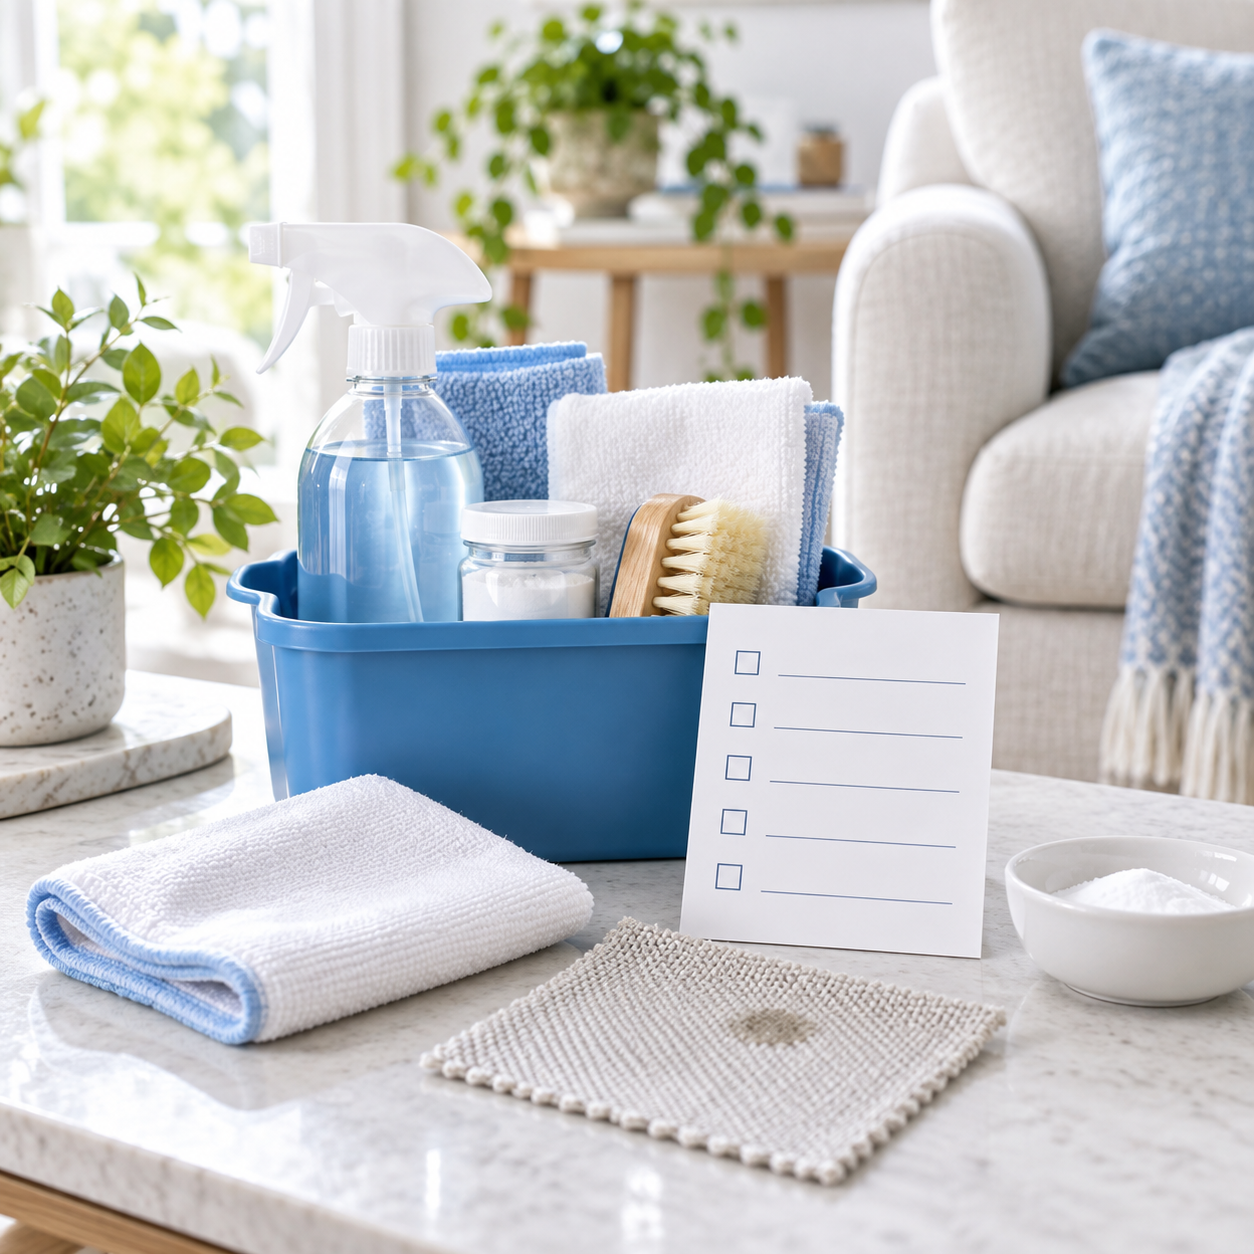
Keep clean white absorbent cloths, plain white paper towels, a spoon, and the care instructions within easy reach. Add gloves appropriate to the cleaning product and a compatible cleaner only after identifying the surface. A phone photo of the label saves searching again next time.
If you cannot identify a mark, treat it as unknown rather than choosing the strongest bottle. Note its color, whether it is wet or dry, and what happened nearby. Do not sniff unknown substances closely. Chemical spills, extensive mold, sewage, and contamination involving bodily fluids require appropriate safety guidance beyond cosmetic stain removal.
If someone has already treated the spot, ask what they used. “I sprayed something on it” is a reason to pause. You need to know whether residue remains before considering another product.
Blot, Lift, and Keep It Small
For an ordinary fresh liquid spill, use a dry white cloth to absorb what is sitting on the surface. Lift thick food with a spoon before dealing with the remaining mark. Avoid dragging a scoop of sauce across clean fabric.
Blotting means pressing and lifting the cloth without rubbing it back and forth. Fold it into a pad, press gently, lift, and turn to a clean area as it picks up the spill. Work around the outside toward the center so you are less likely to enlarge the affected area.
The Carpet and Rug Institute recommends white absorbent cloths and warns that scrubbing or brushing a carpet spill can fray the fibers or change their texture. That damage can remain visible even if the original color comes out.
Should you blot or scrub?
Blot first on carpet and upholstery. On washable fabric, gentle working-in of a laundry treatment may be appropriate if its directions allow it. On a durable hard surface, a soft wiping action may be enough. A stiff brush, abrasive pad, or vigorous scrub should never be the automatic next step.
Here is a manageable first response:
- Move nearby objects and keep people and pets away from the wet area.
- Lift any loose food without pressing it down.
- Blot ordinary liquid spills with a clean, dry white cloth.
- Read the material instructions before adding water or cleaner.
- Test the permitted treatment in a hidden spot before using it on the visible stain.
Dry particles need a different approach. Loose powder can smear when wetted. Ordinary mud on washable clothing is often easier to tackle after it dries enough to brush off; do not grind it into the fabric while wet. Hazardous powders or unknown chemicals are outside this routine.
Only have two minutes? Lift and blot, identify the care route, and set the item aside safely. That is worthwhile progress. Do not leave a stain remover soaking indefinitely just because the rest of the laundry has to wait.

Match the Stain to a First Step
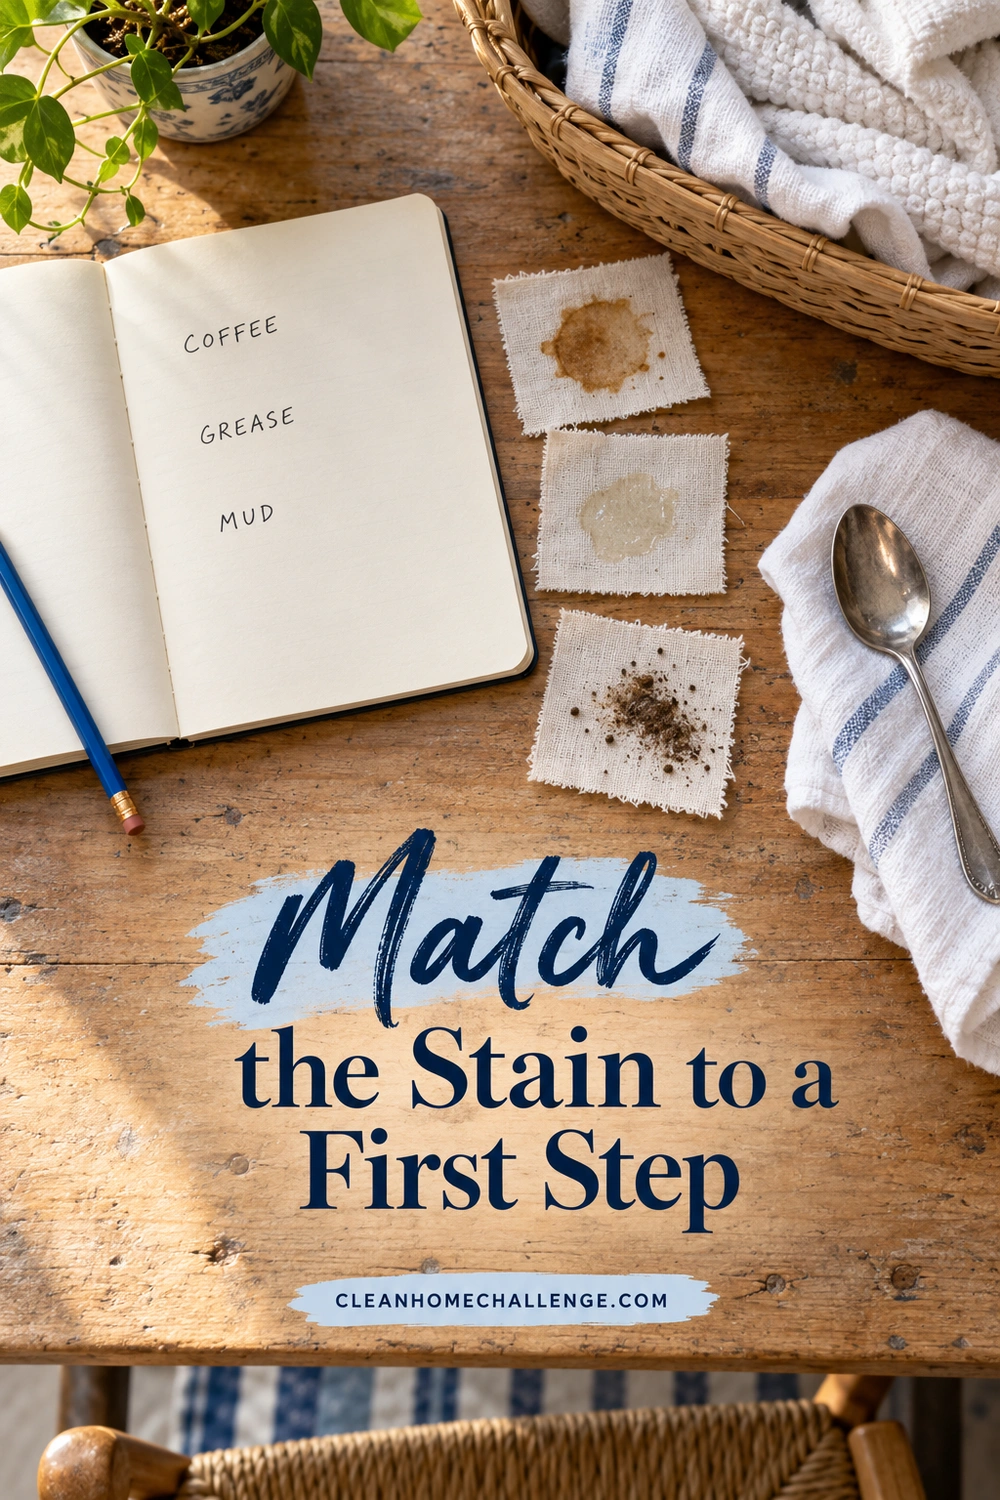
Use this stain chart to choose a direction, then follow the surface-specific section below. The washable-fabric suggestions apply only to items whose labels permit water washing. For upholstery, carpet, and hard finishes, the material’s instructions take priority.
| Stain family | A useful starting point | Important limit |
|---|---|---|
| Protein-containing food or fresh blood | Lift solids. On suitable washables, start with a cold-water rinse and a fabric-compatible treatment. | Hot water can set fresh blood. Wear gloves for blood; stain removal alone does not establish hygiene. |
| Coffee, tea, juice, and other colored drinks | Blot the liquid. Suitable washables can begin with cool water and a labeled laundry pretreatment. | Drinks containing cream, milk, or oil may need more than one type of soil removed. |
| Cooking oil, butter, and greasy food | Lift excess and blot. Pretreat suitable washables with a detergent or product labeled for oily stains. | Water alone may leave grease behind. Keep heavily oil-soaked items out of the dryer. |
| Ordinary mud and soil | Remove loose dry material before wet treatment; brush dried mud gently from suitable washable fabric. | Rubbing wet mud spreads it. Do not treat an unknown powder as ordinary dirt. |
| Ink, marker, makeup, and dye | Identify the product and material; lift excess without smearing and find targeted instructions. | Alcohol, acetone, and bleaching products can also affect dyes, coatings, or plastic. |
| Rust, mineral marks, and pale rings | Confirm the surface and whether the mark is a deposit, stain, or changed finish. | Chlorine bleach can worsen rust discoloration on fabric; acids can damage stone. |
The American Cleaning Institute’s laundry guide supports separate starting treatments for blood, drinks, oil, mud, and rust. Its advice concerns clothing; it should not be carried across to a couch or countertop unchanged.
Many spills are mixtures. Chocolate, salad dressing, and foundation can combine pigment with oil or other ingredients. A faded stain after one appropriate wash may need another targeted treatment, rather than a harsher scrub.
For a recognizable special case, continue with our guides to permanent marker on household surfaces, makeup on clothes, carpet, and towels, or rust on clothes and household surfaces. Keep the care label beside you while choosing the next step.
Treat Washable Fabrics Carefully
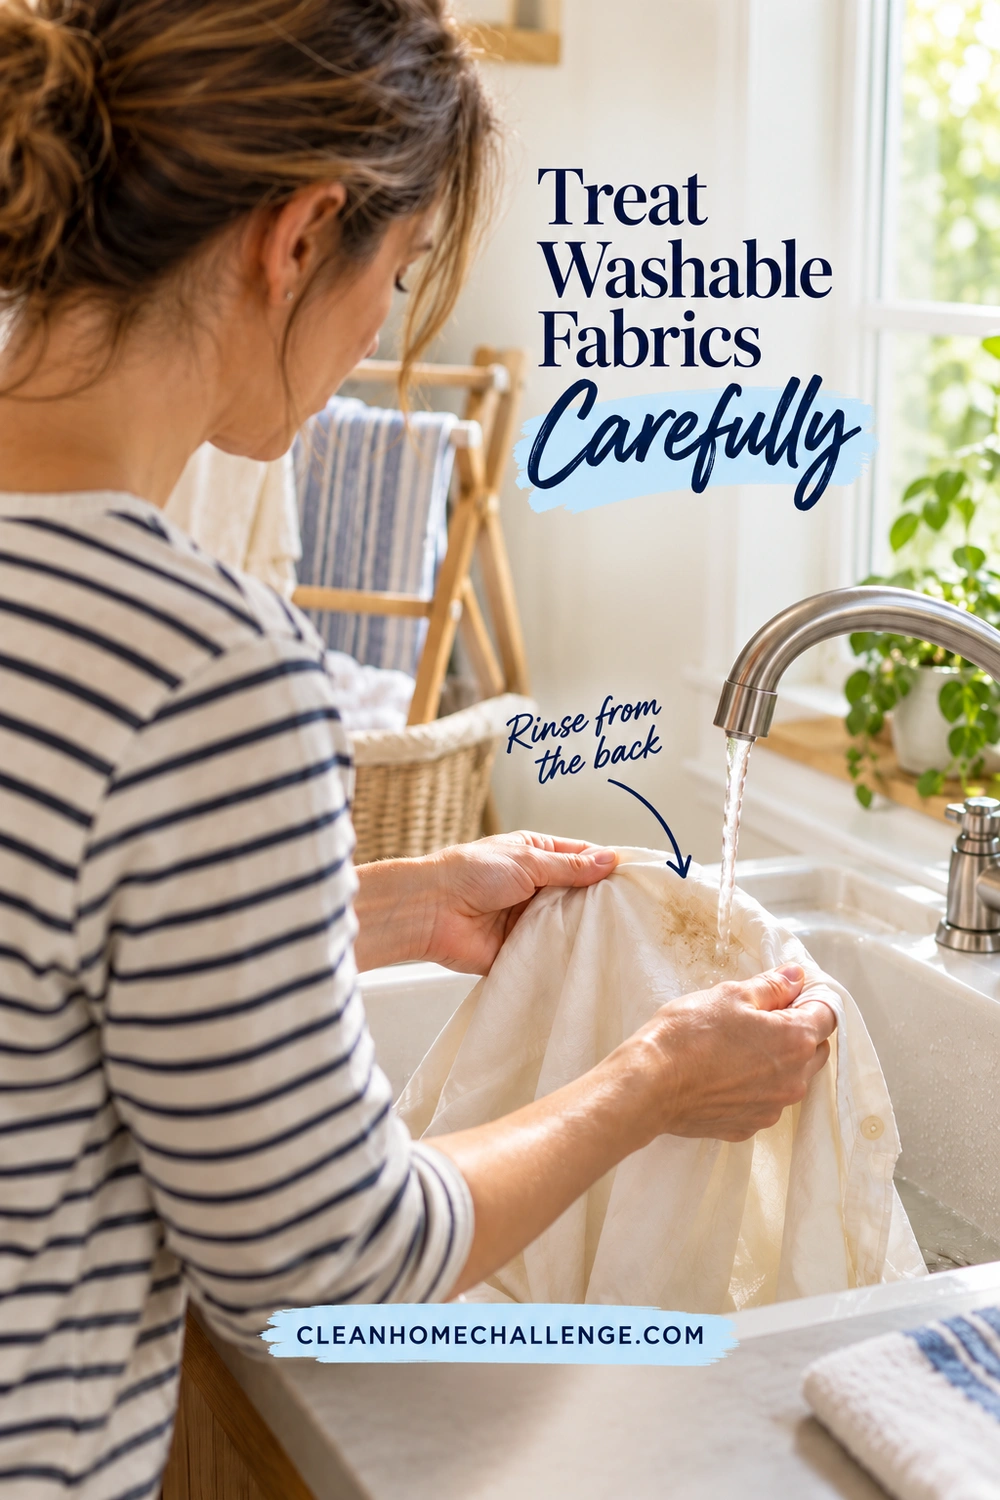
For a washable shirt or towel, arrange the stained area over a clean sink or basin. Keep it separate from unstained laundry until you have removed loose residue. Check both the garment label and the treatment instructions, including colorfastness, permitted temperature, and any maximum contact time.
- Remove what you can gently. Lift food with a spoon and blot liquid. For a suitable fresh water-rinsable stain, rinse from the reverse of the fabric so the flow carries residue out rather than farther through the fibers. Use the stain-appropriate water temperature.
- Patch-test the product. Choose an inside seam or other hidden area. Follow the product’s test instructions and check for dye transfer or a changed appearance before proceeding.
- Pretreat as directed. Apply the specified amount and let it work for the label’s contact time. Do not assume a longer soak is better, or allow a product to dry on fabric when its directions prohibit that.
- Wash on the permitted cycle. Measure detergent for the load, soil level, and machine. A small stained item does not justify filling every dispenser with boosters.
- Inspect before heat drying. If the mark remains, follow a suitable repeat-treatment route. When uncertain, air-dry as the care label permits and examine the dry fabric before deciding.
Tide’s general stain-removal guidance emphasizes matching the wash temperature and cycle to the garment’s care instructions. There is no single “hottest wash” setting that suits every stain and fabric.
Be selective with enzymes and bleach
A compatible enzyme laundry product can help with certain food and body soils. It is not an automatic choice for every fiber. Woolmark recommends a mild wool detergent and advises against heavy-duty enzyme detergents and chlorine or oxygen bleach for washing wool. Silk and other delicate materials also need their own care instructions.
Do not assume white fabric is bleach-safe. Check the textile and product labels together. Oxygen bleach also has material restrictions, and rust needs a different approach.
For clothing contaminated with gasoline, solvents, or substantial oil, stop the ordinary laundry routine and follow the appliance and substance safety instructions. GE’s appliance safety guidance warns against washing or drying articles contaminated with combustible substances. A dryer is not a way to finish drying a questionable cleanup cloth.
Use Less Moisture on Soft Furnishings
A couch cushion and fitted carpet include more than the fabric you can see. Liquid may reach padding or backing that takes much longer to dry. Start with the furniture or carpet manufacturer’s instructions and treat a small spill with the least moisture the approved method requires.
Common upholstery codes provide a first check:
- W: A permitted water-based upholstery-cleaning product or method.
- S: A specified water-free solvent method; do not substitute water or a household solvent.
- WS or W-S: Water-based or solvent cleaning may be permitted, subject to the manufacturer’s instructions.
- X: No liquid or foam spot cleaner; use the permitted dry-care method and ask a qualified cleaner about stains.
La-Z-Boy’s care instructions explain these codes and warn against saturating upholstery. A W code does not, by itself, authorize steam cleaning, an extraction machine, or laundering the cover. If the tag is missing, ask the furniture maker before guessing.
For water-cleanable upholstery, test the approved cleaner in a hidden area first. Follow the specified application method, remove residue as directed, and let the fabric dry fully before judging the result. Some fabrics require seam-to-seam treatment to avoid rings. Sunbrella describes this approach for its upholstery; it is an example of why a tiny, repeatedly soaked spot is not always the right method.
Keep carpet spot-cleaning controlled
Blot up the spill, then use a carpet-compatible spot cleaner that also suits the fiber and stain. Test first. The Carpet and Rug Institute advises applying a small amount to a white cloth, working inward, and removing remaining product with clear-water blotting. Follow any more specific carpet instructions rather than flooding the area to rinse it.
Absorb remaining moisture with dry cloths and allow airflow. Keep traffic off the damp patch. Drying time depends on the material, moisture, ventilation, and room conditions; a fixed ten-minute promise would be misleading.
If the spot returns after drying, or the padding feels wet, pause and seek advice rather than repeatedly adding cleaner. For pet accidents, use our carpet urine odor guide for the separate question of contamination below the visible surface.

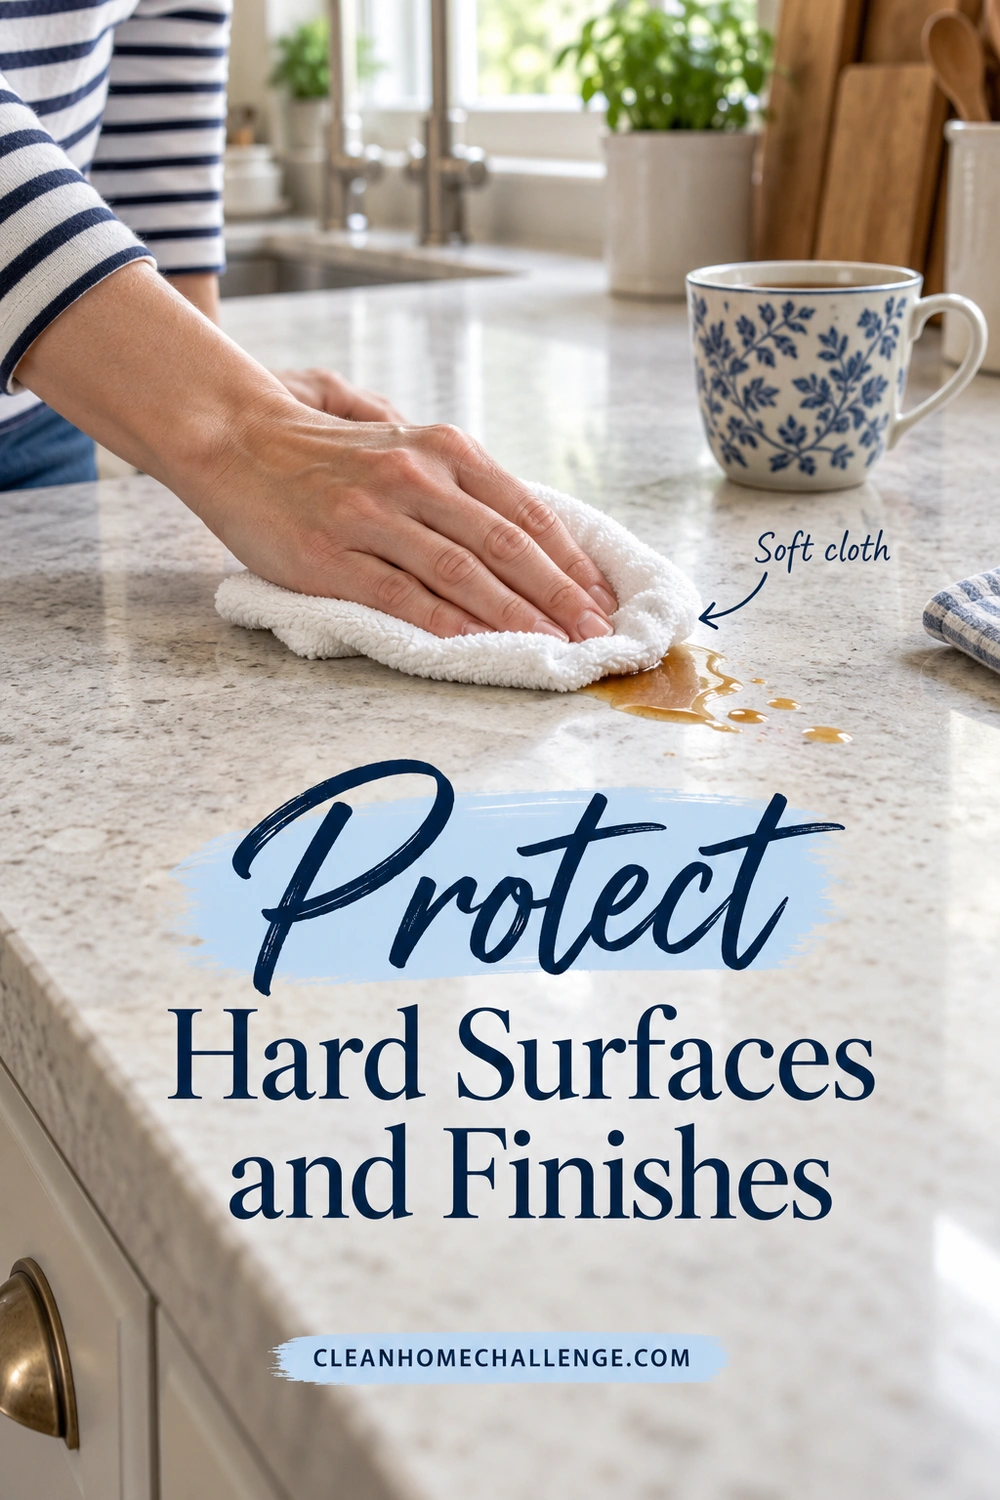
Protect Hard Surfaces and Finishes
On a hard surface, the visible mark may be sitting on top, absorbed into a porous material, or caused by damage to the finish. Those situations can look similar. Start gently and avoid turning a small mark into a larger dull patch.
Natural stone
Lift or blot the spill promptly, then use the stone supplier’s approved cleaner and a soft cloth. Remove residue and dry as directed. The Natural Stone Institute advises against acidic cleaners such as vinegar or lemon on acid-sensitive stone, and notes that acidic cleaners are not a general recommendation even for other stone types.
A cloudy, dull spot can be etching, meaning the surface has changed. Stronger stain remover will not restore the original polish. An absorbed stain may require a carefully chosen poultice, while etching may need restoration advice. Do not improvise either treatment on an unidentified countertop.
Finished wood and laminate
Pick up liquid promptly and use the care product approved for the finish. Keep moisture controlled around joints, edges, and damaged areas. Bona warns that excess water can swell timber flooring and that the maintenance product needs to suit the finish.
For laminate counters, Formica recommends a damp, nonabrasive cloth and mild cleaner. Follow the specific surface instructions for persistent marks rather than reaching for a scouring pad. Flooring laminate has its own care requirements.
White rings on furniture need a finish-aware approach. See our guide to water rings and white marks on wood before trying heat, oil, or abrasive remedies.
Painted walls and coated surfaces
Test an inconspicuous spot and use gentle pressure with a soft cloth. Sherwin-Williams cautions that heavy scrubbing and excess moisture can damage flat or matte paint. Follow the paint’s curing and care instructions, especially on recently painted walls.
Stop if paint transfers, gloss changes, or the surface becomes tacky. Melamine sponges and abrasive pastes are not neutral choices for every finish. For a known wax mark, our crayon-on-walls guide helps you consider the wall finish before choosing a method.
Know When to Stop and Reset
A sensible stopping point protects the item and saves you from an afternoon of increasingly strong experiments. Stop treatment if color transfers from the material, the texture changes, a coating softens, or the spot grows into a ring. Also stop when you cannot identify the material or what was previously applied.
An ordinary stain that improves under an approved method may be suitable for another labeled treatment. A mark that does not change needs reassessment. Bleached-out color, scratches, and etched surfaces may require repair rather than additional cleaning. Old stains can be harder to remove, but age alone does not tell you whether an item is beyond saving.
Patch-test, dry, then decide
Test the actual product at its labeled dilution on a hidden but comparable area. Follow its test procedure, remove residue as instructed, and allow the area to dry fully. Look at color, shine, stiffness, and texture in good light. A wet patch can hide a change that becomes obvious later.
A passing test reduces uncertainty; it cannot guarantee a perfect result across a whole item. For antique textiles, silk upholstery, leather, unstable dyes, or expensive stone, the lower-risk next step may be a specialist who works with that material.
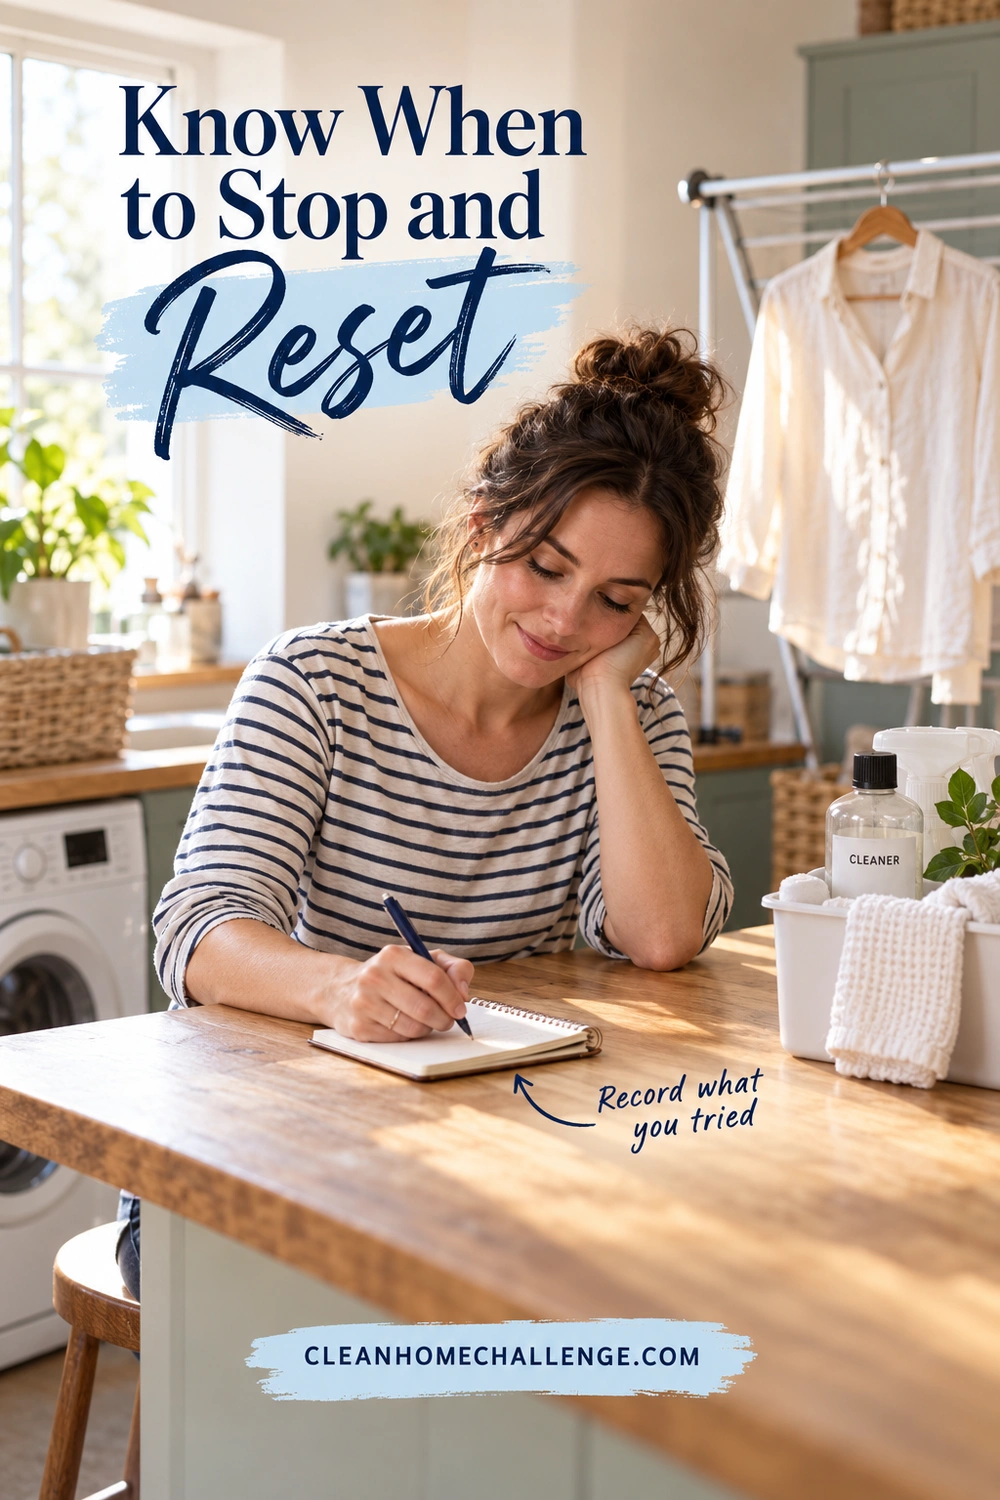
Keep a short note of the stain, product, contact time, and result. If you contact a cleaner, share that history and a photo rather than letting them guess what remains in the fibers.
Do not combine cleaning products or layer a new cleaner over an unknown residue. Poison Control advises following product labels, ventilating the area, and never mixing household cleaners. Bleach must not be mixed with ammonia, vinegar, acids, alcohol, or other cleaners. Use suitable gloves when directed, and store products in their original containers out of children’s and pets’ reach.
Finish by laundering or cleaning reusable cloths according to their contamination and care instructions, returning products to safe storage, and letting the treated area dry. Restock a few white cloths so the next spill starts with something clean.
The routine to remember is simple: identify the surface, remove the excess, choose one compatible treatment, and check the dry result. Some marks will need more help. You can make a useful first decision without solving the whole stain in one sitting.
CLEANERS CLUBHOUSE
Get Step-by-Step Help With Tricky Cleaning Jobs
When a stain, smell or stubborn cleaning problem has you stuck, a clear plan makes all the difference. The Cleaners Clubhouse gives you practical guidance, useful printables and routines you can actually follow.
