

THIS POST MAY CONTAIN AFFILIATE LINKS. PLEASE READ MY DISCLOSURE FOR MORE INFO.
Guests are on their way, the kitchen is still showing the evidence of breakfast, and you have other things to do besides clean. You do not need to pull apart every cupboard to make the room feel welcoming. Start with the places people will use: a clear counter, usable dishes, a clean food-preparation area, the sink, and a safe path through the room.
This kitchen cleaning checklist before guests arrive gives you a realistic order for a quick reset. Choose the version that fits your time and energy, handle food safety first, and leave deep-cleaning jobs for another day. The suggested minutes are planning estimates, not a promise that every kitchen or cleaning product will be finished on that schedule.
Your stopping point is a kitchen that works for the visit: food is safely stored, serving space is clean, dishes are available, spills are dealt with, and the floor is dry. A family kitchen can still look like a family lives there.
Disclosure: This post may contain affiliate links. As an Amazon Associate, Clean Home Challenge earns from qualifying purchases. If you make a purchase through these links, we may earn a small commission at no extra cost to you. This helps us keep creating practical cleaning tips, routines and resources for busy families! 🧽
Choose a Reset That Fits Your Time
Before setting a timer, put perishable food away and deal with anything urgent, such as broken glass or a slippery spill. Do not leave these jobs until the end just because they are less visible. Move children and pets away from the work area before using cleaning products.
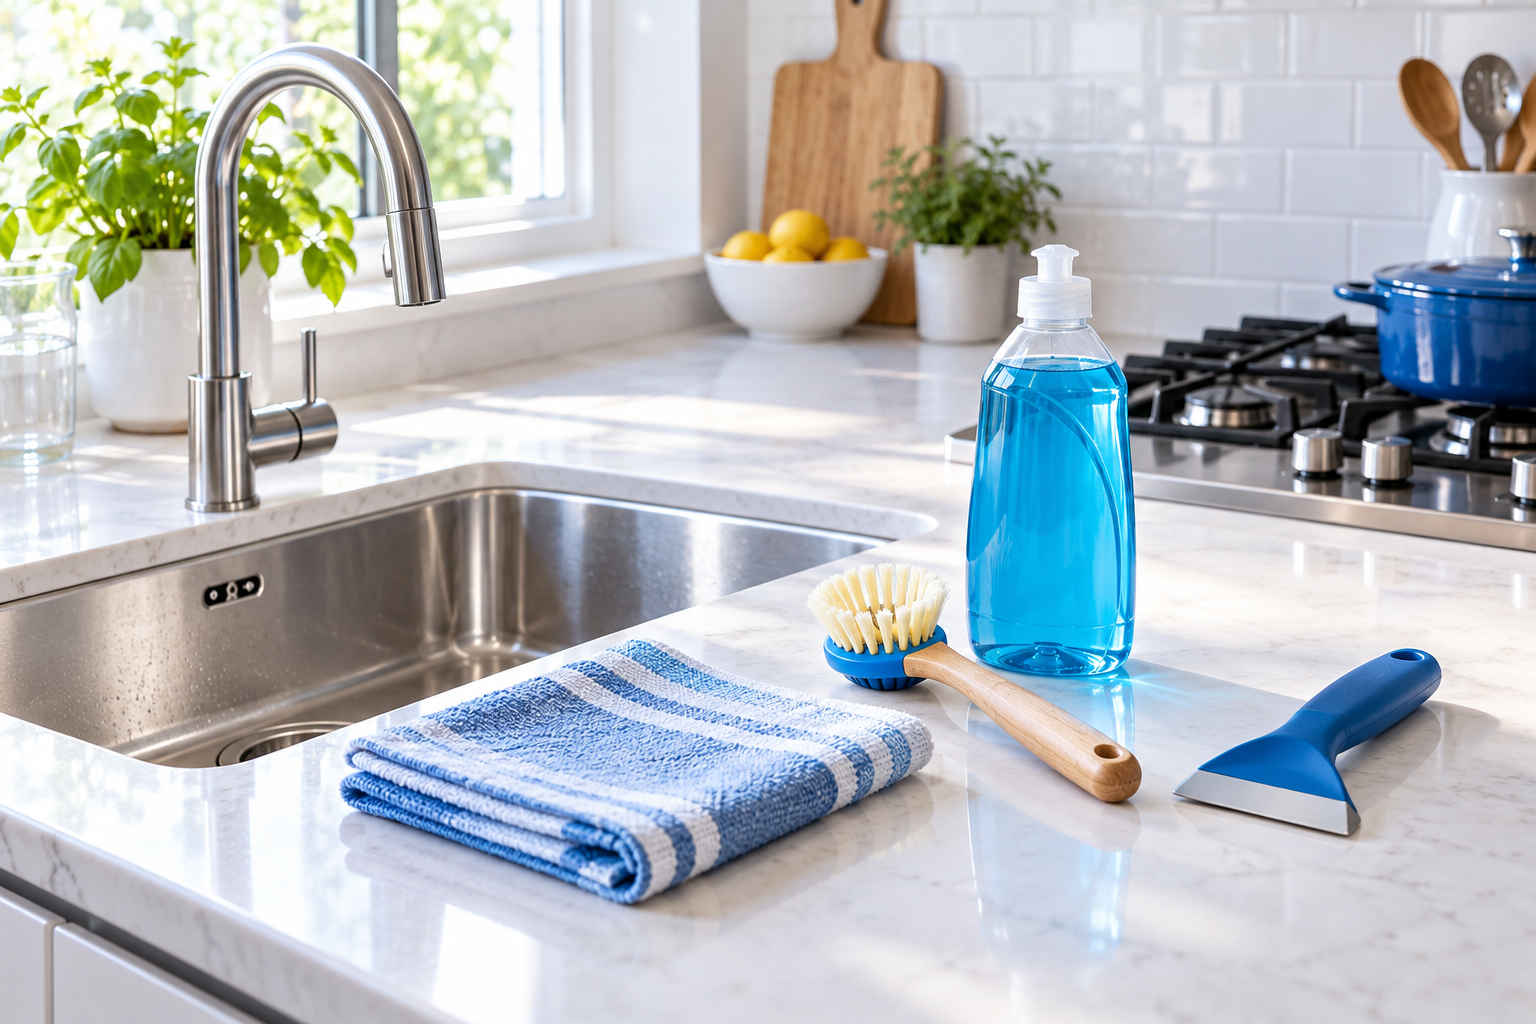
Take thirty seconds to gather a small kit: a trash bag, a basket for items that belong elsewhere, clean reusable cloths, a surface-appropriate cleaner, and your usual floor tool. Have a separate clean cloth ready for food-preparation surfaces. A fresh hand towel can wait beside the kit until the sink area is finished. Keep cleaning products in their original containers and follow their labels.
Pick one of these starting points:
| Time available | Focus | Leave for later |
|---|---|---|
| About 5 minutes | Put food away; clear one serving area; deal with urgent dishes and spills | Polishing appliances, organizing drawers, and washing the whole floor |
| About 15 minutes | Clear counters; handle dishes; clean the food-prep area; wipe the sink and handles; remove floor crumbs | Inside the oven, refrigerator shelves, and every cabinet front |
| About 30 minutes | Complete the quick reset, then add visible splashes, chair marks, and a suitable floor clean | Any task that requires emptying cupboards or moving heavy appliances |
For a fifteen-minute plan, allow roughly two minutes for clutter, three for dishes, four for counters, three for the sink and frequently touched spots, two for floor debris, and one for the guest setup. Swap time between jobs to suit the room. Required sanitizing or disinfecting contact time always takes priority over the timer; you may need additional time.
If the kitchen is heavily used or you have limited energy, shrink the zone. One clean serving counter and a safe walkway are a useful result. You can close the door on a room you are not using without hiding dirty dishes or food where they will be forgotten.
Share a clear job, rather than saying “help me clean.” One person can take away clutter, another can load suitable dishes, and an adult can handle food-contact cleaning. Children can move their own belongings or set out napkins; keep chemical use and sharp items with an adult.

Clear Counters and Handle Dishes
Walk around once with the trash bag and return basket. Remove wrappers, empty packaging, used napkins, mail, and belongings that do not need to be in the kitchen. Keep anything important in one visible basket to sort after the visit. Putting a basket of papers inside the oven is not a storage solution.
Next, choose where drinks or food will be served. Clear that space completely before wiping it. Working around a toaster, school papers, and a stack of plates takes longer and leaves missed patches underneath them.
Use this order for the dishes:
- Put away clean dishes that are blocking the drying rack or dishwasher.
- Scrape food scraps into the appropriate waste container. Follow your local waste rules rather than washing scraps down the drain.
- Load dishwasher-safe items according to the appliance and item instructions. Handle knives carefully and keep them out of a sink full of opaque water.
- Wash the cups, plates, or utensils you actually need for guests if they are not already clean and available.
- Put any remaining hand-wash items together in the washing area so the counter can be cleaned. Plan to finish them after the visit, rather than scattering them around the room.
A dishwasher cycle takes longer than a quick kitchen reset. Do not count dirty dishes as ready for guests simply because they are inside the machine. Set aside clean serving items before you start the cycle.
If there is no dishwasher, wash the items needed for the visit first, rinse as appropriate, and let them dry on a clean rack. Avoid resting clean dishes against a dirty sink or using the same damp towel for hands, dishes, and a floor spill.
Take out a full or smelly trash bag and fit a fresh liner. If the bin itself has a spill, clean the affected area with a product suitable for its material and let it dry. A pleasant scent does not replace removing the source of an odor.

Clean Food-Prep Surfaces Safely
Clear crumbs and loose debris first. Then clean the serving area and the food-preparation counter with a clean cloth and a cleaner suitable for that exact surface. Work from the cleaner areas toward the dirtier ones, change cloths when needed, and remove residue according to the cleaner and surface instructions.
For a routine reset, cleaning removes food residue and visible soil. Sanitizing is a separate step when needed, such as after contamination with raw meat or poultry juices. The CDC’s home-cleaning guidance recommends cleaning first, then sanitizing food-preparation surfaces that have been contaminated by raw meat or poultry, including the inside of the sink.
When a sanitizing step is needed, choose a product labeled for both the surface material and food-contact use. Follow its dilution, application, contact-time, and rinse instructions exactly. Keep the area wet for the specified time when the label requires it. Do not immediately wipe a product dry or place food on the area before the directions have been completed.
Check the material before reaching for a familiar cleaning shortcut:
| Surface | Useful quick-clean approach | Common mistake to avoid |
|---|---|---|
| Natural stone | Follow the stone supplier’s care guidance; use a compatible gentle cleaner and remove residue as instructed | Using vinegar, lemon, or abrasive powders on stone |
| Laminate counter | Use a suitable cleaner and a well-wrung cloth; dry edges and joins | Leaving water sitting at seams or using a harsh scouring pad |
| Wood or butcher block | Follow the finish and food-use care instructions; clean gently and dry promptly | Soaking the surface or assuming every disinfectant is compatible |
| Appliance controls or electrical fittings | Follow the manufacturer instructions; keep moisture away from openings | Spraying liquid directly into controls, outlets, or seams |
The Natural Stone Institute cautions that acidic products can dull or etch some stone and that abrasive cleaners can scratch it. There is no need to experiment with a stronger cleaner just before guests arrive.
Do not mix cleaning products. Follow label instructions for ventilation and protective equipment, keep food and serving items away from cleaning chemicals, and wash your hands before returning to food preparation. If you used a cloth for a contaminated area, put it aside for laundering; do not reuse it on the drink station.
For stubborn cabinet grease, save the wider task for your regular kitchen day. Our guide to cleaning sticky grease from kitchen cabinets explains a gentler wash, rinse, and dry approach without turning this quick reset into a whole-room scrub.

Freshen the Sink and High-Touch Spots
Once the dishes are out of the way, remove visible food scraps from the sink. Use a material-compatible cleaner and tool to clean the basin, drain area, and faucet base. Rinse away cleaner as directed and dry the areas where water marks are most noticeable. If raw-food contamination has reached the sink, complete the appropriate labeled sanitizing step too.
Use another clean cloth for the surfaces hands keep touching: the refrigerator handle, frequently used cabinet pulls, the dishwasher handle, and the outside of the trash-bin lid. Clean visible smudges without spraying directly into appliance seams or controls. You do not need to disinfect every surface simply because friends are visiting; follow suitable guidance if someone is sick or there is a particular contamination concern.
Replace a damp or visibly dirty hand towel with a fresh one. Keep a separate dish towel for its own job. Put used cloths where they will be laundered, and spread washable damp items out to dry when they cannot be washed immediately. Do not leave a wet cleaning cloth crumpled in a closed caddy.
If an odor remains after taking out the trash and clearing dishes, inspect the obvious source rather than adding perfume: food in the sink strainer, a dirty cloth, a leaking bag, or an overlooked food container. Cleaning the accessible source is a quick win. A persistent unexplained odor, leak, or appliance problem deserves its own investigation later.
Thirty-second visual check: the sink is usable, the faucet handle is clean, soap is available, and there is a fresh hand towel. That makes the kitchen easier for guests to use without polishing every metal surface in the room.

Finish With the Floor
Leave the floor until after counters and dishes so you are not dropping crumbs onto a newly cleaned surface. Start by picking up bags, toys, pet bowls, or cords that obstruct the walkway. Put them in their normal safe places rather than pushing them into a doorway.
Vacuum or sweep loose debris using a tool suitable for the floor. Concentrate on the cooking area, beneath the accessible edges of chairs, and the path people will use. You do not need to move a refrigerator or heavy table during a last-minute tidy.
Spot-clean fresh spills with a floor-compatible method. If a larger damp clean is necessary, use the floor manufacturer’s guidance and the correct cleaner amount. For a flat mop, use controlled pull-back passes and a clean pad, changing or rinsing it when it becomes dirty. More cleaner does not make a quick mop more effective.
Keep water use appropriate to the material. Laminate and wood products have specific care limits, including around seams and edges. Pergo’s laminate maintenance guidance describes vacuuming first, using its specified cleaning method, and rinsing and wringing the mop well. Follow the instructions for your own floor instead of applying one manufacturer’s recipe to every surface.
Allow the cleaned area to dry before people walk through it. If guests are almost at the door, a complete dry debris removal and safe spot clean may be more useful than washing a whole floor that will still be wet when they arrive. Keep children and pets away from any wet patch until it is dry.
Have a look from the doorway: is there a clear, dry route to the kitchen and somewhere comfortable to stand? You can stop there. Baseboards and the space behind appliances belong on a different cleaning checklist.

Set Up a Kitchen That Works for Guests
After the cleaning products are put away and your hands are washed, arrange the room for the visit. This small setup step helps keep everyone from searching through drawers while you are preparing food.
- Put clean glasses, mugs, or cups near the drinks area.
- Set out napkins and the serving utensils needed for the food you are offering.
- Keep a clear landing space for a tray or a guest’s dish.
- Leave access to the sink, trash bin, refrigerator, and a dry walkway.
- Make a simple place for used dishes so they can be gathered without spreading across the entire counter.
Set out only what you need. A tray of clean glasses can be helpful; filling every available surface with decorations makes the kitchen harder to use. Place decorations and towels away from heat sources and keep appliance vents clear.
Do not put perishable food out early just to make the kitchen look ready. USDA food-safety guidance gives a maximum of two hours at room temperature, reduced to one hour when it is above 90°F. That time includes preparation and serving time outside temperature control; a quick wipe or putting a dish back in the refrigerator does not reset its history. Use suitable chilling or hot holding when the occasion needs it.
Make the last check about function, not perfection: clean serving space, clean dishes, safely stored food, clean hands, a usable sink, a fresh towel, a bin that can be used, and a dry floor. If those basics are ready, you do not need to apologize for a child’s drawing on the refrigerator or a normal lived-in kitchen.

Keep the Reset Manageable After Everyone Leaves
After the visit, handle food and spills before cosmetic tidying. Refrigerate suitable leftovers promptly in appropriate containers, and follow food-safety guidance if food has been out too long. Wipe spills before they dry onto the counter and gather used dishes into the washing area.
Do the smallest useful close-down: clear the serving space, handle the dishes you need for the next morning, empty a full bin, and leave the sink usable. Put cloths aside for laundering and let any remaining wet cleaning tools dry. It is easier to restart tomorrow when the first job is visible and contained.
Return the temporary clutter basket to its proper place and sort it soon. A basket is a short-term way to protect serving space, not a new permanent storage system. If papers or toys repeatedly collect in the same spot, give them a nearby home as a separate organizing task.
Keep the wider kitchen clean on your regular schedule. In the Clean Home Challenge routine, Monday is the kitchen focus day; daily habits then keep the room from needing a major rescue before every visit. Leave a small cleaning kit easy for adults to reach and safely stored away from children and pets.
For the next visit, reuse this short checklist:
- Food safely stored and urgent hazards handled.
- One serving counter cleared.
- Clean dishes ready; dirty dishes contained.
- Food-preparation area cleaned, with any required sanitizing completed.
- Sink and frequently touched handles cleaned; fresh towel available.
- Loose floor debris removed; spills cleaned; walkway dry.
- Drinks and serving items arranged after products are stored away.
The goal is to enjoy your guests in a kitchen that feels comfortable and works well. A steady small reset gives you a place to start, a sensible stopping point, and a way to welcome people without cleaning for the whole day.

CLEANERS CLUBHOUSE
Make Kitchen Cleaning Feel More Manageable
Turn Monday into your kitchen reset day with a clear routine you can follow. The Cleaners Clubhouse gives you practical cleaning guidance, printable support and monthly challenges to help you stay consistent.
