THIS POST MAY CONTAIN AFFILIATE LINKS. PLEASE READ MY DISCLOSURE FOR MORE INFO.
A deep clean can feel impossible when dinner, school bags, work, and ordinary laundry already fill the day. A smaller plan helps: choose one area, do a little more than your usual wipe-down, and leave yourself a clear place to stop.
This 7 day deep clean challenge gives each day a focus, from the kitchen to one overlooked job. Aim for roughly 20–40 minutes of hands-on work in a manageable area, with a lower-energy version when you need it. Those are planning ranges, not promises. Room size, buildup, access, and your pace all make a difference; washing, drying, and product contact time may take longer.
You do not need to buy a new cleaning kit or finish every room. By the end, you will have tackled seven useful priorities and a few jobs that daily cleaning tends to miss. Start on any day, move a session when life happens, and repeat the areas that help your family most.
Disclosure: This post may contain affiliate links. As an Amazon Associate, Clean Home Challenge earns from qualifying purchases. If you make a purchase through these links, we may earn a small commission at no extra cost to you. This helps us keep creating practical cleaning tips, routines and resources for busy families! 🧽
Before You Start: Choose a Manageable Deep Clean
For this challenge, deep cleaning means giving a chosen area more detailed attention: removing crumbs from a cabinet edge, cleaning behind the faucet, or vacuuming along a sofa seam. It does not mean emptying every cupboard or washing every wall in a week.
Walk through your home once and choose a small target for each day. In a larger home, work on one bathroom and one bedroom this round. Write a clear finish line such as “sink, faucet, and surrounding counter” instead of “perfect kitchen.” Keep normal essentials, including food spills and needed dishes, moving alongside the plan. Urgent hygiene or safety problems should not wait for their assigned day.
Your flexible seven-day route:
- Day 1: One kitchen zone
- Day 2: One bathroom zone
- Day 3: One bedroom
- Day 4: One living-area zone
- Day 5: One stretch of floor and its edges
- Day 6: One laundry backlog and a little machine care
- Day 7: One overlooked job
Gather what you already own: clean cloths, a suitable brush, a vacuum or broom, a mop if needed, and cleaners approved for the surfaces you chose. Keep kitchen and bathroom cloths separate. A basket for misplaced items can save repeated trips between rooms. Leave unfamiliar tools and specialty treatments for another time.
Cleaning, sanitizing, and disinfecting are different jobs. Cleaning removes dirt and many germs; sanitizing and disinfecting involve additional germ-reduction or germ-killing steps. The CDC’s home-cleaning guidance says regular cleaning is enough in most situations, with disinfection particularly relevant when someone is sick or immunocompromised. A deep-clean challenge does not require disinfecting every surface.
Read product labels, follow surface-care instructions, ventilate as directed, and wear the recommended protection. Never mix cleaning products, including bleach with other cleaners. Keep supplies in their original containers, secured away from children and pets. Keep children and pets out of the active work area. CDC bleach safety guidance explains why combining products can release dangerous vapors.
Choose tasks that fit your mobility and energy. Seated sorting, a long-handled tool, or help with lifting may make the plan more comfortable. Stop before you become too tired to work safely.

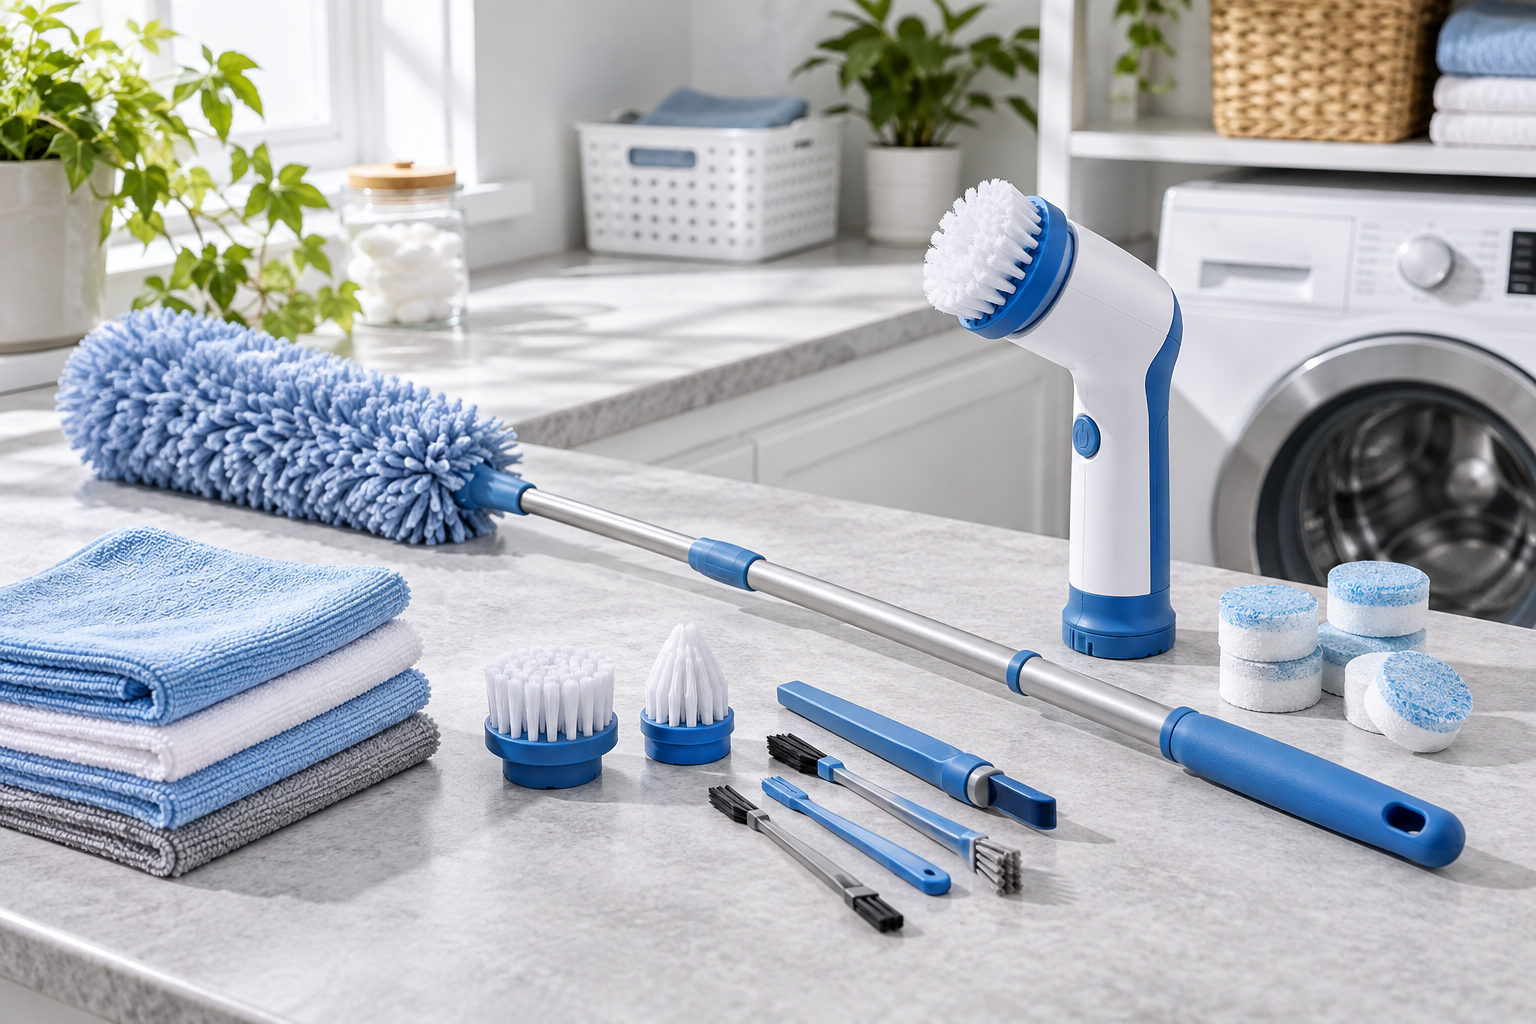
Day 1: Reset the Kitchen
Focus: The sink, surrounding counter, and one nearby detail. Planning range: About 25–40 minutes, adjusted to the size of your chosen zone.
Begin with the space you use to prepare food or wash dishes. If getting the dishes under control uses today’s available time, that is a useful first session. You can give the sink its detailed clean next time without restarting the challenge.
- Clear a small working area. Put food away and move a few countertop items to a protected, dry spot. Keep essential items accessible. Avoid unloading every cabinet onto the counter.
- Remove loose debris. Pick up crumbs and wipe away loose dirt before introducing moisture. Unplug small appliances before moving or cleaning them, and let hot appliances cool.
- Clean the exposed counter. Use a cleaner approved for its material. Work around edges and the backsplash with a soft cloth, following any rinse instructions. Clean only the exterior of appliances unless you have checked their manuals.
- Detail the sink and faucet. Use a compatible product and a soft brush where the faucet meets the sink. Do not scrape specialty finishes or force a brush into a gap. Rinse as directed and dry the faucet and surrounding ledge with a clean cloth.
- Finish one neglected detail. Choose the front of the silverware drawer, a cabinet handle, or the counter under a cool, unplugged toaster. Return items only when the area is ready to use.
Match the cleaner to the surface rather than reaching for the strongest bottle. The Natural Stone Institute’s care guide recommends appropriate neutral or mild cleaners and warns that acids such as vinegar or lemon can damage some stone. Abrasive pads may also scratch a finish. Check your countertop maker’s instructions and test a new approved method in a hidden area first.
If raw meat juices contaminated a food-contact surface, address that separately: clean, then sanitize using a suitable product and its food-contact directions. Follow any required rinsing before food preparation. That guidance comes from the CDC’s kitchen-surface advice.
Lower-energy option: Clear one counter section and clean the sink rim. Stop point: The chosen zone is usable and dry, with supplies put away. Save the oven interior and a full refrigerator clean for their own sessions.
Day 2: Refresh the Bathroom
Focus: One sink-and-toilet area, or one shower section. Planning range: About 20–40 minutes, plus any label-required treatment time.
Choose the area that needs attention most. Trying to scrub the shower, empty the vanity, wash every wall, and polish all the fittings turns a short challenge into a much larger project.
Move towels and personal items out of your work area. Remove hair and loose dust first so that you are not pushing them around with a wet cloth. Turn on the bathroom exhaust fan or provide ventilation suitable for the products and conditions.
For a sink-and-toilet session, work in this order:
- Clean the mirror with a product and cloth suitable for the mirror and surrounding finish. Keep excess moisture away from its edges.
- Clean the vanity top, faucet base, and sink using a compatible product. A soft brush can help with reachable creases; pressure and abrasive scrubbing are not automatically better.
- Clean the toilet exterior with a separate cloth, working from the cleaner upper surfaces toward the base. Use the toilet brush only inside the bowl, and follow the bowl cleaner’s directions.
- Finish the nearby floor if it needs immediate attention. Leave it dry and safe to walk on rather than postponing a spill until floor day.
For a shower session, choose one wall, the floor, or a reachable section of the screen. Confirm the material first. Acidic scale removers can damage stone and some finishes; grout, acrylic, coatings, and metal fittings may also need different care. Let an approved cleaner work for its specified time, then use an appropriate soft tool and rinse as directed. Repeat a gentle, compatible process when appropriate rather than layering another chemical on top.
If you need to disinfect, use a product approved for that surface and follow its full directions. The EPA explains contact time: the surface must remain visibly wet for the period stated on the label. A quick spray-and-wipe may not meet that requirement.
Do not turn a short session into mold remediation, a drain-chemical experiment, or a repair. Persistent moisture, damaged caulk, or extensive growth needs assessment beyond this checklist.
Lower-energy option: Clean the sink and replace the hand towel. Stop point: Tools are separated for cleaning, supplies are secured, and the bathroom is safe to use.

Day 3: Deep Clean the Bedroom
Focus: One bed area and the surfaces around it. Planning range: About 20–40 minutes of active work; laundry cycles are additional.
Choose one bedroom for this round. If more than one person uses it, agree on which items you will move. Cleaning around someone’s belongings does not require making donation or disposal decisions for them.
Start by checking that you have a practical plan for the bedding. Use a clean spare set if available, or begin washing early enough for everything to dry before bedtime. Leave pillows, bulky comforters, and delicate pieces for a day when their care requirements and drying time fit.
- Create a clear path. Put laundry in the hamper and gather unrelated items in a basket. Return obvious belongings, but keep sentimental sorting separate.
- Remove and wash the chosen bedding. Follow the fabric labels for washing and drying. Keep loads within your machine’s capacity. A full drum is not always a suitable load for a bulky item.
- Dust the bed area from higher to lower surfaces. Work on a reachable headboard, nightstand, lamp base, and accessible trim with tools suitable for each finish. Switch off and unplug a lamp before cleaning it; keep moisture away from electrical parts. For a lampshade, check its care instructions before choosing an appropriate gentle dry brush or vacuum attachment.
- Reach one usually missed spot. Use an appropriate vacuum attachment along the accessible bed edge or underneath where you can reach without straining. Do not pull heavy furniture alone or crawl into an unsafe space.
- Remake the bed and reset the nightstand. Put back the items you genuinely use, leaving room for a glass or book without balancing it on a pile.
A mattress needs its own care instructions. Do not soak it, assume every model can be steam-cleaned, or start a wet treatment that cannot dry before use. Vacuum only if the manufacturer allows it, using the recommended attachment and technique. Persistent staining or damage may call for specific advice rather than a stronger homemade mixture.
If clothes have built up on a chair, separate clean from dirty and put away a small, definite group. You do not need to reorganize the entire closet to finish today.
Lower-energy option: Change the pillowcases and clean one nightstand. Stop point: The bed is usable tonight, the route through the room is clear, and nothing damp has been covered or stored.

Day 4: Tackle the Living Areas
Focus: One seating area and a nearby surface. Planning range: About 20–35 minutes.
Choose the spot where your family reads, relaxes, or watches television. A sofa, coffee table, and reachable shelf can form one useful zone. Leave the rest of an open-plan room for another round.
First, collect dishes, trash, and objects that belong elsewhere. Give each person a clear job if help is available: return books, collect their own belongings, or fold a throw. Keep children’s tasks appropriate to their ability and supervised; adults handle chemicals, electrical items, and heavy furniture.
Next, dust reachable surfaces from higher to lower. Move one small group of objects, clean beneath it, and replace it before starting the next group. This keeps the room usable if you are interrupted. Use a dry or lightly damp cloth only where the finish permits, and avoid spraying cleaner into shelf joints or directly onto electronics.
Give the seating some focused attention:
- Check the upholstery care label and manufacturer’s directions before applying moisture or stain products.
- Remove loose items and look for small objects before vacuuming.
- Use a suitable attachment on permitted fabric, along seams, and beneath removable cushions.
- Treat only a small, identified spot with an approved method. Test first in an inconspicuous place and allow any treated area to dry fully.
- Replace cushions and wash a removable cover only if its care label allows it.
Screens need a separate approach. For example, Samsung’s TV guidance calls for gentle cleaning with a suitable microfiber cloth, warns against ordinary window cleaners and direct spraying, and provides model-specific exceptions. Check your own screen’s manual instead of transferring a countertop-cleaning method to it. A dry dusting may be all you need today.
Finish by putting back what belongs in the zone and choosing one easy landing place for frequently used items. Use an existing basket or shelf; organizing containers are optional. If you want a broader room sequence later, CHC’s living room cleaning order can help you extend the session.
Lower-energy option: Clear the coffee table and vacuum one permitted sofa cushion. Stop point: Someone can comfortably use the seating area without shifting a pile of cleaning supplies.

Day 5: Give Floors a Focused Clean
Focus: One high-use room or walkway, including accessible edges. Planning range: About 20–40 minutes, with drying time afterward.
Today adds detail around the edges that a quick floor reset often misses. Pick the kitchen walkway, entry hall, or living room rather than moving all the furniture in the house.
Check which flooring and finish you have before choosing a wet method. A wood-look surface could be wood, laminate, or vinyl, and the correct treatment may differ. If you cannot identify it, stick with appropriate dry debris removal until you can confirm its care instructions.
- Clear the route. Move lightweight items you can handle safely. Leave large furniture in place and clean reachable edges with a suitable attachment.
- Remove dry grit and dust. Sweep or vacuum first, using the setting and attachments approved for the floor. Pay attention to corners, thresholds, and chair legs without knocking or dragging tools against the finish.
- Choose one floor-appropriate method. Use the recommended product and measured dilution. Extra cleaner can leave residue, so more is not a shortcut to a better result.
- Work in small sections. For a compatible flat mop, begin at the far side and pull back toward yourself in slightly overlapping passes. Keep the pad flat, avoid oversaturating the floor, and change or rinse a dirty pad before it spreads grime.
- Leave a dry exit. Follow any required rinse instructions, deal with excess moisture promptly, and keep people and pets off the area until it is dry.
Manufacturer limits matter. Shaw’s laminate guidance warns against steam cleaning and standing liquid. Do not assume a “deep clean” requires steam, a soaking wet mop, or a scrubbing machine. For more detailed laminate care, see CHC’s guide to cleaning without streaks or swelling.
For carpet or a rug, use the approved vacuum method and focus on accessible edges and traffic areas. Check the care instructions before spot treatment. Whole-room extraction is a separate project with its own equipment, moisture, and drying considerations.
Lower-energy option: Remove debris from the main walkway and spot-clean a compatible small area. Stop point: The selected route is clean enough to use safely, dry, and free of tools or trailing cords.

Day 6: Catch Up on Laundry
Focus: Finish one priority load and give one reachable part of the laundry area some attention. Planning range: About 20–30 minutes of hands-on work, spread around wash and dry cycles.
Begin with what your family actually needs next: work clothes, school clothes, towels, or bedding. Choose a load you can wash, dry, and put away. Starting several loads without drying space often creates a new backlog.
Sort according to the items’ labels, colors, soil, and fabric needs. Empty pockets, check for items that should not go in the machine, and treat known stains with a suitable product. Follow its directions rather than combining several stain treatments. Use the detergent amount recommended for the load, soil level, water conditions, and machine.
While the wash runs, clean a modest part of the laundry area. Wipe an accessible shelf or the machine exterior with a compatible cloth and product. Clean a removable detergent drawer only as the manual allows, and keep moisture out of controls and electrical openings. Leave dismantling panels, hoses, and unfamiliar filters to an appropriate maintenance session or professional.
If the washer is due for its cleaning cycle, schedule that separately from your clothes load. Whirlpool’s washer-cleaning guide illustrates why the model’s use-and-care instructions matter: the drum-cleaning process uses an empty machine and specified products or settings. Do not assume a universal vinegar recipe or a different machine’s cycle will suit yours.
Dryer care deserves attention every time you use it. The U.S. Fire Administration advises cleaning the lint filter before and after each cycle and keeping venting unobstructed. Follow your model’s instructions, reinstall the filter correctly, and do not operate the dryer without it. Inaccessible vent work or signs of a restriction may need professional help; do not drag a connected dryer out alone.
Finish the load before opening a new sorting project. Dry items completely, fold or hang them, and put away the pieces needed soonest. A clear place for clean laundry makes the next load easier.
Lower-energy option: Put away one small stack of already clean laundry. Stop point: One useful load or stack is finished, and remaining laundry has a defined next step.

Day 7: Finish One Overlooked Job
Focus: A small detail that did not fit earlier in the week. Planning range: About 20–30 minutes, or less for a very small task.
Walk through the areas you have worked on and choose one reachable job. This is a chance to finish something satisfying, with permission to leave the rest on a future list.
Good options include a short stretch of baseboard, a washable trash can, the inside of one drawer, a reachable door panel, or the narrow ledge beneath a window. Pick a task whose surface and cleaning method you can identify. Oven interiors, high light fittings, heavy-appliance spaces, and major clutter projects can wait for suitable preparation and help.
Use this simple sequence:
- Define the boundary. “This trash can” or “this doorway” is specific enough to finish. Choose somewhere that can dry without blocking family life.
- Empty or uncover only that area. Keep nearby surfaces protected and belongings contained.
- Remove dry dirt first. Use a suitable soft brush, cloth, or vacuum attachment without forcing debris into openings.
- Clean with the gentlest approved method. Follow the surface and product instructions. On washable painted trim, test discreetly, avoid hard scrubbing, and remove excess moisture promptly.
- Dry, replace, and close the job. Dry a washed trash can fully before adding a new liner. Let a drawer dry before replacing its contents.
Do not keep scrubbing an unexplained mark until the finish changes. Stains, worn paint, mineral buildup, and damage need different responses. If your cloth picks up color or the surface becomes dull, stop and reassess the method. A mark that remains is not a reason to experiment with incompatible chemicals.
Before you finish, clean the tools used during the week according to their care instructions. Launder washable cloths and pads appropriately, and let them dry completely before storage. Keep a bathroom brush separate from kitchen tools. Return chemicals to secure storage rather than leaving an open caddy where children or pets can reach it.
Lower-energy option: Wipe one reachable door handle with a suitable product and put your supplies away. Stop point: One neglected job is closed, and your tools are ready for another day.

CLEANERS CLUBHOUSE
Need Help Getting Through a Proper Deep Clean?
Follow the 7-Day Deep Clean Bootcamp when your home needs more than a quick tidy. The Cleaners Clubhouse breaks the work into achievable steps with printable support and seasonal cleaning guidance.
Keep the Progress Without Starting Over
Look back at the areas you chose. A cleaner sink edge, a usable nightstand, and one finished laundry load all make daily life easier. You do not need a dramatic before-and-after photo to count the week as useful.
If you missed a day, continue with the next manageable task. You can move the unfinished job to a later slot, swap it with Day 7, or leave it for another round. Avoid doubling tomorrow’s workload automatically. Seven sessions spread over two weeks still give you seven focused improvements.
Keep a short “next time” list with the larger jobs you noticed. Add only a few priorities and note any missing information, such as the sofa care instructions or the floor type. A task that requires advice or help needs a plan, not repeated reminders to scrub harder.
For maintenance, choose two or three habits that protect your busiest spaces: clear the food-prep area, return loose belongings, finish needed laundry, or spot-clean floor messes. Share definite jobs where possible. Someone who owns the towel load should know whether that includes drying and putting it away.
Then keep the familiar weekly rhythm: kitchen, bathrooms, bedrooms, living areas, floors, and laundry. Next week, add one small detail to the appropriate day instead of repeating a full challenge. CHC’s guide to building a cleaning routine you can actually stick to can help you choose a pace that fits.
Use this 7 day deep clean challenge whenever your home needs a focused reset. Adapt the order, shrink the tasks, and stop at a useful finish line. The goal is a home that supports your family, with enough time and energy left to enjoy it.