
THIS POST MAY CONTAIN AFFILIATE LINKS. PLEASE READ MY DISCLOSURE FOR MORE INFO.
You strip the bed, find the mattress protector needs washing too, and hesitate at the washer. Can it go in with the sheets? Will hot water help, or damage the backing? That thin waterproof layer makes this a different job from washing an ordinary cotton sheet.
To wash a waterproof mattress protector, check its exact care label, inspect the backing, use only permitted laundry products, and follow its washing and drying instructions. Let it dry completely before putting it back on the bed. A white fabric surface does not mean bleach or high heat is safe for the layer underneath.
You do not need a complicated laundry recipe. A clear label, a measured amount of suitable detergent, and a drying plan are a much better starting point. Here is how to make the job manageable without gambling with the protector.
Disclosure: This post may contain affiliate links. As an Amazon Associate, Clean Home Challenge earns from qualifying purchases. If you make a purchase through these links, we may earn a small commission at no extra cost to you. This helps us keep creating practical cleaning tips, routines and resources for busy families! 🧽
Check the Label and Waterproof Backing First
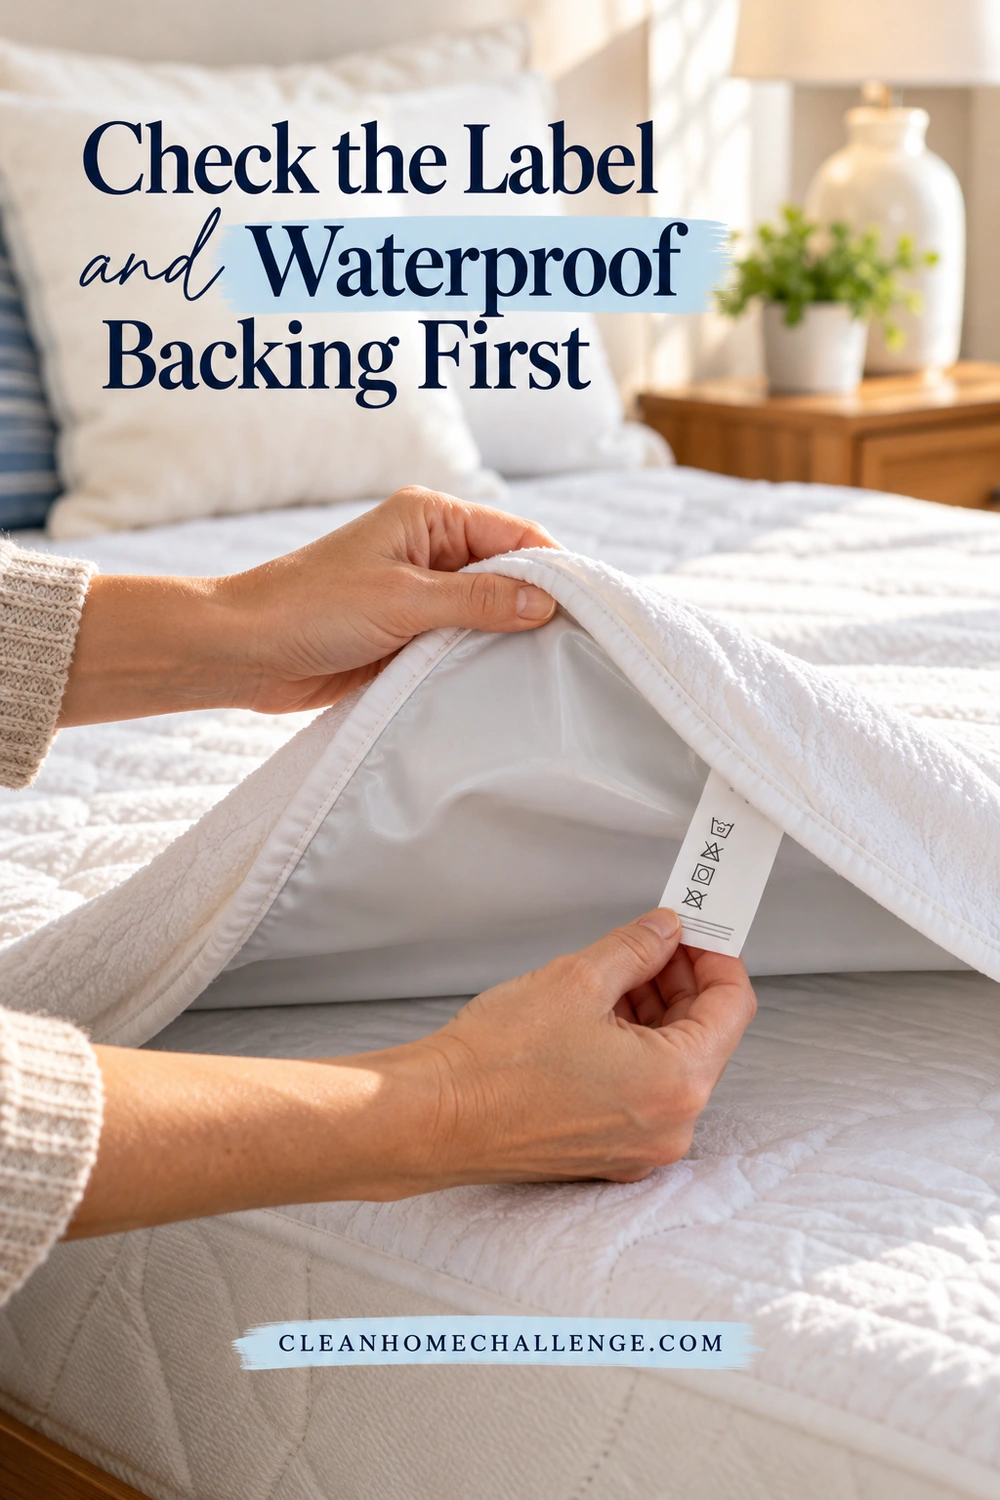
Start by separating the fitted sheet, protector, and any mattress topper. This guide is for a removable, washable mattress protector. It does not cover washing a mattress, a foam topper, or the mattress’s own zippered cover. A zipper alone is not permission to remove or machine-wash a cover.
Lay the protector on a clean surface and find its sewn-in care tag. Read the whole tag, including small print about the backing, detergent, drying, and whether other linens should be included. Photograph it while it is legible. If the instructions are missing, look up the exact brand and model or contact the maker before starting a full wash.
Record five decisions before the protector gets wet
- Wash method: Is machine washing permitted, and is a particular cycle specified?
- Water temperature: Use the actual limit for this product rather than a setting borrowed from your sheets.
- Laundry products: Check detergent restrictions and separate rules for bleach, softener, solvents, and stain treatments.
- Drying method: Confirm whether tumble drying, air-drying, or both are allowed, including any heat limit.
- Load and closures: Note any instructions about washing with linens, the zipper position, and suitable appliance capacity.
Two protectors that look similar can need different care. For example, Casper’s waterproof protector guidance specifies cold washing and low tumble drying or air-drying. Protect-A-Bed’s US care page describes a different permitted temperature range and drying arrangement for its products. Treat these as examples of why instructions vary, not interchangeable settings for every protector.
Inspect the barrier, seams, and elastic
Gently turn back an edge so you can see the underside. Look for peeling, cracks, holes, bubbling, or layers separating. Check seams and elastic without stretching them hard. Do not pick at the backing to see whether it will lift.
If the barrier is damaged, stronger washing will not repair it. Stop relying on it to protect the mattress and ask the manufacturer about replacement or a warranty assessment. Keep the receipt and care-label photograph if you have them. Visible damage matters even when the top fabric still looks clean.
Your useful first step today: identify the model and save the label photo. If that is all you have time for, you have already removed the uncertainty from the next wash.
Wash Gently With Only Approved Products

Gather the protector, its instructions, suitable laundry detergent, a measuring cap, a clean cloth, and a basket. You may need compatible linens if the manufacturer says to wash or dry them together. Keep laundry products in their original containers and out of children’s reach.
Allow a few minutes to prepare the load, plus the washer’s cycle and whatever drying time your setup needs. Start early enough that you can finish drying before bedtime, or fit a clean spare protector first. Avoid starting late with the expectation that a hotter dryer will rescue the timing.
Use this washing order
- Remove loose debris. Lift off hair and crumbs gently. Keep sharp fasteners and objects away from the waterproof surface.
- Deal with spills promptly. Remove the protector from the bed and blot excess liquid with a clean cloth. Follow its instructions for rinsing or pretreatment. Keep the mattress separate and dry.
- Check a stain treatment before applying it. It must be permitted for both the textile and the waterproof backing. If the maker does not authorize it, do not assume a favorite bedding stain remover is suitable here.
- Load without packing the drum. Follow both the protector’s instructions and your washer’s guidance for bulky or waterproof items. Include only compatible items, and avoid garments or hardware that could snag the fabric. If the load is unsuitable for your appliance, ask the manufacturer about a suitable alternative.
- Measure the approved detergent. Use its directions for your load and machine. More detergent is not a substitute for the right cycle, and the protector does not need a collection of extra laundry additives.
- Select the permitted settings. Use the specified cycle and temperature. Do not choose a sanitize, steam, or extra-hot program simply because the protector was soiled.
- Remove it after washing. Support the wet fabric with both hands and put it in a basket rather than pulling on one corner. Move into the approved drying method.
If the washer stops with an imbalance or drainage warning, follow its manual. Do not repeatedly force a spin cycle or reach into a moving drum. Waterproof textiles can behave differently from ordinary sheets; the appliance’s restrictions still apply even when the protector itself is washable.
Why bleach and softener are not automatic additions
Do not interpret white fabric as permission to bleach. Some polyurethane-backed products prohibit chlorine bleach, oxygen bleach, and bleach ingredients in detergents. A label saying “color-safe” or “non-chlorine” does not override that restriction. Read the ingredients and product directions if you are unsure.
Fabric softener and dryer sheets are also optional products that need approval, not essential steps. Casper specifically excludes fabric softener for its listed waterproof protector. Skip unapproved fragrance boosters, solvents, and homemade soaking mixtures. Do not mix laundry products beyond their expressly directed use.
A remaining mark is not a reason to scrub the barrier or increase the chemical strength. If the permitted wash leaves a stain, ask the maker for the next compatible step. You can have a cleaned protector with a cosmetic mark; you cannot restore a stripped or torn waterproof layer by washing again.
Dry Completely Without Excess Heat

Drying is part of the care method, not an afterthought. Check the instructions again before moving the wet protector. A drying method that suits your sheets may be unsuitable for the backing or elastic.
If tumble drying is allowed
Use the product’s permitted heat setting and follow any instruction to add other bed linens or towels. Do not automatically dry it alone, and do not cram the dryer to make room for the whole bedding pile. Keep the dryer within its manual’s load limits and clean its lint filter as directed.
Remove and check the protector when the cycle finishes. Unfold it and feel the seams, corners, elasticated skirt, and any folds that stayed tucked together. If an area is still damp, continue with the approved method rather than jumping to high heat. A dry outer surface does not prove that all the folded areas are dry.
For context, Protect-A-Bed’s product-care guidance explains its linens-in-the-dryer requirement and warns about heat damage to the backing. That is a product-specific instruction to check on your own tag, not a reason to add towels to every protector load.
If air-drying is allowed
Spread the protector over a clean, suitable line or rack so air can reach the fabric. Open out bunched corners and rearrange it as needed. Follow any directions about shade or sunlight. Keep it away from heaters and sharp edges, and do not stretch it tightly to make it fit the rack.
Drying time depends on the construction, remaining moisture, airflow, and weather. There is no useful universal promise that it will be ready in a particular number of minutes. Plan around the item being fully dry, not the clock.
Check before refitting or storing
Once it is dry and cool enough to handle comfortably, inspect the backing again. New blisters, peeling, holes, or separated layers need manufacturer advice. Do not iron a waterproof layer or attempt to fix it with heat, glue, or an improvised patch.
Fit the protector smoothly over the correct mattress size without forcing the corners. Confirm the skirt is secure, then add the sheet. Store a spare only when it is completely dry, loosely folded in a clean, dry linen space.
Make Protector Care Part of Your Bedding Routine
The easiest routine is the one that gives the protector time to dry. Use a sheet-change day to inspect it and decide whether it needs washing. Follow the maker’s interval, and wash sooner after spills or soiling according to its directions. Do not confuse this with a requirement to wash every protector on the same schedule as every sheet.
For a busy family, keep the plan small: one bed, one confirmed care method, and a place to dry it. If you have a spare protector, swap it onto the bed before starting the wash. You can then finish the laundry without leaving the mattress exposed while everyone is getting ready for sleep.
Save the instructions once
Use the free Mattress Protector Care Record to note the model, permitted wash settings, detergent restrictions, drying instructions, and last wash. It also gives you a short before-use check. Keep the completed record near your laundry notes and save a label photo on your phone.
Download the free mattress protector care record.
If household members share the laundry, point them to the record rather than expecting them to remember which white bedding needs different settings. Recheck the instructions if you replace the protector or change appliances; the old care card should not silently become the instructions for a new product.
When the wash does not solve the problem
- The backing is peeling or blistered: stop using it as waterproof protection and contact the maker.
- The protector still smells: confirm it was cleaned with an approved method and dried all the way through. Ask for product-specific advice before adding a deodorizing soak.
- The mattress became wet: deal with the mattress separately using its own care instructions, and investigate the protector’s fit, condition, and coverage. Washing the protector alone does not dry the mattress.
- The tag is unreadable: identify the exact product before another full wash. A similar-looking online item is not proof of the same care method.
- There is not enough drying time tonight: fit a clean spare if available and move the wash to a time when the full process is practical.
For the rest of the bedding, our bedding laundry routine can help you organize separate loads and priorities. Give each item’s care label the final say.
A dependable routine does not mean washing everything at once. It means knowing what your protector needs, doing the manageable next step, and putting it back only when it is ready. If you would like support with the wider household routine, you can explore Cleaners Clubhouse below.

CLEANERS CLUBHOUSE
Make Laundry Catch-Up Feel More Manageable
Use Saturday to catch up without letting laundry take over the whole weekend. Inside the Cleaners Clubhouse, practical routines and printable support help you keep washing, folding and household jobs moving.