

THIS POST MAY CONTAIN AFFILIATE LINKS. PLEASE READ MY DISCLOSURE FOR MORE INFO.
A wood floor can be clean without looking freshly polished. A soft satin finish, a matte coating and a high-gloss finish reflect light differently, so chasing more shine can create extra work and lead to the wrong treatment. The useful goal is a clean surface with its intended appearance intact.
If you are wondering how to clean timber floors, start with the finish rather than the wood’s color. Remove loose grit, choose care approved for that finish, and use the smallest amount of cleaning solution the instructions require. Cleaning can remove dirt; it cannot repair a worn coating or turn a matte floor into a glossy one.
This guide covers routine household care for wood floors with a known, intact finish. Unfinished boards, unknown wax or oil treatments, water damage and a failing coating need a more specific plan. You do not have to solve every mark today. One small, carefully checked area is a better starting point than another whole-room experiment.
Disclosure: This post may contain affiliate links. As an Amazon Associate, Clean Home Challenge earns from qualifying purchases. If you make a purchase through these links, we may earn a small commission at no extra cost to you. This helps us keep creating practical cleaning tips, routines and resources for busy families! 🧽
Confirm the Finish Before You Clean
Find the floor’s paperwork before choosing a cleaner: a product name, installer invoice, finish specification or care sheet. Solid wood and engineered wood describe construction, not the complete cleaning instructions. Both can have different surface treatments. A floor that looks like wood may also be laminate or vinyl, which needs its own care guidance.
Make a short floor record with four entries: floor product; finish or coating; approved cleaner; care-guide location. Keep a photograph of the label or document on your phone. If someone else helps with cleaning, share that record so the next person does not have to guess.
The National Wood Flooring Association recommends a cleaner made for the floor’s finish. Ask the installer, manufacturer or a wood-floor professional when the finish is unknown. Avoid water-drop, solvent or scratch tests found online; an improvised test can itself mark a surface and still leave you uncertain.
Separate everyday cleaning from maintenance treatments
A cleaner lifts everyday soil. A polish, refresher, wax, maintenance oil or new finish performs a different job and may be unsuitable for your floor. Read the full product directions, not just the word “wood” on the front. Do not combine treatments because their bottles look similar.
For example, Bona’s oiled-floor cleaner instructions distinguish buffed oil systems from some UV-cured oil finishes. That is a useful reminder that even “oiled floor” is not always a complete specification. Follow your own floor and coating instructions rather than treating this article as approval for a particular bottle.
Choose an inconspicuous test area for any approved cleaner you have not used before. Use the intended dilution, tool and drying method, then let it dry and assess it in ordinary room light. Stop if the color, texture or appearance changes unexpectedly. If a floor was recently installed or refinished, confirm its cleaning and cure restrictions first.

Remove Grit With Gentle Dry Tools
Clear the area you can manage safely. Pick up toys, move light chairs by lifting them and leave heavy furniture for another arrangement. You can clean a useful traffic lane without emptying the room. Check the walking route so the mop handle does not become an obstacle for someone else.
Use a clean, soft dry mop or a floor-compatible vacuum attachment to collect dust and grit before applying cleaner. The NWFA’s routine-care guidance includes sweeping, dust mopping and vacuuming on a bare-floor setting. Inspect the tool as well as the floor: a hard fragment caught in a pad or wheel can travel with you.
Work from the quiet edge toward the exit
Start around accessible edges, then collect debris from the main walking lane. Keep the head flat and use comfortable short passes. Lift or collect gathered dirt rather than pushing it beneath a rug or into the next room. Change the dry pad when it no longer collects effectively.
For a vacuum, check the flooring and vacuum manuals for the right head and setting. Bruce’s hardwood-care guidance recommends a wand attachment or a bare-floor setting with the beater bar disengaged. A “hard floor” label alone does not settle compatibility for every machine and finish.
If bending or moving furniture is difficult, choose one open section and use an adjustable handle. Try the movements dry before adding any cleaning product. Stop if the tool forces you to overreach. An accessible room cleaned in stages is more useful than a complete room attempted with unsafe footing.
Give yourself a few minutes for this preparation in a small room, then adjust the plan to your home. That is a planning allowance, not a cleaning-speed benchmark. A sandy entry needs a different amount of attention from a quiet bedroom.

Clean Small Areas With Minimal Moisture
Gather a finish-approved cleaner, several clean compatible microfiber pads or cloths, and a way to keep people away from the section while it dries. Follow any product directions for ventilation, protective equipment, application and storage. Keep the original labeled container, and keep supplies away from children and pets.
Read whether the cleaner is ready to use or concentrated. Measure a concentrate exactly as directed; do not add an extra splash for a dirty patch. Equally, do not dilute a ready-to-use product unless its instructions say to. Check whether the product calls for rinsing rather than assuming every wood cleaner works the same way.
Kährs describes regular dry cleaning and occasional use of a well-wrung mop, while Bruce specifies its cleaner rather than water mopping. These are product-specific systems. Your floor’s current care instructions decide which method applies.
A manageable flat-mop sequence
- Prepare one small section. Start somewhere that leaves you a dry route out. Complete the dry grit removal first.
- Apply cleaner as instructed. Use the label’s application method and amount. Do not pour a puddle onto the boards or flood joints.
- Keep the pad flat. Work in short, controlled pull-back passes toward yourself, moving with the boards where practical. Keep your body close to the work instead of reaching across the room.
- Collect what you loosen. Replace or clean the pad as it becomes loaded. Follow pad-laundering directions and keep a fresh pad ready.
- Remove excess promptly. Use a clean dry compatible cloth or pad if needed, without treating drying as permission to overapply solution.
- Let the section dry before reopening it. Follow the product and floor guidance. Avoid stepping back into a damp patch or trapping moisture beneath a rug.
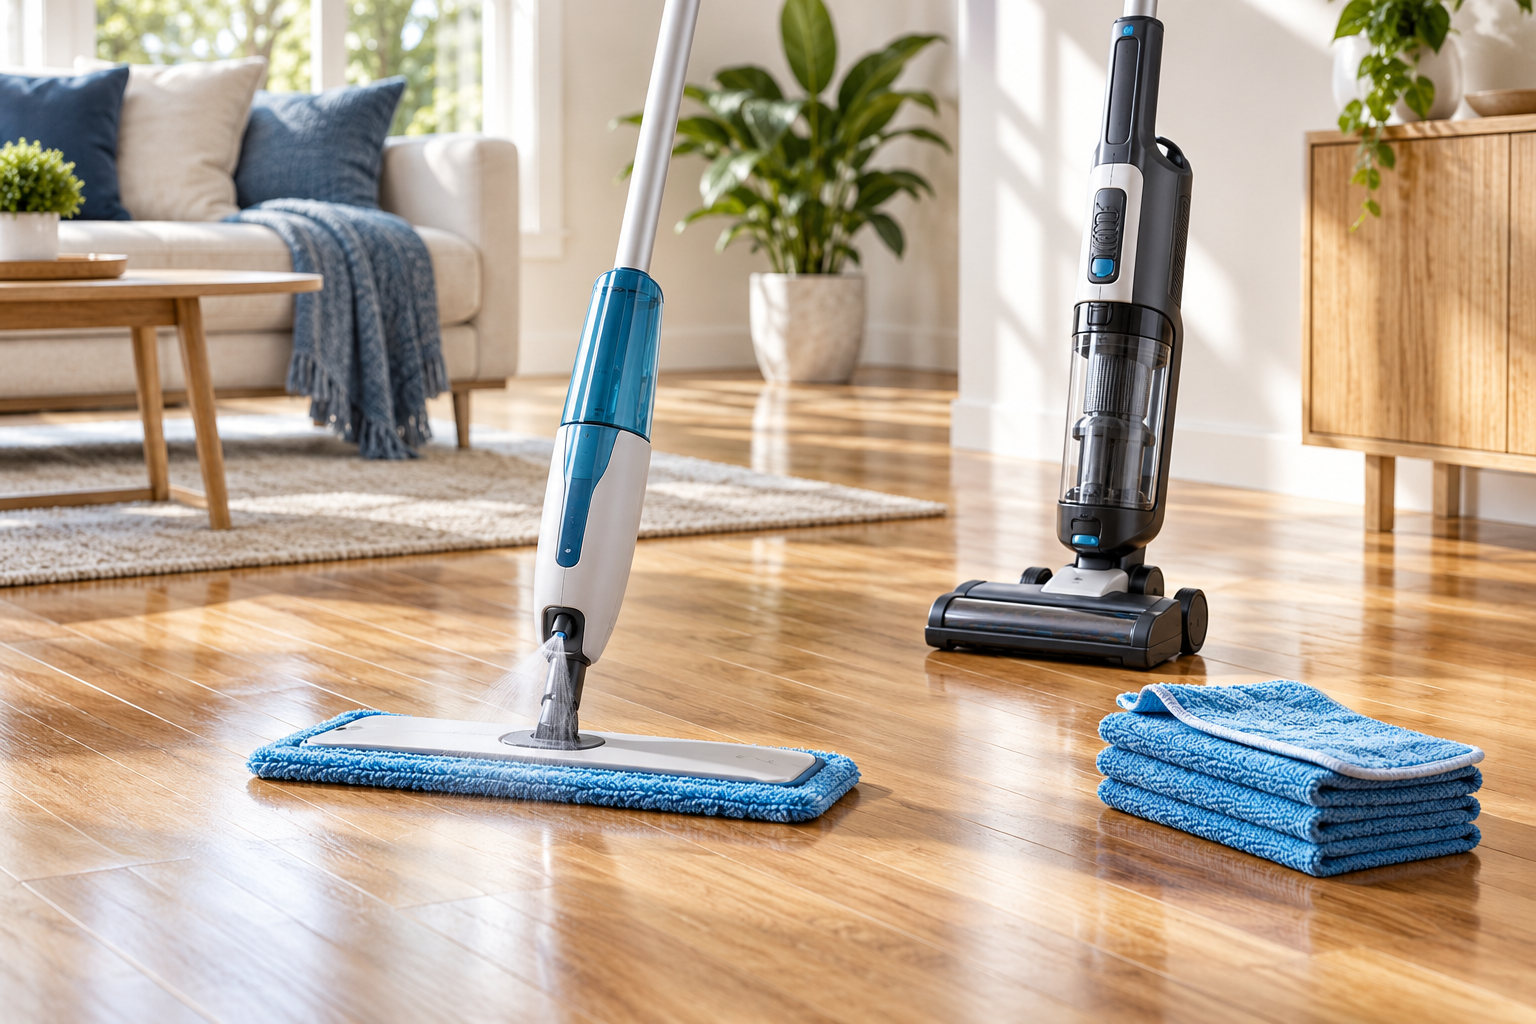
A suitable flat mop makes the pull-back technique straightforward, but it does not make every floor or liquid compatible. Do not force a spray mop cartridge to take a homemade mixture or use an unapproved wet-cleaning machine. The mop and the floor both have instructions.
There is no universal drying time for every finish, room and product. If a section stays visibly wet, stop adding solution and check the amount, pad condition and instructions. Never treat a long wet trail as evidence of a more thorough clean.

Check Dull Patches Before Adding Products
Look at the fully dry floor from more than one angle. A gray film, scratches, a worn traffic lane and an intentionally matte finish can all look “dull” in a photograph, but they call for different decisions. Compare the troublesome area with a nearby section under similar light rather than a bright reflection by the window.
Write down what changed: a new cleaner, a different dilution, a heavily used pad, a recent spill or the first appearance of wear. If your approved cleaning method improves a small test patch, continue cautiously with that same method. If it does not, stop repeating passes and ask the floor supplier what to check next.
Avoid the stronger-cleaner loop
Do not layer a shine product over an unidentified film or assume more scrubbing will restore a coating. Bruce warns against products including vinegar, ammonia-based cleaners, oil soaps, wax-based products and abrasives for its hardwood floors. That is a manufacturer-specific warning, not a recipe for finding another household chemical to try.
Leave steam mops out of this routine. The NWFA advises against wet and steam mops, and Bona’s timber-care guidance explains its concern about steam entering joints. A freshly cleaned appearance is not proof that heat and moisture are harmless to a finish or the wood beneath it.
For recurring cleaner film, our sticky-residue mopping guide offers a broader troubleshooting checklist. Keep the finish-specific restrictions here in place; do not borrow a tile-floor stripping method for wood.
Do not use abrasive eraser pads, metal tools, solvent mixtures or a home sanding experiment to tackle an unknown patch. If boards are cupped, the coating is flaking, the wood looks exposed, or a stain follows a leak, pause routine liquid cleaning there and arrange suitable advice. Photograph the area without scraping it.

Handle Spills and Reduce Daily Wear
Keep a small supply of clean cloths somewhere adults can reach quickly. Blot or wipe up a spill promptly using the floor’s care method. Deal with tracked-in grit before someone walks it through the room. Bona’s spill guidance separates lacquered and oiled surfaces, reinforcing why a persistent mark needs finish-specific advice.
Remove the accessible liquid first, then check whether it has reached an edge, joint or nearby rug. A spill that disappears from the top may still need attention if it entered a gap or soaked into an item resting on the floor. Avoid putting a damp mat straight back after wiping beneath it.
Give busy areas a simple protection check
Choose one entry point and one frequently moved chair. Check that the entrance mat is suitable for your floor, dry underneath and free of grit. Inspect the chair’s floor protectors for embedded dirt, wear or missing pieces. Ask for help with heavy furniture instead of tipping it alone.
Bruce’s floor-protection advice includes suitable mats, furniture protectors and avoiding dragging furniture. Select backing materials according to your floor’s guidance; a rug that traps moisture or affects a coating can create another problem.
For a family, make the task easy to share: one person notices the spill, another fetches the cloth, and an adult handles any cleaning product. Keep children away from damp walking areas. A reminder to leave gritty outdoor shoes at the entrance can support the routine without turning the house into a place where nobody can relax.
Our guide to floors getting dirty quickly covers household traffic and dirt sources in more detail. This wood-floor routine adds the finish checks that determine how you clean after that dirt arrives.

Keep the Finish Care Routine Manageable
Build the plan around actual use. A family entry may need a quick dry pass often, while a spare room needs less. Clean spills when they happen and use the approved liquid-cleaning method when needed. More frequent wet cleaning is not automatically better care.
On Friday’s floor reset, choose one useful zone: the dining chairs, the kitchen-to-living-room path or the entrance. Remove grit, check for a spill or worn protector, and decide whether that zone needs more than dry cleaning. Leave a note if you find a maintenance issue rather than silently adding another product to the kit.
Use this five-entry care card
Copy these prompts into a notebook or shared phone note:
- My floor and finish: the product and coating confirmed by the supplier.
- My approved cleaner: exact name, dilution if required, and instructions location.
- My tools: compatible dry head, cleaning pad and spare clean pads.
- My small routine: the room or traffic lane I can finish comfortably.
- My stop-and-ask signs: persistent unexplained dullness, coating failure, swelling or water-related changes.
For example, your routine entry might say, “Friday: dry-clean the dining lane; inspect chair protectors; use the approved cleaner only if needed.” It records a repeatable job without promising that one timetable suits every home.
Can cleaning bring back the original shine?
It may improve the appearance when soil is the problem, but it cannot replace missing finish. The NWFA identifies recoating as a way to renew some dull wood floors. Suitability and preparation need professional assessment, especially when past products are unknown. Do not add wax or oil simply because a floor has lost sheen.
What if I only have energy for one step?
Collect loose grit from the main walking lane and attend to any fresh spill. Keep the floor-care record handy and leave a bigger session for another day or another person. A clean, usable floor with normal signs of family life is a worthwhile result. Protecting its existing finish matters more than making it reflect the room like a mirror.

CLEANERS CLUBHOUSE
Stay on Top of Floors Without Cleaning All Day
Give your floors a focused Friday reset instead of chasing every mark all week. The Cleaners Clubhouse helps you build a realistic routine with practical guidance, printables and monthly challenges.
