

THIS POST MAY CONTAIN AFFILIATE LINKS. PLEASE READ MY DISCLOSURE FOR MORE INFO.
You clean the shower, enjoy a few clear days, and then the same dark spots return. That loop is frustrating—especially when the bathroom already gets more attention than most rooms in the house. A recurring problem deserves a moisture check, not an ever-longer cleaning session.
To prevent bathroom mold from returning, deal with existing growth appropriately and then change what keeps the area wet. Ventilation, drying habits and repairs each have a different job. A squeegee cannot fix a hidden leak, and a stronger cleaner cannot make an ineffective exhaust system move damp air outdoors.
This guide focuses on prevention between uses. If you already have growth, start with our safer mold-cleaning guide to decide whether cleanup is appropriate for you. You do not need to scrub suspicious material to investigate your routine. Choose one manageable change, watch what happens, and seek help when the clues point beyond ordinary upkeep.
Disclosure: This post may contain affiliate links. As an Amazon Associate, Clean Home Challenge earns from qualifying purchases. If you make a purchase through these links, we may earn a small commission at no extra cost to you. This helps us keep creating practical cleaning tips, routines and resources for busy families! 🧽
Find What Keeps the Bathroom Damp
Start with observation while the room is safe to enter. Look before the first shower, shortly after normal use, and again later. You are trying to learn whether wetness follows bathing, hangs around between uses or appears even when nobody has used the bathroom.
Three useful clues: widespread droplets after a hot shower suggest condensation; water concentrated beside an enclosure may be escaping during use; a persistent damp patch deserves investigation for a leak or another building problem. These are starting clues, not a diagnosis. More than one cause can exist together.
Make a simple note of where moisture collects. Include the window, shower frame, curtain folds, ceiling corner, basin splash zone, bath mat and towels. Look from an accessible position. Do not climb onto a bathtub, remove wall panels or scrape at discoloration to find out what is behind it.
Use humidity readings as a pattern
An inexpensive humidity meter can make the picture clearer. Place it according to its instructions, away from direct spray and places where it could fall into water. Check at comparable times over several days, including when the bathroom has been unused. Write down the reading rather than relying on how the air feels.
The CDC recommends keeping home humidity no higher than 50%. Showering can produce a temporary rise; the useful question is whether moisture clears and readings settle afterward. A single number cannot prove there is no hidden dampness. The CDC also notes that humidity changes during the day, so one morning measurement is not the whole picture.
Allow about five minutes to make your first observation note. That is a planning estimate, not a promise about how long the room should take to dry. A family bathroom with several consecutive showers will behave differently from a rarely used guest bathroom.

Ventilate During and After Showers
An exhaust fan needs to carry moisture outside. A fan that makes noise but leaves the bathroom persistently damp may need cleaning, repair or an assessment of its installation. The EPA specifies outdoor exhaust, rather than venting into an attic. Do not investigate ductwork or wiring yourself unless qualified.
Turn the fan on for showers and baths. If your system has an approved timer, humidity sensor or continuous mode, use it according to the manufacturer’s instructions. Keep it operating after bathing as directed and check the room’s drying pattern. There is no single run time in this guide that guarantees every bathroom will dry.
Make the controls easy to use
Agree on a household habit: the person starting a shower checks the fan, and the last person checks the timer afterward. A small reminder near the dry control area can help while the habit is new. Children should only use controls they can safely reach and understand; an adult handles anything electrical or maintenance related.
If a dirty grille needs attention, follow the model’s instructions and our bathroom exhaust-fan cleaning guide. Switch off and isolate power as instructed before maintenance, and use safe access. A noisy motor, electrical smell, damaged component or difficult ceiling access is a reason to stop and arrange qualified help.
An opening window can help when conditions allow, but an open window is not proof of effective moisture removal. Consider weather, security, privacy and outdoor humidity. In a hot, humid climate, the EPA also identifies air conditioning or dehumidification as possible moisture-control measures. Choose a suitable appliance and location according to its safety instructions; keep portable electrical equipment away from wet zones.
Avoid improvising by pointing a portable plug-in fan at a wet shower. If your bathroom has no effective exhaust, ask a qualified ventilation professional or the property owner what is appropriate for that room. Establishing a working system is more useful than expecting someone to wipe every ceiling after every bath.

Help Clean Surfaces Dry Faster
Once existing mold has been handled appropriately, make a small drying routine part of finishing a shower. The aim is to remove easily reached water and give wet items space to dry. This is ordinary upkeep on clean surfaces, not a substitute for safe mold cleanup.
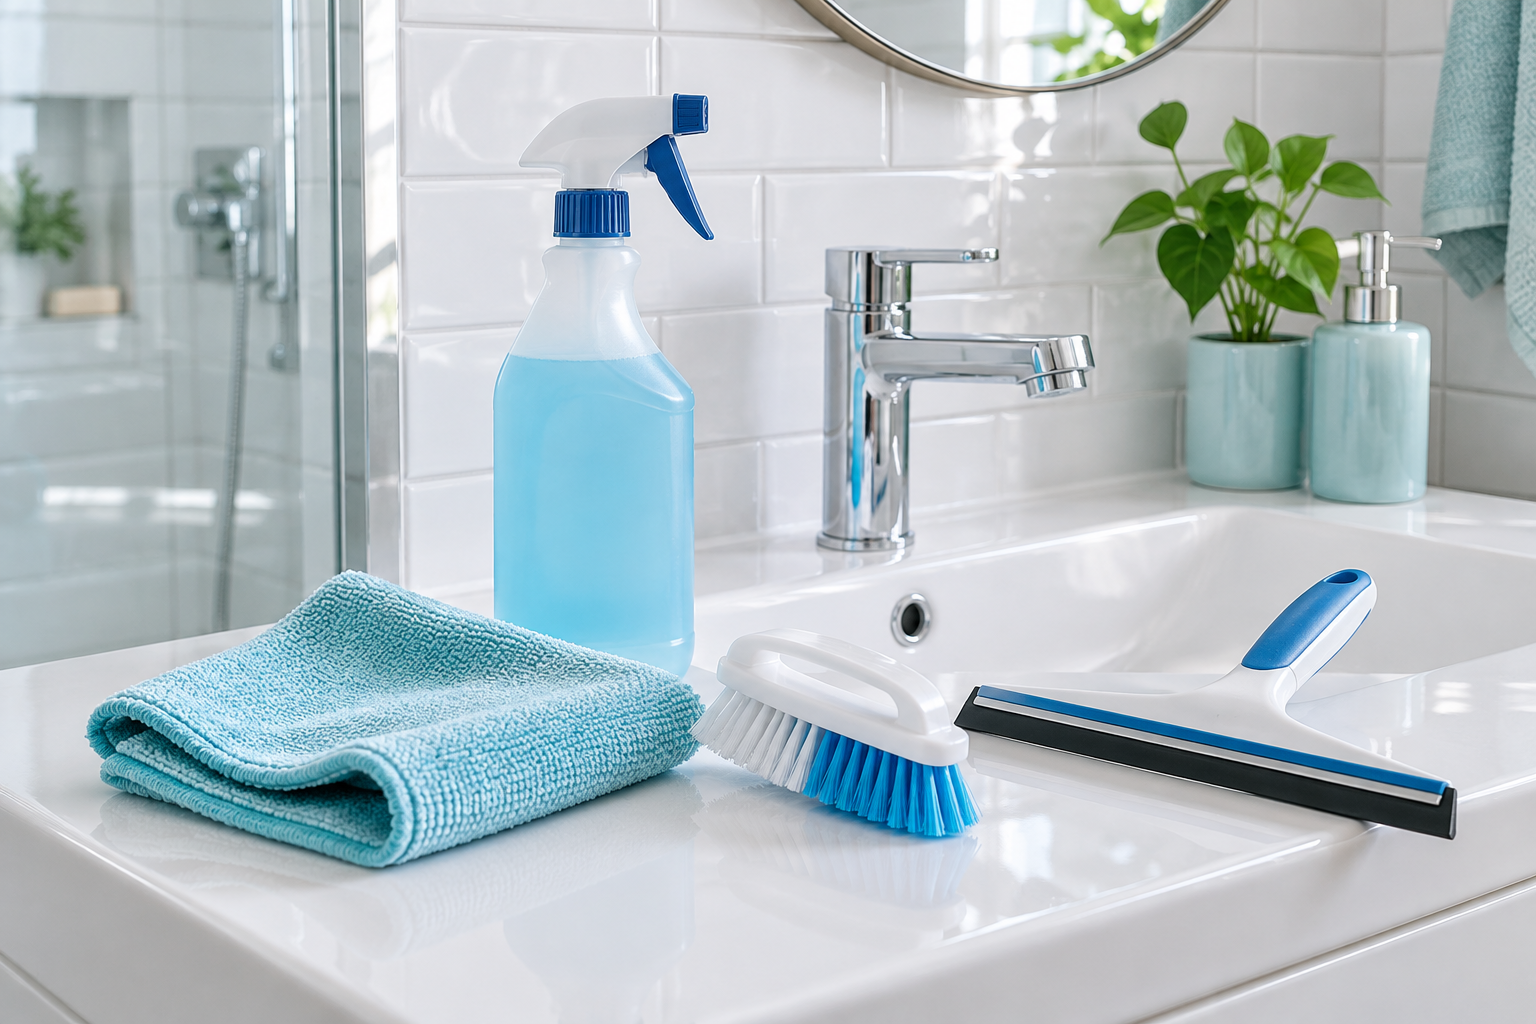
Keep a surface-compatible squeegee and a clean drying cloth where adults can reach them. Follow the glass, coating and enclosure manufacturer’s care directions. Some finishes need specific tools or products; do not assume an abrasive pad, acidic spray or homemade mixture is suitable.
- Clear accessible shower glass. Draw the squeegee down the wet surface toward the tray without leaning dangerously or standing on a slippery edge. Rinse and care for the tool as instructed.
- Dry reachable splash areas. Use a clean cloth on suitable ledges or the basin surround. Keep cloths used for different bathroom jobs separate and launder them appropriately.
- Spread wet textiles. Hang towels with room around them instead of leaving a pile on a hook or floor. Deal with a soaked bath mat according to its care label and floor compatibility.
- Let enclosure surfaces air. Position the shower door or curtain so wet surfaces can dry, following the enclosure instructions and household safety needs. Avoid leaving a curtain bunched into damp folds.
- Leave the fan doing its job. Finish the drying steps without switching off ventilation prematurely.
Try the routine at a comfortable pace before assigning it a time target. For one household it may be a brief extra step; another may need an accessible long-handled tool or help from an adult. Dry floors and safe footing come first.
Keep the kit small
You do not need several competing sprays beside the shower. A compatible squeegee and washable cloth can make the habit easier to repeat. Our shower squeegee comparison can help you choose a shape for your enclosure, rather than buying whichever tool looks largest.
Small moisture-absorbing tubs do not repair leaks or replace bathroom exhaust. If you use one in a suitable storage space, follow its label, keep it secure from children and pets, and protect surfaces from spills. Do not let an extra product delay investigation of a room that stays damp.

Check Leaks, Seals and Persistent Damp Spots
A repeat mark in one corner deserves a closer look at the moisture pattern. After the area has been assessed and cleaned safely, note whether it becomes wet during a shower, after rain or while the room is unused. That record can help a plumber, ventilation professional or property owner decide what to inspect.
Check only what is visible and safely accessible. Look for water beside the toilet base, beneath accessible supply connections, around the basin cabinet and outside the shower enclosure. Notice lifting paint, swelling cabinetry, loose finishes or a damp smell that persists. Do not touch suspect electrical fittings, open cavities or disturb damaged material.
The EPA’s mold and moisture guide emphasizes addressing water problems and warns against painting or caulking over moldy surfaces. Fresh sealant over a suspect joint can hide a problem without resolving it. Ask a suitable professional whether failed seals, water entry or damaged materials need repair.
Give a repair request useful detail
Instead of writing only “the bathroom is moldy again,” record the location, when you noticed it and whether the room had recently been used. Include a dated photograph from a safe position and describe any leak or damage clues. If you rent, send the information through the property’s normal maintenance channel and keep your record. Specific tenancy obligations depend on your location; this is a practical reporting suggestion, not legal advice.
Water near electricity, a bulging ceiling or a substantial active leak needs prompt professional attention. Keep people away from the affected area rather than treating it as another item on Tuesday’s cleaning list. For water-damaged materials, the CDC’s guidance stresses rapid drying after flooding; do not wait for a weekly routine when a new water event occurs.

Build a Small Bathroom Moisture Routine
Choose a routine someone can actually repeat on a rushed weekday. A useful baseline is: fan operating for use, accessible clean surfaces cleared of water, and towels spread to dry. Give the last shower user a clear finishing role rather than leaving everyone to assume someone else will do it.
After each shower
- Use the bathroom’s ventilation controls as directed.
- Squeegee compatible clean glass if safely manageable.
- Remove a puddle from a suitable accessible surface without creating a slip risk.
- Spread towels and leave the enclosure able to air safely.
On Tuesday’s bathroom reset
- Follow the normal cleaning plan using products suitable for the materials.
- Check the places that used to stay damp, including behind movable toiletries where safe.
- Wash cloths, mats and towels according to their care labels and condition.
- Inspect visible joints and accessible plumbing for changes.
- Review fan performance and any humidity notes.
- Assign one next action if a problem persists: adjust a habit, arrange maintenance or request an assessment.
Do not add stronger chemicals simply because the weekly reset did not solve recurring moisture. Use products only as labeled, ventilate as directed and never mix cleaners. For existing growth, return to the safe-cleanup decision rather than experimenting with several treatments in succession.
Keep a one-week observation log
Use a notebook with five short entries: date and time; recent bathroom use; wet location or humidity reading; ventilation used; next action. For example: “Tuesday, after last shower; glass wet, towel folded over itself; timer used; spread towel and recheck later.” The entry records what happened without pretending to prove the cause.
At the end of the week, compare similar moments. Is the same ledge staying wet? Are towels drying between uses? Does a patch appear independently of bathing? Bring those observations to a professional if the improvement is limited. Do not extend the trial when there is visible growth, damage or a suspected leak that already needs attention.
On a low-energy day, prioritize safe ventilation and a dry walking surface. Ask another household member to spread towels or manage the reachable glass. The routine should support your home; it should not require you to work through pain, breathing problems or unsafe access.

Know When Recurring Mold Needs More Help
A room that keeps developing mold despite appropriate cleanup and moisture control needs more than repeated surface treatment. Hidden dampness, inadequate ventilation or damaged materials may need professional investigation. You cannot judge the extent of a problem from color alone, and a clear-looking patch does not confirm that the underlying issue is resolved.
Use our safer mold-cleaning guide for the cleanup decision, including personal risk factors, protective equipment and circumstances that call for a professional. Avoid disturbing growth while deciding. Anyone with health concerns should get appropriate medical advice; a cleaning checklist cannot assess symptoms or individual exposure risk.
Is recurring discoloration always new mold?
No. Staining can remain after cleanup, and several bathroom deposits can look similar. A photograph or color label alone is not a reliable identification method. Note whether the area changes or becomes damp again and ask for an assessment when you are unsure. Avoid repeated aggressive scrubbing that may damage a finish without clarifying the problem.
Will an anti-mold product prevent every return?
No product can guarantee that result while a surface keeps getting wet. Choose any product for the exact material and use it only as directed. Repair, effective ventilation and sensible drying habits remain separate tasks. Be cautious about a promise that one spray will permanently solve a room’s moisture problem.
What should improve first?
Look for practical changes: fewer surfaces staying wet between uses, towels drying more easily and a clearer maintenance plan. Those observations help you decide what to do next; they are not proof of a mold-free home. The next useful step might be a repaired seal or a ventilation assessment rather than a bigger cleaning kit.
You do not have to overhaul the bathroom today. Start with one safe observation and one repeatable habit. If the same dampness keeps returning, use that information to get the right help instead of taking on another exhausting round of cleaning.

CLEANERS CLUBHOUSE
Take the Guesswork Out of Bathroom Cleaning
Use Tuesday as your bathroom reset day and work through the job in a sensible order. Inside the Cleaners Clubhouse, you’ll find practical routines, printable support and challenges that make deeper cleaning easier to manage.
