

THIS POST MAY CONTAIN AFFILIATE LINKS. PLEASE READ MY DISCLOSURE FOR MORE INFO.
The dining table often does several jobs before anyone sits down to dinner. It holds homework, mail, laundry, craft supplies, and the occasional mystery pile. Getting it ready for guests can feel like a much bigger project than cleaning one room.
This dining room cleaning checklist gives you a workable order: clear the space, remove dust from higher surfaces, clean the table and chairs, and finish with the floor. Start with the surfaces people will use, leave enough time for anything damp to dry, and skip jobs that need specialist treatment.
You do not need a showroom dining room. You need a clean place to eat, comfortable seating, and enough room to move around without negotiating piles or sticky patches.
Disclosure: This post may contain affiliate links. As an Amazon Associate, Clean Home Challenge earns from qualifying purchases. If you make a purchase through these links, we may earn a small commission at no extra cost to you. This helps us keep creating practical cleaning tips, routines and resources for busy families! 🧽
Plan Your Dining Room Cleaning Session
Before opening a bottle of cleaner, decide how much of the room needs attention. A table with daily crumbs needs a different session from a dining room that has become the household storage area.
For a moderately cluttered room, allow roughly 60–90 minutes of hands-on work as a planning estimate. Heavy buildup, numerous chairs, fragile furniture, or repeated interruptions can take longer. Laundry cycles and upholstery drying are additional time; they are not included in that estimate.
If you are hosting tomorrow, do the detailed cleaning today and leave a short reset for tomorrow. If you have only one small pocket of time, complete the table and seating first. Finish one usable area instead of starting five jobs that leave the room dismantled.
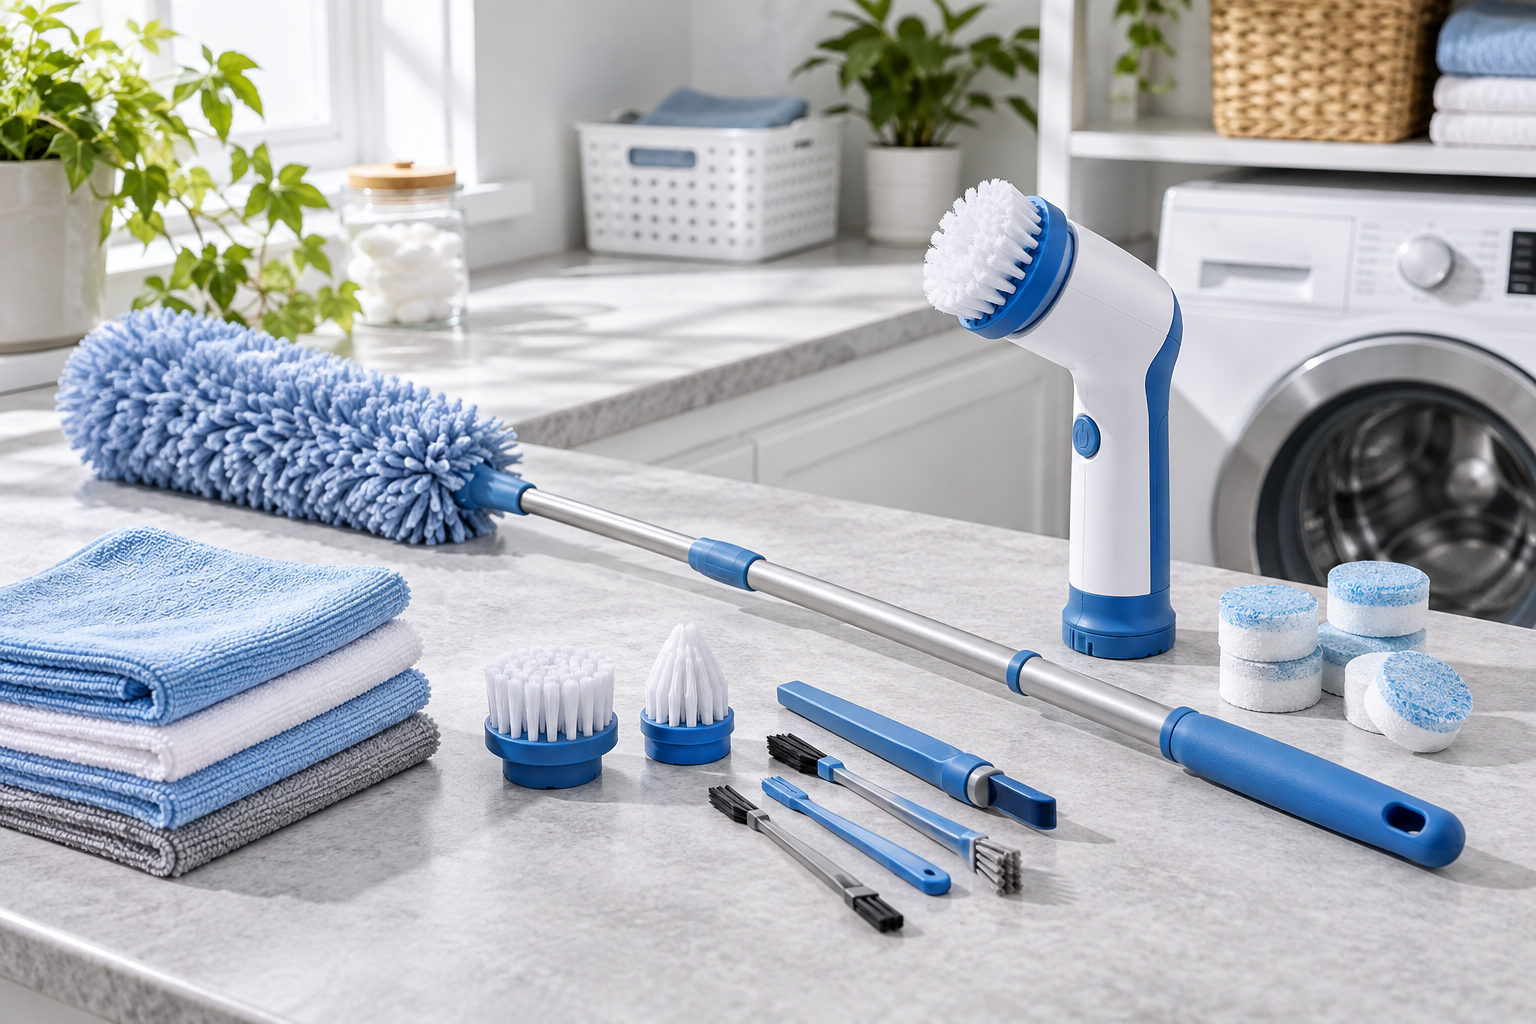
Gather a Small, Useful Kit
- Several clean, soft cloths, including a separate dry cloth
- A vacuum with suitable floor, soft-brush, and upholstery attachments
- A soft duster or reachable-height dusting tool
- The cleaners approved for your table, chairs, glass, and floor
- A small container for trash and a basket for things that belong elsewhere
- Gloves and any other protection specified on product labels
- A mop or floor-cleaning tool appropriate for your flooring
Check furniture labels and care instructions now. Photograph an upholstery label before turning the chair upright. Identify whether the tabletop is finished wood, veneer, laminate, glass, or stone; appearance alone can be misleading. If you cannot identify a delicate finish, limit the session to gentle dry dust removal until you can check with the maker.
Ventilate as product instructions require, keep children and pets out of the work area, and put bottles away between tasks. Never mix cleaning products, including bleach with vinegar, ammonia, or another cleaner. More products do not make a safer or more thorough clean.
Choose Cleaning Before Disinfecting
Ordinary hosting preparation usually calls for removing food residue, dust, and grime. CDC household guidance explains that cleaning is sufficient in most everyday situations; illness or a household member at higher risk can change that decision. If disinfection is needed, clean first and follow a surface-compatible product’s label, including contact time and any food-contact rinsing directions.
Before starting, choose a clear stopping point: clean eating surfaces, usable chairs, and a dry, clear floor. Everything else is a useful addition.

Clear Clutter and Dust From Top Down
Begin with dishes, food packaging, and obvious trash. Take dishes straight to the kitchen rather than building a new stack on the sideboard. Put papers and household belongings into a return basket, then give the basket a destination and an owner. Avoid opening every envelope or reorganizing a drawer during this pass.
Remove the centerpiece, placemats, runner, and tablecloth. Keep clean textiles away from the dusty work area. Put washable items into the laundry queue, following their care labels. A cloth napkin does not need the same wash settings as a delicate embroidered runner.
Pull out one or two chairs at a time to create space. Lift manageable furniture instead of dragging it, and ask for help with heavy pieces. A large cabinet can stay where it is; use a suitable attachment to reach accessible edges rather than attempting an unsafe move.
Work Around the Room Once
Choose a starting corner and follow this order:
- Reachable ceiling corners and cobwebs
- Accessible light-fixture surfaces
- Picture frames, curtain hardware, and upper shelves
- Window frames and ledges
- Sideboard tops, chair backs, and lower furniture edges
Use gentle passes that collect dust. Refold or change the cloth when it becomes loaded so you do not simply move the same dust to another surface. Leave the final floor clean until these higher jobs are finished.
For lighting, turn off the electrical supply as the fixture’s instructions require and let bulbs cool. Kichler’s care guidance specifically requires the electric current to be off before cleaning. Start with the maker’s recommended method, keep moisture away from sockets and wiring, and do not spray a hanging fixture. A tall chandelier or complicated fitting can wait for someone with suitable access and experience.
Stay on the floor for reachable dusting whenever possible. If a step stool is necessary, use a purpose-built one on a stable, dry surface. Never balance on a dining chair or the table. Move the stool instead of stretching sideways.
For curtains or blinds, check their own care directions before using a vacuum attachment, damp cloth, or washing machine. Today may only require removing visible surface dust. Taking down every window covering is optional, especially when there is no time to clean, dry, and rehang it properly.

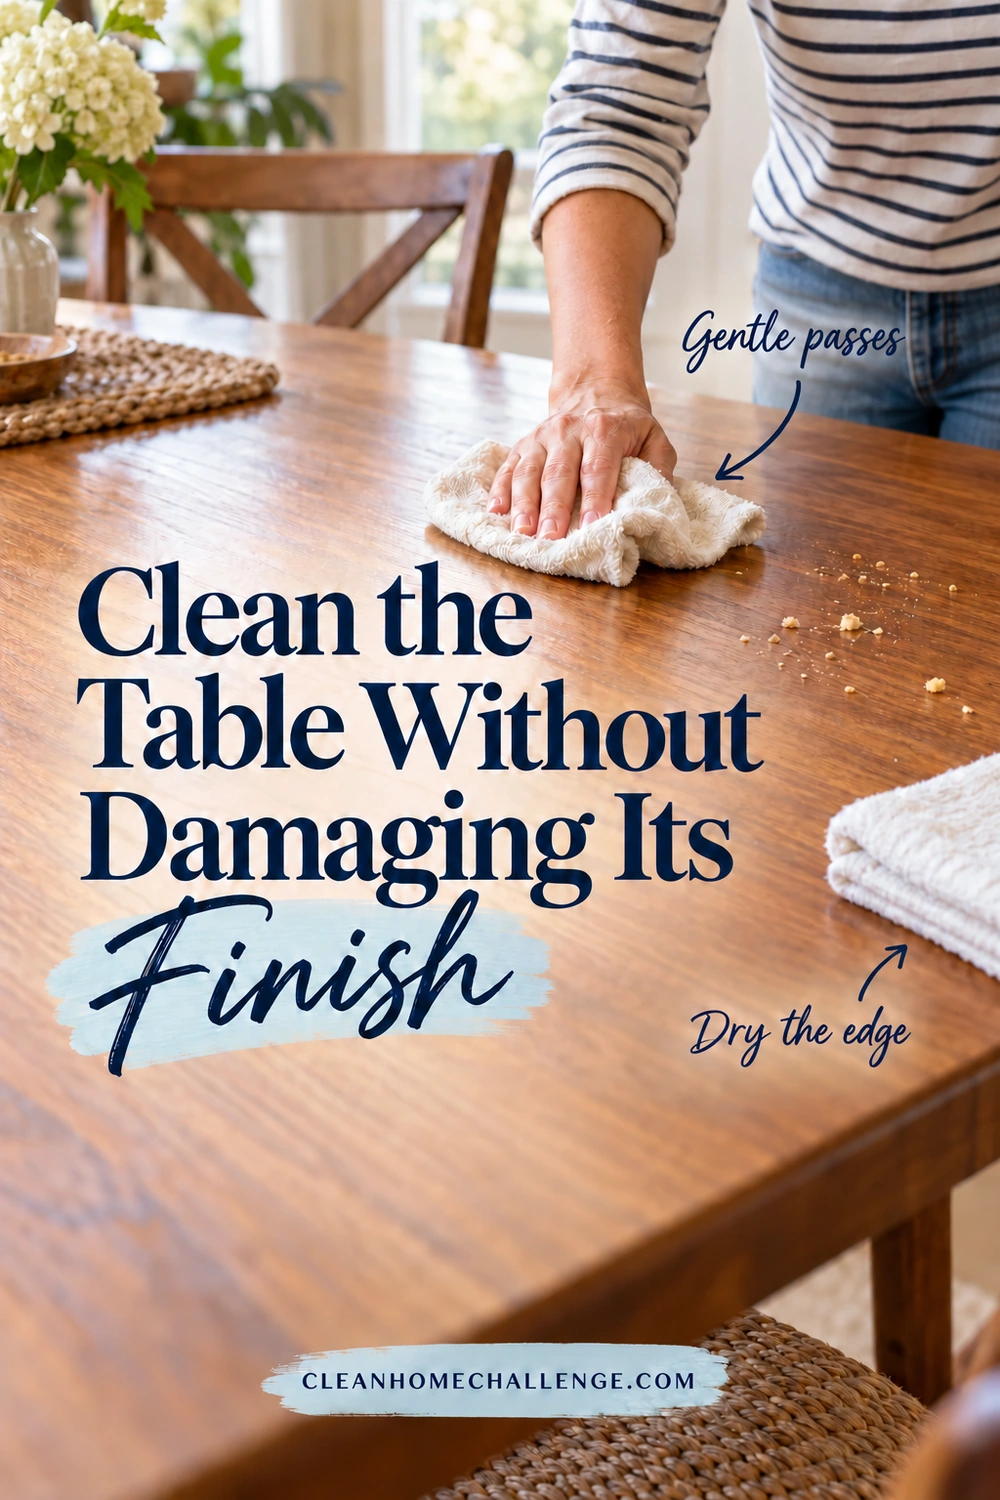
Clean the Table Without Damaging Its Finish
Your table is the main working surface, so give it a careful clean rather than the strongest treatment in the cabinet. Remove loose crumbs first with a soft cloth or suitable brush. Pay attention to the edge people grip, the underside near each seat, and accessible extension-leaf seams.
Read the table’s care instructions and the cleaner label together. Test any permitted product in a discreet area and let the test dry before judging the result. Stop if color transfers, the surface becomes tacky, or the finish changes.
Match the Method to the Material
- Finished wood or veneer: Use the manufacturer’s approved method and minimal moisture. IKEA’s dining-table care guidance recommends prompt damp-cloth spill removal followed by drying for its wood and veneer examples. Avoid harsh chemicals. An oiled, waxed, antique, or unfinished table may need different care.
- Laminate or melamine: Follow the specific product directions. Where mild detergent is permitted, use a well-wrung cloth and wipe dry. Keep moisture out of exposed edges, joints, and damaged areas rather than treating the top as waterproof.
- Glass: Use a soft cloth and a cleaner approved for that glass, including any coating. Keep overspray off surrounding wood and metal. Avoid abrasive pads and scraping unless the manufacturer expressly permits a particular tool.
- Marble or other natural stone: Choose stone-compatible care. The Natural Stone Institute warns that acids such as vinegar or lemon can etch susceptible stone and abrasive cleaners can scratch. A sealer does not make the surface stain-proof.
Clean in Small Sections
Work across one area at a time with the approved method. Give sticky spots gentle, repeated attention instead of grinding them with a scrubber. If the instructions permit a damp cloth, it should not drip when you use it.
Remove cleaner residue as directed, then dry the surface and edges. Inspect the table from the side in good light: missed crumbs, sticky marks, and moisture are easier to notice from that angle. Finish the legs and accessible lower supports with a separate cloth if they are dusty or marked.
Do not turn an old water ring into an emergency repair project. A pale ring, dull patch, peeling coating, or dark mark may involve the finish rather than removable dirt. Leave sanding, bleaching, heat tricks, and unknown stain treatments out of the pre-guest clean. For a separate assessment, see our guide to water rings and white marks on wood furniture.
Return placemats and linens only when the tabletop is completely dry. Put out clean coasters and suitable trivets before the meal so hot dishes and drink glasses have an obvious place to go.
Refresh Dining Chairs Without Soaking Them
Chairs collect more than crumbs on the seat. Check the top rail, arms, front edge, seams, stretchers, and the places fingers curl underneath. Working on one chair at a time makes it easier to finish properly and keeps the room usable.
First remove loose debris using an attachment suitable for the chair. Keep suction gentle around loose trim, delicate weaving, buttons, or damaged fabric. Dust hard frames separately, then follow their finish-specific cleaning instructions. Do not assume the product used on the tabletop also suits painted legs or leather seats.
Read the Upholstery Code
When a chair has a cleaning code, use it alongside the manufacturer’s full directions. Ashley’s upholstery care guide explains these common codes:
- W: A specified water-based upholstery cleaner
- S: A specified solvent-based method, without water
- WS or SW: Either of the permitted methods listed by the maker
- X: Vacuuming or light brushing only
These letters do not give blanket permission to steam-clean, machine-wash, or soak a seat. A zipper does not prove a cover is washable. If the label is missing, ask the manufacturer; for solvent-only, valuable, or uncertain upholstery, professional help is often the sensible choice.
Treat Small Marks Carefully
For a fabric that permits spot cleaning, test the approved cleaner somewhere hidden and let the patch dry fully. If it passes, follow the label’s application and residue-removal instructions. Work with clean white cloths so you can see any dye transfer. Stop if the stain spreads, the color changes, or the fabric’s texture looks different.
Keep treatment limited to what the chair’s instructions allow. Adding extra liquid because a mark remains can turn one visible spot into a larger drying problem. Do not reach for a carpet extractor simply because it has a handheld tool; both the chair and the cleaning method need to be compatible.
Allow cleaned seats to dry fully with appropriate airflow before anyone sits down. Drying depends on the material, padding, moisture used, temperature, and humidity, so there is no reliable universal promise of “ready in an hour.” If guests arrive soon, choose dry debris removal and postpone damp treatments.
As you finish, check each chair for wobbling, loose parts, or damaged feet. Set an unsafe chair aside for repair and choose another seat. This practical check matters more than removing every old stain before dinner.

Clean Glass, Storage, and Finishing Details
With the table and chairs finished, move to the surfaces that frame the room. A clear sideboard and a clean mirror can make the whole area feel more settled without requiring a cabinet-by-cabinet overhaul.
Refresh Mirrors and Glass
Dust frames first, using a method appropriate for their finish. For a mirror, use its approved cleaner on a cloth rather than spraying the face and letting liquid run down. Protect the edges and backing from moisture; Kallista’s mirror-care guidance highlights this precaution and cautions against abrasive cleaners.
Use a fresh cloth for glass rather than the one that removed furniture grime. Work in a manageable section, finish as the cleaner directs, and check from an angle for streaks. Persistent cloudy patches or damaged silvering need assessment, not stronger scrubbing.
Clean accessible window fingerprints if they need it, but save a complete track-and-screen session for another day. Our whole-house window cleaning checklist is useful when you want to plan that separately.
Keep Storage Cleaning Contained
If the buffet or china cabinet needs attention, empty one shelf only. Set its contents somewhere clean and stable, remove dust, and use the cabinet maker’s approved care method. Let the shelf dry completely before replacing anything.
Wash dishes, serving pieces, and glassware that are dusty or dirty using their care instructions. Check whether delicate glass, decorated china, or special finishes are dishwasher-safe before loading them. Set aside chipped or cracked pieces rather than discovering the damage while serving food.
Organize the items needed for this gathering within easy reach: serving utensils, napkins, coasters, and trivets. Leave the rest of the cabinet alone unless there is a clear reason to tackle it now.
Wipe frequently handled surfaces such as door handles and cabinet pulls with a compatible method. Around switches, use the device manufacturer’s guidance and never spray liquid directly into electrical controls. Lutron’s cleaning instructions specify cloth application and warn that some chemicals can damage plastics or markings.
Finally, check the room for an actual odor source: forgotten food, a damp textile, a dirty wastebasket, or a spill under furniture. Remove the source rather than covering it with fragrance. A dining room does not need to smell of cleaner to be ready for a meal.

Finish With Rugs and Floor Care
Now collect the dust and crumbs that have fallen during the earlier jobs. Start at the far side of the room and work toward the exit so you do not have to cross freshly cleaned areas repeatedly.
Use a floor-compatible vacuum head or broom. Clean along baseboards, beneath the table, around chair feet, and in the narrow space beside the sideboard. Move only furniture you can handle safely. Reach under heavier pieces with a suitable attachment and accept that inaccessible areas may need another session with help.
Match the Final Clean to the Floor
For wood flooring, the National Wood Flooring Association recommends sweeping, dust mopping, or vacuuming on the bare-floor setting, followed by finish-appropriate care. It warns against wet mops and steam mops because they can damage the finish and wood.
For laminate, vinyl, tile, or stone, follow the flooring and cleaner manufacturers’ instructions. “Hard floor” is not a single material. An approved method for tile may be wrong for laminate seams or natural stone. Measure concentrates accurately; extra product can leave residue.
If your floor permits a flat mop, keep the pad as damp as directed rather than saturated. Work in small areas with controlled pull-back passes, changing or rinsing the pad when dirty. Avoid pushing a dirty pad around the entire room. Allow the floor to dry before returning furniture or letting anyone walk through.
Give the Rug Its Own Care Check
Read the rug’s label before spot cleaning. Fiber, dyes, backing, and construction all matter, and a carpet-cleaning method is not automatically suitable for a dining rug. Use the appropriate vacuum setting and keep fringe clear of rotating brushes.
For a permitted spot-cleaning method, the Carpet and Rug Institute advises testing first, blotting with white absorbent material, and working from the outside of a spill toward the center without rubbing. Follow the rug’s directions for cleaner removal and drying; avoid soaking the backing or the floor underneath.
Leave major rug washing for a time when it can dry properly. Do not cover a damp patch with furniture or put a damp rug back over the floor. If stains are extensive, dyes transfer, or the rug needs specialist care, arrange that separately. Before guests arrive, a safely vacuumed rug is a better choice than a rushed wet clean.

Reset for Guests and Keep It Manageable
Once surfaces, chairs, linens, and floors are dry, put the room back together. Check that chairs can pull out comfortably and that bags, cords, cleaning equipment, and clutter are out of the walking route. Keep the centerpiece small enough to leave room for serving dishes and conversation.
Set the table after the dusty work is finished. Place clean napkins and utensils where they will stay clean, add coasters and heat protection, then put cleaning products securely away. Keep a few plain absorbent cloths handy for spills without leaving the chemical bottles beside food.
The 20-Minute Guest-Ready Option
When there is no time for a deep clean, use this suggested time budget and adjust it to your room:
- First five minutes: Remove dishes, trash, and non-dining clutter. Clear seats and walking space.
- Next six minutes: Clean the tabletop and visible sticky marks on compatible chair surfaces. Dry them.
- Next five minutes: Vacuum or sweep crumbs beneath the table and along the main route.
- Final four minutes: Put out clean place settings, check seating, and pack away the kit.
Skip upholstery washing, high fixtures, cabinet interiors, and stubborn stain experiments. If a necessary hygiene task takes longer, give it that time and simplify the table setting instead. The timer is a planning aid, not a reason to rush safety or leave cleaner residue behind.
Make the Next Reset Easier
After meals, clear dishes, deal with spills using the correct method, and remove food debris from the table and floor. Once a week, check chair seams, fingerprints, accessible furniture surfaces, and the area beneath the table. Choose occasional detailed jobs according to visible dust, use, and your household’s needs rather than treating every meal like an inspection.
Give recurring table clutter a small home nearby: a portable homework box, a paper tray, or one basket for items being returned elsewhere. Empty it regularly so it does not become another permanent pile.
If a room-by-room checklist helps you keep momentum, the Cleaners Clubhouse offers a supportive place to build your routine around manageable steps. For today, stop when the room is clean enough to use comfortably. A welcoming meal does not depend on an untouched cabinet shelf or a perfectly spotless chair.


CLEANERS CLUBHOUSE
Follow a Simple Room-by-Room Cleaning Plan
Break the house into manageable spaces and know exactly where to focus next. The Cleaners Clubhouse gives you a follow-along 12-month calendar, printable worksheets and motivating monthly challenges.
