

THIS POST MAY CONTAIN AFFILIATE LINKS. PLEASE READ MY DISCLOSURE FOR MORE INFO.
A blender is wonderfully useful until yesterday’s smoothie dries around the blades. Add a sticky control dial or a cloudy jug, and a small cleanup can start to feel like a project. You can usually make a good start with dish soap, a soft brush, and a little attention to the parts your particular blender allows you to clean.
The simplest answer to how to clean a blender is to remove food promptly, wash the approved removable parts, rinse away detergent, and let everything dry. Unplug before hand cleaning or taking parts apart. Keep the electrical motor base out of water, and leave fixed blades and factory-sealed gaskets in place.
Allow about 5–10 minutes for an ordinary after-use cleanup or 15–20 minutes of hands-on work for a neglected blender, plus any manufacturer-approved soaking and drying time. These are planning estimates, not a test of how quickly you should work. This guide covers countertop jug blenders and detachable personal-blender cups; portable rechargeable models need their own electrical and washing instructions.
Disclosure: This post may contain affiliate links. As an Amazon Associate, Clean Home Challenge earns from qualifying purchases. If you make a purchase through these links, we may earn a small commission at no extra cost to you. This helps us keep creating practical cleaning tips, routines and resources for busy families! 🧽
Check Your Blender Before Cleaning
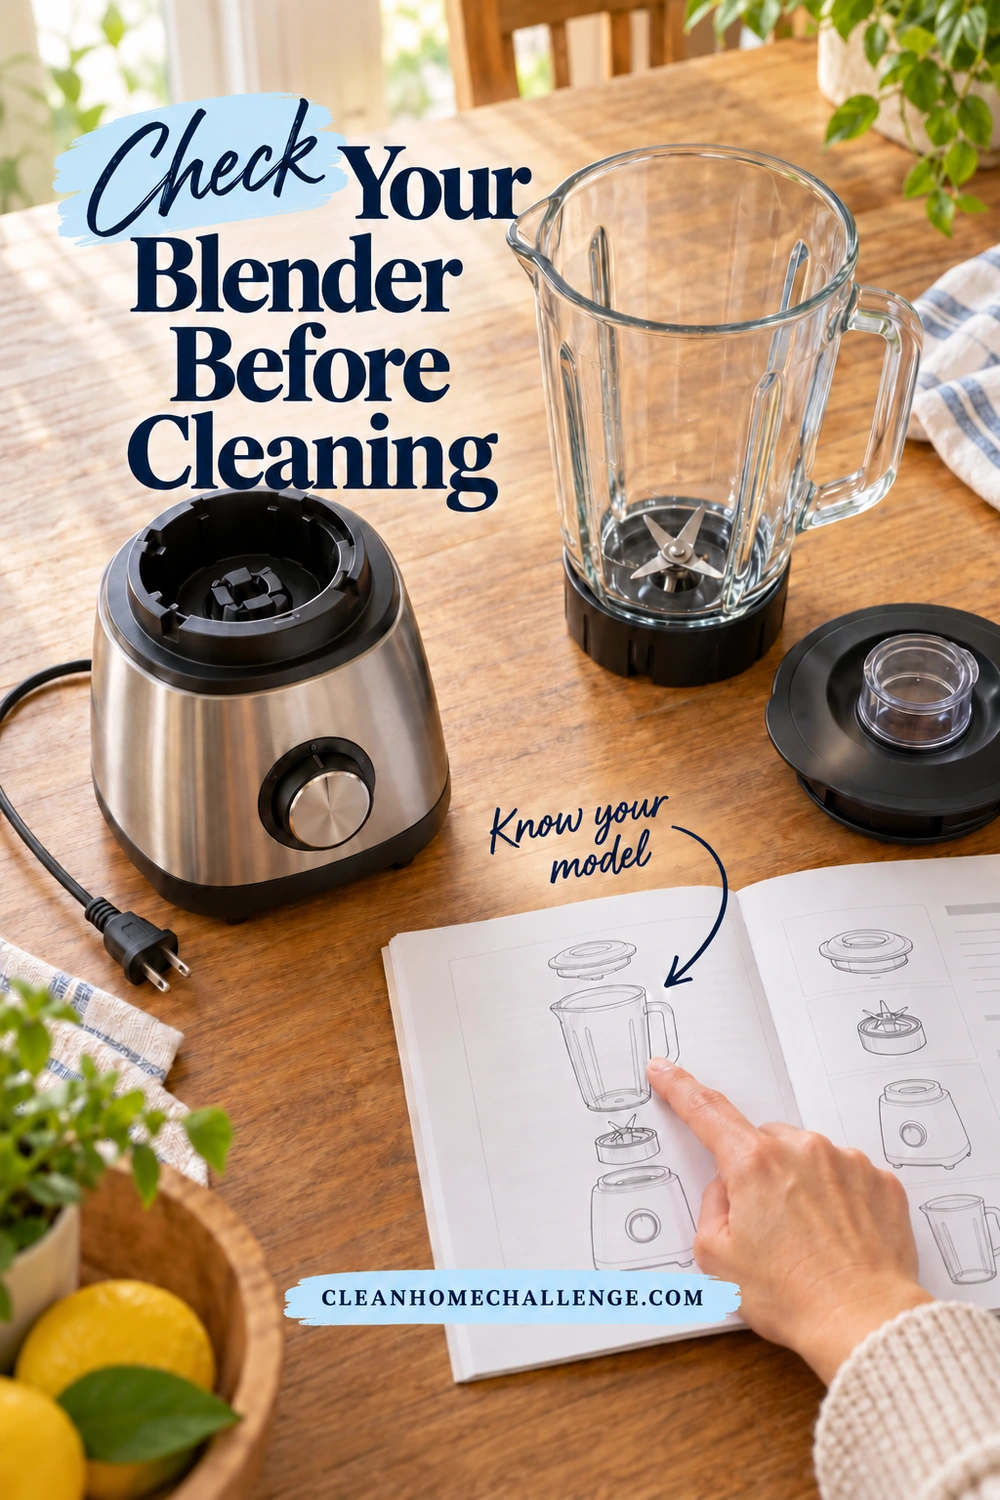
Before reaching for a cleaning trick, find the model number and its care instructions. Check the base label only with the appliance unplugged and the jug removed. A familiar brand name is not enough: different containers, accessories, and generations can have different rules.
Find your blender’s cleaning boundaries
Look for answers to four questions:
- Does the jug have fixed blades, a removable blade column, or a screw-on blade unit?
- Which lids, caps, seals, and other parts are intended to come off for washing?
- Does the manual permit a powered wash cycle, and what water temperature, fill level, speed, and duration does it specify?
- Which individual parts are dishwasher-safe, and on which rack and cycle?
Keep a screenshot of that page with the model number. It is more useful than trying to remember whether a tip belonged to your full-size jug or your small smoothie cup.
Check for cracks, chips, damaged seals, loose blades, or a frayed cord before cleaning. If something is damaged, stop using that part and ask the manufacturer about repair or a compatible replacement. Cleaning cannot correct a mechanical fault. KitchenAid’s blender safety instructions require unplugging before cleaning and advise against operating a damaged appliance.
Gather a small, useful kit
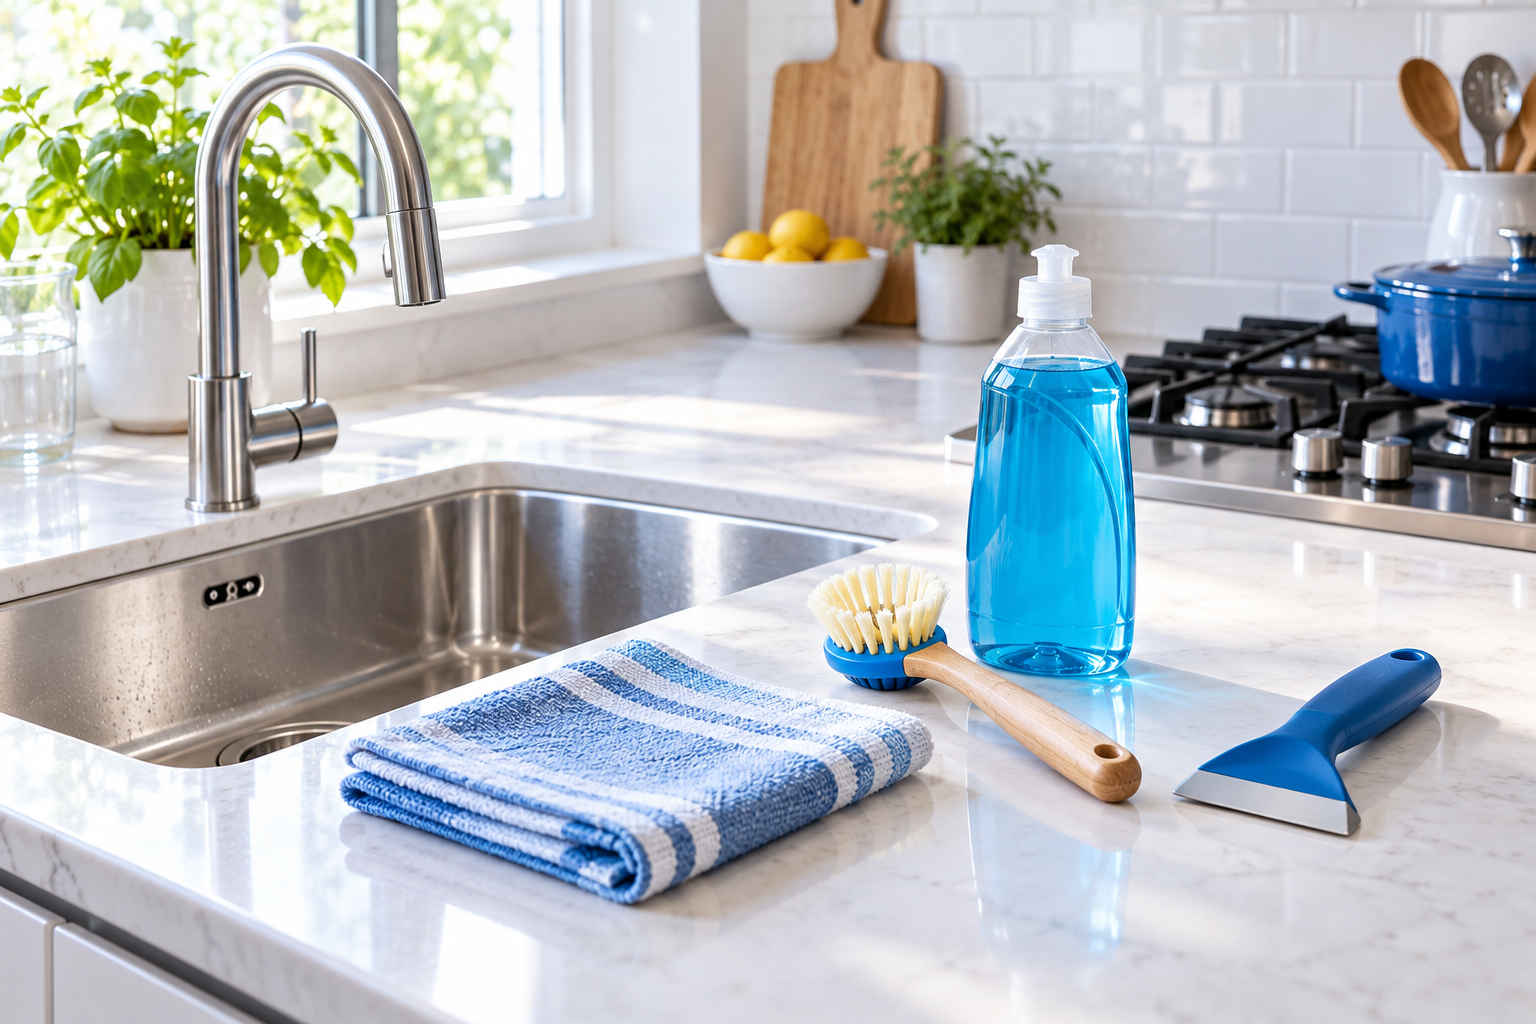
You will usually need mild liquid dish soap, water at the temperature your manual permits, a soft nonabrasive sponge, a long-handled dish brush, two clean cloths, and a stable drying rack. Choose a brush that fits through the opening without forcing its head between blade edges. A clean, soft detail brush can help with accessible exterior seams.
Clear a working space away from the counter edge. Keep the motor base on the dry side and washable parts beside the sink. If children are helping with the kitchen, give them a separate, blade-free task. Leave blade handling to an adult who can work without rushing.
You do not need a special cleaning product simply because the jug looks tired. Begin with the ordinary wash, inspect the result, and choose a more specific treatment only if something remains.
The kitchen-tools collection covers broader kitchen tasks. For blender parts, choose only soft, model-approved tools; never use a kitchen scraper or steel wool.
Clean the Jug After Every Use
Fresh food residue is the easiest place to start. Once blending has stopped, turn the appliance off, unplug it, and remove the jug as instructed. Allow a hot jug or contents to cool to a safe handling temperature before cleaning. Empty leftover food, then rinse the inside without flooding any exterior parts that the manual says must stay dry.
Use an approved powered wash, if your model has one
A powered cleaning cycle can be helpful around fixed blades. It still needs the correct assembly and settings. Only reconnect power for the approved cycle; unplug again before any hand cleaning.
- Prepare the detached jug with the water and small amount of dish soap specified by its manual. Stay within the cleaning fill limit.
- Check that the outside, base, counter, hands, and electrical connections are dry. Secure the jug and complete lid correctly, then connect power.
- Run the exact cleaning program or speed sequence the manufacturer describes. Stay nearby, with hands and cleaning tools outside the jug.
- Turn it off and wait until the blades have completely stopped. Unplug before removing the jug or lid.
- Empty the wash water, rinse thoroughly, and inspect the walls, corners, and blade area in good light. Hand-wash remaining residue by the method permitted for that container.
Do not copy another blender’s timer. For example, Vitamix’s everyday care guide describes a powered wash for its containers, while other machines have their own cleaning programs and limits. A foamy-looking jug is not proof that every lid groove is clean.
Hand-wash when that is the approved route
Wash the jug’s accessible surfaces with mild dish soap and a soft sponge or handled brush. Keep fingers clear of the blades, even when the jug is off the base. Work around the rim, spout, interior corners, and handle area rather than concentrating only on the bottom.
Rinse until no detergent residue remains. Look through a clear jug toward the light to find smoothie streaks you missed, then drain it safely. Clean the lid separately rather than assuming a quick swish washed its underside.
Never use boiling water as a shortcut. For a sealed personal-blender cup, do not blend hot cleaning liquid; pressure can be dangerous. Use only the temperature and washing method specifically permitted for that cup. nutribullet’s product-care FAQ warns against hot ingredients in its sealed-cup systems.

Wash Blades, Lids and Seals Safely
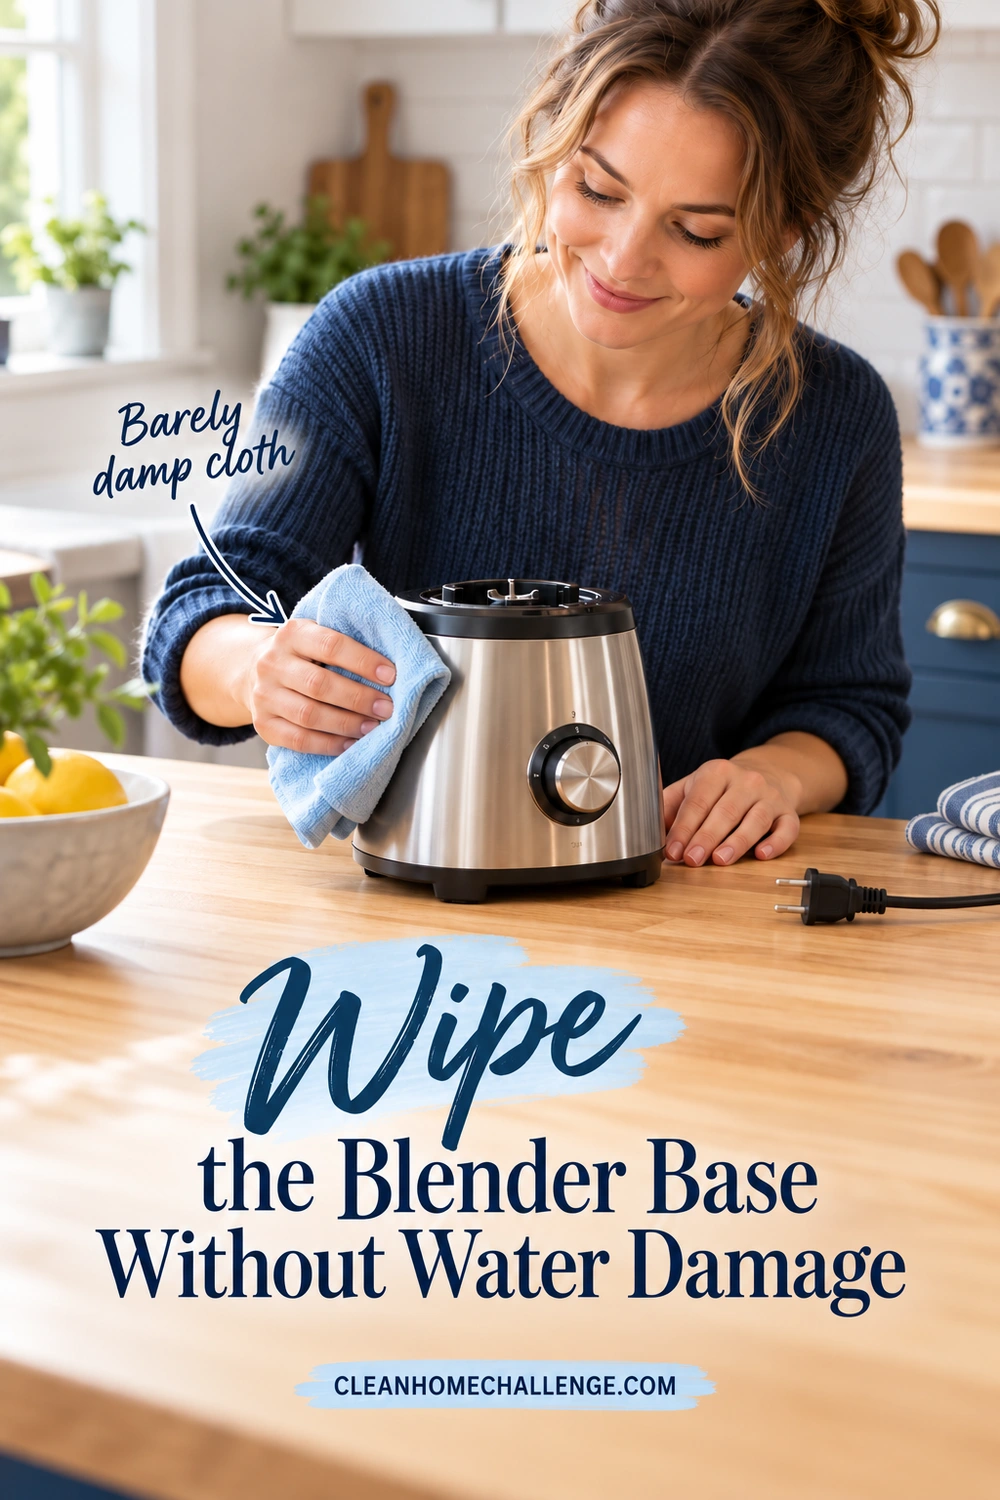
The blade assembly is where a generic “take everything apart” instruction can cause trouble. Identify the design first and keep all disassembly within the owner’s manual. A threaded collar, a fixed retaining nut, and a removable blade column are different components.
Fixed blades
Leave fixed blade assemblies installed. Use the approved wash cycle and a suitable long-handled brush where safe access is possible. Hold the jug securely by its handle and keep your hand outside the blade area. Do not push a cloth underneath a blade with your fingertips or try to unscrew a retaining nut for a deeper clean.
If residue sits in a sealed or inaccessible area, contact the manufacturer. Taking apart a factory assembly can turn a cleaning problem into a leaking or unsafe container. Vitamix specifically warns against continuing to use a container with a loose retaining nut in its owner’s manual.
Removable blade assemblies
If your manual directs you to remove the blades, follow its grip point and removal sequence. Hold a removable column by its designated noncutting handle or shaft, never by the metal edges. Clean one sharp component at a time with a handled brush and keep it visible throughout the job.
Do not drop loose blades into a sink of cloudy dishwater or leave them mixed with ordinary utensils. Put them in a stable, clearly visible drying position out of children’s reach. Avoid soaking a blade unit or its bearings unless the manufacturer expressly permits it.
Lids, cups, and gaskets
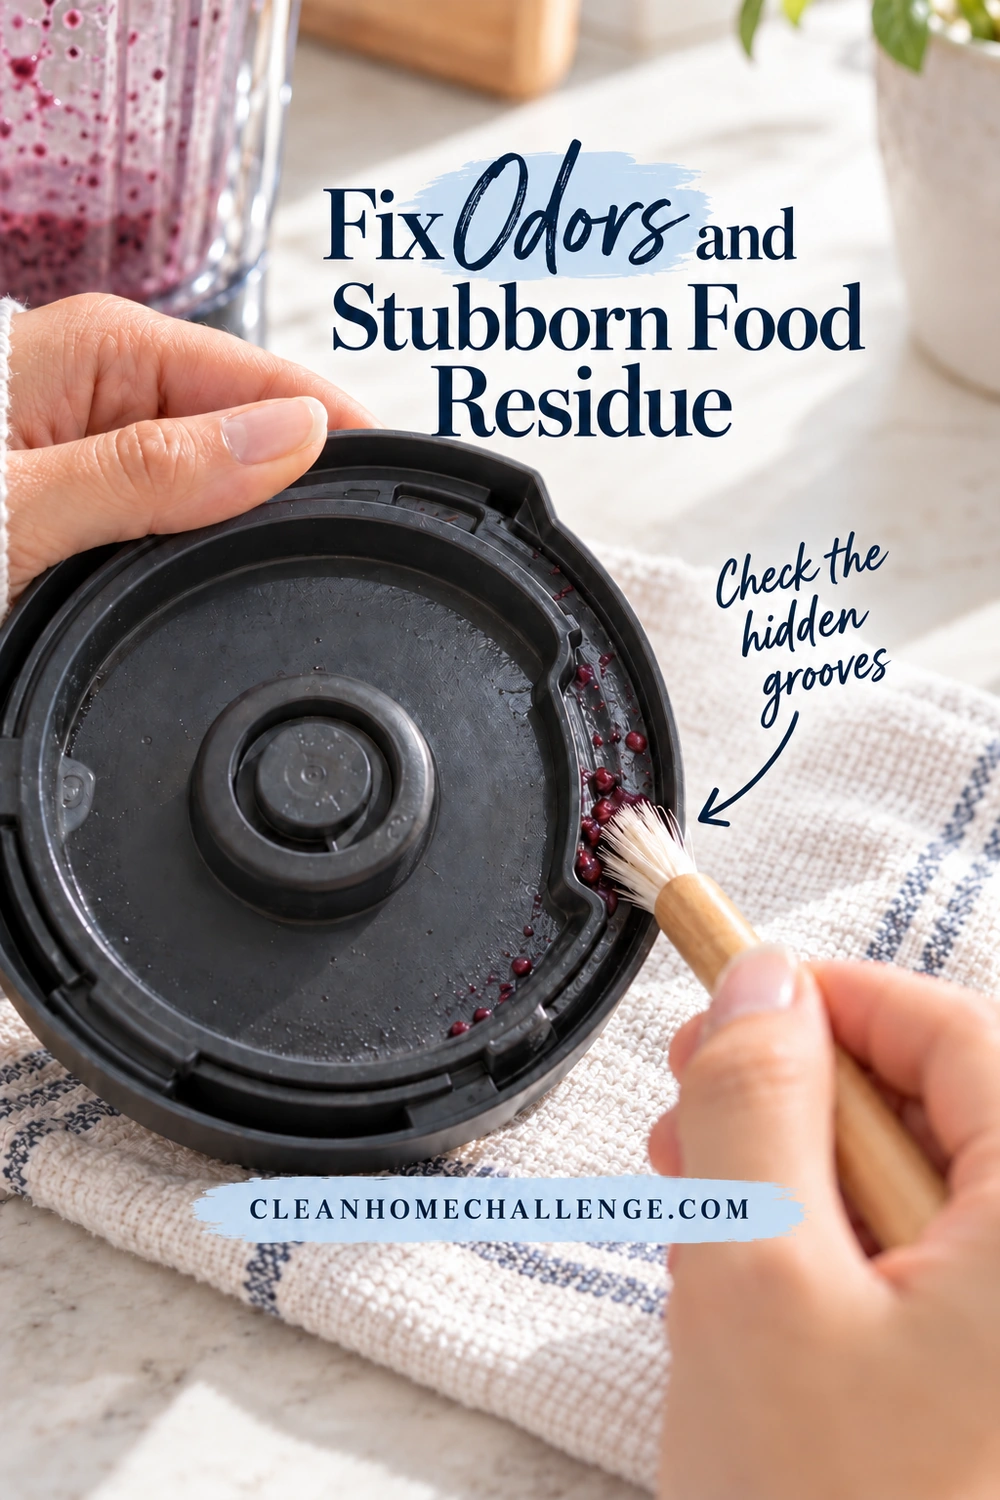
Check the underside of the lid, pouring spout, removable cap, cup threads, and exposed gasket surface. These areas can hold a thin line of food even when the main jug looks clean. Brush accessible grooves gently, rinse, and inspect again.
Remove a gasket only when the manual identifies it as user-removable for cleaning. In particular, nutribullet’s gasket guidance says its factory-fitted blade gasket should remain in place; an unseated gasket needs the appropriate replacement assembly. Do not pry at it with a knife or toothpick.
Can the parts go in the dishwasher?
Use the dishwasher only for the specific parts and conditions your manual approves. Cup permission does not automatically include its blade unit, lid, or seal. Rack placement also varies: Oster’s Classic Series care information and KitchenAid’s model instructions describe different arrangements. Keep sharp items secured as directed, and let everything dry before reassembly. The motor base never belongs in the dishwasher.
Wipe the Blender Base Without Water Damage
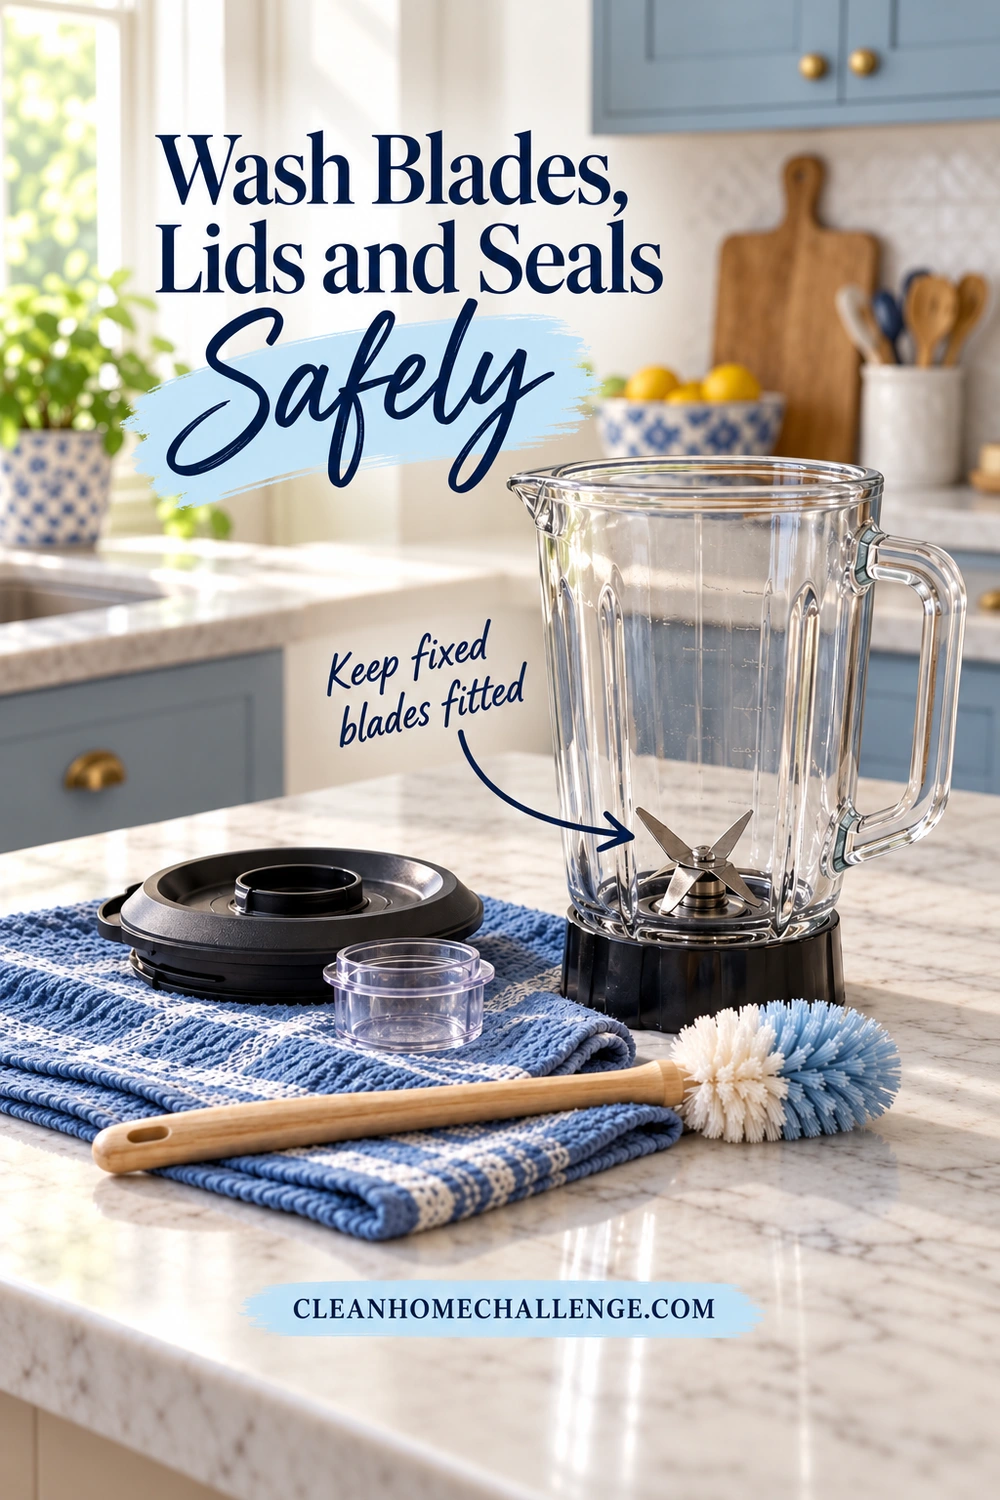
Unplug the base and move the detached jug aside. This is a wipe-down job on a dry counter. Do not place the base in the sink, run it under the faucet, or pour cleaning liquid into the drive area. The same caution applies to the cord and plug.
Work from the cleanest accessible surface toward the sticky spots:
- Pick up loose debris. Use a dry cloth to collect crumbs around the base before adding moisture. Brush loose material outward rather than pushing it into openings.
- Dampen the cloth. Wring it out well. If permitted, use a small amount of mild dish soap on the cloth for greasy splatters; it should not drip.
- Wipe exterior surfaces. Clean the casing, accessible top surface, buttons, and dial edges gently. Apply moisture to the cloth rather than spraying the machine.
- Remove residue. Follow with a second, barely damp cloth where needed, keeping water away from vents, sockets, and seams.
- Dry and inspect. Dry accessible surfaces, then check that the base and counter are dry before the appliance is used again.
Breville’s blender cleaning guide recommends an unplugged, damp-cloth cleanup for the base and gentle cleaning around controls. Abrasive pads are unnecessary for this job and can mark the finish.
Some models have a removable centering pad or other washable exterior component. Remove one only when your manual explains how; do not pull off knobs, feet, or covers because they look detachable. Never open the motor housing for routine cleaning.
If liquid has entered the motor housing, plug, or electrical connection, leave the appliance unplugged and seek the manufacturer’s advice before reuse. A dry-looking exterior does not tell you whether the inside is safe. Likewise, a burning smell from the motor needs troubleshooting, not a stronger cleaning solution.
While the base is moved, wipe the small patch of counter underneath with a product suitable for that surface. Let it dry before putting the blender back. That tiny extra step prevents the clean appliance from sitting in yesterday’s sticky ring.
Treat a Cloudy Jug Carefully
A cloudy jug can be frustrating after you have washed it properly. Start by deciding what you are looking at, rather than immediately using a stronger cleaner.
- A food or detergent film may look streaky or greasy and improve after a careful wash and rinse.
- Mineral deposits can leave a pale haze. Vitamix identifies minerals from produce and hard water as possible sources of cloudy buildup.
- Surface wear or fine scratches may remain unchanged after cleaning. Some jugs become visibly cloudy from milling hard ingredients.
- Cracks, chips, deep damage, or leaking call for a stop-and-check with the manufacturer, not another scrub.
These are clues, not a diagnosis from appearance alone. Do not feel around the blades to test the surface.
Try ordinary washing before a special treatment
Wash and rinse the jug, then let it dry so you can judge the surface without water hiding streaks. If the haze improves, repeat a gentle wash rather than escalating to scouring powder. If it is unchanged, check your model’s specific cloudy-container or stain-removal instructions.
For a compatible Vitamix container, its official care FAQ describes putting one cup of white vinegar inside the jug, adding warm water until it is half full, and leaving it upright for several hours before gentle cleaning. This is a manufacturer-specific option. Confirm that it applies to your container; do not transfer that concentration or soaking time to every blender, blade unit, or seal.
Keep the motor base entirely separate from any soaking step. Filling an approved jug internally is different from submerging the whole jug and its underside in a basin. Rinse as directed, and do not blend a cleaning mixture unless the manufacturer explicitly instructs you to do so.
Know when to stop chasing clarity
Avoid steel wool, abrasive powders, hard scraping, and repeated aggressive scrubbing. Breville’s BBL820 instruction book explains that dry milling can scratch and cloud its jug cosmetically. A deposit treatment cannot undo that surface wear.
If the approved method does not help, ask the manufacturer whether the haze is expected wear or whether the container needs replacement. A well-maintained older jug may never look brand new. The useful goal is an intact, properly cleaned container that can be used according to its care instructions.

Fix Odors and Stubborn Food Residue
An unpleasant smell deserves another look at the small food-contact surfaces. A curry stain, trapped smoothie residue, and a burning motor smell need different responses, so check where the problem is coming from before choosing a treatment.
Dried smoothie, nut butter, or thick sauce
Start with the normal approved wash. For stubborn residue, soften it with water and dish soap only where, and for as long as, the manufacturer allows. Keep the jug upright if that is the specified method. A permitted short softening step gives the brush less work to do; an overnight soak is not automatically better.
Brush the residue gently, rinse, and inspect. Do not chip dried food away with a knife, force a brush beneath the blades, or run the motor against a jammed object. If you cannot reach the remaining food safely, stop and ask about the correct cleaning tool or service route.
Oily mixtures may need a second careful wash with fresh soapy water. More detergent is not always helpful: excessive foam makes inspection and rinsing harder. nutribullet’s cleaning guide highlights thicker blends and trapped residue as reasons to clean beyond a quick cycle.
A smell that returns after drying
Check accessible lid grooves, cup threads, the exposed seal surface, and any approved removable pieces. Wash your brush and drying rack too. Leave the components apart to dry fully, following the manual’s safe storage arrangement for sharp blades.
If a seal looks deteriorated, a component keeps smelling after proper cleaning, or you can see residue or suspected mold in an inaccessible seam, stop using the affected part and contact the manufacturer. Do not hide the odor with fragrance, pry open a sealed joint, or assume a rinse has made an inaccessible area clean.
Do you need bleach or a disinfectant?
Routine washing, sanitizing, and disinfecting are different jobs. This guide describes cleaning and makes no germ-killing claim for soap, vinegar, or a powered wash. If raw meat contamination or another situation calls for sanitizing, use a method suitable for that blender and its food-contact surfaces, following both the appliance instructions and the product label.
Do not improvise a bleach recipe or blend a disinfectant. Never combine bleach with vinegar, ammonia, or other cleaners. The CDC’s cleaning guidance emphasizes cleaning first, following labels, and not mixing products. For a stronger treatment, confirm material compatibility, dilution, contact time, ventilation, protective equipment, and any required food-contact rinse. Keep products away from children and pets.
Keep Your Blender Clean With Less Effort
A manageable routine begins with a clear finish line: the food is removed, the approved parts are washed and rinsed, the base is clean and dry, and everything has a safe place to finish drying. Cloudiness does not have to become today’s extra project.
After each use
Pair cleanup with serving the smoothie or pouring out the sauce. Rinse promptly, use your model’s approved washing method, check the lid, and wipe fresh splashes. Give the drying rack a designated space for the jug and its parts so they do not disappear into a crowded sink.
If you only have a moment, switch off and unplug, empty the jug, and rinse the washable interior safely. Keep sharp parts visible and out of reach. Come back to finish washing before the next use; a quick rinse alone is not the completed cleanup.
During your regular kitchen reset
Inspect the rim, lid grooves, exposed seal, and area around the controls. Check the counter underneath and look for wear or leaks. A weekly reminder can help a daily blender user remember these spots, but clean visible food promptly rather than waiting for the scheduled day.
Use the same small-step approach in How to Build Daily Cleaning Habits That Become Automatic. If you are working through the breakfast corner, give your coffee maker its own separate routine with How to Clean a Coffee Machine; do not transfer its descaling products or procedure to the blender.
Before storing, let all washed components dry fully and reassemble them as the manual directs. Keep blade edges protected and avoid trapping moisture under a sealed lid where the manufacturer’s storage instructions allow ventilation.
Start with the next blend: wash the jug, check the lid, and leave it drying. A repeatable little cleanup is enough to make tomorrow’s breakfast easier.

CLEANERS CLUBHOUSE
Make Kitchen Cleaning Feel More Manageable
Turn Monday into your kitchen reset day with a clear routine you can follow. The Cleaners Clubhouse gives you practical cleaning guidance, printable support and monthly challenges to help you stay consistent.
