

THIS POST MAY CONTAIN AFFILIATE LINKS. PLEASE READ MY DISCLOSURE FOR MORE INFO.
A towel forgotten in a bag, a damp shirt at the bottom of the hamper, or clothing stored against a cold wall can turn into an unwelcome laundry job. Start by deciding whether the item can be cleaned at home without damaging the fabric or exposing someone unnecessarily.
To remove mold from clothes, start with the care label, choose a compatible laundry treatment, wash at an allowed temperature, and dry the item completely. Some washable pieces are worth treating; heavily affected, damaged, or nonwashable items may need professional assessment or disposal. No home method can promise to rescue every garment.
This guide is for a small, isolated problem on ordinary household laundry. It is not a flood-restoration, sewage-cleanup, or medical guide. Allow time for reading labels and preparation, any product-specified treatment, a complete wash, and thorough drying. The hands-on work can fit into short sessions, but the whole process may take much of a day or longer.
The short version: assess, protect, pretreat if appropriate, wash, dry, and recheck. Keep the steps small and resist the temptation to combine several internet remedies.
Disclosure: This post may contain affiliate links. As an Amazon Associate, Clean Home Challenge earns from qualifying purchases. If you make a purchase through these links, we may earn a small commission at no extra cost to you. This helps us keep creating practical cleaning tips, routines and resources for busy families! 🧽
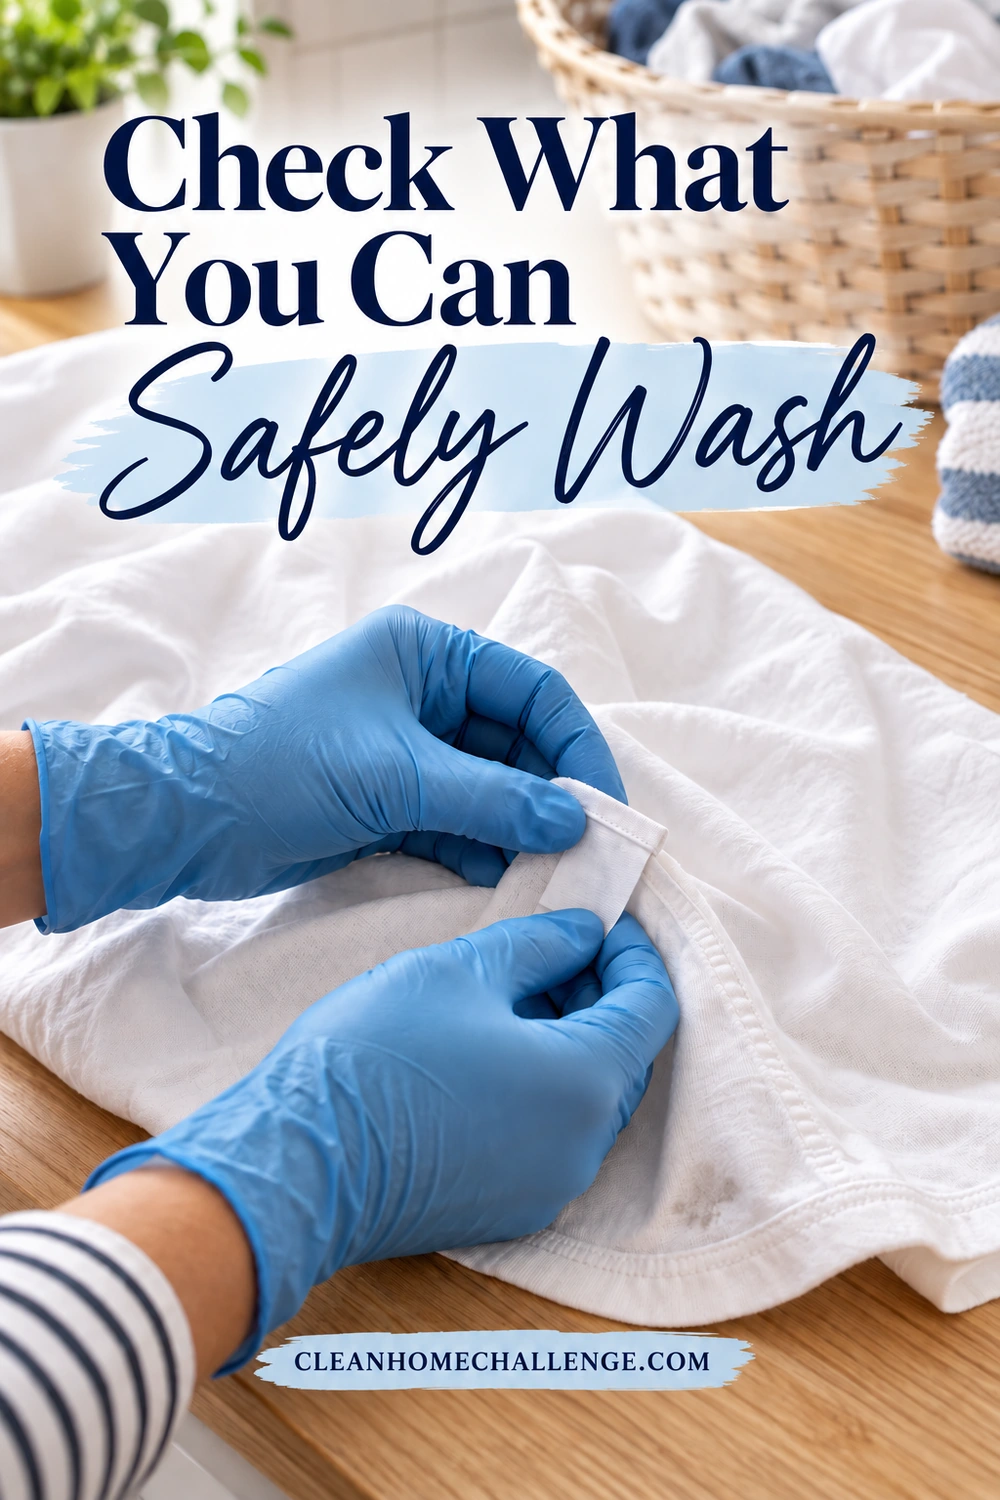
Check What You Can Safely Wash
Before handling the fabric, look at where you found it. One damp washcloth in a gym bag calls for a different response from mold across a closet, several storage boxes, and the wall behind them. Do not shake items out to inspect them or lift them to your face to check the smell.
Read the whole care label
Look for washing instructions, fiber content, the bleach symbol, drying directions, and any warning about soaking. Check attached trim and elastic too. A white garment is not automatically chlorine-bleach-safe, and a cotton blend can have restrictions that plain cotton does not.
The crossed-out triangle means no bleach; a triangle with two diagonal lines allows non-chlorine bleach only. If the symbols are unfamiliar, use the American Cleaning Institute’s fabric-care guide rather than guessing. A missing or unreadable label is a reason to ask the maker or a professional cleaner, especially for a valuable item.
Use three practical groups:
- Potential home-wash candidates: a few spots on an otherwise sound, washable shirt, towel, sheet, or removable cover whose instructions allow suitable laundering.
- Ask a specialist first: dry-clean-only clothing, leather, suede, delicate or embellished garments, antiques, and anything with uncertain construction or care instructions.
- Beyond this routine: widespread growth, deteriorating fabric, mold inside padding or filling, and items exposed to sewage, floodwater, or unknown contaminated water.
The EPA’s household mold guidance calls for professional help with contaminated-water damage and more extensive problems. Its often-mentioned 10-square-foot screening threshold concerns building cleanup; it is not a rule for deciding how many clothes to put in your washer.
Check who should handle the job
People with mold allergies, asthma, COPD, underlying lung disease, or weakened immune systems should not clean mold. Arrange suitable help rather than relying on protective gear to make the task appropriate. CDC cleanup precautions explain these higher-risk groups.
A dark mark alone cannot identify the mold type or establish whether an item is safe. Equally, a musty odor does not tell you exactly what is causing it. If the problem extends beyond laundry, use our guide to when mold cleaning needs a professional before starting a household cleanup.
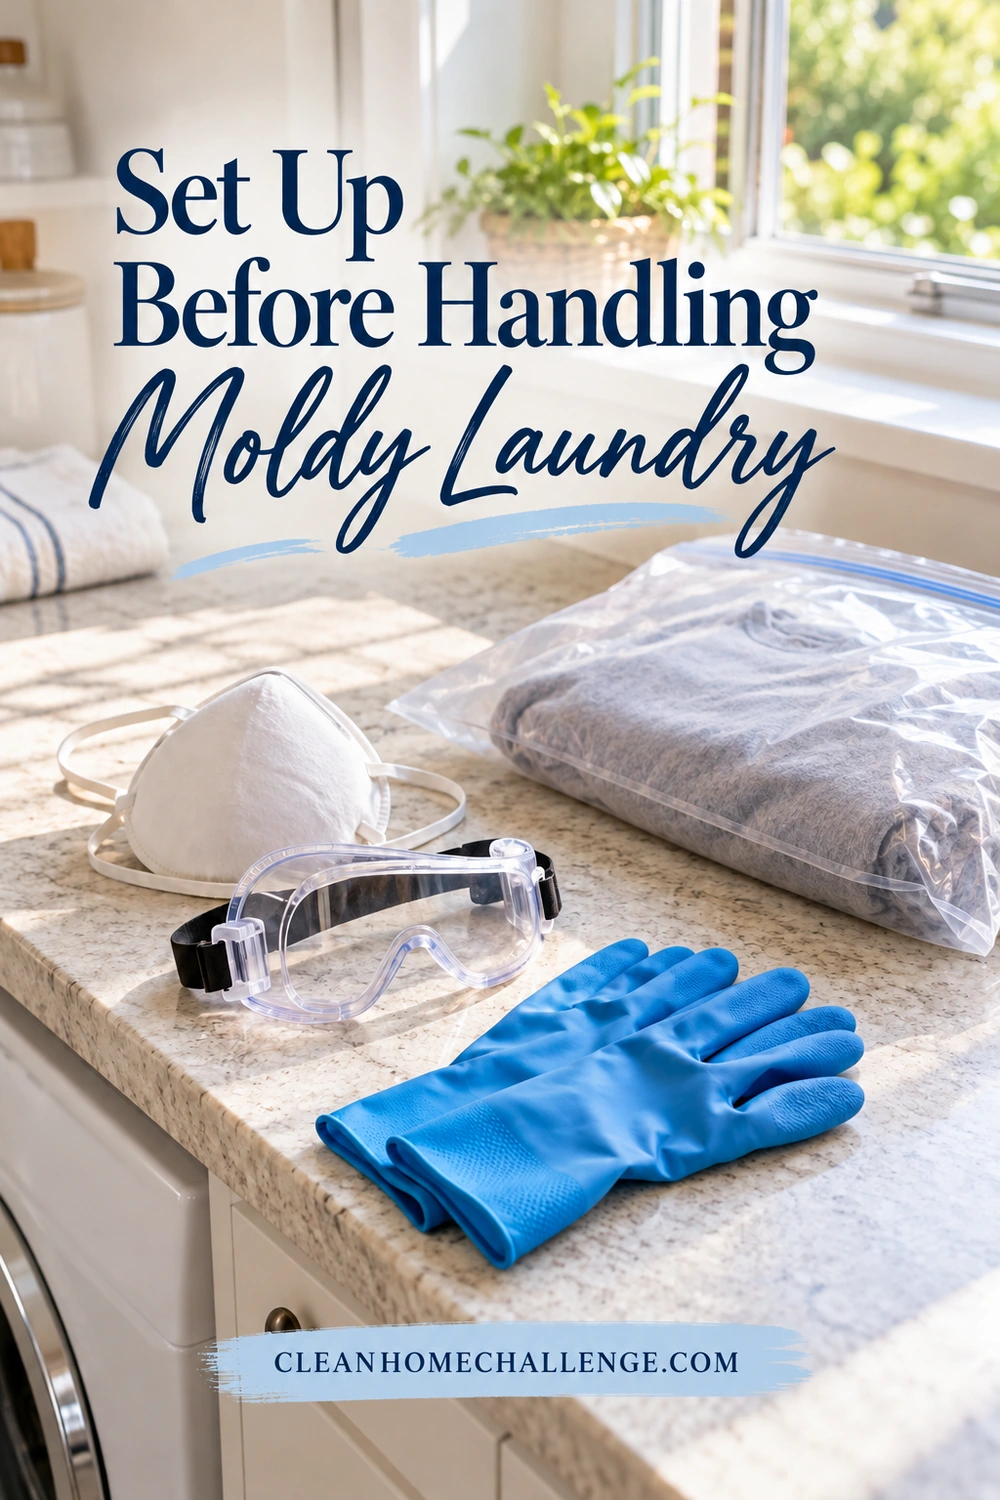
Set Up Before Handling Moldy Laundry
Make the route from the affected item to its treatment area simple. Keep it away from clean laundry, beds, and upholstered furniture. For this limited laundry job, handle only what you have already decided is suitable for home care.
Gather the basics before you begin:
- The garment’s care instructions and your washer manual
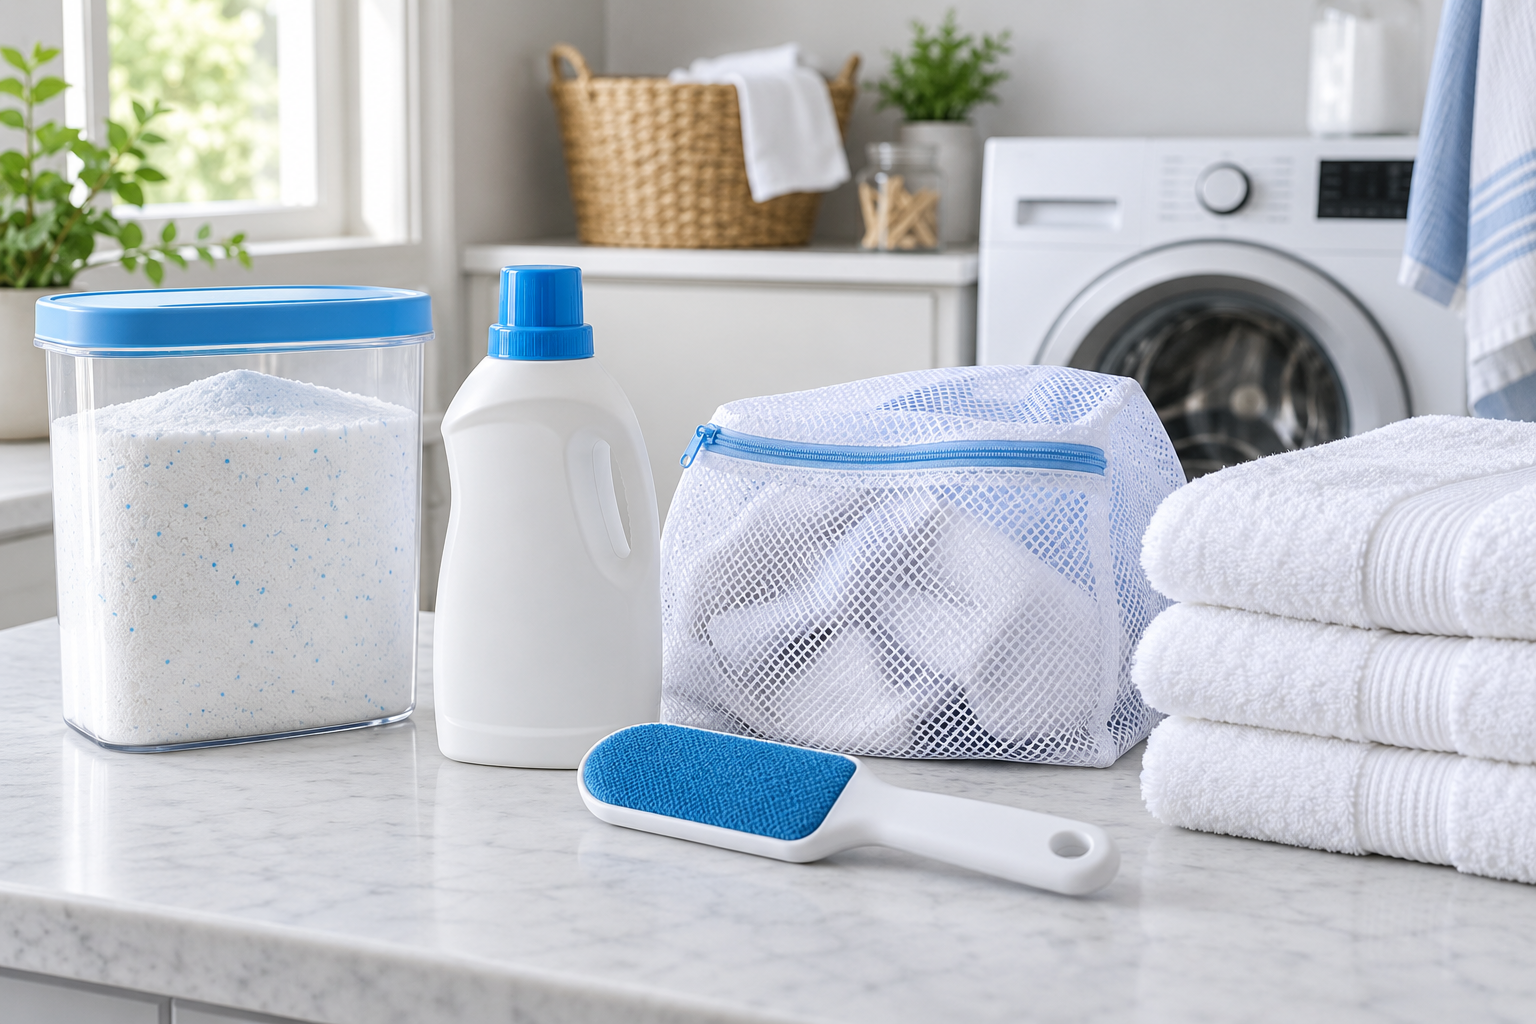
- A compatible laundry detergent in its original container
- One suitable stain treatment, only if needed and permitted
- Protective gloves compatible with the product
- A properly fitting, NIOSH-approved N95 respirator and enclosed goggles for handling moldy items
- A clean, washable tray or basin if the chosen treatment requires one
- A clean drying rack or an available, label-compatible dryer
- A timer and a safe place to store products afterward
CDC recommends gloves, at least an N95, and goggles that keep out dust and small particles for mold cleanup. Follow the respirator’s fitting instructions. An ordinary cloth face covering is not equivalent. An N95 filters particles; it does not protect against cleaning-product gases or vapors. Keep the room ventilated as the product directs. CDC protection guidance and NIOSH respirator limitations cover these distinctions.
Keep the handling gentle
Keep children and pets away from the work area and soaking containers. Avoid dry brushing, beating, or shaking moldy fabric indoors. Those actions create unnecessary disturbance before washing. Do not point a fan at untreated visible growth; CDC cautions that this can spread mold. If an item must be carried through the house, contain it for the short transfer rather than carrying it loose; do not turn a sealed bag into long-term storage for damp laundry.
Use a utility area rather than a food-preparation sink when possible. Clear away other cleaning products so you do not reach for the wrong bottle halfway through. Do not pour products into unmarked jars or drinking containers.
If you only have five minutes: check the instructions without disturbing the item, keep others away, and arrange a time or suitable person to finish. Do not start a timed chemical soak that you cannot supervise and complete.
Choose the drying space now. Finding that the rack is full after the washer finishes is an easy way for another wet load to sit forgotten. Keep the clean drying area separate from the affected laundry and storage spot.
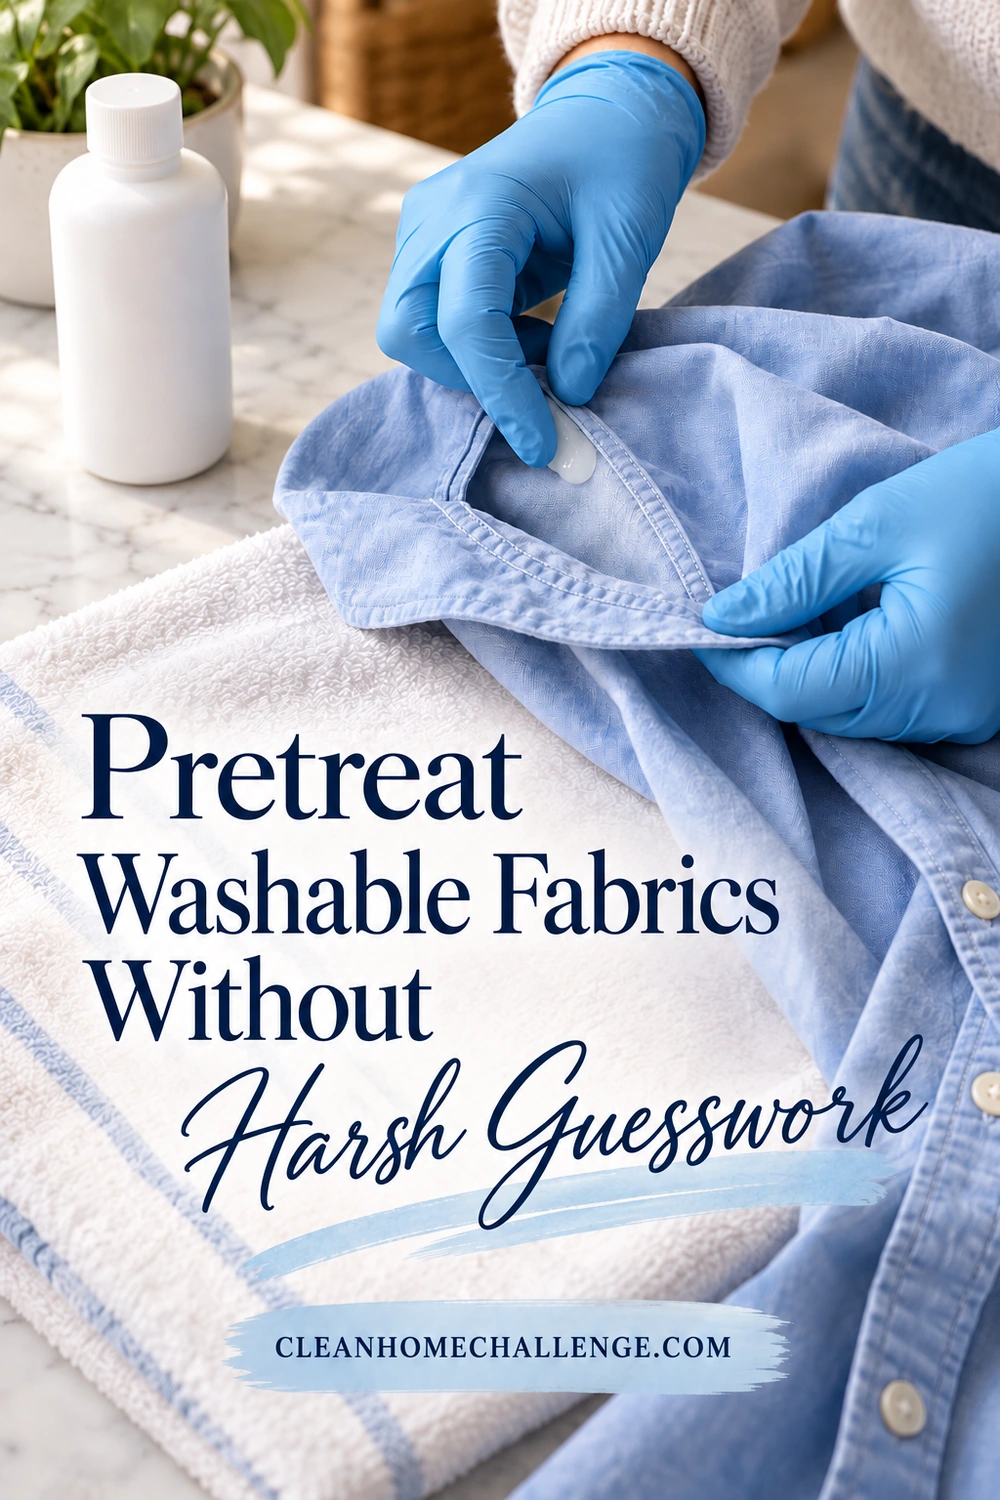
Pretreat Washable Fabrics Without Harsh Guesswork
Pretreatment is optional, not a license to use a stronger recipe. First confirm that the garment permits the product and application method. For a washable item, a laundry detergent labeled for pretreating or a compatible laundry stain remover may help with the visible marks before the main wash.
A product’s laundry instructions matter more than a generic online ratio. Concentrations, formulas, garment limits, and soaking directions vary. For example, Tide’s mildew-stain instructions describe specific detergent treatments; they should not be treated as directions for every detergent in the cupboard.
Use one deliberate treatment
- Read the product directions completely. Check allowed fabrics, water temperature, application, maximum contact time, rinsing, and the wash that follows.
- Test a hidden area when appropriate. Follow the product’s test instructions and examine the result before treating a visible section. Stop if the color changes, transfers, or the material is affected.
- Apply gently. Use only the amount and method permitted. Avoid forceful scrubbing that can abrade an already stressed area.
- Set a timer. Do not extend a short treatment into an overnight soak because the spots look stubborn.
- Complete the specified rinse or wash. Do not layer another product over the first treatment or leave treated fabric forgotten in a basin.
The American Cleaning Institute’s stain and fabric troubleshooting guide recommends hidden-area testing and warns that some color loss and bleach damage cannot be reversed. A successful test does not override a no-bleach or dry-clean-only label.
When oxygen bleach is an option
An oxygen-based laundry stain remover may be appropriate for some colorfast washable fabrics if both labels allow it. “Color-safe” does not mean suitable for every garment. OxiClean’s own guidance excludes its powders from wool, wool blends, silk, silk blends, leather, and dry-clean-only fabrics. Read the exact product you own rather than relying on the brand name. OxiClean fabric restrictions
If a permitted powder treatment needs dissolving, follow its instructions; do not use boiling water or scatter concentrated powder onto the stain. Never seal an oxygen-bleach solution tightly for storage: the manufacturer warns that pressure can build. Prepare and dispose of solutions as labeled, and keep all soaking water inaccessible to children and pets. OxiClean usage and storage precautions
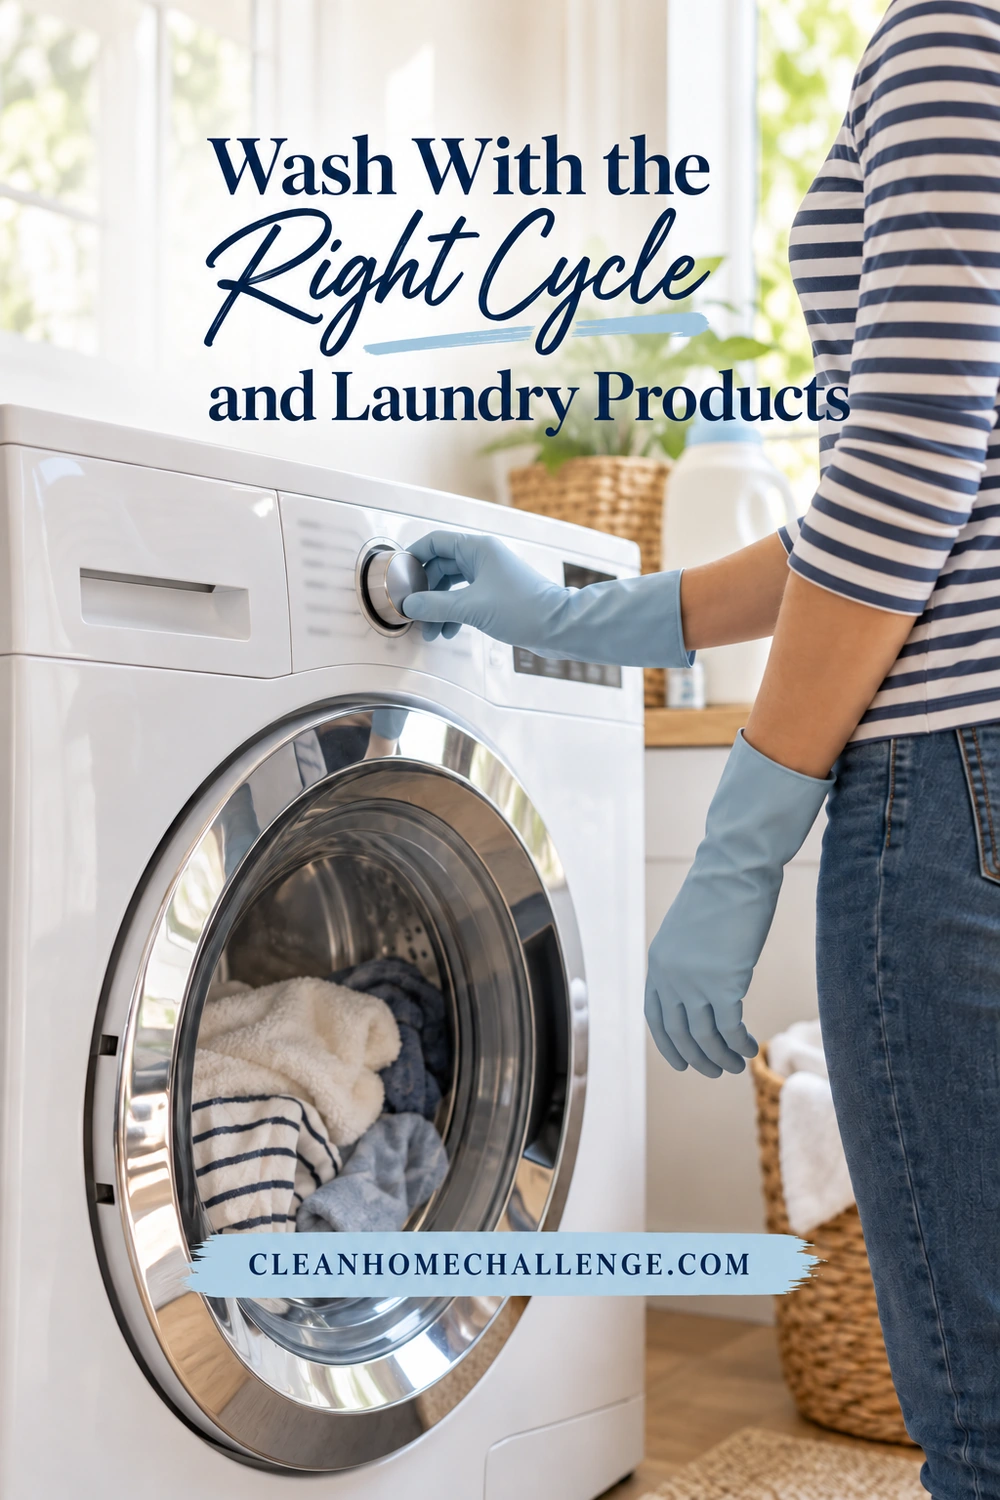
Wash With the Right Cycle and Laundry Products
For the first cleaning attempt, keep affected washable items in their own compatible load. Still separate items that need different temperatures, colors, or detergents. A sturdy white towel and a delicate dark top do not become a suitable load simply because both have spots.
Choose the cycle for the fabric and soil level, following the care label and washer manual. Use the warmest water those instructions allow when the selected laundry treatment calls for it. Do not override a cool-wash instruction, choose a sanitizing cycle automatically, or assume a particular temperature makes every fabric mold-free. Clorox’s fabric-specific mildew guidance also makes bleach suitability and garment care central to the method.
Measure rather than adding extra
Use the detergent type required by your machine, including HE detergent where specified. Measure for the load size, soil level, and water hardness using the product directions. Leave room for items to move according to the washer’s loading guidance.
Extra detergent is not extra reassurance. Too much can rinse poorly and leave residue. If you notice suds or a slippery feel afterward, check dosing and use a label-compatible rinse if needed instead of adding more chemicals. Maytag’s detergent guidance explains why the measured amount matters.
Chlorine bleach needs specific permission
Use chlorine bleach only when the garment, bleach label, and washer instructions permit that laundry use. Check the complete fiber blend, dyes, elastic, and trims. Do not assume all white towels, underwear, or uniforms qualify.
Follow the bottle’s current laundry dose, dilution or dispenser instructions, and contact time. Never pour concentrated chlorine bleach directly onto fabric. Do not borrow a hard-surface disinfection recipe for clothing. The American Cleaning Institute’s bleach guide emphasizes reading both the garment and product labels.
Never mix bleach with vinegar, ammonia, acids, alcohol, oxygen bleach, or household cleaners. Where a laundry bleach label directs use with laundry detergent in a wash, follow the separate dosing locations and sequence exactly; do not premix concentrates in a cup or basin. Skip unapproved boosters and homemade mixtures.
Do not use bathroom mold-removal spray on a shirt. A product suited to tile may damage textiles; Clorox’s Tilex instructions, for example, warn against contact with clothes and fabric.
Before pressing Start: confirm the cycle, temperature, measured products, and drying plan. Set a reminder to unload promptly. Completing one appropriate load is more useful than starting several treatments you cannot finish.
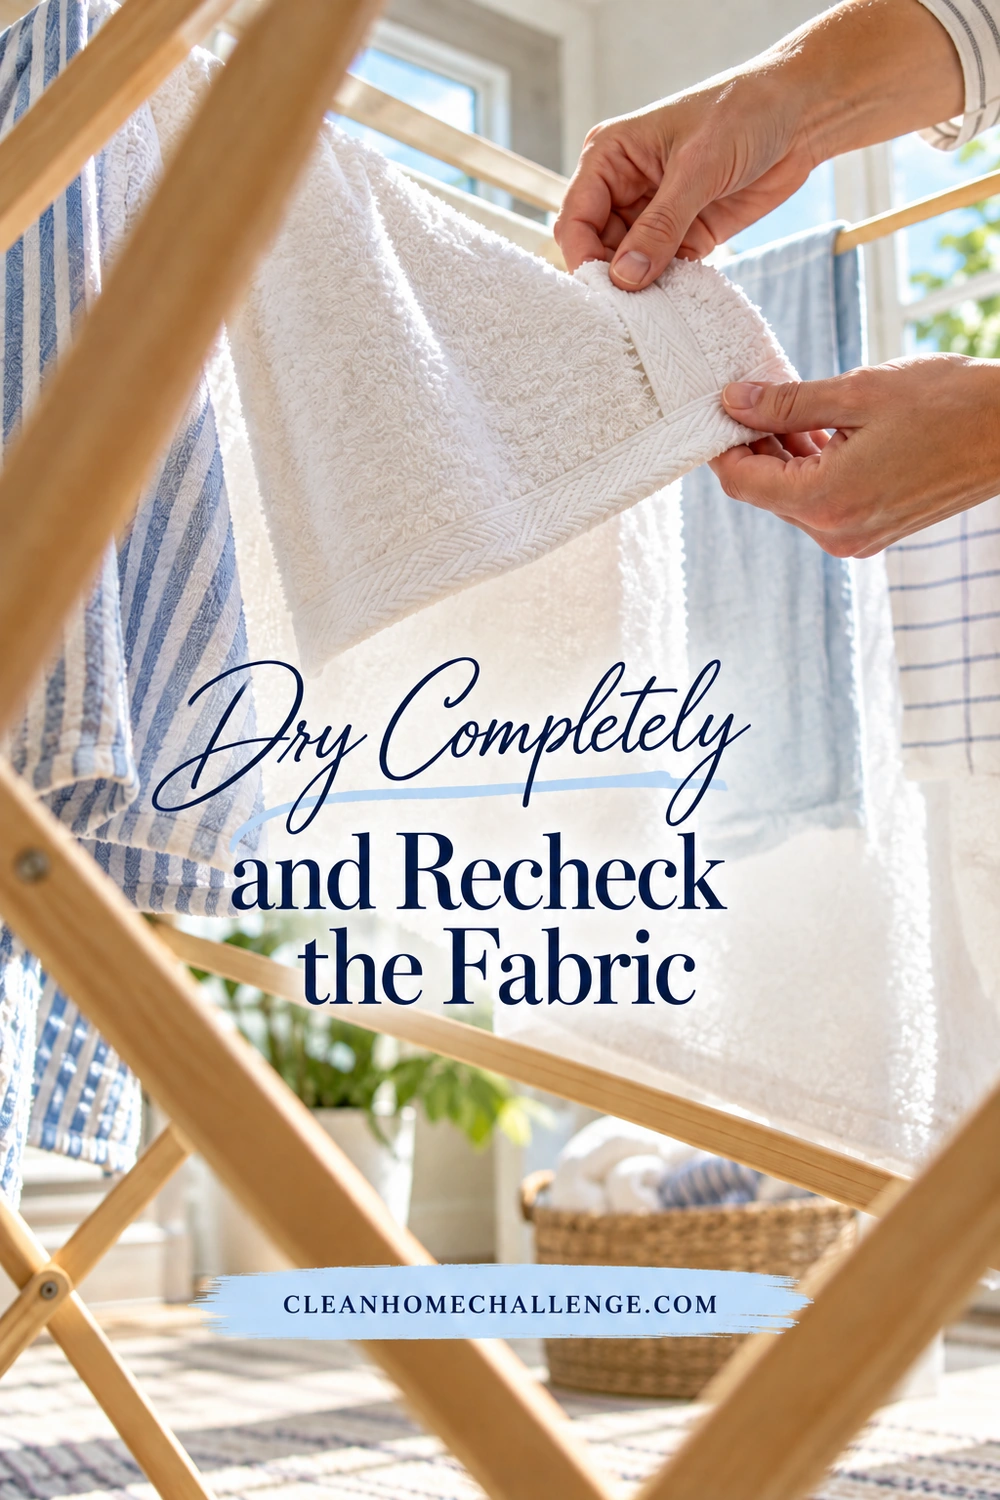
Dry Completely and Recheck the Fabric
Unload as soon as the cycle ends. Look at the formerly affected areas in good light before committing to heat drying. If marks remain and another permitted treatment is being considered, reassess now. Tide’s mildew-stain guidance recommends addressing persistent stains with its specified treatment and rewash before drying.
If no immediate repeat treatment is appropriate, do not leave the item wet while you decide. Dry it using the care label’s method, separately from clean stored clothing, then seek advice if the outcome is uncertain.
Match the drying method to the item
- Tumble-dry-permitted fabrics: use the allowed setting and load size. Do not add a hotter cycle as an improvised mold treatment.
- Line-dry garments: arrange them with space between layers and follow any shade-drying instruction.
- Dry-flat items: support the whole garment on a suitable clean surface, reshaping only as directed. Replace a damp support towel when needed.
- Thick or layered pieces: open out cuffs, waistbands, pockets, and hems so you can check them before storage.
Outdoor drying can be useful when suitable for the fabric and weather, but sunlight is not a verified substitute for laundering or a way to certify disinfection. It can also be inappropriate for particular fibers: Woolmark advises drying wool away from direct sunlight and direct heat.
Let dryer-warm items cool before folding and check thicker areas for remaining dampness. Do not judge a hoodie by the thin front panel while its cuffs and hood are still wet. Drying time depends on the fabric, load, drying method, and room conditions; there is no reliable universal deadline.
Use a practical recheck
Check for remaining visible growth, persistent mustiness noticed during ordinary handling, damaged fibers, and recurring dampness. Do not press the garment to your nose. A photograph taken before treatment can help you compare the mark without relying on memory.
Mold can leave cosmetic staining, and restoring the original appearance is not always possible. At the same time, a faded spot or fresh fragrance cannot prove that mold has been fully removed or that the garment is suitable for a medically vulnerable person. The EPA’s mold guide distinguishes removal, moisture control, and residual staining.
Home inspection helps you decide on the next step, but cannot establish laboratory clearance. Keep an uncertain item out of use and ask a textile-care professional. If it becomes musty again after storage, investigate the storage area as well as the laundry process.
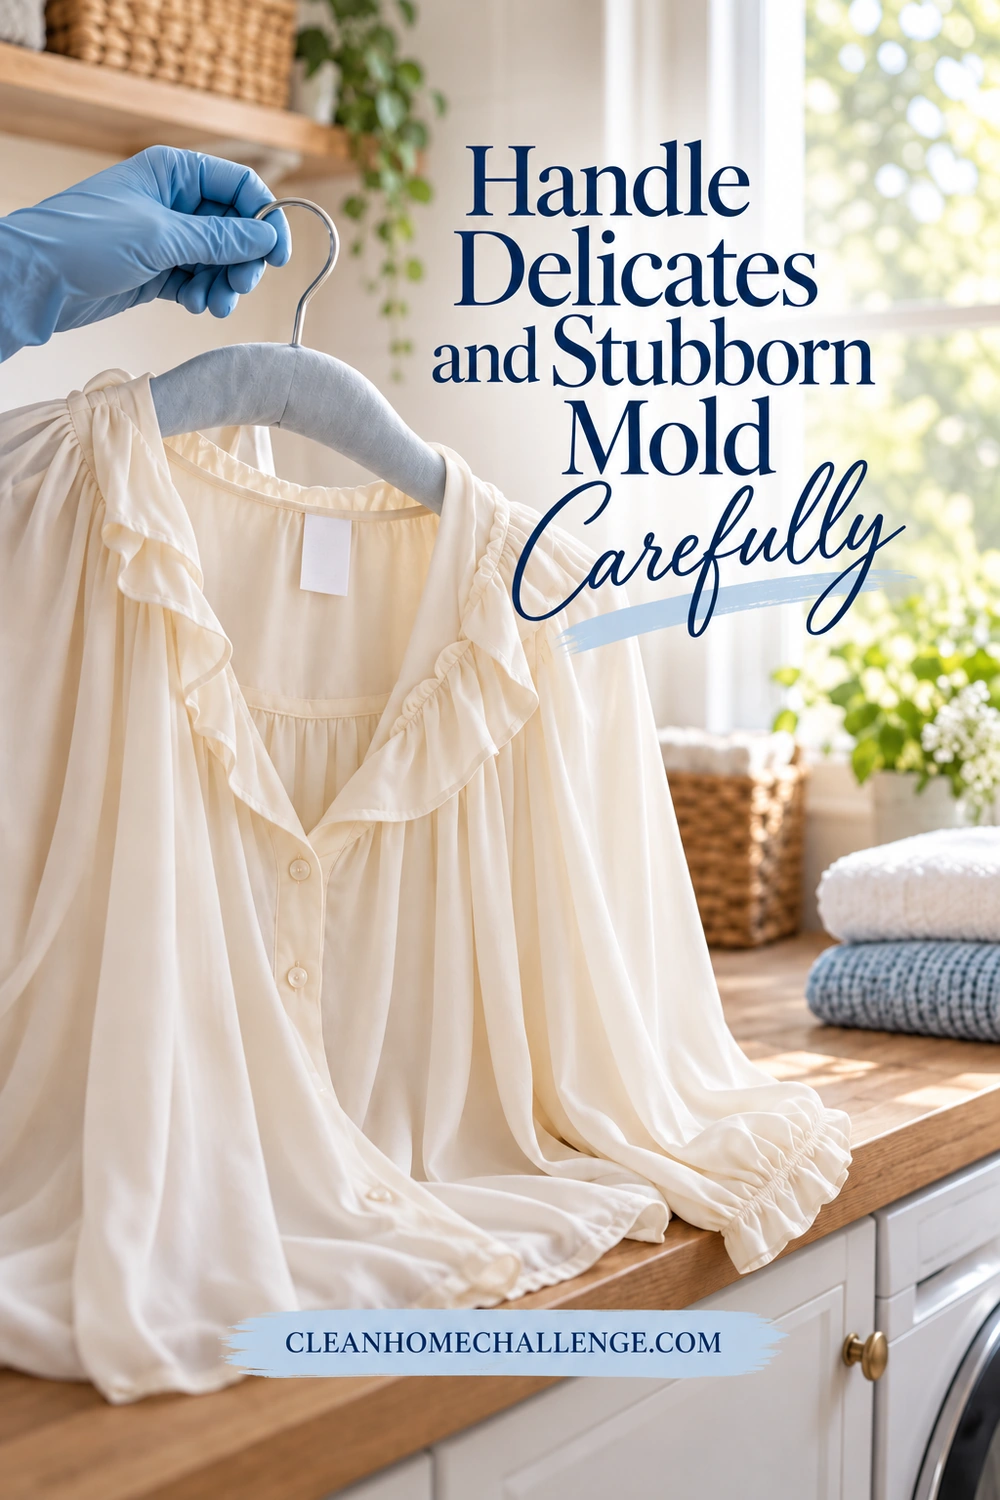
Handle Delicates and Stubborn Mold Carefully
The most helpful alternative is often a fabric-specific plan, rather than another ingredient. Start with the item’s construction and value, then decide whether further home treatment makes sense.
Wool, silk, and other delicate pieces
For washable wool, use the labeled wool program or hand-wash method and a suitable mild wool detergent. Woolmark advises against heavy-duty enzyme detergents and both chlorine and oxygen bleach. Ordinary stain-removal powders are not a fallback for a wool sweater. Woolmark detergent guidance
Silk needs its own label-approved method. Avoid chlorine bleach and vigorous rubbing; do not apply a cotton-towel treatment to a silk blouse. Tide’s silk-care guidance explains the importance of checking washability and colorfastness. Visible mold on a valuable or fragile piece is a good reason to consult a cleaner before any wet treatment.
For dry-clean-only garments, leather, suede, structured coats, and embellished clothing, contact an appropriate professional. Tell them that mold is suspected, describe the moisture exposure, and ask whether they accept the item and how it should be transported. Do not arrive with an unannounced bag of affected clothing.
A removable washable cushion cover is different from the foam or padding beneath it. If the filling is involved, cleaning the cover alone is insufficient. Mold inside mattresses, upholstery, lined furnishings, or bulky nonwashable items falls outside this laundry routine. The EPA’s cleanup steps explain why porous materials can be difficult to clean and why specialist advice may be needed.
What if the first wash does not work?
For sound, suitable washable fabric, review the first attempt before repeating it: was the product compatible, the dose correct, the load uncrowded, and the treatment time followed? A repeat of the permitted method may be reasonable. Stop if the material weakens, color changes, growth remains, or the next step would require ignoring a label.
Do not keep escalating through bleach, vinegar, peroxide, and stronger cleaners. This guide does not recommend a homemade vinegar soak as a substitute for a fabric-approved treatment; machine compatibility also matters. Whirlpool warns that repeated vinegar use can damage washer components in its mildew-odor guidance.
Choose professional advice or disposal when suitable cleaning does not resolve the problem. A low-cost washcloth does not need an endless rescue project. If discarding, contain it with minimal handling and follow local waste guidance; do not donate unresolved moldy textiles.
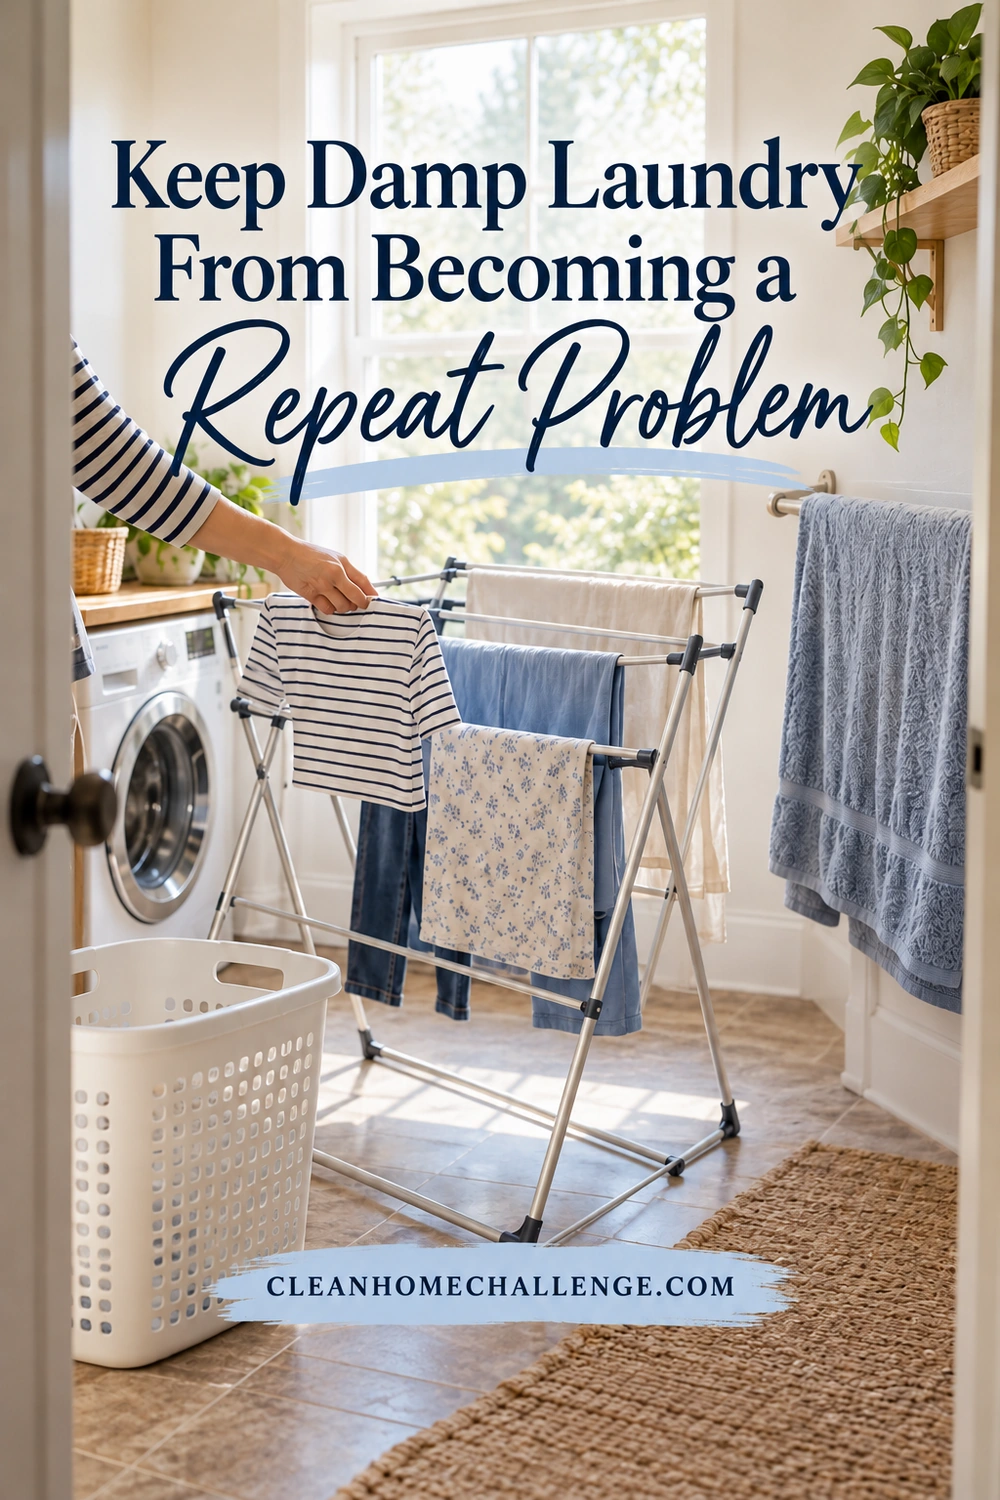
Keep Damp Laundry From Becoming a Repeat Problem
Once the immediate load is handled, look for the moment moisture gets trapped. Perhaps towels land in a heap, swim clothes stay in a bag, or clean washing waits overnight in the machine. Choose one habit that interrupts that pattern.
Build a small, repeatable routine
- After showers: spread towels out so folds are not pressed together. Use enough hooks or rail space for the people who actually live there.
- After swimming or exercise: empty the bag promptly and wash according to the care label. If washing must wait, do not leave ordinarily wet items balled up in a closed hamper.
- When starting a load: make sure someone can unload it and there is space to dry it.
- Before putting clothes away: check thick seams and layers, not just the easiest surface to touch.
- At your laundry catch-up: check the hamper, bag, washer seal, dispenser, and drying area for retained moisture or residue, following each item’s cleaning instructions.
Wash and fully dry a compatible hamper liner; clean hard baskets according to their material instructions. Follow your washer’s maintenance directions after the affected load and for routine cleaning. Use the specified product and empty-machine cycle rather than improvising a multi-product wash.
Whirlpool recommends prompt unloading, correct detergent use, and attention to the drum, dispenser, and door gasket to help prevent washer odors. Leave a door or lid ajar only when the manual permits and access can be controlled safely around children and pets. Our guide to why towels smell after washing helps trace a recurring odor through the laundry process.
Check the room when the same problem returns
Look for condensation, leaks, damp walls, and overpacked storage without disturbing moldy building materials. A humidity meter can help reveal a persistent moisture problem. CDC advises keeping indoor humidity no higher than 50%, using suitable ventilation or dehumidification, and repairing leaks. CDC mold-prevention guidance
Freshly dried laundry should not go straight back into a damp closet or affected storage box. Arrange the necessary repair or cleanup before returning it. Fragrance sachets and extra detergent do not address a moisture source.
For a busy week, aim to finish one manageable load from washing through drying and storage. Saturday laundry catch-up can help with the backlog, but wet items need attention sooner. Use our faster folding and put-away routine once everything is clean and fully dry.
The useful finish line is simple: appropriate care, a checked and completely dry item, and a practical change that prevents the same damp pile from forming again. You do not need a perfect laundry room to make that happen.
CLEANERS CLUBHOUSE
Make Laundry Catch-Up Feel More Manageable
Use Saturday to catch up without letting laundry take over the whole weekend. Inside the Cleaners Clubhouse, practical routines and printable support help you keep washing, folding and household jobs moving.
