
THIS POST MAY CONTAIN AFFILIATE LINKS. PLEASE READ MY DISCLOSURE FOR MORE INFO.
Low-waste cleaning products earn their place when they help you keep a comfortably clean home and buy fewer replacements. That might mean a refill for a bottle you already use, a fresh head for a sturdy brush, or a small stack of washable cloths within easy reach.
You do not need to clear out your cleaning cabinet and buy a matching set. Start with usable supplies you own, then change the things you replace most often. The aim is a routine you can repeat on an ordinary busy Tuesday.
This guide walks through seven practical changes, including how to choose refills, protect your surfaces, maintain tools, and check packaging claims. You can work through them gradually. One useful swap is a perfectly good starting point.
Disclosure: This post may contain affiliate links. As an Amazon Associate, Clean Home Challenge earns from qualifying purchases. If you make a purchase through these links, we may earn a small commission at no extra cost to you. This helps us keep creating practical cleaning tips, routines and resources for busy families! 🧽
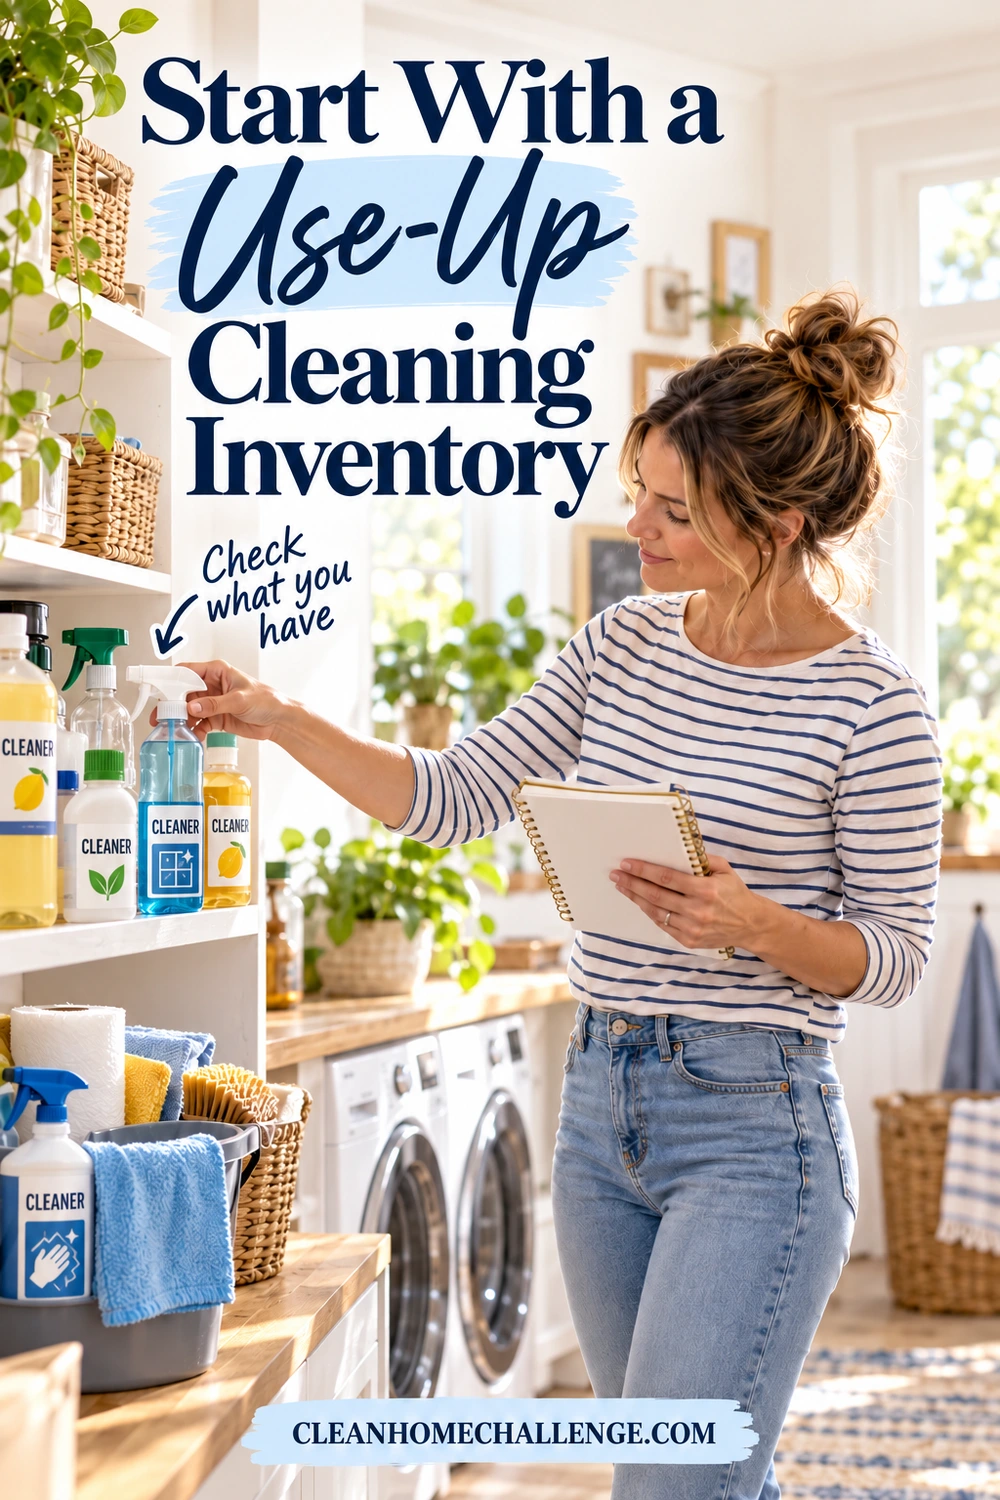
Start With a Use-Up Cleaning Inventory
Before shopping, give one shelf a ten-minute check. You need a notepad or phone, enough clear space to read labels, and somewhere secure to return the products. Keep children and pets away while the cabinet is open.
Find the purchases you can skip
List each product by its job: everyday surfaces, dishes, bathroom, floors, laundry, or a specific occasional task. Note whether it is open, how much remains, and whether you actually use it. Two bottles with different scents may be doing exactly the same job.
Make three simple decisions:
- Use now. Keep a suitable product within any stated expiration date in its normal working spot. Finish one open bottle before starting another that does the same job.
- Keep as a backup. Put unopened duplicates behind the current product, with their labels visible. Add them to your shopping note so they do not get bought again.
- Check before using. Set aside unidentified products, unreadable labels, damaged containers, and anything with questionable storage or expiration information. Check with the manufacturer or local waste service rather than guessing.
Do not consolidate half-full bottles. Even products that look alike may have different formulas. Keep hazardous products in their original containers, with labels intact, and never use food or drink containers. Follow disposal instructions and ask your local household hazardous waste service about unwanted cleaners. Pouring them down a drain is not a general disposal method. EPA household hazardous waste guidance explains the precautions.
Give the next purchase a clear job
Write one replacement note, such as “check the matching refill when the bathroom spray runs out.” This keeps a sale or attractive starter kit from becoming another duplicate.
If a product irritates you, is unsuitable for your surfaces, or cannot be used safely, you do not have to finish it to avoid waste. Ask about safe disposal. Likewise, avoid keeping a leaking bottle simply because some liquid remains.
Low-energy option: Check only the product nearest to running out. Finding one unopened backup already counts as progress.
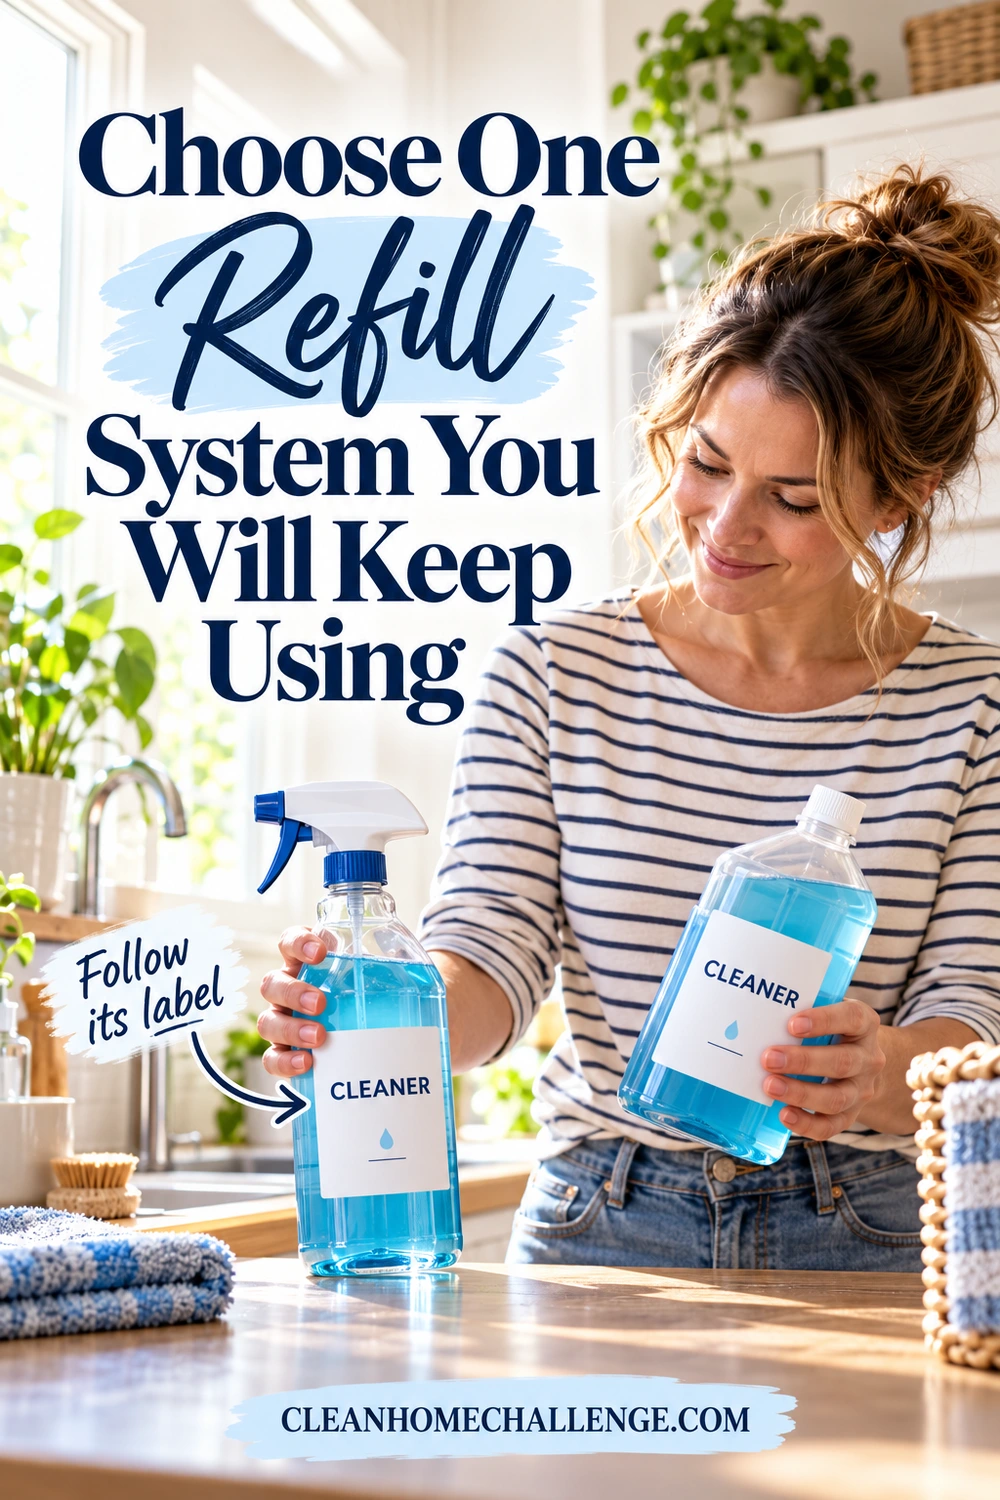
Choose One Refill System You Will Keep Using
A refill is useful when it replaces a bottle you would otherwise purchase. A new dispenser, several starter kits, and unused refill subscriptions can leave you with more supplies to manage.
Begin with the cleaner you use most consistently. Check that its refill is available where you normally shop, suits your surfaces, and has instructions you can follow comfortably.
Compare the whole refill arrangement
Before buying, check:
- The correct container. Is the bottle designed for repeated refilling with this exact product?
- The refill format. Is it ready to use, a liquid concentrate, or a dissolving tablet? These are different systems.
- The directions. Are the water quantity, dose, preparation order, and any waiting time clearly stated?
- The bottle’s practical features. Can you hold it easily, read its markings, and replace a failed trigger?
- The ongoing supply. Can you buy individual refills without accumulating more than you need?
- The waste route. What happens to the refill pouch, tablet wrapper, cap, and eventual worn-out bottle?
A larger ready-to-use refill may suit someone who finds measuring difficult. A tablet system may suit a small storage space. Neither format automatically proves a lower overall environmental impact. Focus first on a setup you will use correctly and repeatedly.
Refill without improvising
Use the manufacturer’s own matched refill system for the simplest, clearest instructions. Empty the bottle through normal use, then follow the maker’s cleaning and drying directions before refilling. Do not top up old solution or combine formulas unless the manufacturer specifically directs that method.
For example, Blueland’s spray-cleaner instructions tell users to fill its bottle to the marked line with warm water, add the specified tablet, and wait until it has fully dissolved before fitting the nozzle. Those instructions belong to that product; another concentrate may require a different amount or sequence.
Keep the product identification and safety directions with the refillable bottle. Store refill packs in their labeled packaging. Do not add fragrance, essential oils, vinegar, or extra tablets to change the formula. Never dilute a ready-to-use cleaner simply to stretch it further.
Prepare only the amount the product instructions support, observe any stated storage period, and close the refill pack as directed. Use the recommended gloves and ventilation, and store everything securely away from children and pets.
Common mistake: Buying a bottle because it says “refillable” before checking whether the actual refill is available and practical to obtain.
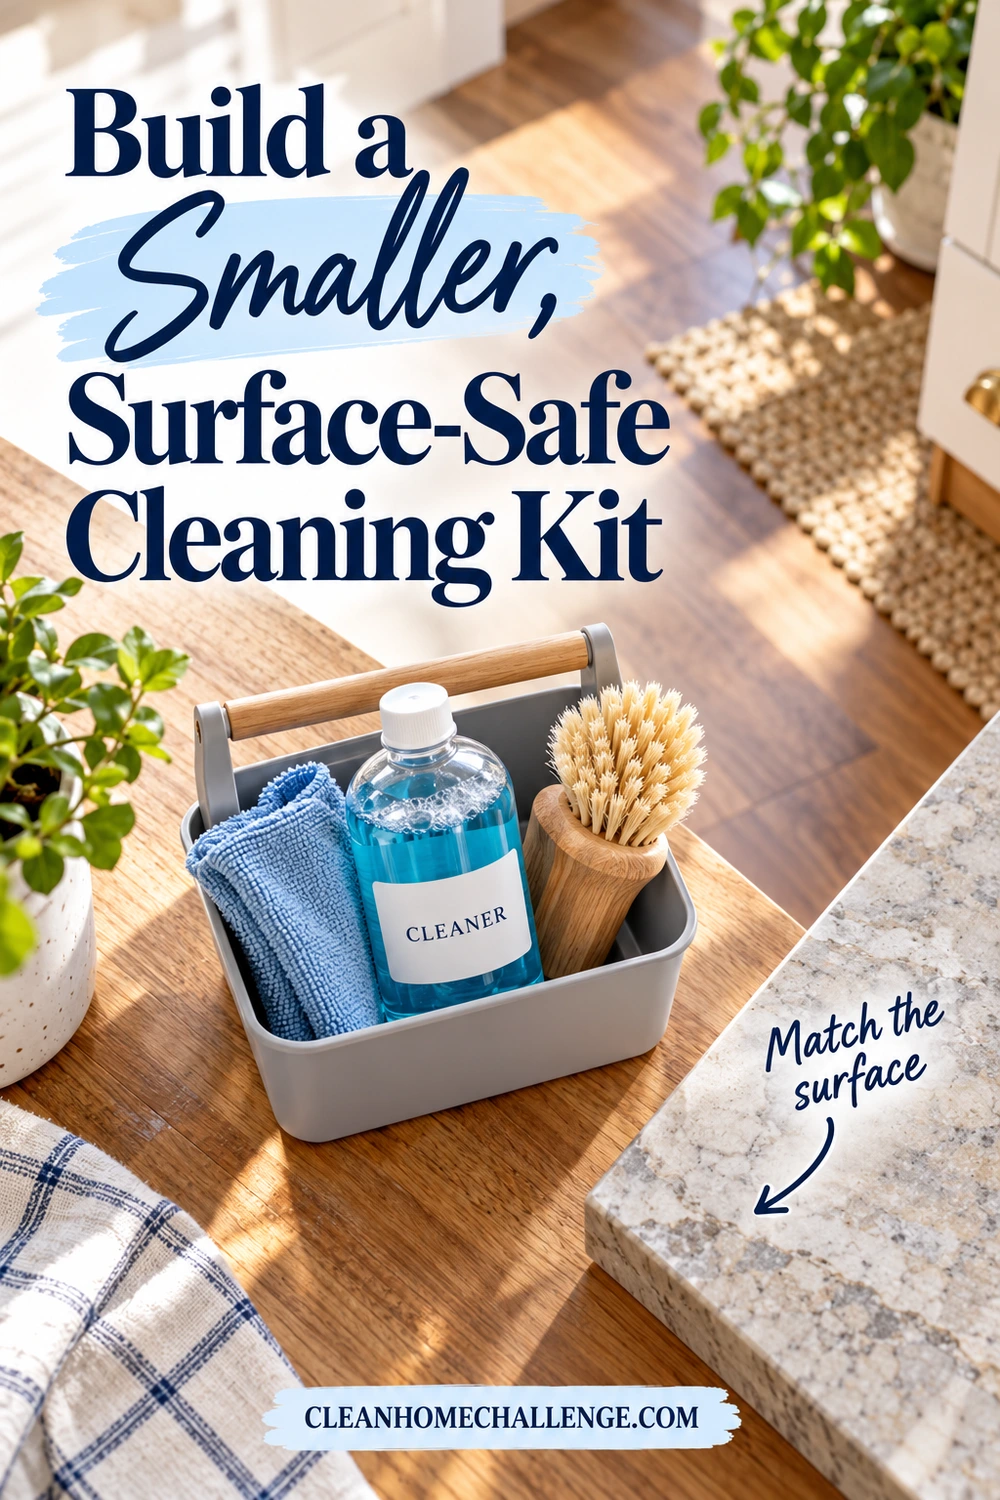
Build a Smaller, Surface-Safe Cleaning Kit
Reducing duplicate products can simplify the cupboard, but your home’s surfaces still need suitable care. A smaller kit might include one everyday cleaner for its approved surfaces, dish detergent, a floor product appropriate to the finish, and any genuinely necessary specialist products.
Treat that as a starting point. An unsealed wood table, natural stone vanity, and electronic screen may each need different care. “Multi-surface” does not mean every surface.
Check three things before combining jobs
Read the cleaner’s permitted uses, check the surface manufacturer’s care guide, and test in an inconspicuous area when advised. A spot test does not override an explicit warning against a product.
Be especially careful with these areas:
- Natural stone: The Natural Stone Institute warns that acidic products can dull or etch acid-sensitive stone and that abrasive cleaners may scratch it. Keep vinegar-based shortcuts away from stone unless its supplier specifically approves them.
- Wood and specialty floors: Identify the finish and use the recommended cleaning method. Do not assume a countertop spray belongs in a mop reservoir or floor-cleaning machine.
- Screens and appliances: Follow the equipment instructions, including where liquid may be applied. A cleaner approved for glass windows may be unsuitable for a coated screen.
Keep cleaning and disinfection separate
An everyday cleaner removes dirt and many germs; a disinfectant is formulated to kill specified germs when used as directed. CDC says routine cleaning is enough in many household situations, while illness or a weakened immune system can require disinfection. Food-contact surfaces contaminated by raw meat juices need appropriate cleaning and sanitizing. Follow the relevant instructions for that situation. CDC cleaning and disinfection guidance
Do not replace an indicated sanitizer or disinfectant with an ordinary refill spray. When disinfecting, use a suitable EPA-registered product and keep the surface wet for its full labeled contact time. Follow any food-contact rinsing directions. Never mix cleaning products, especially bleach with ammonia, vinegar, acids, or other cleaners.
Give the product a fair chance to work
Clear loose crumbs or grit first using a surface-appropriate method. Apply the labeled amount, allow any specified working time, and wipe or rinse as directed. Change to a clean part of the cloth when it becomes dirty. If a surface looks streaky, check the dose, tool, and rinsing instructions before adding more product.
For ingredient and performance screening, EPA’s Safer Choice label is useful: the program reviews ingredients, performance, packaging, and other criteria. Verify the exact product in EPA’s directory. Certification does not make it suitable for every material or eliminate label precautions.
Easy win: When two products cover the same approved task equally well, finish them in turn and replace only the one you prefer.

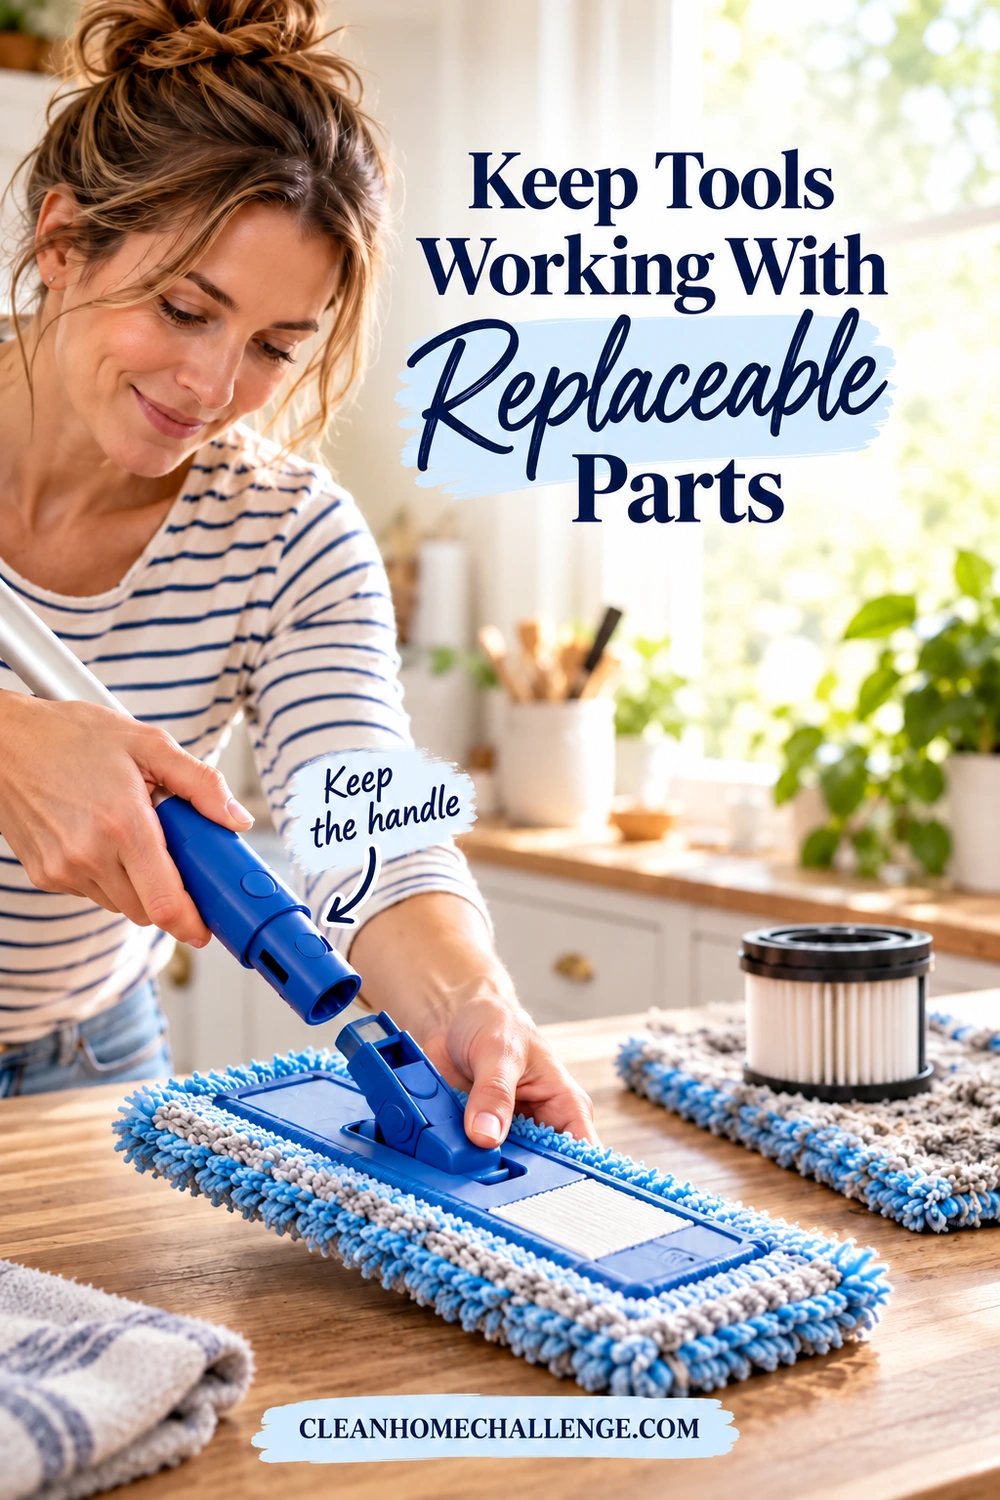
Keep Tools Working With Replaceable Parts
The handle of a dish brush can be perfectly usable after its bristles wear out. A mop may need a fresh pad rather than a new handle. Before replacing a tool, find out which part has actually failed.
A five-minute check of the supplies you already own can reveal a loose attachment, a removable clog, or a worn part available separately. Follow the maker’s maintenance directions; do not force apart sealed components or attempt an unsafe electrical repair.
Shop for the next replacement part
When a tool truly needs replacing, look for:
- A head, pad, blade, or trigger sold separately for that exact model
- A connection you can operate without a struggle
- Care instructions you can realistically follow
- A shape that reaches the areas you actually clean
- A place to dry and store the tool between uses
Check the part number before buying. Similar-looking brush heads and mop pads are not always interchangeable. Save a photo of the model label and the compatible refill name in your shopping note.
For a concrete example, OXO sells replacement heads for its Steel Dish Brush and identifies the compatible refill type. That is the kind of specific repair information worth finding before choosing any tool. It is not a reason to discard a brush you already like.
Add care to the end of the job
Remove trapped debris, clean the working part using its approved method, and let it dry in a suitable place. Store a mop so its wet pad is not pressed against the floor. Wash removable pads according to their care labels and refit them only when appropriate for the next task.
Inspect wear during your normal cleaning routine. Replace a frayed pad that no longer attaches securely, a brush head with badly flattened bristles, or a damaged squeegee blade that cannot do its job. Keeping an ineffective or unsafe part indefinitely is not the goal.
If cost is your main question, our reusable-versus-disposable cleaning comparison explains how to account for laundry and replacement parts.
Common mistake: Buying several specialized tools before seeing whether your existing brush, washable mop pad, and vacuum already cover those jobs.
If a reusable option is too heavy, difficult to grip, or awkward to maintain, look for a more accessible design. A tool that makes cleaning manageable is more likely to stay in use.
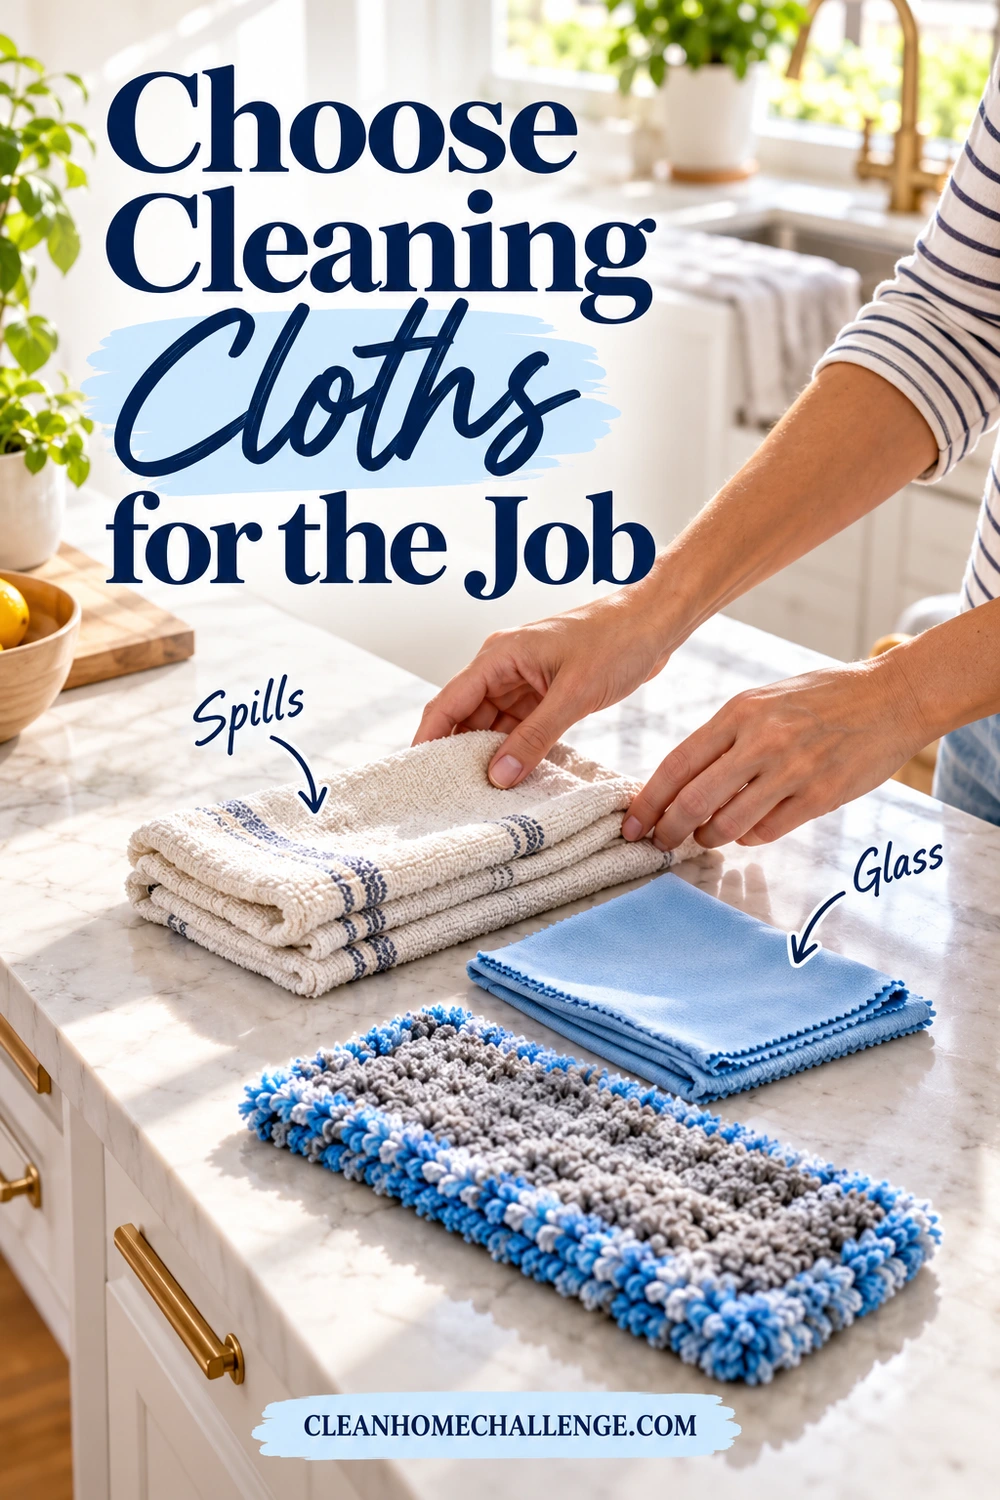
Choose Cleaning Cloths for the Job
A small, useful cloth collection can replace many routine paper-towel jobs without creating a mountain of laundry. Start with clean cloths you already own and notice which tasks genuinely need a different material.
For ordinary spills on compatible surfaces, an absorbent cotton cloth may be enough. A smooth, low-lint cloth can be helpful for finishing suitable glass. A textured cloth may lift everyday dirt from a durable surface. Check both the cloth and surface instructions before using abrasive fibers, stitched edges, or a scrubby backing.
Choose by composition and performance
Read the fiber label rather than relying on the words “natural,” “bamboo,” or “eco.” Products with similar marketing names can have different fiber blends, coatings, and care needs.
Many microfiber cleaning cloths contain synthetic fibers such as polyester or polyamide. Synthetic textiles can shed plastic microfibers during washing. EPA discusses this issue and practical laundry measures in its microfiber pollution guide. This does not tell us that every cotton cloth has a lower total impact than every synthetic one.
You can keep useful microfiber cloths in service while choosing thoughtfully when replacements are needed. Likewise, a washable cotton cloth still needs production resources, laundering, and eventual disposal. No material choice removes the need for sensible use.
Make the wash routine achievable
Keep enough clean cloths for your usual cleaning between laundry days, then adjust the number after trying the routine. Buying a huge bundle makes it harder to notice what is clean, dirty, or worn out.
Put clean cloths where you use them and keep used ones separate. Do not carry a toilet-cleaning cloth into the kitchen. Launder appropriately after use and dry completely before storing; never stretch a dirty cloth’s use just to reduce washing.
For compatible routine loads, follow care labels and choose an effective wash without unnecessary extra cycles. EPA’s microfiber guidance suggests full loads, cooler or shorter suitable cycles, and fiber-capture devices. Hygiene needs and the product’s care requirements come first. Avoid overloading the washer, and put captured lint in the trash rather than down a drain.
For the full washing and drying process, use our guide to reusable cleaning cloth hygiene.
Cloth care varies. For instance, E-Cloth’s US care guidance advises avoiding fabric softener and dryer sheets. Check your exact product instead of applying one temperature or washing method to every cloth.
Low-energy option: Replace paper towels for just one predictable job, such as wiping water splashes around a suitable sink. Keep the clean cloths and laundry route easy to reach. You can retain disposable supplies for situations where they are the practical choice.
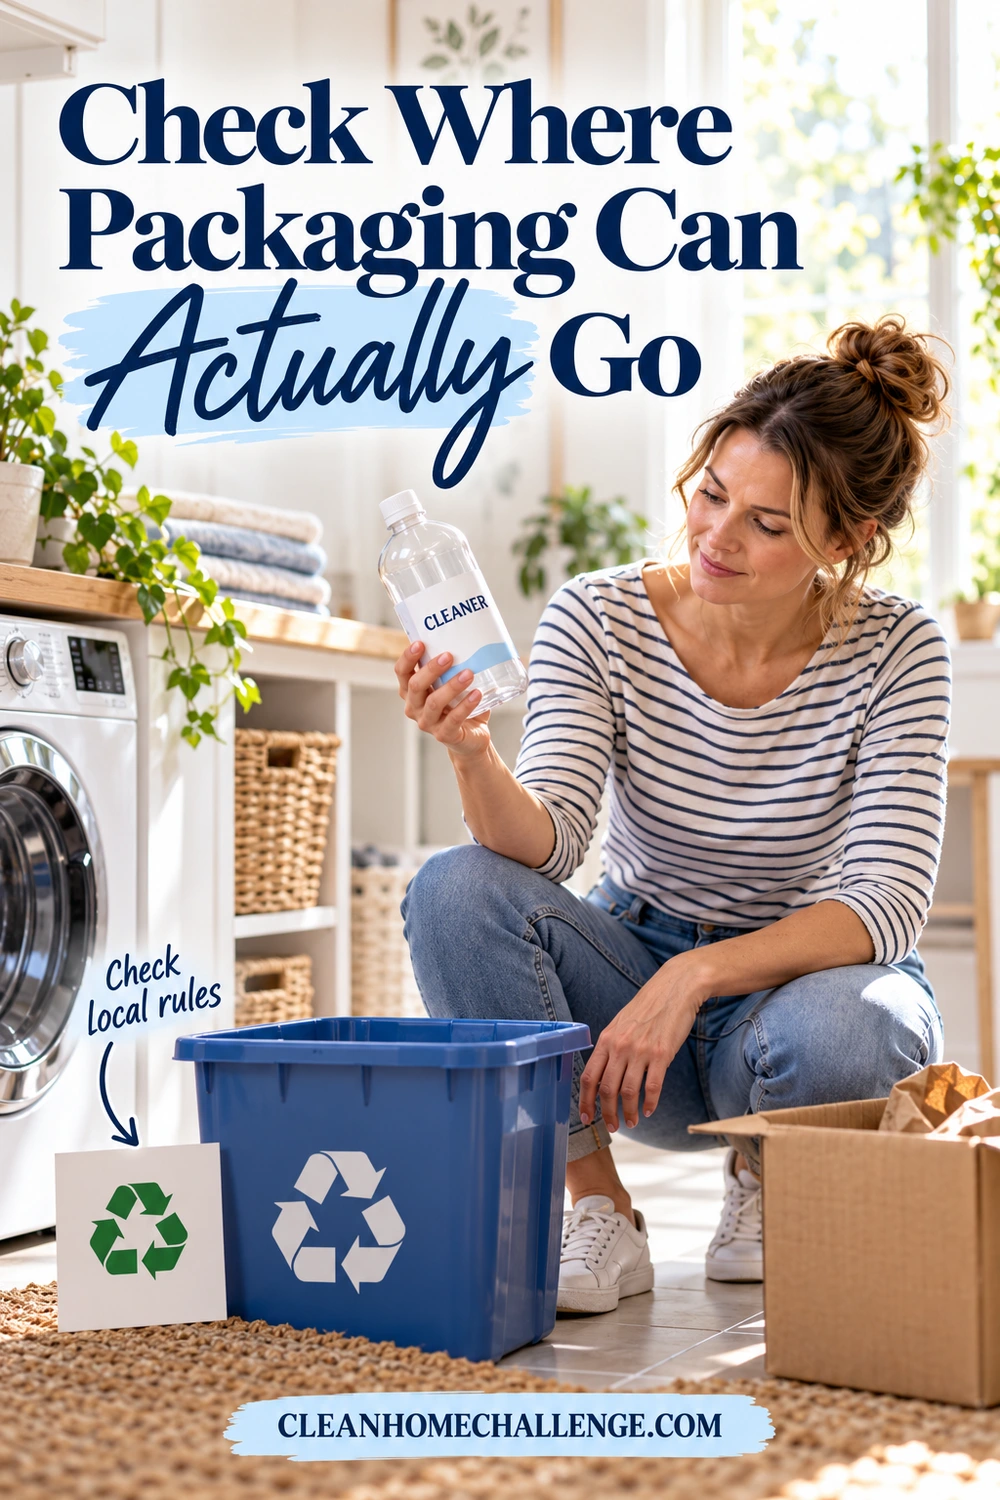
Check Where Packaging Can Actually Go
A recycling symbol is not a promise that your local service accepts the item. The bottle, trigger, cap, and refill pouch may each have different disposal routes.
Before committing to a new refill system, check your city or county recycling guide and the manufacturer’s packaging information. A short search now can prevent months of saving packaging for a collection program you cannot use.
Check each component separately
Ask these questions:
- Is the bottle accepted locally? Check its material and container type, together with any restrictions for chemical-product packaging.
- What happens to the cap or trigger? Follow the local instructions for leaving it attached, separating it, or disposing of it elsewhere.
- Is the pouch accepted anywhere you can reasonably access? Do not assume a flexible pouch qualifies for a grocery-store film collection.
- Does a return program accept this exact item? Check current eligibility, preparation requirements, shipping arrangements, and whether the program operates where you live.
- What should happen to leftover product? Check this before rinsing the container or placing it in any bin.
EPA explains that plastic resin codes identify the material; they do not guarantee local collection. Its recycling FAQs also emphasize that acceptance varies by program. Avoid putting uncertain items into the recycling bin in the hope that someone will find a route for them.
Read environmental claims narrowly
Specific information is more useful than a broad promise. Look for a stated recycled-content percentage, the number of refills a package is designed to provide, or a clearly described take-back program. Read what the claim covers: the bottle, the wrapper, or the complete product.
The FTC’s Green Guides summary cautions against unqualified claims such as “green” or “eco-friendly.” It also explains that a refillable claim needs a way to refill the package and that compostability claims need supporting evidence and appropriate qualifications.
“Compostable” does not automatically mean suitable for your backyard bin. Confirm the required conditions and whether your local facility accepts the exact item. Do not put compostable plastic into ordinary plastic recycling. An attractive paper-looking packet may also contain layers or coatings, so appearance alone is not enough.
A refill pouch can reduce the amount of packaging used while still being difficult to recycle. Consider both facts without pretending they cancel each other out. Where verified information is missing, keep your conclusion modest: you can compare the packaging you receive, but you cannot establish the product’s entire environmental footprint from its label.
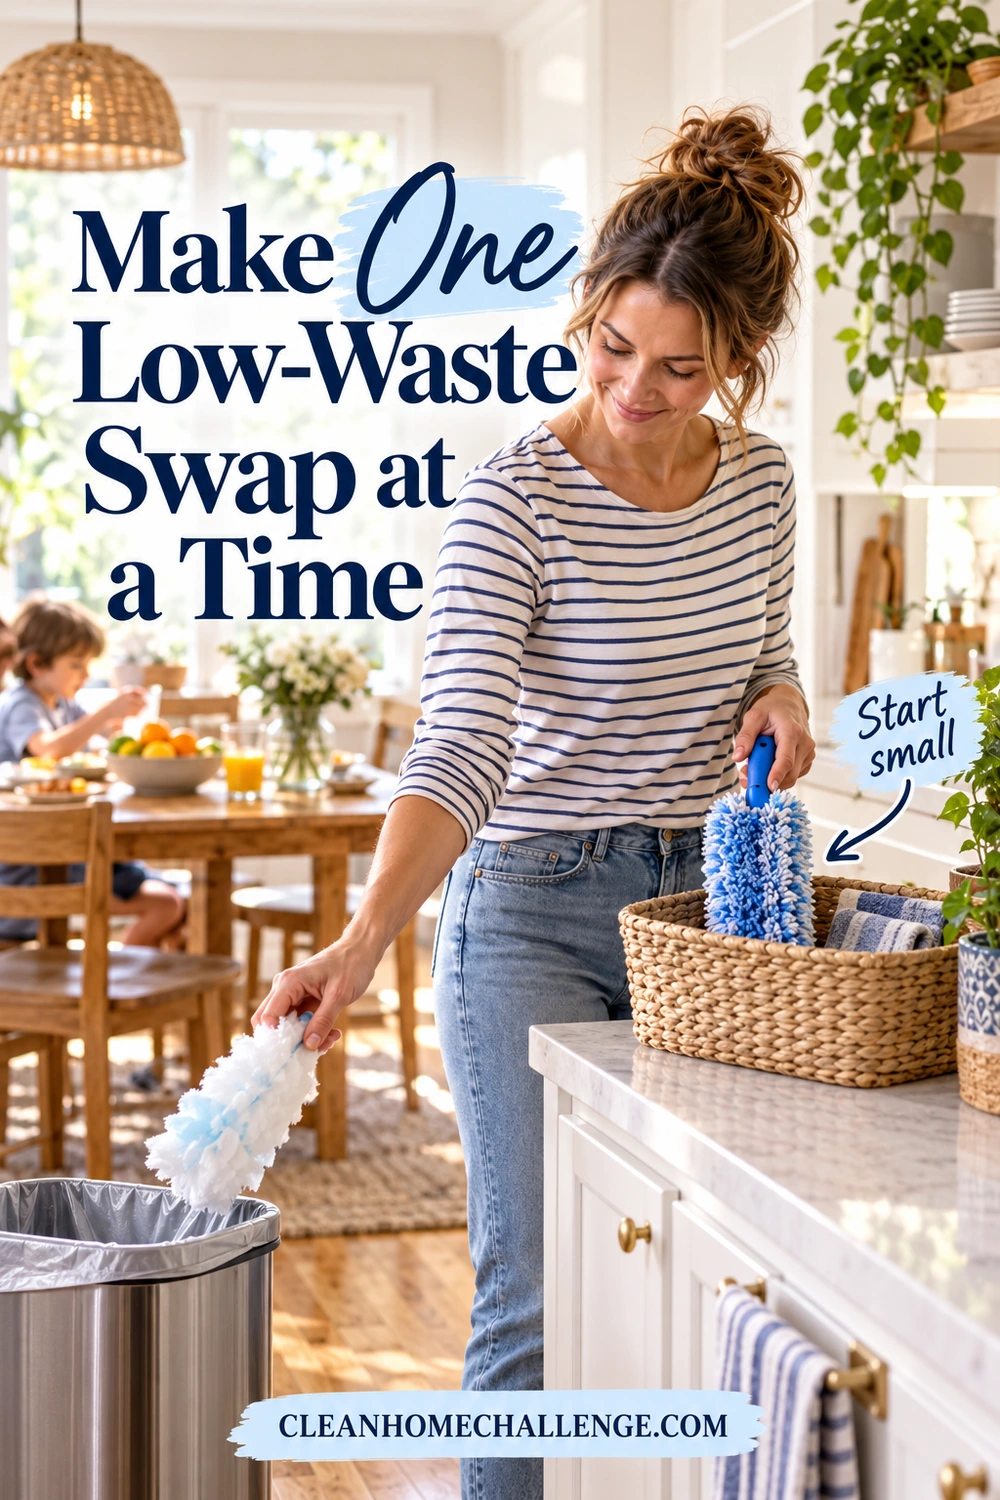
Make One Low-Waste Swap at a Time
Choose the next change according to what is nearly empty, wearing out, or repeatedly becoming a nuisance. You do not need a fixed deadline for replacing everything.
Try this gentle four-week plan
Week one: find what you have. Check one shelf, note duplicates, and choose one suitable product to finish. Make no replacement purchase unless something is genuinely needed.
Week two: test one routine change. Put an existing washable cloth beside the supplies for a recurring job. Alternatively, identify the correct replacement head for a tool that is beginning to wear out.
Week three: investigate one refill. Read its directions, check surface compatibility, and find out how to dispose of the packaging. Purchase only when the current product needs replacing and you are confident the system suits you.
Week four: keep what helped. Ask whether the swap cleaned well, was easy to maintain, and replaced something you previously bought. If it created extra work or did not suit the surface, reconsider it before ordering more.
You can attach these checks to your usual Clean Home Challenge routine: look at kitchen supplies on Monday, bathroom products on Tuesday, or cloth storage during Saturday’s laundry catch-up. Choose one check rather than turning every cleaning day into an audit.
Keep a tiny record of progress
A phone note is enough:
- Product finished before a replacement was opened
- Duplicate purchase avoided
- Bottle refilled through its intended system
- Tool kept in service with a new part
- Reusable cloth routine that stayed manageable
These are useful observations without claiming a precise carbon saving or a “zero-waste” household. Review the note before your next supply order, then leave the system alone while it works.
If you have only two minutes today, find one backup product or check one refill label. A less cluttered cleaning kit, dependable tools, and an achievable wash routine are all worthwhile outcomes. Keep the swaps that help your home run more smoothly and build from there.
CLEANERS CLUBHOUSE
Build a Safer, Simpler Cleaning Routine
Clean confidently with practical guidance that helps you choose sensible products and use them correctly. The Cleaners Clubhouse combines safer cleaning support with realistic routines, worksheets and challenges.
