

THIS POST MAY CONTAIN AFFILIATE LINKS. PLEASE READ MY DISCLOSURE FOR MORE INFO.
Rainy weather has a way of following everyone inside. There are muddy shoes by the door, a damp jacket over a chair, and a towel that never quite dries between uses. Keeping up can feel like cleaning the same patch of floor all day.
This rainy season cleaning checklist helps you deal with the mess in a useful order: catch water and dirt at the entrance, dry the things that came inside, and check why moisture or smells keep returning. Start with the quick reset, then choose the sections your home needs. You do not need to deep clean every room because it rained.
The advice here is for ordinary wet-weather housekeeping. Floodwater, sewage, significant leaks, and suspected hidden mold need a different response, covered in the warning signs below. A rain-soaked home is not a project to tackle with a stronger spray and an afternoon off.
Disclosure: This post may contain affiliate links. As an Amazon Associate, Clean Home Challenge earns from qualifying purchases. If you make a purchase through these links, we may earn a small commission at no extra cost to you. This helps us keep creating practical cleaning tips, routines and resources for busy families! 🧽
Start With the Five-Minute Rainy-Day Reset
When everyone arrives home at once, aim for a safe, dry walking route first. These five minutes are an approximate starting point, not a deadline or a promise that soaked items will dry that quickly.
- Stop at the entrance. Put wet shoes on a floor-compatible tray and hang coats separately. Keep the door, hallway, and exit clear.
- Blot visible water. Use an absorbent cloth or towel on puddles and drips. Pay attention to wood or laminate seams and the floor under the umbrella stand.
- Lift the worst mud. Pick up lumps gently with a paper towel or suitable non-scratching tool. Avoid dragging gritty mud across the floor.
- Open wet gear. Empty bags, unfold umbrellas in a safe drying spot, and loosen shoes so moisture is not trapped inside.
- Check the drying plan. Replace a saturated mat, spread damp towels, and use suitable extraction or dehumidification if the room is staying damp.
Leave detailed floor cleaning until the dripping items are contained. Otherwise, you may mop the same route twice while the last pair of boots is still coming through the door.
Keep a small rain kit ready
A few clean absorbent cloths, a hand brush and dustpan, a washable floor-compatible mat, and a boot tray are enough for most entryways. Add your usual floor-approved cleaner and a clean mop pad where adults can reach them. Keep chemicals in their original containers, stored away from children and pets.
Ordinary mud usually calls for cleaning, not automatically disinfecting the whole entrance. Cleaning removes dirt; sanitizing and disinfecting have different purposes. The CDC’s household cleaning guidance explains when extra disinfection may be appropriate, including illness or a household member at higher risk.
If you only manage one task, remove the standing water and deal with wet gear. A few dry footprints can wait longer than a soaked mat resting on a vulnerable floor.

Set Up a Mud-Stopping Entryway
The most useful muddy entryway setup follows the route people already use. A beautiful shoe rack by the front door will not help much if everyone comes through the kitchen.
Give dirt and water separate places to land
Put a sturdy scraping mat outside where it will not obstruct access. Inside, use an absorbent mat with backing approved for your floor. Check the flooring and mat guidance: some rubber or latex backings can discolor certain finishes, and any mat can trap moisture underneath.
Place a boot tray beside the mat so shoes can come off before anyone walks farther. Choose one that sits flat, is easy to empty, and does not create a raised obstacle across the walkway. Leave space between shoes rather than piling them into a wet heap.
Add a reachable coat hook or hanging rail and a drip-catching spot for umbrellas. A washable towel can help during arrivals, but remove it from the floor afterward; a loose, bunched towel is a trip hazard.
Keep the setup working through several wet days
- Lift the indoor mat and check the floor beneath it daily during heavy use.
- Empty water from trays before putting clean, drying shoes back.
- Remove mud from the outdoor mat so the next person is not stepping into yesterday’s dirt.
- Swap a saturated washable mat for a dry spare, then clean and dry the first one according to its label.
- Clean the tray and the floor underneath whenever mud or moisture has collected.
For a small apartment, use one compact tray and a few hooks rather than a large storage unit. If there is no protected outdoor space, concentrate on a washable indoor landing area and frequent checks beneath it. Keep shared corridors and emergency exits clear.
For families with pets, keep a separate washable towel near the door and gently wipe muddy paws, using plain water when needed. Do not use household cleaners or disinfectant wipes on animals.
The entryway cleaning and organization checklist can help with the wider shoe, bag, and everyday clutter setup once the wet-weather basics are working.

Clean Muddy Floors Without Spreading the Mess
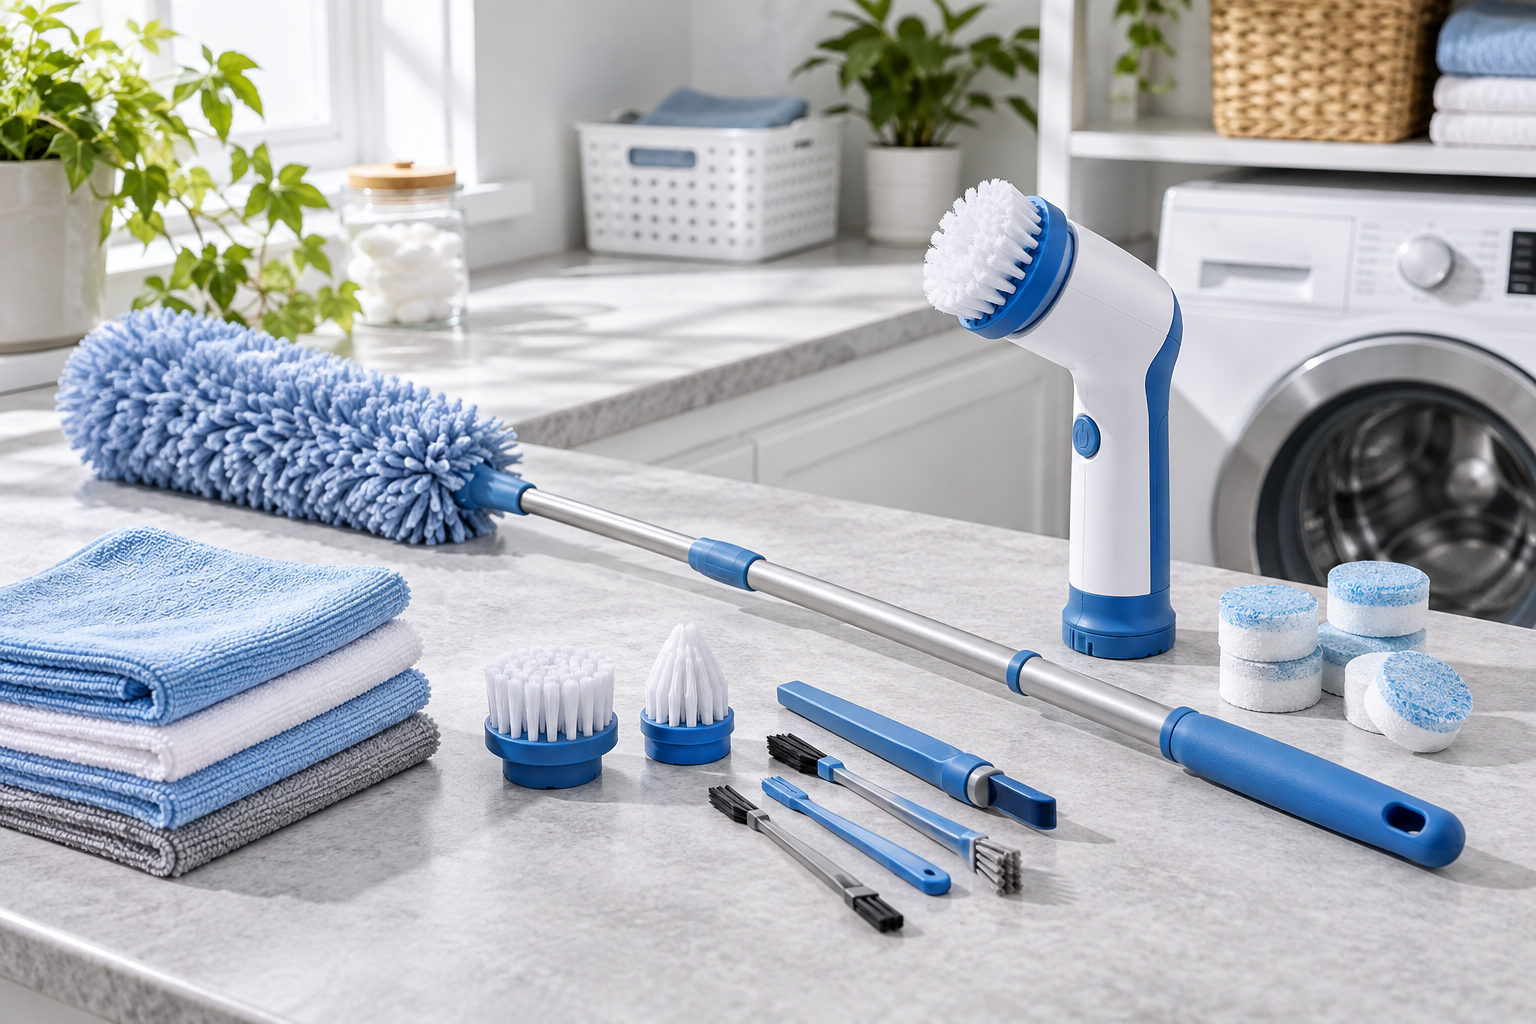
Mud is easier to contain when you separate loose dirt from the wet mark left behind. Start by identifying the floor material and finish. A method suitable for glazed tile may damage wood, laminate, natural stone, or a delicate rug.
For hard floors
- Blot water immediately. Do not leave wet footprints or puddles to dry naturally on moisture-sensitive flooring.
- Lift loose mud carefully. Use a soft cloth or non-scratching scoop for clumps. Sweep or vacuum dry grit with a floor-safe attachment. An ordinary dry vacuum must not pick up water or wet mud.
- Spot-clean the remaining marks. Follow the flooring manufacturer’s directions and the cleaner’s label. Use the smallest amount of moisture that does the job.
- Change the dirty pad. A muddy cloth or mop pad soon starts redistributing soil. Keep a spare ready rather than adding extra cleaner.
- Check that the surface dries. Wipe up remaining moisture as the floor’s care instructions allow, especially beside baseboards and at seams. Keep people and pets away until it is dry and safe to walk on.
With a flat mop, work in small sections and pull it back toward you in controlled passes. Lift and reposition the head instead of repeatedly pushing grit around. Check the pad between passes and change it when it is dirty.
For wood, avoid a soaking mop and check the finish-specific care advice. Bona’s wood-floor guidance emphasizes removing dirt before controlled cleaning. Do not assume vinegar, steam, or an all-purpose product is suitable for every floor.
For carpet and rugs
Lift solid mud without pressing it deeper and blot free moisture with a clean white cloth. Once the remaining surface soil is dry, vacuum gently using the rug or carpet manufacturer’s approved setting. Treat any remaining mark with an approved product, testing a hidden area first.
Blot from the outer edge toward the center, using a fresh part of the cloth. Scrubbing can distort fibers, and excess solution can soak the backing. Shaw’s carpet spot-cleaning guidance supports blotting and removing cleaner residue rather than aggressive rubbing.
If the carpet or underlay is soaked, or the area stays damp or smells musty, stop treating it as a small muddy footprint. Arrange appropriate drying or specialist help. Use the family floor-cleaning checklist for your broader routine between rainy-day spot cleans.

Dry Wet Shoes, Coats and Bags Properly
Putting wet belongings away can move the problem from the hallway into a closet. Give each item somewhere to dry before returning it to ordinary storage.
Shoes and boots
Wipe away surface mud using a method suitable for the material. Loosen laces, open the tongues, and remove insoles only if they are designed to come out. Space shoes apart on a rack or tray, with air able to reach the openings.
For suitable athletic shoes, clean absorbent paper can help draw out moisture; replace it when damp. Follow the shoe maker’s instructions, particularly for leather, suede, and specialist footwear. Avoid direct high heat and improvised drying beside heaters. Nike’s shoe-drying advice explains how high heat can harm shoe construction and recommends opening shoes and allowing them to air-dry.
Check inside the toe and beneath removable insoles before storing the shoes. A dry-looking upper does not tell you whether the lining is ready. If possible, rotate between pairs during a run of wet days.
Coats, umbrellas, and bags
Hang coats with space between them, open pockets, and separate removable wet layers where the care instructions allow. Empty bags completely, including small front pockets, and blot the lining. Keep damp bags off upholstered furniture and away from walls.
Open umbrellas only where they will not block a route or put pointed ends within reach of children. Catch drips on a suitable surface, then fold umbrellas once they are fully dry.
Rainwear has varied care requirements. A generic hot wash, fabric softener, or stain spray may be unsuitable for its finish. GORE-TEX’s care instructions show why garment-specific washing and drying directions matter, including different rules for some fabrics. Always follow the label on your actual item.
Drying can take longer in humid weather. If belongings remain damp overnight, improve the drying arrangement: increase spacing, remove trapped moisture, and address the room’s humidity. Do not hide the smell with a shoe spray and return everything to a closed closet.

Manage Indoor Humidity on Rainy Days
Damp home cleaning works best when the room can dry afterward. A humidity meter, also called a hygrometer, helps you notice a pattern rather than guessing from how the room feels.
The EPA recommends keeping indoor relative humidity below 60%, ideally between 30% and 50% when possible. These are useful prevention targets, not proof that a hidden leak or damp surface is absent.
Position the meter according to its instructions, away from direct spray, a steamy shower, or the immediate airflow of an appliance. Check at different times, such as before laundry starts and later in the day. One brief high reading after a shower matters less than a room that stays humid and never dries.
Remove moisture where it starts
- Run bathroom extraction during and after showers as your fan’s instructions recommend.
- Use a kitchen exhaust fan that vents outdoors when cooking, and put lids on pans where appropriate.
- Follow dryer instructions and keep any external vent clear; do not redirect moist exhaust into the room.
- Wipe ordinary condensation from window glass and sills with a clean cloth, then spread the cloth to dry or wash it.
- Repair leaks promptly rather than relying on a dehumidifier to compensate for them.
Opening a window can help when outside conditions allow moisture to leave. During warm, humid rain, it can bring more moisture inside. Avoid a blanket rule to leave windows open all day: consider rain, security, outdoor conditions, and whether the indoor reading improves. The EPA’s moisture guidance distinguishes useful ventilation from situations where dehumidification is more appropriate.
If you use a dehumidifier, follow its room-size, placement, clearance, and electrical instructions. Keep it on a stable dry surface, empty or drain collected water as directed, and maintain its tank and filter. Never place it where rain or drips can reach its electrics.
A portable circulating fan moves air; it does not remove moisture from the room by itself. It can help ordinary wet gear dry when the moisture has somewhere to go, but do not aim fans at visible or suspected mold. Persistent condensation, wet walls, or humidity that will not come down deserves investigation.

Find and Remove the Source of Musty Smells
A musty smell is a reason to look for trapped moisture. Spraying fragrance may make a room smell different for a while, but it does not tell you whether the damp item or water source has been dealt with.
Work through the likely sources
Start near the entrance and follow the smell without pressing your face close to suspect material. Check the underside of mats, water in trays, shoe linings, umbrella covers, bag pockets, and coats hanging against each other. Then check damp towels, laundry baskets, and washable soft furnishings near open windows.
Move one ordinary damp item at a time so you can see whether it explains the smell. Clean it according to its care instructions, dry it fully, and check the area where it was sitting. If you uncover visible mold, stop routine handling and use the escalation guidance in the next section.
For washable towels and cloths, use the appropriate detergent dose, load size, and temperature for the fabric and machine. Complete the drying step before folding or storing. Start only as much laundry as you can dry properly that day; a second wet load waiting in a basket can undo the first useful job.
Spread items on a rack rather than draping several layers over one rail. Choose a drying space with suitable ventilation or dehumidification. Never cover a portable heater with laundry or arrange dripping clothes above electrical equipment.
If towels smell again after laundering, investigate the wash and drying process as well as the towel. The guide to why towels smell after washing covers that separate problem in more detail.
Recheck before adding another product
When everything you can easily inspect is clean and dry, come back later and check the room again. A smell that returns after rain, seems strongest beside a wall, or remains after the obvious wet items are removed may indicate a building moisture problem.
Do not pull up carpet, peel wallpaper, or open a wall to hunt for a source yourself. Keep a simple record of when the smell appears and where it is strongest. That information is more useful to a landlord or repair professional than a list of fragrances already tried.

Know When Damp Needs More Than Cleaning
Some wet-weather problems need a repair or specialist assessment. Ask for help promptly when you see recurring water stains, bubbling paint, swelling flooring, ongoing leaks, suspected hidden mold, or dampness that ordinary drying is not resolving.
Photograph changes from a safe position and record the date and recent weather. Renters should report leaks and moisture concerns promptly to the property manager or owner. Do not climb onto a wet roof or dismantle building materials to prove where the water came from.
The EPA’s home mold guidance says that who should clean mold depends on several factors. An area smaller than about 10 square feet, roughly 1 square meter, may sometimes be manageable by the occupant, but that size is not a universal DIY safety clearance. Extensive water damage, contaminated water, hidden growth, the affected material, and personal health concerns all change the decision.
Get experienced professional help for sewage or other contaminated water. Seek qualified advice for larger or recurring mold problems and water-damaged porous materials. If you know or suspect that your heating or air-conditioning system is contaminated with mold, do not run it until you have appropriate guidance.
Water-damaged materials should be dried promptly, with the EPA emphasizing a 24–48-hour window to help prevent mold growth. Begin immediately; this is not permission to leave a wet carpet for two days or a guarantee that mold cannot develop sooner. If you cannot dry an affected material, ask for help rather than repeatedly wiping its surface.
If a small mold cleanup is appropriate, follow the EPA’s complete precautions, including suitable gloves, eye protection, and a correctly fitted respirator where advised. People with health concerns should consult a health professional before attempting cleanup. This everyday checklist is not a mold-remediation procedure.
Never mix cleaning products. In particular, keep bleach separate from ammonia, acids, vinegar, and other cleaners. Follow product labels, ventilation directions, and surface guidance. Painting over damp or moldy material does not resolve the underlying problem.

Build a Rainy-Season Routine You Can Keep
A repeatable rainy-season cleaning checklist should fit around the weather and the people coming through your door. Use the following rhythm as a starting point and adjust it to how quickly your home gets wet or muddy.
After a wet arrival
- Contain shoes, umbrellas, and dripping bags.
- Blot water and lift the worst mud.
- Open and space wet belongings for drying.
- Leave the walking route clear and dry.
Once a day during wet weather
- Check beneath the entry mat and empty the boot tray.
- Spot-clean the traveled floor route with a clean pad.
- Check that shoes, towels, and coats are actually drying.
- Look at the humidity reading and deal with visible condensation.
- Finish drying the laundry already started before adding another load.
Once a week, plus after unusually heavy rain
Allow around 15–20 minutes for an ordinary maintenance check, with extra time if something needs washing or repair. Clean the mats and trays according to their instructions. Wipe the entry storage, inspect accessible window sills and room edges, and check for new damp marks. Maintain the dehumidifier or other drying equipment as directed.
Walk around the outside only when conditions are safe and look from ground level for obvious overflowing gutters or water collecting near the building. Arrange suitable maintenance rather than climbing a ladder in wet weather.
Share simple jobs in ways that suit your household: someone can hang their own coat, empty their bag, or return dry shoes to storage. Keep chemicals, electrical equipment, and leak checks with adults.
On a low-energy day, return to the minimum: water up, gear drying, and a clear path through the entrance. Those small actions keep tomorrow’s workload more manageable. Build the rest around them, one wet-weather habit at a time.
Download the one-page rainy-season cleaning checklist and keep it with your cleaning supplies. Use it alongside the surface-care and safety guidance in this article.

CLEANERS CLUBHOUSE
Need Help Getting Through a Proper Deep Clean?
Follow the 7-Day Deep Clean Bootcamp when your home needs more than a quick tidy. The Cleaners Clubhouse breaks the work into achievable steps with printable support and seasonal cleaning guidance.
