
THIS POST MAY CONTAIN AFFILIATE LINKS. PLEASE READ MY DISCLOSURE FOR MORE INFO.
After a few days of tissues, couch naps, and interrupted sleep, the house can feel ready for a reset long before anyone has the energy to give it one. You do not need to turn recovery into a whole-house cleaning marathon.
If you are planning to deep clean your house after illness, start with the type of illness, the surfaces the sick person used, and any actual contamination. Clean shared touchpoints, reset the bathroom and food-preparation area, and work through used bedding. Disinfect the appropriate surfaces with a product labeled for the job. Leave unrelated deep-cleaning projects for another week.
The important exception is vomit or diarrhea: that needs prompt, targeted cleanup rather than waiting for a convenient cleaning day. This guide separates that job from an ordinary post-cold or flu reset, with a smaller checklist for days when everyone is still tired.
Disclosure: This post may contain affiliate links. As an Amazon Associate, Clean Home Challenge earns from qualifying purchases. If you make a purchase through these links, we may earn a small commission at no extra cost to you. This helps us keep creating practical cleaning tips, routines and resources for busy families! 🧽
Start With the Illness and the Rooms Used
Before filling a bucket, take a quick walk through the rooms used during the illness. Think about where someone slept, ate, used the bathroom, and spent time resting. A child recovering mostly in a bedroom creates a different cleaning list from several family members sharing the couch and one bathroom.
Match the work to the situation
- After a respiratory illness: Focus on commonly handled objects, shared rooms, used linens, and visible mess. When someone is sick, add appropriate disinfection to cleaning. Surface care is only part of the picture: respiratory viruses can also spread through the air.
- After vomiting or diarrhea: Go directly to the separate cleanup section below. Do not assume a product labeled for cold and flu viruses also works against norovirus.
- For a household with a weakened immune system or a diagnosed infection needing special precautions: Follow the person’s care team’s instructions. A general household checklist cannot replace an illness-specific plan.
CDC recommends disinfection when someone at home is sick or has a weakened immune system. Its household cleaning guidance also explains why routine cleaning is usually sufficient outside those situations.
For respiratory illnesses, keep handwashing and cleaner air in the plan. Open a window when weather, outdoor air quality, and safety allow, or use your existing ventilation and air-cleaning equipment appropriately. CDC’s cleaner-air advice explains these options. A polished countertop does not replace them.
Choose a useful finish line
Write down three zones: the resting space, the bathroom used, and shared kitchen touchpoints. Add any other area with visible contamination. Those are today’s priorities.
There is no single waiting period after which every home needs one enormous clean. Deal with contamination immediately, maintain shared surfaces while illness continues, and do the bedding-and-room reset when someone has enough energy. If another family member becomes sick, return to the relevant areas rather than automatically restarting every chore.
Set Up a Small, Safe Cleaning Kit
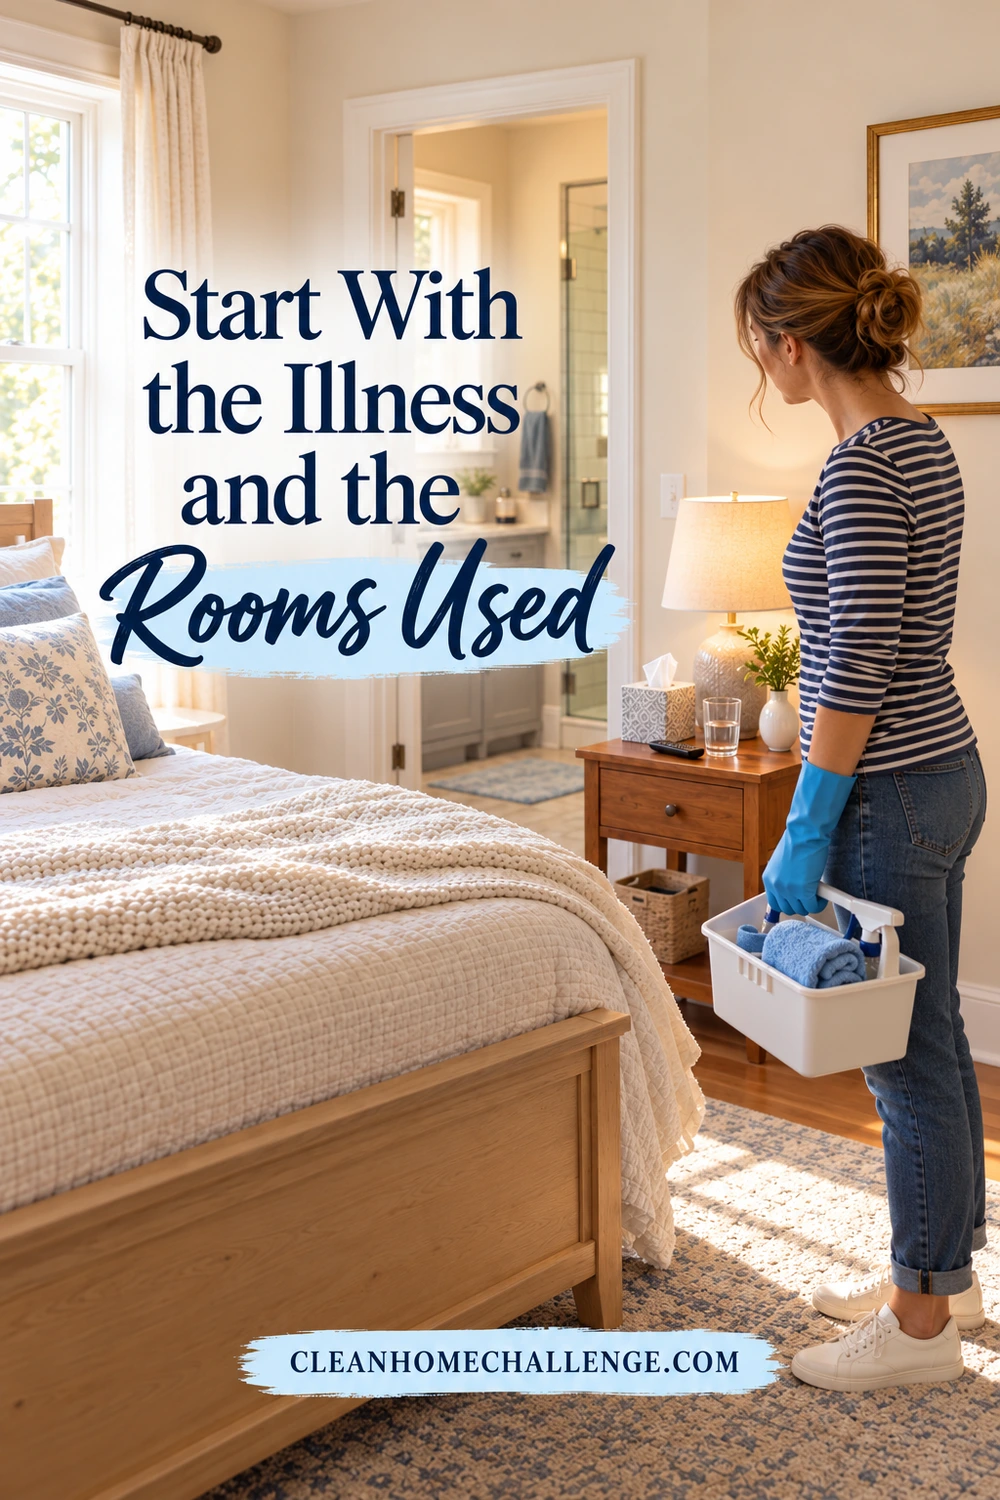
A manageable kit saves trips around the house. Gather:
- A surface-appropriate cleaner or detergent
- An EPA-registered disinfectant suitable for the surface and relevant germ
- Several clean cloths, plus disposable towels for body-fluid cleanup
- Gloves and any other protection required by the product label
- Trash bags and a laundry basket
- A timer and access to the product instructions
You do not need a different scented spray for every room. It is more useful to understand the products you already have than to collect extras with overlapping claims.
Check the words on the bottle
Cleaning removes dirt and material from a surface. Sanitizing and disinfecting have different purposes. In particular, a surface sanitizer claim does not establish that the product kills viruses. Some products offer both functions with different directions. See EPA’s explanation of cleaning, sanitizing, and disinfecting, or the CHC guide to what those three terms mean.
Find the permitted surfaces, dilution if required, contact time, protective equipment, and rinsing instructions before starting. Check that the packaging is readable and follow any expiration, storage, or after-opening instructions. Keep ready-to-use products at their supplied strength; only dilute products that instruct you to do so.
Keep chemistry simple
Never mix bleach with vinegar, ammonia, alcohol, toilet cleaner, or other cleaners. Do not combine other cleaning products either. Use ventilation, keep products in their labeled containers, and store them out of children’s and pets’ reach. CDC’s bleach guidance emphasizes label directions, protective equipment, ventilation, and avoiding mixtures.
Give children a job away from chemicals, such as finding fresh pajamas. An adult should handle disinfectants and body-fluid cleanup. Put the kit away during breaks rather than leaving it beside a sofa or on the bathroom floor.
If a material’s care guidance and the disinfectant label do not agree, stop and find a compatible method. A small hidden-area test may reveal finish damage, but it cannot prove a product is suitable for an unlisted surface.
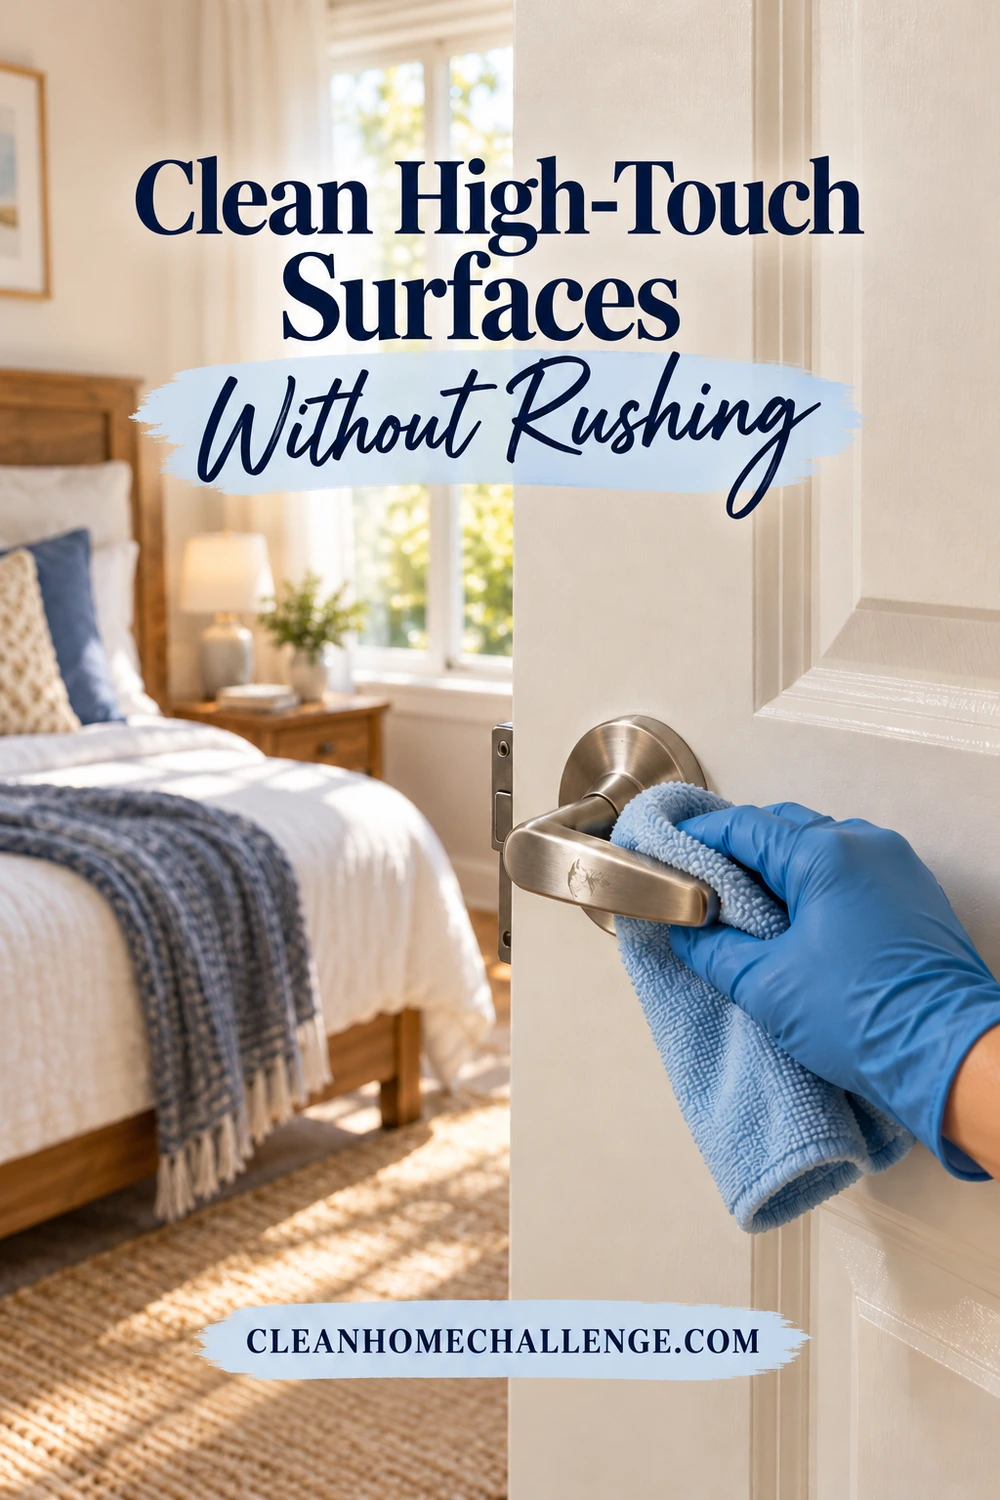
Clean High-Touch Surfaces Without Rushing
The most useful list is the one that reflects your family’s actual habits. Start where hands repeatedly go:
- Door handles and frequently used light switches
- Faucet handles and toilet flush controls
- Refrigerator, microwave, and frequently used cabinet handles
- Bedside surfaces and the sick person’s tray
- Remote controls, phones, and shared keyboards
- Frequently handled, washable toys
Do not turn this into a hunt for every object in the house. A rarely opened storage cupboard can stay off the list.
Follow the sequence all the way through
- Clear the small area. Move cups, tissues, and belongings so you can reach the surface.
- Clean first. Remove visible dirt and residue with the appropriate cleaner. Follow any rinsing instructions before moving to disinfection.
- Apply the disinfectant correctly. Use the labeled method and enough product to meet its wet-contact requirement.
- Set a timer. Keep the surface visibly wet for the full contact time stated for the relevant germ. If it dries early, follow the label’s directions for reapplication.
- Finish as directed. Rinse if required and allow the surface to dry before returning it to use.
This is the central lesson in EPA’s safe-disinfectant-use checklist: a quick swipe and an immediate dry wipe may not fulfill disinfection directions.
Contact times are product-specific. For example, the current instructions for Clorox Disinfecting Cleaning Wipes specify four minutes for hard, nonporous, non-food-contact surface disinfection. That is an example, not a timing rule for other products or pathogens. Read your own container.
If you want to disinfect after flu, choose a product with the appropriate influenza claim and follow that use direction. A broad front-label promise should not replace the detailed instructions.
Give electronics their own method
Turn devices off and unplug them as their manufacturer directs. Do not spray into switches, charging ports, or keyboards. Apple’s iPhone instructions, for example, allow certain wipes on exterior surfaces but prohibit bleach and hydrogen peroxide and warn against moisture entering openings. Other devices may differ. Manufacturer compatibility also does not prove a wipe works against every virus.
Use a fresh cloth or wipe when the current one is dirty or no longer supplies enough product. Keep bathroom cloths separate from kitchen cloths; one cloth should not tour the whole house.
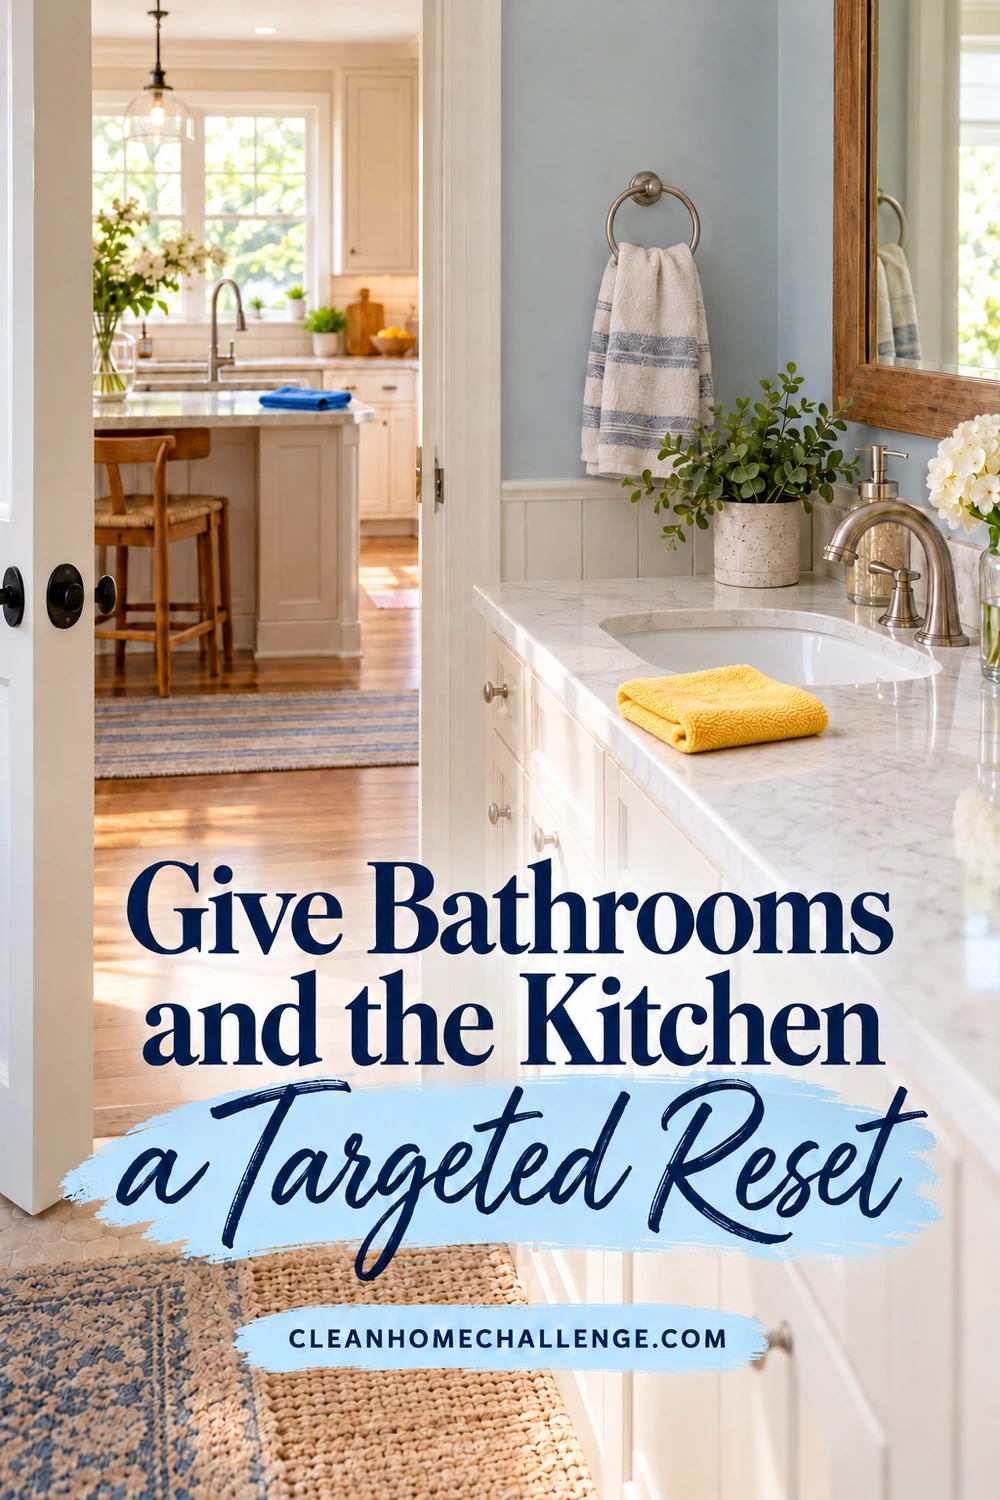
Give Bathrooms and the Kitchen a Targeted Reset
These rooms are worth a focused pass because several people may use them even when one person spends most of the day in bed.
Bathroom: touchpoints before cosmetic jobs
Start with the faucet, sink controls, door handle, light switch, and other shared touchpoints. Clean the toilet exterior, flush control, seat, and lid using products compatible with those surfaces. Leave the toilet area until last so you do not carry its cleaning cloth back to the sink.
Replace used hand towels with fresh ones, remove trash, and clean any visibly dirty floor areas. Keep the toilet brush and toilet-cleaning cloth away from other cleaning supplies. If vomit or diarrhea has occurred, use the specific cleanup procedure in the later section instead of relying on this ordinary reset.
Never pour disinfectant into a toilet bowl that already contains another cleaner. Acid toilet cleaners and bleach can produce dangerous fumes. Poison Control’s cleaning safety guidance specifically warns about that combination. Follow one product’s directions without layering chemicals to make the job feel more thorough.
Unless there is relevant contamination, this is not the moment to scrub every grout line, descale the showerhead, or reorganize the vanity.
Kitchen: restore a usable food area
Clear used cups, plates, and food scraps. Wash dishes through their usual suitable method, following dish and dishwasher instructions. Clean the food-preparation surface, sink controls, appliance handles, and the table area that was used.
Before disinfecting a countertop, confirm both that the product is permitted on food-contact surfaces and that it suits the counter material. Follow any required drinking-water rinse after the full contact time. Keep food, utensils, and dishes away from overspray. Do not apply surface disinfectant to food.
Stone, sealed wood, metal, and laminate should not be treated as interchangeable. CDC’s household cleaning guidance recommends choosing a product suitable for each surface and following its label instructions.
Use a clean kitchen cloth, then put the used cloth aside for washing. If you need a longer-term cloth system, CHC’s guide to washing, drying, and replacing reusable cleaning cloths covers that separate job.
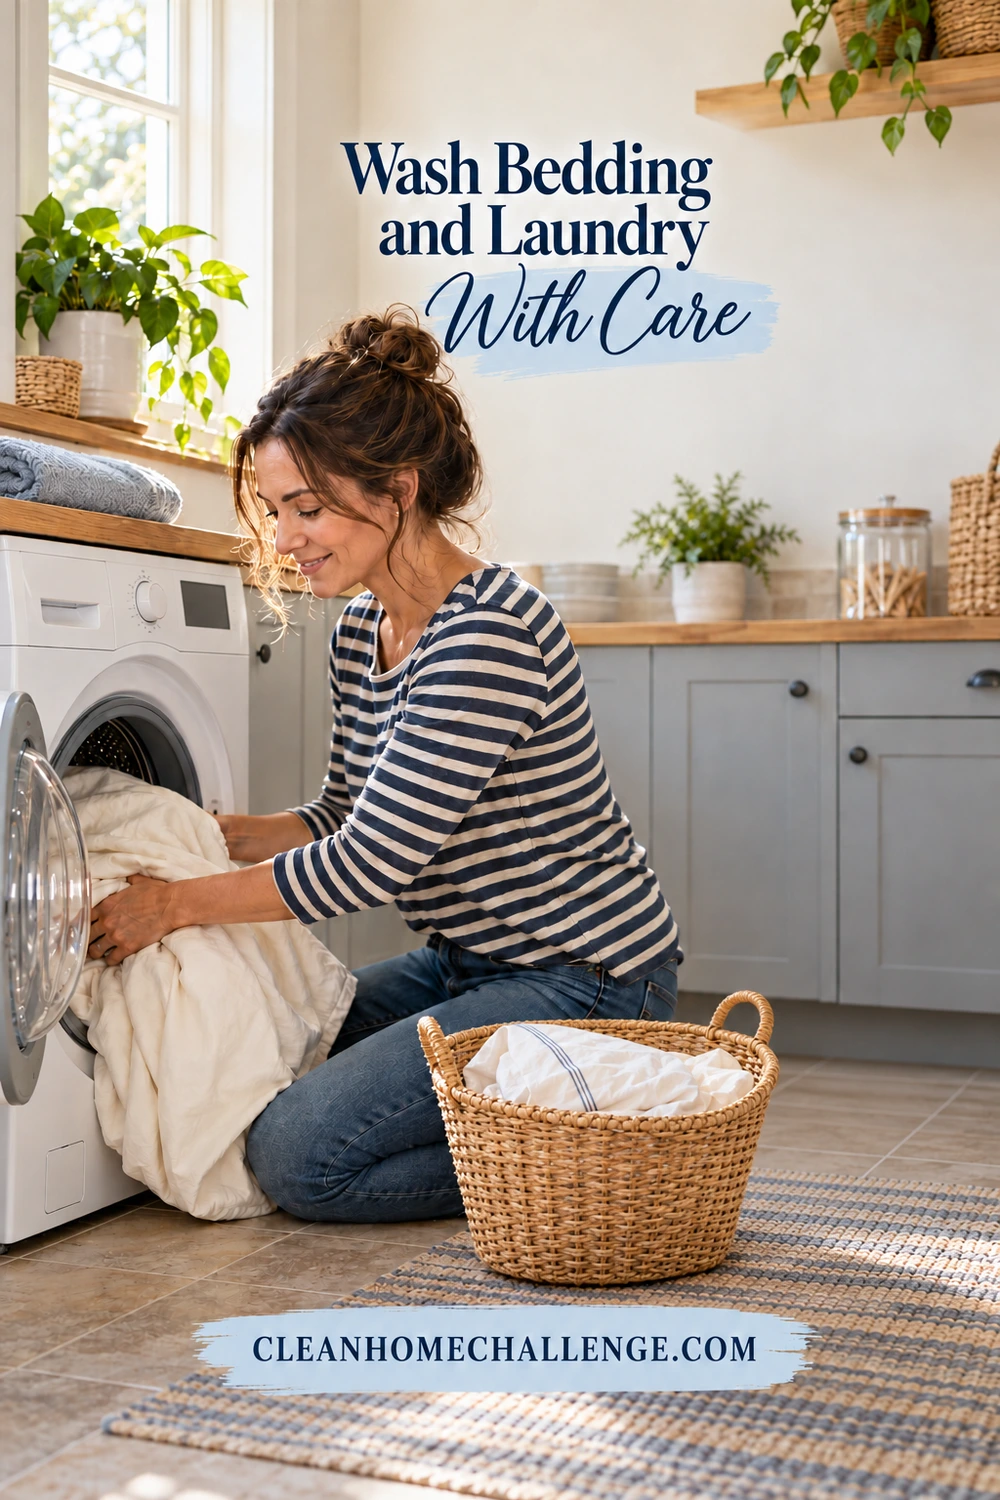
Wash Bedding and Laundry With Care
Fresh bedding can make the resting space more comfortable, but you do not need to empty every linen cupboard. Start with the sheets, pillowcases, towels, pajamas, and washable throws actually used during the illness.
Strip one bed at a time so you do not end up with several unusable beds and more washing than the machine can handle. Have the replacement set ready before removing the used one. Carry laundry in a basket rather than sorting it across the kitchen table.
For ordinary laundry after a respiratory illness
Use detergent, follow the recommended water temperature, and dry everything completely. CDC says laundry from a sick person can generally be washed with other people’s items. Clean the hamper as appropriate and wash your hands after handling dirty laundry. These points are included in its home laundry guidance.
Avoid overloading the drum. As Whirlpool explains for bulky bedding, the care label, filling, and machine capacity all matter. A comforter that barely fits may need a larger-capacity machine rather than being forced through a quick cycle. Check pillows and mattress protectors individually, since their materials and permitted temperatures vary.
Do not assume a machine’s “sanitize” setting is a guarantee against every virus. GE Appliances explains that its sanitizing cycles use model-dependent combinations of temperature and time with specified bacterial performance. That does not create an all-pathogen claim for every washer or load.
If bedding contains vomit or diarrhea
Treat it as contaminated laundry, separate from the ordinary plan above. Remove it promptly, wear gloves, and avoid shaking it. CDC’s norovirus laundry directions call for detergent and hot water on the longest available cycle, followed by the highest machine-drying heat.
Check the fabric and machine guidance before applying that treatment. If an item cannot tolerate it, do not assume a gentle cold wash gives equivalent disinfection. Keep it away from shared areas while you obtain suitable advice from the manufacturer or a cleaner equipped to handle contaminated items.
Wash your hands after the job. Do not spray a mattress or upholstered headboard with hard-surface disinfectant unless the label specifically permits that exact use. Odor removal and a fresh appearance are not proof of disinfection.
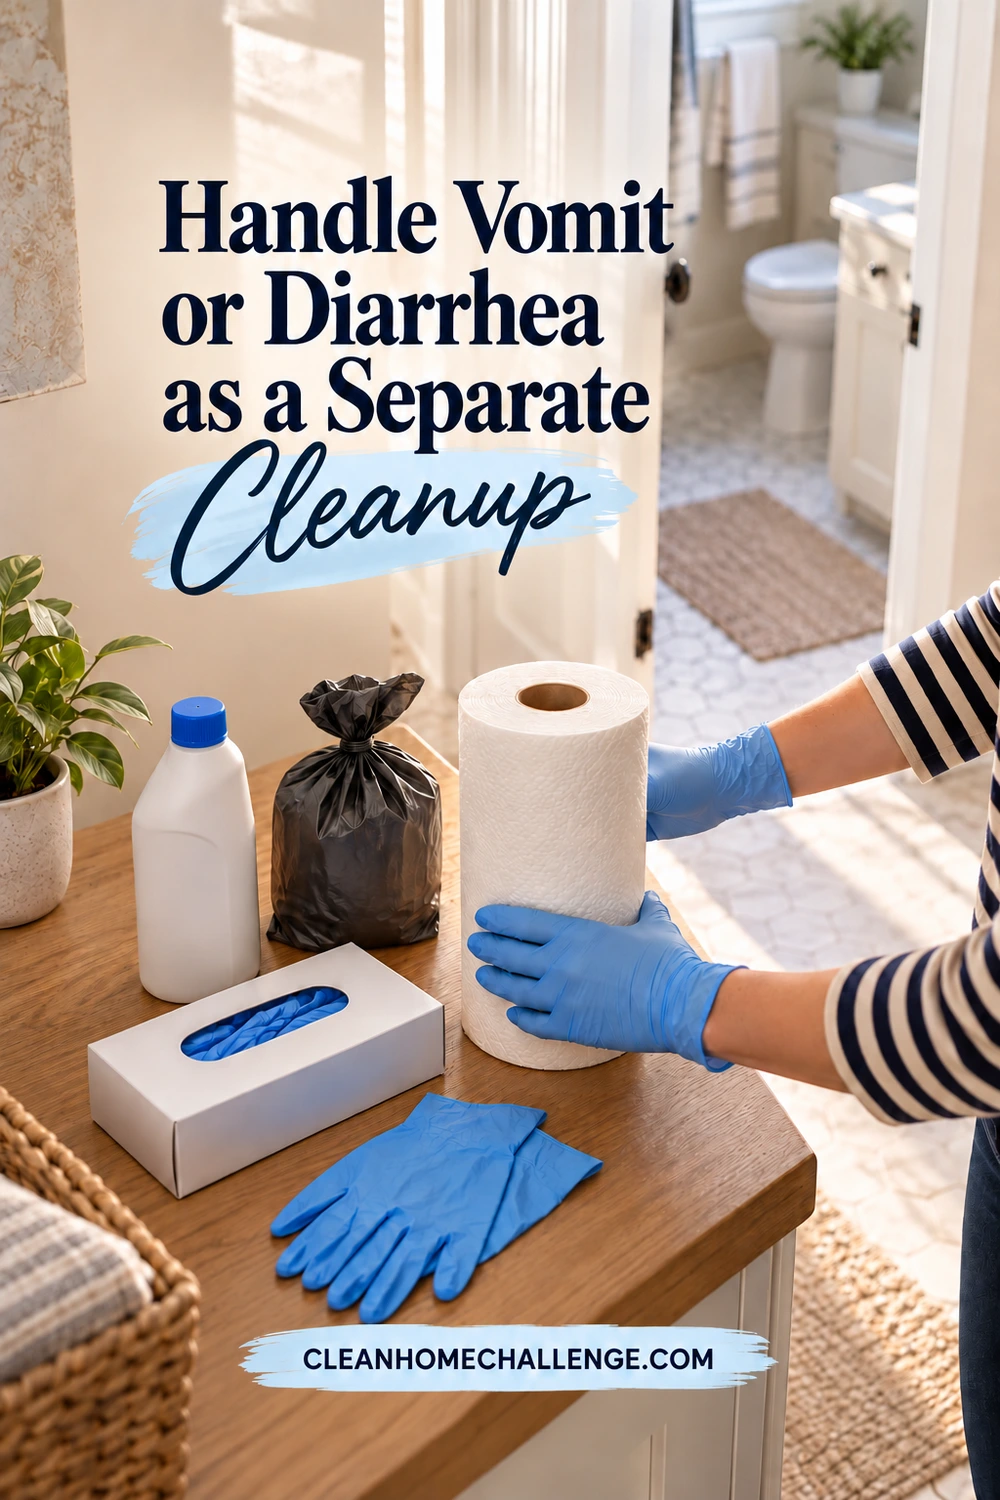
Handle Vomit or Diarrhea as a Separate Cleanup
A stomach illness needs a different level of attention to contaminated areas. Norovirus is one possible cause; symptoms alone cannot confirm which illness someone has. Until you have more specific advice, do not treat a vomit spill as an ordinary floor spot.
Keep other people and pets away. Ask a well adult to handle the cleanup when possible, with suitable gloves and the protection specified by the product. Gather supplies before beginning so you can avoid walking through the house with contaminated gloves.
Use a product with the right claim
In the US, check the product’s EPA registration number against EPA List G for norovirus. Then verify that the actual label contains norovirus directions, covers residential use and your surface, and gives the applicable contact time. The brand name or active ingredient alone is not enough.
Bleach is one option in official guidance, but this is not a job for a universal homemade dilution. Strength, formulation, pathogen, surface, and contact time matter. Follow applicable CDC guidance and the actual product directions; a ready-to-use, correctly labeled option can avoid measuring errors.
Work through the contaminated area
CDC’s norovirus prevention instructions advise immediate cleanup of the entire affected area, removal of the mess with paper towels into a plastic trash bag, and disinfection following the relevant instructions. They also include a subsequent soap-and-hot-water clean, laundry, trash removal, and handwashing.
Remove visible material carefully, include nearby splashed surfaces, and finish the disinfectant’s required contact time before the next step. Follow label instructions for rinsing and subsequent cleaning, keeping different products separate. Do not improvise by spraying extra chemicals over the first product.
For contaminated carpet, a mattress, or upholstery, a hard-surface label is not sufficient. Consult the item’s manufacturer and, when needed, a professional experienced in body-fluid cleanup. Do not vacuum a fresh contaminated patch; this precaution also appears in the Minnesota Department of Health’s norovirus cleanup toolkit. CHC’s carpet-vomit cleanup guide addresses the material-care side; stain removal alone does not establish pathogen removal.
Wash hands with soap and water. For norovirus, hand sanitizer does not replace handwashing. CDC also advises avoiding food preparation and caring for others while sick and for at least 48 hours after symptoms stop. Arrange help where possible; extra cleaning does not cancel that precaution.
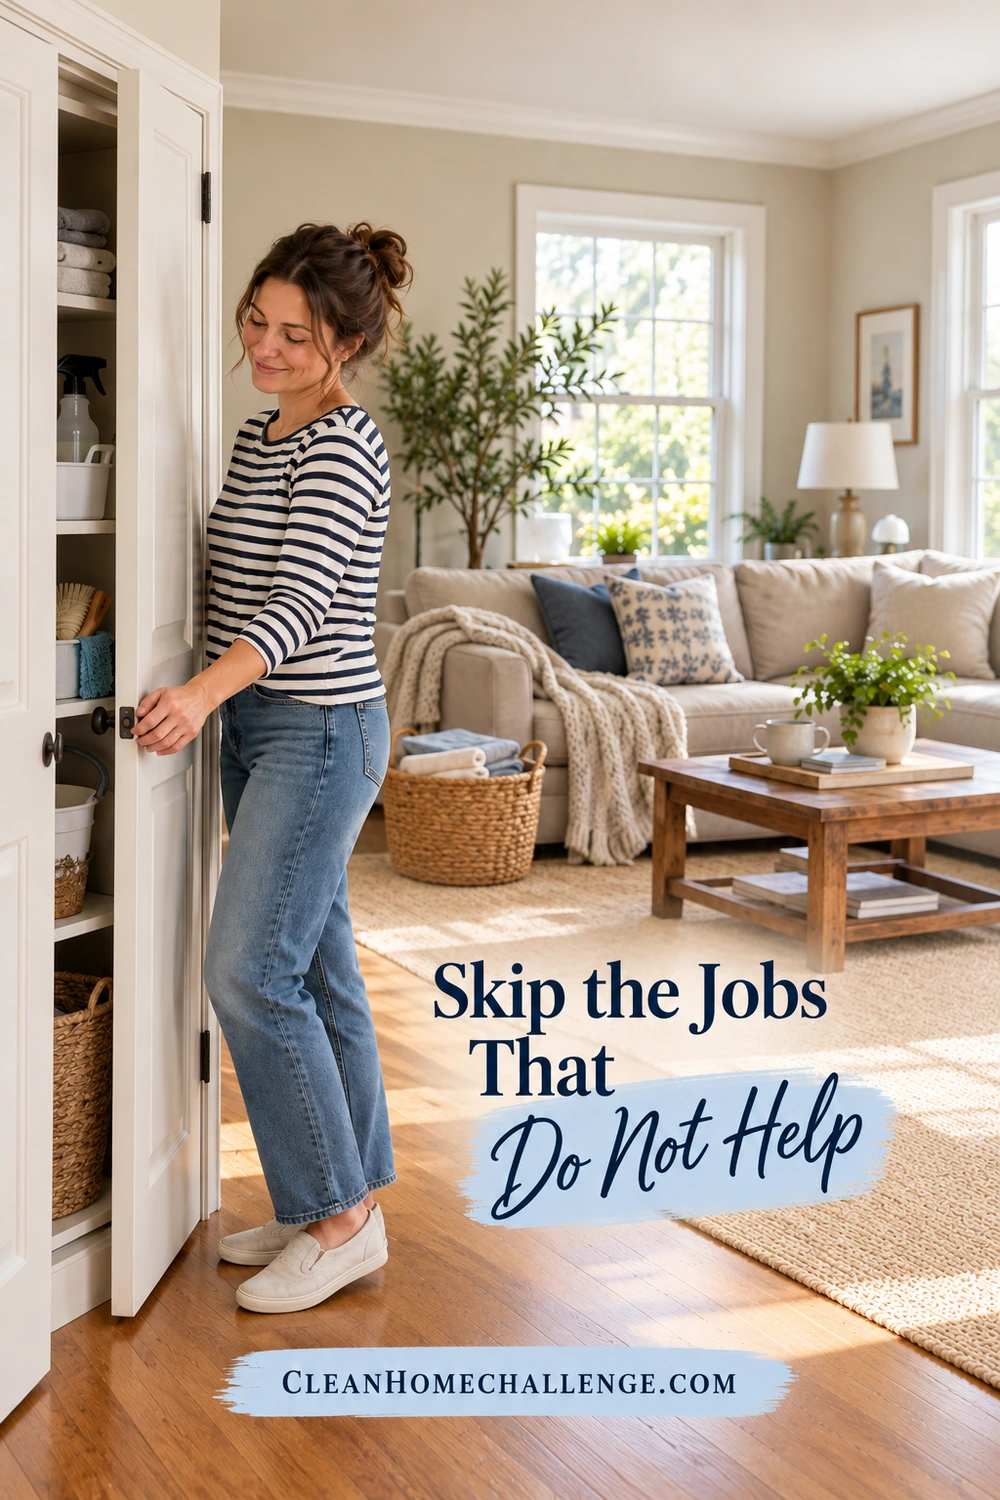
Skip the Jobs That Do Not Help
Once the relevant areas are handled, resist adding a second list just because the cleaning supplies are out. The following jobs usually belong on a different day unless there is actual contamination or specific professional advice:
- Washing every curtain after an ordinary cold
- Disinfecting untouched storage rooms and the contents of closed drawers
- Scrubbing baseboards or the oven as part of a flu reset
- Laundering clean spare bedding that nobody used
- Repeatedly spraying an already treated surface for reassurance
- Trying to remove every trace of normal household dust before resting
Those can be legitimate housekeeping tasks. They simply do not deserve automatic priority over the bathroom someone used, the shared remote, or a contaminated towel.
Avoid shortcuts that create different problems
Do not fog the house or mist rooms with surface disinfectant. EPA does not recommend fogging and similar application methods unless the product label specifically includes them. A surface spray should not become an improvised air treatment.
Do not soak delicate surfaces to make a strong disinfectant work where it is not approved. Do not increase the concentration, shorten the contact time, or substitute a homemade scented mixture for a pathogen-specific product.
If a product irritates your eyes or breathing, stop using it and move away from exposure; get appropriate poison-control or medical advice if needed. Strong fumes are not a measure of cleaning success.
Know when to stop
A useful stopping point is practical: relevant contamination has been addressed, shared touchpoints have received the appropriate treatment, food can be prepared on a properly cleaned surface, and the family has usable towels and bedding. No household checklist can certify that every germ is gone or guarantee nobody else becomes ill.
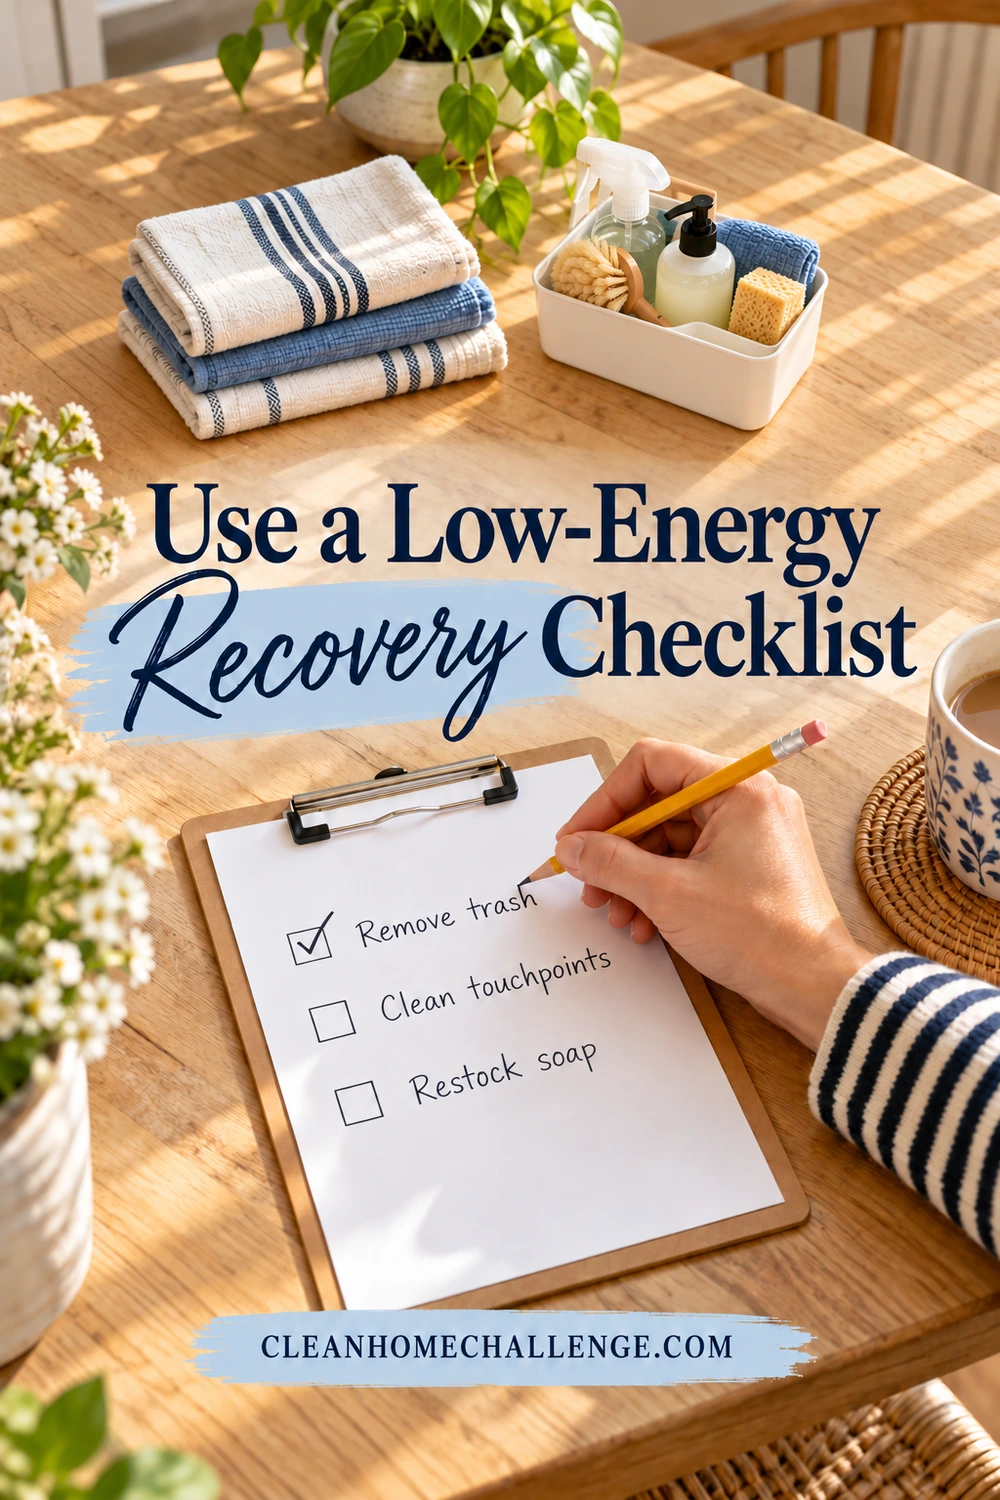
Use a Low-Energy Recovery Checklist
If you are still worn out, choose one short round at a time. The timings below are planning estimates for hands-on work, not disinfectant contact times or a promise to finish contaminated-area cleanup in a few minutes. Laundry cycles and drying take additional time.
First round: about 10 minutes of hands-on work
- Remove used tissues, food scraps, and other obvious trash.
- Put used dishes in the appropriate washing area.
- Choose the few shared touchpoints used most often.
- Clean and appropriately disinfect those surfaces, allowing the full labeled time.
- Restock hand soap and put out a clean hand towel.
If there has been vomit or diarrhea, pause this general list and arrange the full targeted cleanup first. Do not leave that job for tomorrow simply because the timer has ended.
Second round: one bedding load and one bathroom
Start the most useful load, such as the sick person’s sheets and pillowcases. While the machine runs, do the focused bathroom pass if you have the energy. Finish any required rinsing and let surfaces dry. Later, move the laundry through its full drying cycle and remake that one bed.
For a helpful division of labor, one adult can manage chemical cleaning while another handles ordinary laundry or meals. Keep each person’s task specific: “wash these sheets and remake this bed” is easier to finish than “help clean the house.”
Then return to ordinary care
Keep up with shared touchpoints while someone is still sick, respond promptly to new contamination, and follow any illness-specific advice. Gradually return to the regular room routine rather than scheduling a catch-up marathon.
The aim is a home that supports recovery: a usable kitchen, a cared-for bathroom, comfortable bedding, and sensible precautions. Once those needs are met, leaving the window tracks for another week is a reasonable decision.
CLEANERS CLUBHOUSE
Need Help Getting Through a Proper Deep Clean?
Follow the 7-Day Deep Clean Bootcamp when your home needs more than a quick tidy. The Cleaners Clubhouse breaks the work into achievable steps with printable support and seasonal cleaning guidance.
