
THIS POST MAY CONTAIN AFFILIATE LINKS. PLEASE READ MY DISCLOSURE FOR MORE INFO.
A homemade cleaning spray sounds wonderfully simple until you reach a marble vanity, a wood table, and a refrigerator door with three different care instructions. Suddenly, “all-purpose” needs a little explaining.
A DIY all purpose cleaner can help with everyday dirt on compatible, washable hard surfaces. The useful starting point is a simple soap-and-water method, with the soap and dilution chosen for the surface. Vinegar belongs only in jobs that specifically allow it. Neither a homemade label nor a familiar ingredient guarantees that a mixture will protect every finish or disinfect your home.
This guide helps you decide what to use, what to leave alone, and how to finish the job without a sticky film. You do not need a complicated collection of homemade recipes. A few suitable supplies and a repeatable routine can make the daily wipe-down much easier.
Disclosure: This post may contain affiliate links. As an Amazon Associate, Clean Home Challenge earns from qualifying purchases. If you make a purchase through these links, we may earn a small commission at no extra cost to you. This helps us keep creating practical cleaning tips, routines and resources for busy families! 🧽
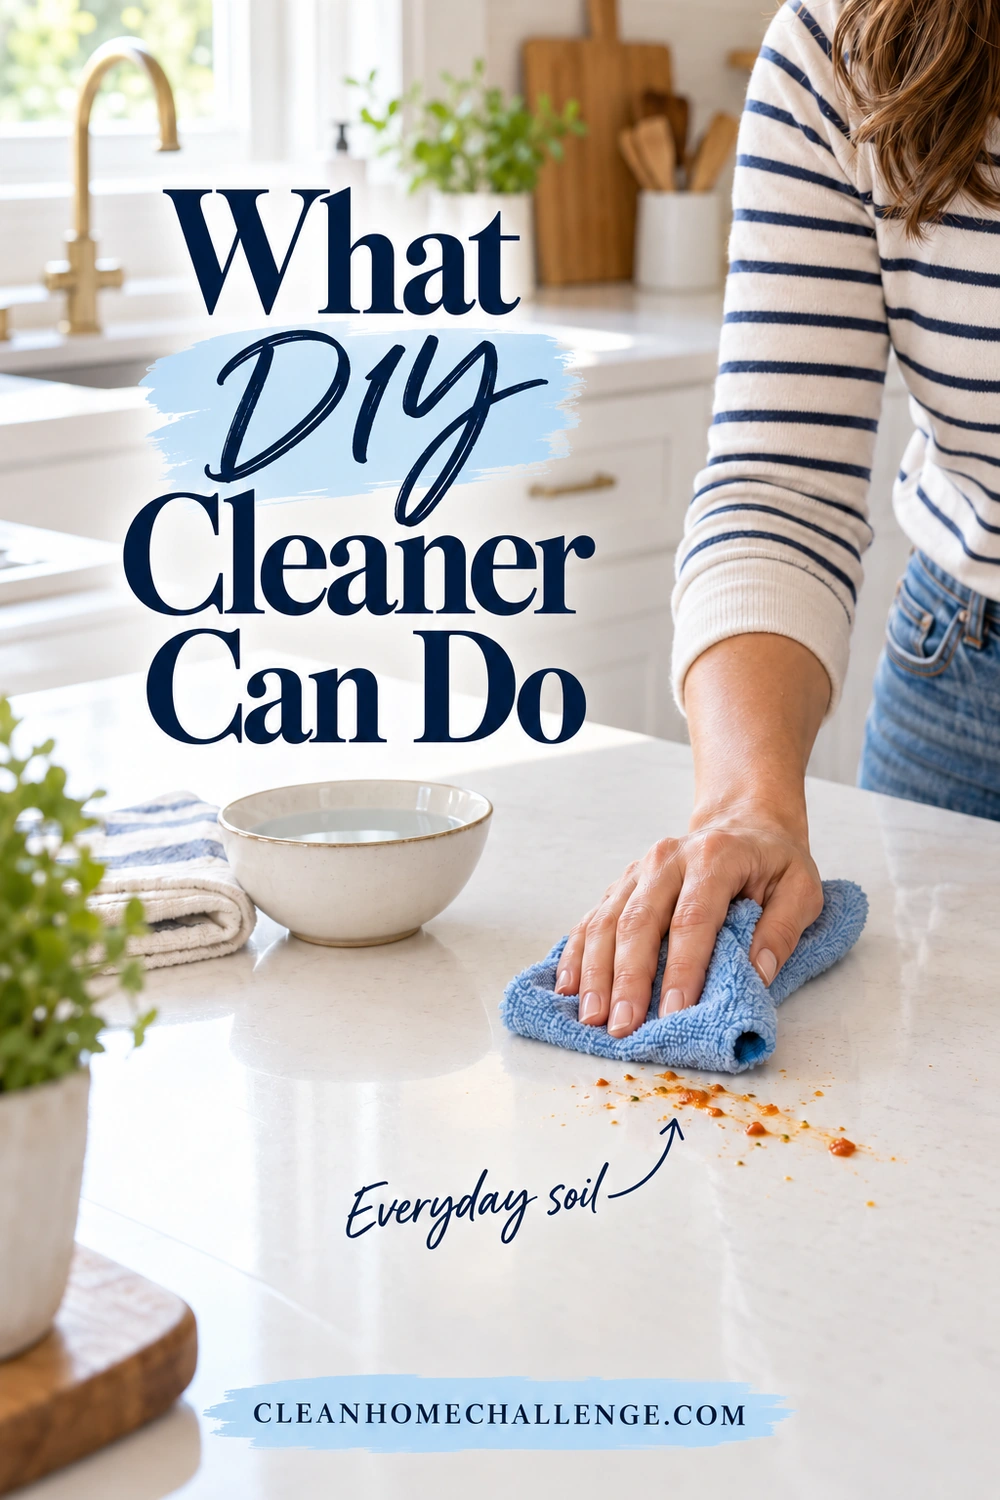
What DIY Cleaner Can Do
Think about the mess before reaching for the bottle. Crumbs, light cooking grease, and ordinary fingerprints need cleaning. A mystery stain, mineral buildup, or a surface contaminated by raw chicken may need a different approach.
Soap or detergent, water, and wiping help remove dirt and germs. The CDC explains that regular cleaning is enough in many everyday household situations. Cleaning, sanitizing, and disinfecting have different purposes, however. A homemade soap mixture should not be described as a disinfectant or given an invented germ-killing contact time. CDC cleaning guidance
A sensible job for a DIY cleaner has three things in common:
- The surface maker permits the selected soap or detergent.
- The mess is ordinary dirt that the product can remove.
- You can remove the cleaner afterward without soaking or damaging the surface.
For example, a small sticky patch on a compatible laminate counter is a more suitable starting point than an entire wood floor. Start with one known surface rather than taking a new bottle from room to room.
When you need a different plan
If someone is sick or has a weakened immune system, follow the relevant cleaning and disinfection guidance. For kitchen surfaces touched by raw meat, poultry, or their juices, the CDC recommends cleaning and then sanitizing. A quick wipe with the everyday bottle does not finish that task. CDC home cleaning and sanitizing advice
When a disinfectant is needed, choose an EPA-registered product labeled for the surface and intended use. Follow its directions, including how long the surface must remain visibly wet and whether rinsing is required. There is no single “leave it for five minutes” rule that works for every product. EPA disinfectant guidance
For a closer look at the distinctions, see our guide to cleaning, sanitizing, and disinfecting.
Keep other specialist jobs separate, too. Do not assume a countertop spray is an oven cleaner, a fabric stain treatment, or a cleaner for the inside of an appliance. Those jobs start with the item’s instructions.
Make a Mild Soap Solution
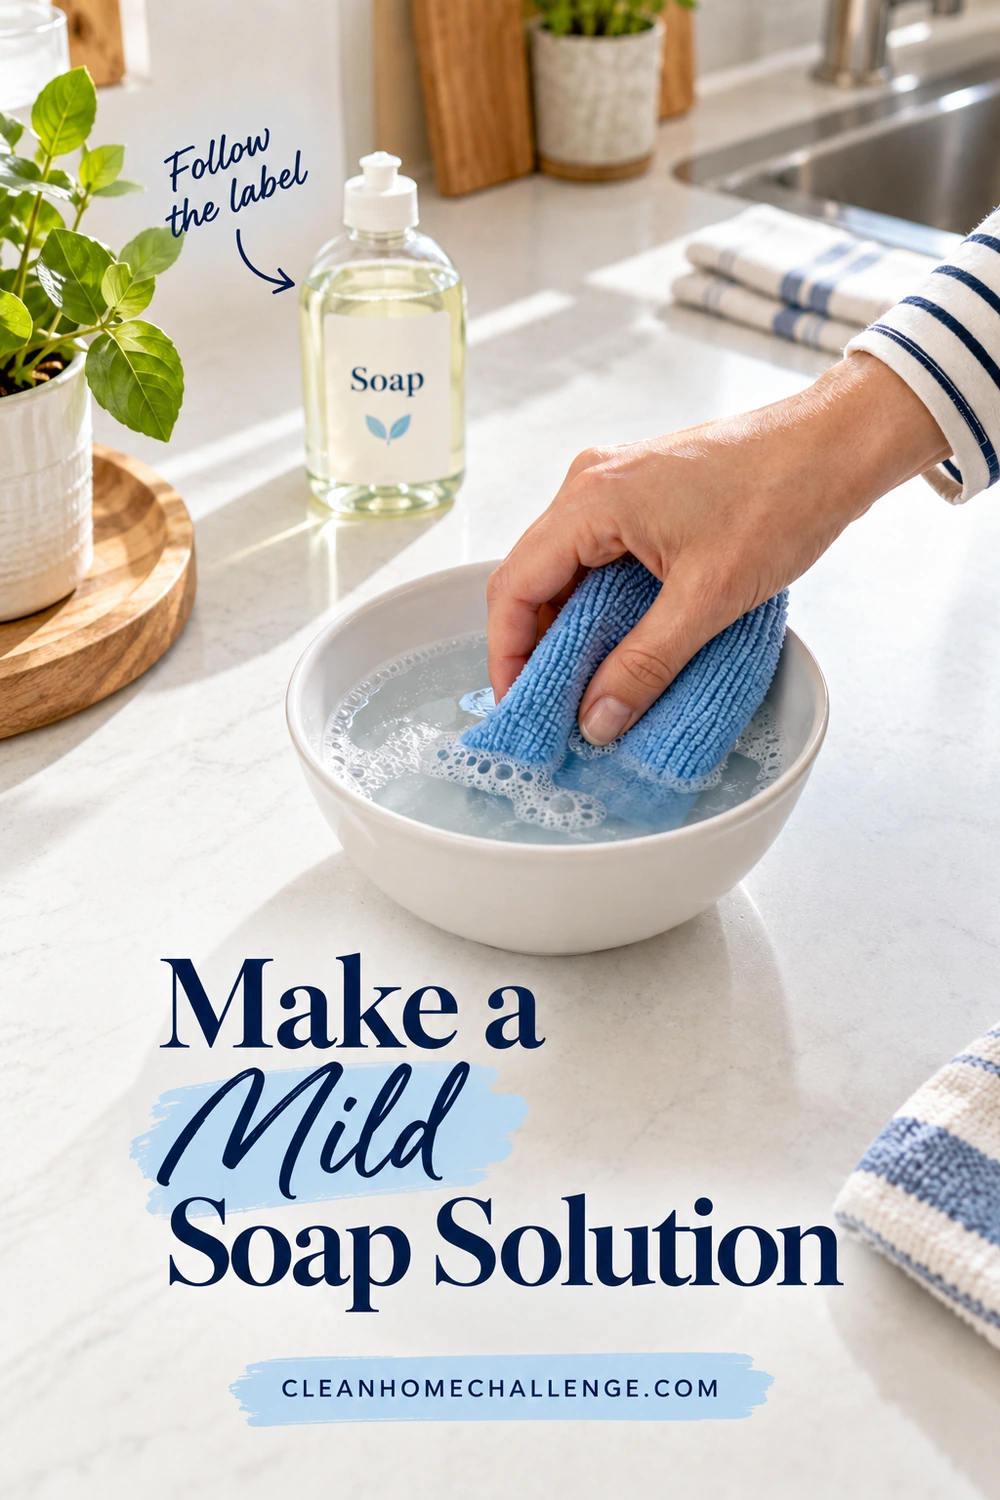
The simplest approach uses one suitable soap or detergent diluted with water. Adding several pantry ingredients makes it harder to check compatibility and does not turn the mixture into a better everyday cleaner.
For ordinary dishwashing liquid, look for the manufacturer’s hard-surface cleaning directions. Formulas differ, so a ratio for one brand or product should not be transferred to another. If you cannot verify a suitable dilution and surface use, choose a cleaner with clear directions instead of guessing.
A measured, product-specific option
If your surface’s care instructions allow the product, Dr. Bronner’s gives an all-purpose dilution of 1/4 cup of its liquid Castile soap in 1 quart of water. A quarter-size batch keeps the same proportion:
- 1 cup water
- 1 tablespoon Dr. Bronner’s liquid Pure-Castile soap, choosing the unscented version if you want no added fragrance
This is a recipe for that named product, not a universal dish-soap ratio. The manufacturer lists uses including tile shower surrounds and ceramic sinks. Check your particular surface and finish before using it, and follow any stricter care instructions. Dr. Bronner’s dilution guide, manufacturer’s surface-use guidance
For this guide, keep the mixture to soap and water. Do not add vinegar, lemon juice, alcohol, bleach, or essential oils. Leave the manufacturer’s optional fragrance additions out. The mixture is for surface cleaning only and carries no sanitizing or disinfecting claim.
What to have ready
Gather a clean, purpose-made cleaning container with enough room for the finished mixture, a measuring cup and spoon reserved for cleaning, and three soft cloths: one for washing, one for the plain-water wipe, and one for drying. A small cleaning basin is fine if you prefer dipping a cloth to using a spray bottle.
Add the water first, measure the soap, and gently swirl. Avoid vigorous shaking that fills the container with foam. Label the mixture before moving away from the preparation area, even if you plan to use it immediately.
Allow a couple of minutes to gather and measure supplies. That is a planning estimate, not a required cleaning or germ-killing time.
Castile soap can react with minerals in hard water and form deposits. Distilled water may reduce that issue in the bottle, but it does not certify a homemade mixture for long-term storage. If this soap leaves a persistent film, use a surface-approved detergent or ready-to-use cleaner rather than adding acids to fix it. Lisa Bronner’s mixing and hard-water explanation

Check Every Surface First
A surface can look sturdy and still have a delicate coating. Check the material, its finish, and the care instructions together. “Sealed,” “stainless,” and “washable” are useful clues, but none authorizes every homemade cleaner.
Use this list as a starting point for choosing a method. It does not approve the Castile recipe for every surface listed.
Laminate counters
Formica recommends a mild liquid detergent and a clean, damp, nonabrasive cloth, followed by a clean-water wipe and drying. Keep water away from seams and edges rather than flooding the counter. Moisture can enter those areas and swell the material underneath. Formica care and maintenance
Engineered quartz
Look up the brand. Cambria’s care guidance allows warm water, a soft cotton cloth, and mild soap if desired, while warning against acids and various harsh cleaners. Permission to use mild soap does not mean every concentrated soap, homemade combination, or abrasive is suitable. Cambria product care
Stainless steel appliance exteriors
Check whether the finish is traditional stainless, black stainless, or fingerprint-resistant. Maytag specifies care by finish and warns against vinegar-based cleaners on certain finishes. Follow the direction of the grain when the instructions require it, and keep moisture out of controls and openings. Maytag stainless steel care
Painted walls and trim
Washability depends on the paint and its condition. Sherwin-Williams recommends mild, soapy water for typical washing, gentle pressure, a clean damp rinse cloth, and careful control of moisture. New paint needs its recommended waiting period before washing. Do not scrub a fragile finish simply because a small mark remains. Sherwin-Williams wall-cleaning guidance
Natural stone
Identify the stone and check its care guidance, including any treatment or sealer. A suitable neutral stone cleaner may be the easiest choice. Do not assume every dish soap is pH-neutral or that a protective treatment makes stone acid-proof. The Natural Stone Institute recommends appropriate neutral cleaners or mild detergent and thorough rinsing. Natural Stone Institute care advice
Surfaces to leave out of the general routine
Use dedicated instructions for screens, electrical controls, unfinished or waxed wood, leather, upholstery, and specialty glass coatings. Floors also need their own material-specific method; a counter-cleaner dilution is not automatically a mop solution.
Where the care instructions permit testing, clean a small hidden spot using the complete wash, rinse, and dry method. Let it dry and inspect for color transfer, dullness, swelling, or other change before continuing. A patch test cannot override an explicit manufacturer warning or prove that repeated use will be harmless.
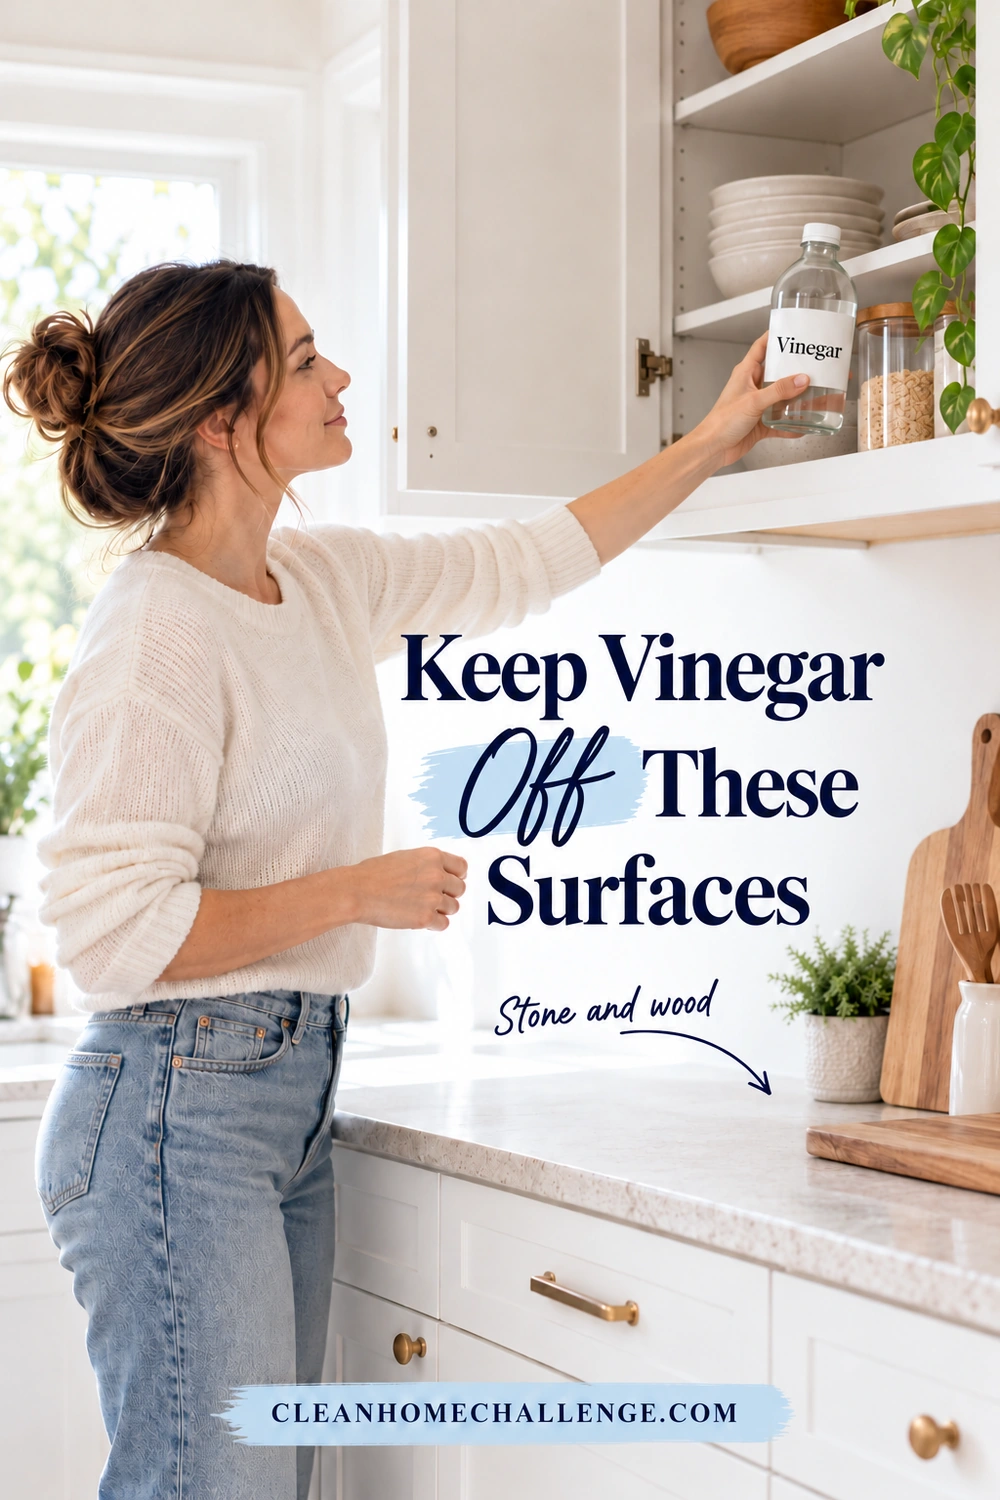
Keep Vinegar Off These Surfaces
Vinegar shows up in many homemade cleaning spray recipes, but its acidity is the reason to be selective. Diluting vinegar does not make it appropriate for every material. A product sold as stronger cleaning vinegar also should not be substituted into a recipe written for another concentration.
Acid-sensitive natural stone
Skip vinegar and lemon juice on marble, limestone, and travertine. Acids can etch these stones, leaving a dull mark rather than removable dirt. The Natural Stone Institute also advises against acidic cleaners on siliceous stone, which can contain acid-sensitive minerals. Granite and quartzite therefore should not get an automatic vinegar approval. Natural Stone Institute stone-cleaning limits
For a vanity, shower, or bathroom floor, our stone and marble bathroom cleaning guide walks through a material-specific routine.
Wood floors and vulnerable finishes
Bona warns that vinegar can harm a wood floor’s finish, while excessive water can cause additional damage. Use the cleaner and moisture level recommended for your actual floor. Treat wood furniture as a separate care question rather than applying a floor rule to every table or cabinet. Bona’s vinegar and wood-floor guidance
Quartz and coated appliances
An internet recipe labeled “countertop safe” cannot account for every brand. Cambria warns against acid exposure. Maytag excludes vinegar-based products for certain stainless finishes. Check the specific brand and model rather than relying on how the surface looks. Cambria care document, Maytag finish-specific instructions
Screens and electronics
Keep homemade sprays away from screens unless the device maker specifically permits that formula. Apple’s instructions exclude household cleaners for devices such as iPads and emphasize protecting openings from moisture. Use the directions for your device, including the correct cloth and permitted cleaning liquid. Apple cleaning instructions
Watch neighboring materials as carefully as the target. A mirror above a stone vanity or glass beside a painted frame creates an overspray problem. Applying a permitted cleaner to a cloth gives you more control than spraying across the whole area.
If you cannot identify the surface, pause the vinegar idea. Find the care information or ask the installer. Guessing is rarely worth the risk of turning a small cleaning task into a finish repair.
Wipe, Rinse, and Dry
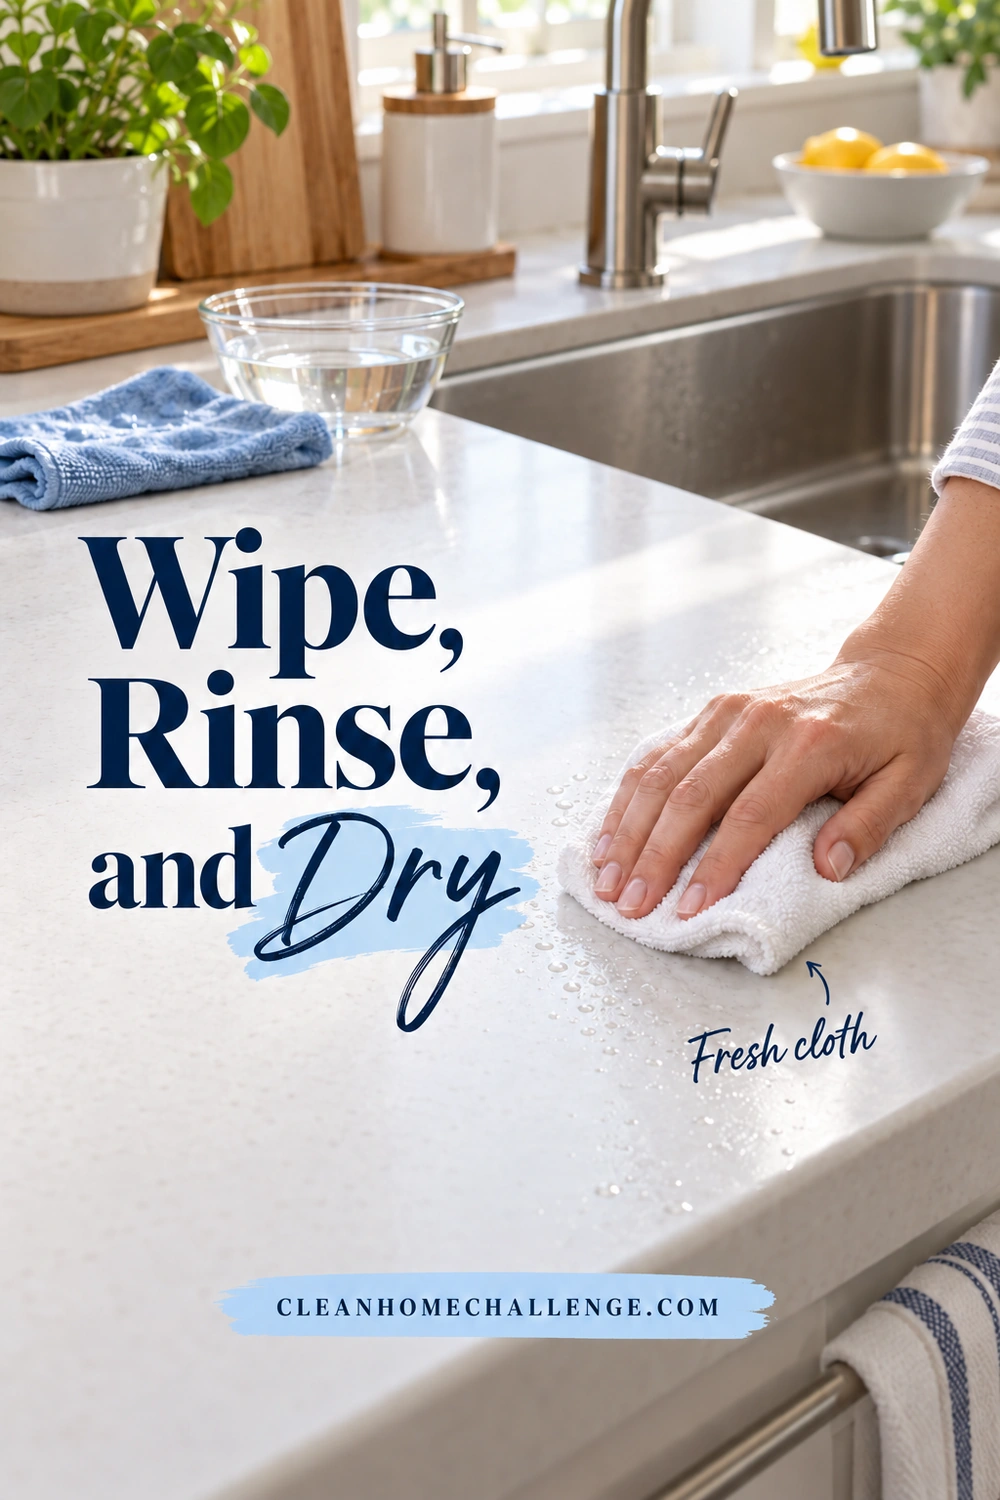
A simple cleaner still needs a complete removal step. The aim is to lift the mess and carry away the cleaner, rather than leave a fresh layer of soap on the surface.
For an ordinary mess on a confirmed compatible hard surface, use this order:
- Clear the working area. Move food, small appliances, and loose objects out of the way. Pick up crumbs and grit so you are not dragging them around with a wet cloth.
- Use a clean, soft cloth. Apply a little prepared solution to the cloth, or dip and wring it thoroughly. The cloth should be damp enough to clean without dripping into edges, joins, or openings.
- Work across a small section. Wipe with gentle, overlapping passes. Fold the cloth to a clean face as it picks up dirt. Replace it when it is no longer carrying dirt away effectively.
- Remove the soap. Wipe with a separate cloth dampened with plain water. Rinse that cloth and repeat as needed, keeping it well wrung out. Follow the product and surface directions for food-contact areas.
- Dry the surface. Use a clean, soft towel where the care guide permits drying. Check edges and seams for leftover moisture before replacing items.
This wash, rinse, and dry sequence is reflected in Formica’s care instructions. Maytag likewise emphasizes drying stainless surfaces. Rinsing a countertop means removing residue with controlled moisture, not pouring water over it. Formica cleaning steps, Maytag surface care
If the surface looks cloudy or feels sticky
Stop adding cleaner. Start with another clean, well-wrung plain-water cloth and dry again. Check whether you used too much product, skipped the rinse, or kept working with a dirty cloth. If a mark remains, identify the cause before trying something stronger; residue, a stain, and finish damage need different responses.
Do not chase every streak with a second chemical. Dawn’s own hard-surface guidance notes that more soap means more rinsing and wiping. Its specific Powerwash directions are not a recipe for homemade dish-soap spray, but the reminder to remove leftover product is useful. Dawn hard-surface cleaning directions
Keep kitchen and bathroom cloths separate. Wash reusable cleaning cloths according to their care instructions and let them dry fully before putting them away. Food-contact cleanup deserves fresh supplies, especially after handling raw ingredients. FDA kitchen surface and towel guidance
Mix Less and Store Safely
A homemade bottle needs the same thoughtful handling as a store-bought cleaner. Keep the original soap container and label so you can check ingredients, warnings, and directions later.
For an occasional cleaning session, make a small fresh batch rather than filling several bottles. This guide does not assign the diluted mixture a tested shelf life. Water choice, container cleanliness, the product, and storage conditions vary. Distilled water alone does not establish a months-long expiration date.
If you set the mixture down during the session, use a clear label with:
- The exact soap or detergent used
- The measured dilution
- The preparation date
- The compatible surface or intended job
- “Cleaning only” and “Keep away from children and pets”
A purpose-made cleaning bottle is easier to identify than a drink bottle or food jar. Never transfer cleaning products into food or beverage containers. Poison Control warns that adults as well as children can mistake these liquids for something to drink. Poison Control container safety
Do not top up an unidentified mixture or reuse a bottle that held another cleaning chemical. A University of Florida Extension safety warning notes that leftover product can react with a new mixture. Keep cleaning equipment clean and let it dry between uses. Follow the product’s disposal directions for leftover solution. UF/IFAS homemade-cleaner handling advice
Keep products separate
Never add bleach to this soap solution. Never mix bleach with vinegar, ammonia, alcohol, or other cleaners. Poison Control specifically warns that bleach and vinegar release irritating chlorine gas; Palmolive also warns against mixing dish soap with bleach. Poison Control vinegar warning, Palmolive safety FAQ
Do not add baking soda and vinegar to the bottle for fizz. They react and use up some or all of each ingredient; foaming is not proof of stronger cleaning. Our guide to the baking soda and vinegar cleaning myth explains the reaction. Use one appropriate method at a time.
Follow label directions for ventilation and protective equipment, including gloves when recommended. Put supplies in secure storage immediately after cleaning, away from children and pets. A homemade formula should never be left within reach because its ingredients seem familiar. Poison Help prevention advice

Your Five-Minute Surface Routine
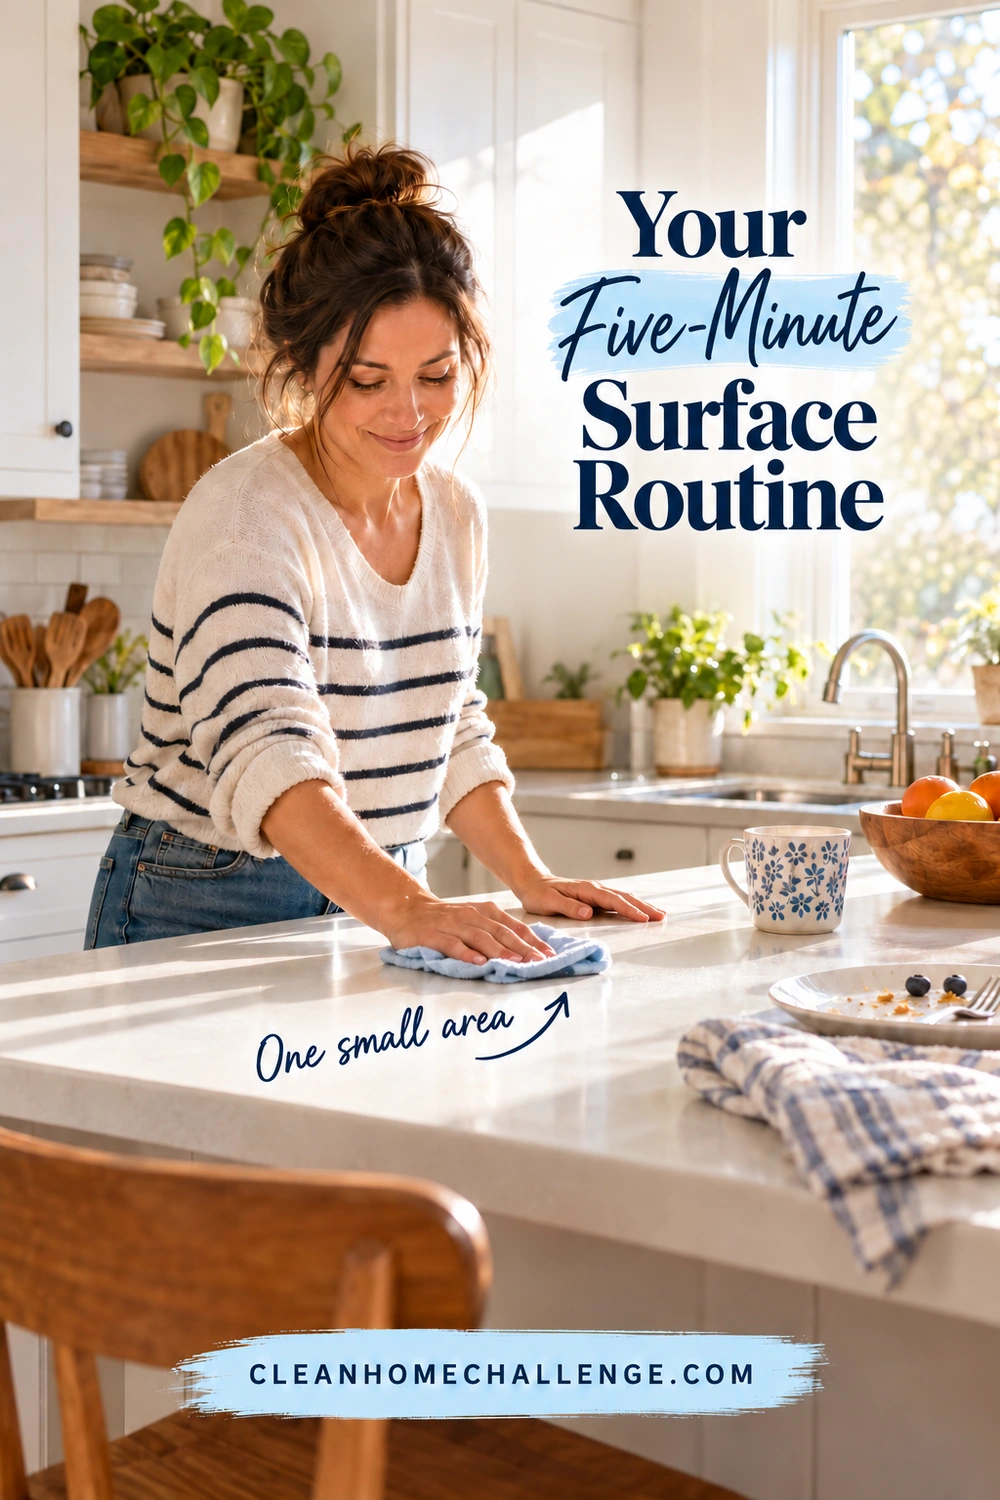
Choose one compatible surface and make that your easy starting point. The kitchen counter beside the sink might be useful, provided you know the material and its approved cleaning method.
Use this five-minute outline as a flexible plan for ordinary daily mess. It is not a deadline, a disinfection schedule, or a promise that every kitchen will take the same time.
- Minute one: clear and check. Put away food, lift loose items, and remove crumbs. Check whether anything needs a separate food-safety or surface-care method.
- Minutes two and three: clean. Use your verified solution and a soft cloth on one manageable section. Keep the cloth damp rather than dripping.
- Minute four: rinse and dry. Remove the cleaner with controlled plain-water wiping, then dry as the surface instructions allow. Give this step enough time even if the timer runs over.
- Minute five: reset the supplies. Deal with the used solution according to the product instructions. Put cloths in the appropriate laundry or drying area, and return the labeled products to secure storage.
On a low-energy day, reduce the area. Clear and clean the space where you will prepare the next meal. One properly finished section is a useful result, even if the rest waits.
Keep the kit small
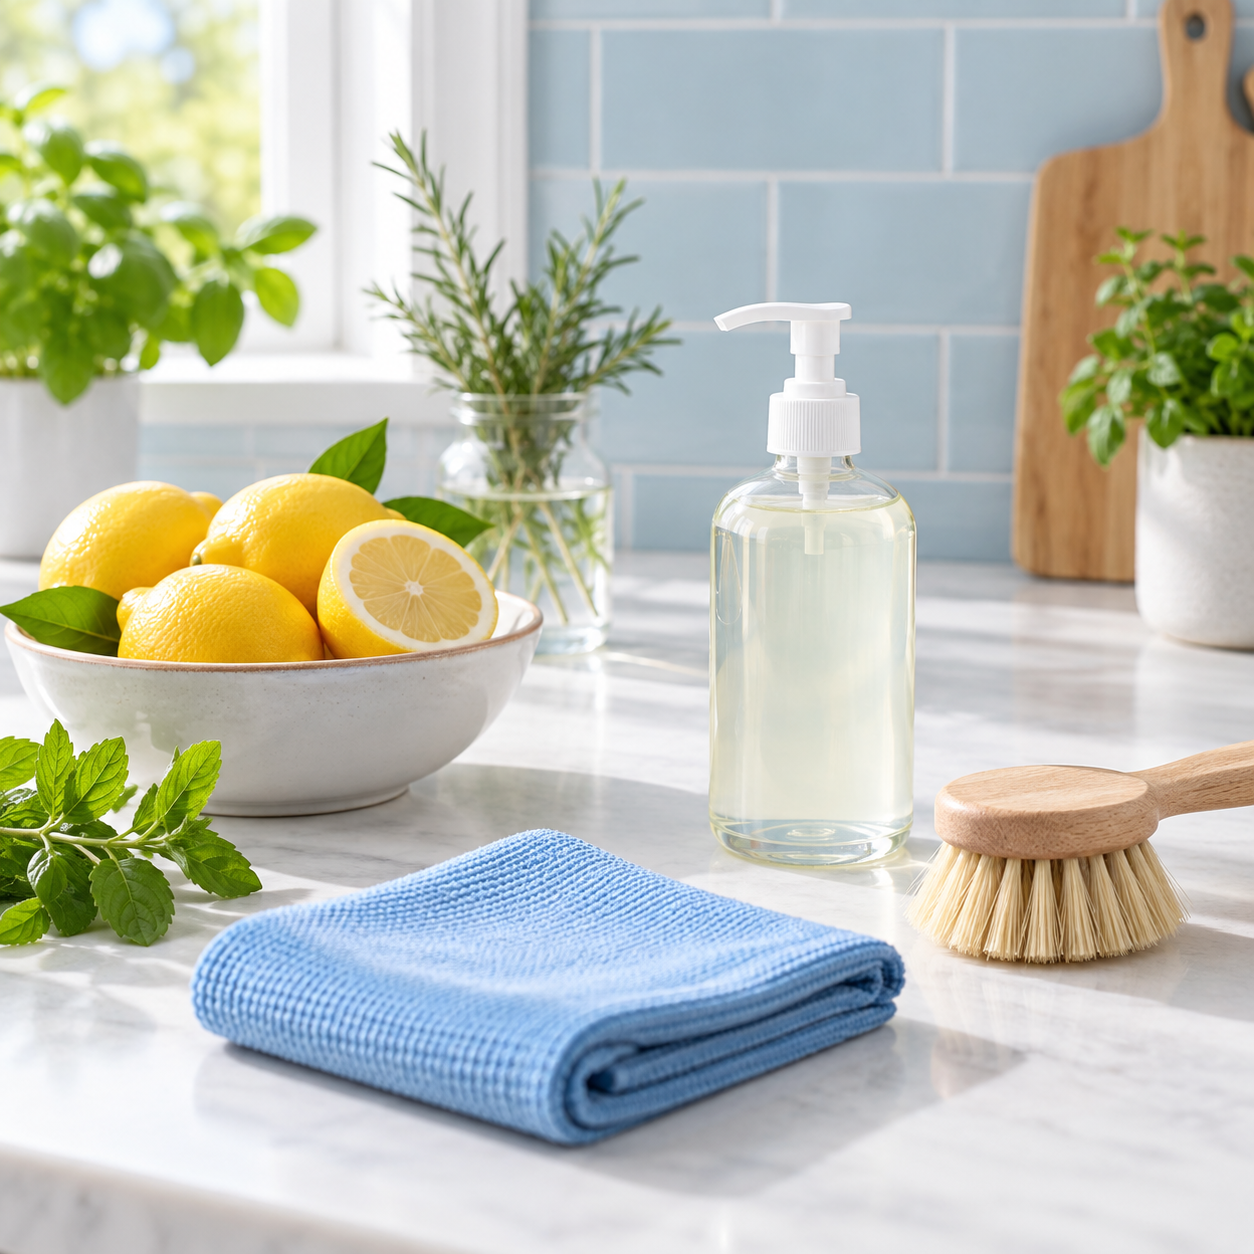
A practical kit can include a suitable soap or ready-to-use cleaner, a clearly labeled cleaning container, a small measuring jug and spoon, and enough cloths to wash, rinse, and dry. Keep any necessary surface-specific products alongside their instructions. You do not need to replace something that already works safely with a homemade version.
For the weekly routine, give kitchen surfaces a little extra attention on Monday and bathroom surfaces on Tuesday. Use each area’s appropriate product and separate cloths. Floors can stay with their own Friday routine and their own approved cleaner.
The most useful DIY all purpose cleaner is one you understand: what it contains, where you can use it, and how to remove it. Check the surface, measure for the product, keep ingredients separate, and finish with the right rinse and dry. That is a realistic routine worth keeping.
CLEANERS CLUBHOUSE
Build a Safer, Simpler Cleaning Routine
Clean confidently with practical guidance that helps you choose sensible products and use them correctly. The Cleaners Clubhouse combines safer cleaning support with realistic routines, worksheets and challenges.
