
THIS POST MAY CONTAIN AFFILIATE LINKS. PLEASE READ MY DISCLOSURE FOR MORE INFO.
Vinyl plank flooring can collect an impressive mix of crumbs, muddy footprints, sticky juice spots, and whatever came in on the dog’s paws. The good news is that a useful cleaning routine can be fairly simple.
To clean vinyl plank flooring, remove loose grit first, spot-clean spills, then damp-mop with a cleaner approved for your particular floor. Use clean pads, follow the product’s dilution directions, and let the floor dry before walking on it. Save stronger treatments for a specific problem your floor’s care guide actually covers.
There is one important detail: vinyl planks do not all have the same finish or cleaning instructions. Advice that suits one collection may be unsuitable for another. This guide gives you a practical starting routine, with clear checkpoints for the choices that need a manufacturer-specific answer.
Allow roughly 15–25 minutes of hands-on work for an average kitchen or living room, plus drying time. That is a planning estimate, not a promise; furniture, floor area, and accumulated dirt will change the job. If today only has room for a five-minute reset, there is an option for that too.
Disclosure: This post may contain affiliate links. As an Amazon Associate, Clean Home Challenge earns from qualifying purchases. If you make a purchase through these links, we may earn a small commission at no extra cost to you. This helps us keep creating practical cleaning tips, routines and resources for busy families! 🧽
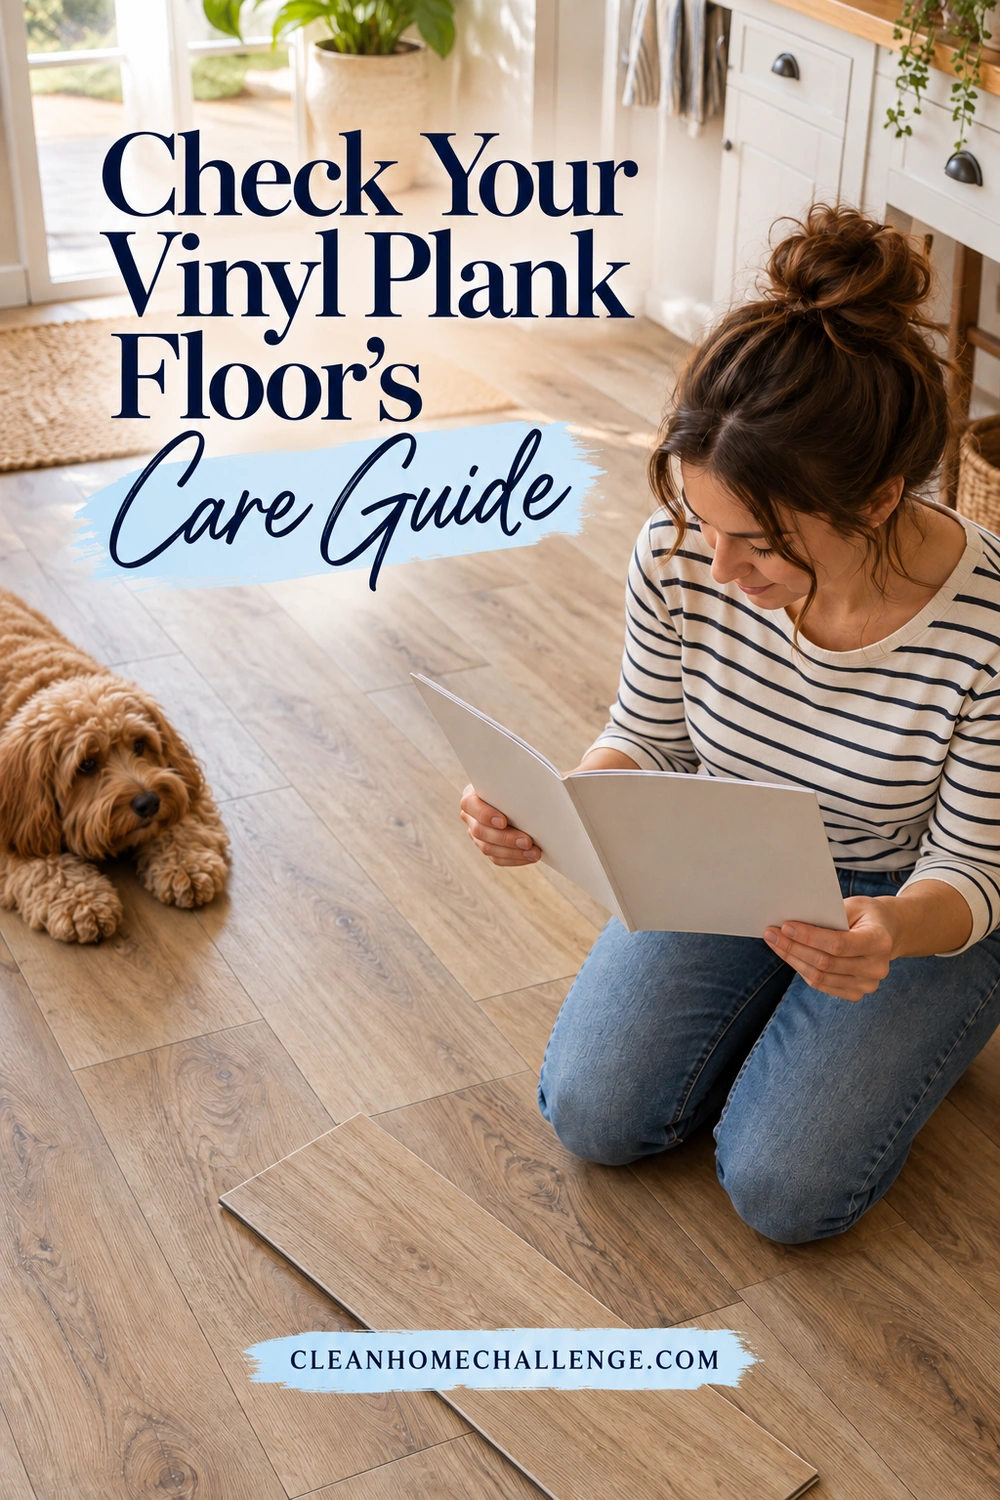
Check Your Vinyl Plank Floor’s Care Guide
Before buying a cleaner or bringing out a machine, identify what is under your feet. Wood-look vinyl, laminate, and engineered wood can look similar, but their care instructions are not interchangeable.
Look for a spare carton, receipt, installer invoice, or the builder’s finish schedule. Save the brand, collection, model number, and matching care guide together. If you rent, ask the property manager for those details. A photo of the floor alone is not a reliable way to confirm the exact product.
In the guide, check four things:
- Which cleaners and cleaning tools are approved?
- Does it allow damp mopping, a particular wet-cleaning machine, or steam?
- Does it specify a waiting period after installation?
- What does it recommend for stains and existing finish buildup?
For many LVP floors, the routine centers on a neutral-pH cleaner formulated for vinyl. Shaw’s current vinyl-care guidance recommends that approach and specifically cautions against vinegar-based, ammonia-based, and abrasive products. A bottle described simply as “multipurpose” has not answered the compatibility question.
If you cannot identify the floor yet, start with gentle dry debris removal and promptly blot spills. Get guidance before experimenting with steam, solvents, polish, or a homemade recipe. You can still make progress without testing several cleaners on an unknown finish.
New installation deserves an extra check. Adhesive curing and initial cleaning requirements depend on the product and installation method. Follow the installer and flooring manufacturer’s instructions rather than treating a newly laid room like an established floor.
It is also worth separating ordinary dirt from damage at the start. Lifted edges, loose planks, peeling surfaces, or moisture emerging from joints need advice from the installer or manufacturer. More scrubbing will not resolve those problems.
Gather a Simple Floor-Cleaning Kit
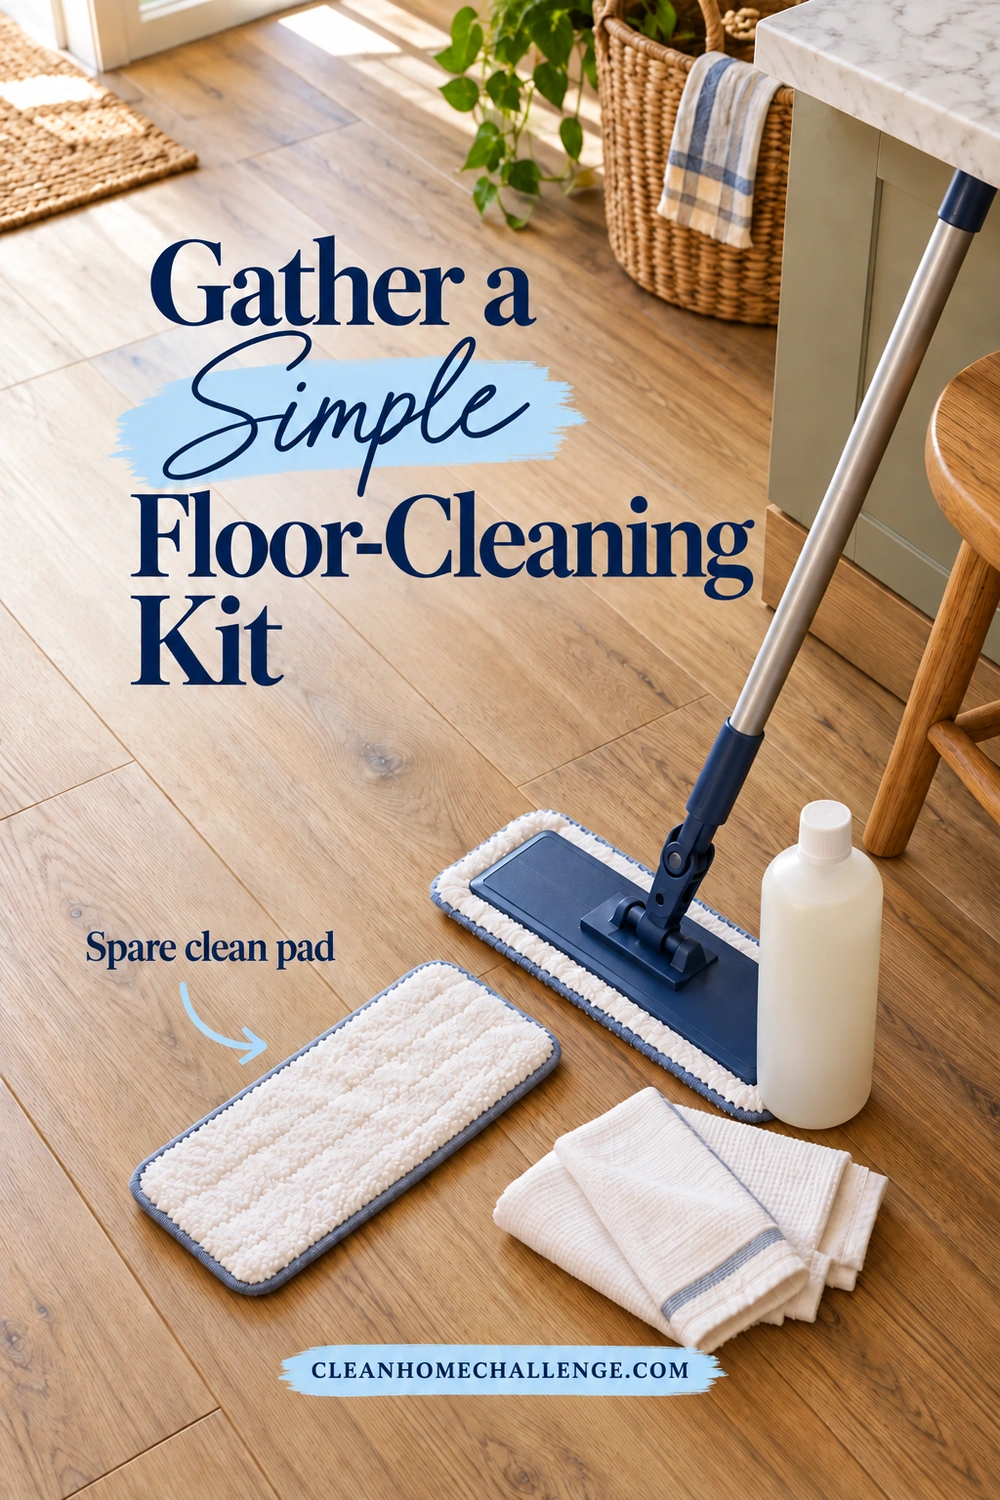
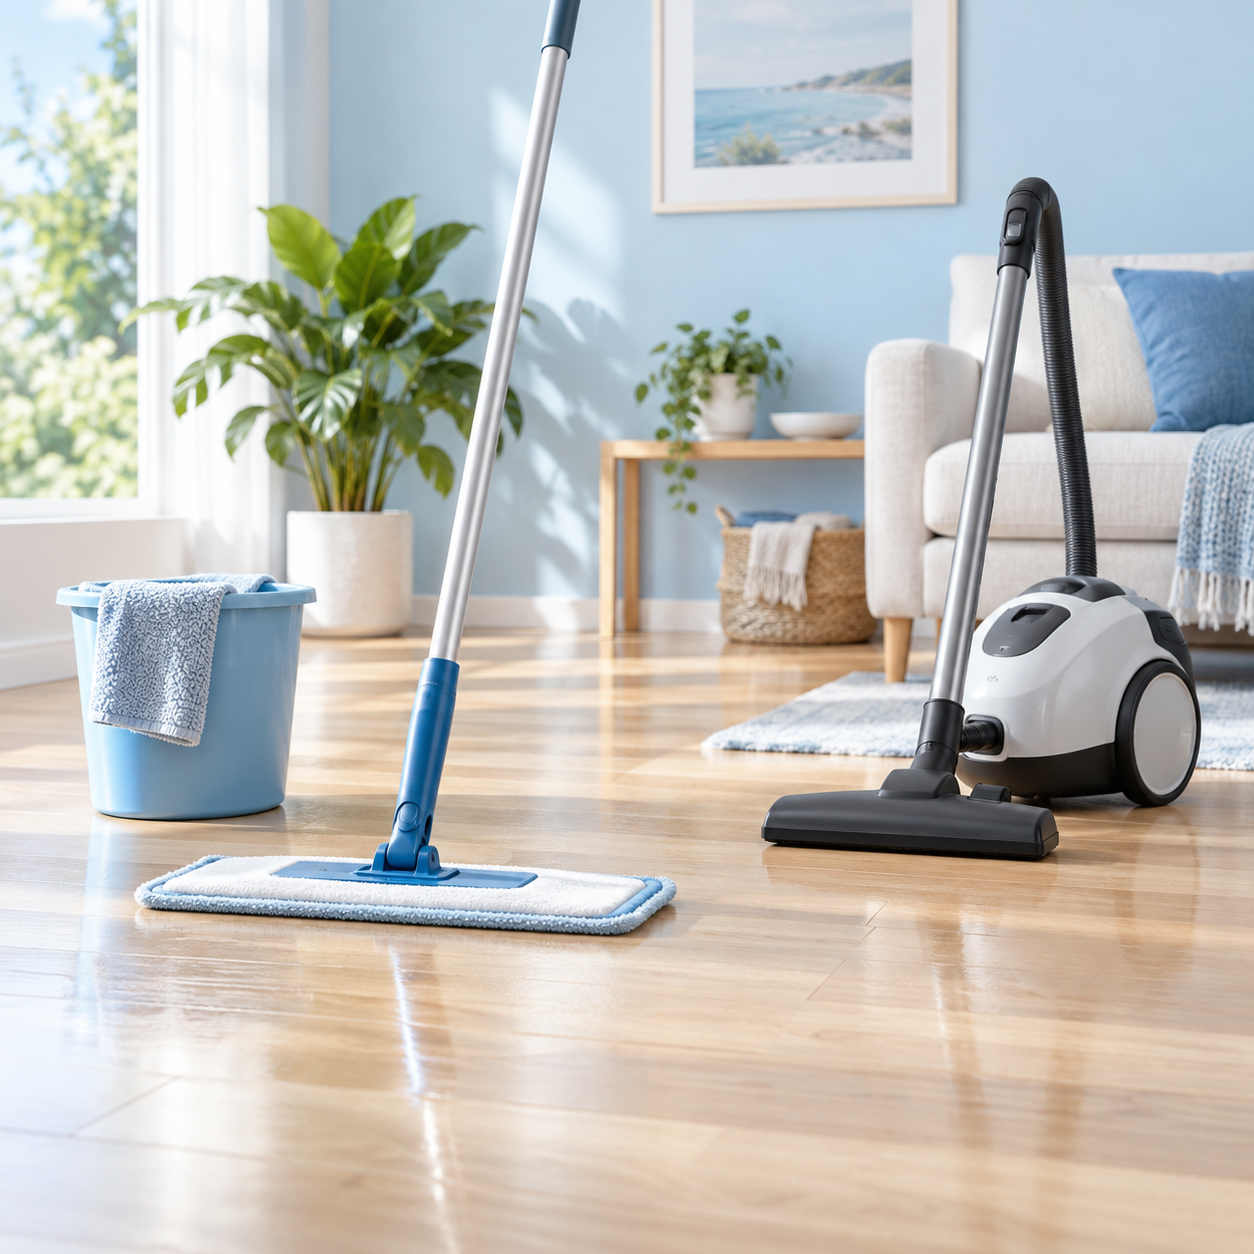
A small, dependable kit is easier to use regularly than a cupboard full of specialist bottles. Have these ready:
- A soft broom, clean dry dust mop, or suitable hard-floor vacuum
- A flat microfiber mop with at least one spare clean pad
- The floor manufacturer’s approved cleaner
- Clean water, if the instructions call for dilution or rinsing
- Several soft white cloths for spills and spot cleaning
- A dry cloth for excess moisture
- Gloves or other protection specified on the cleaner’s label
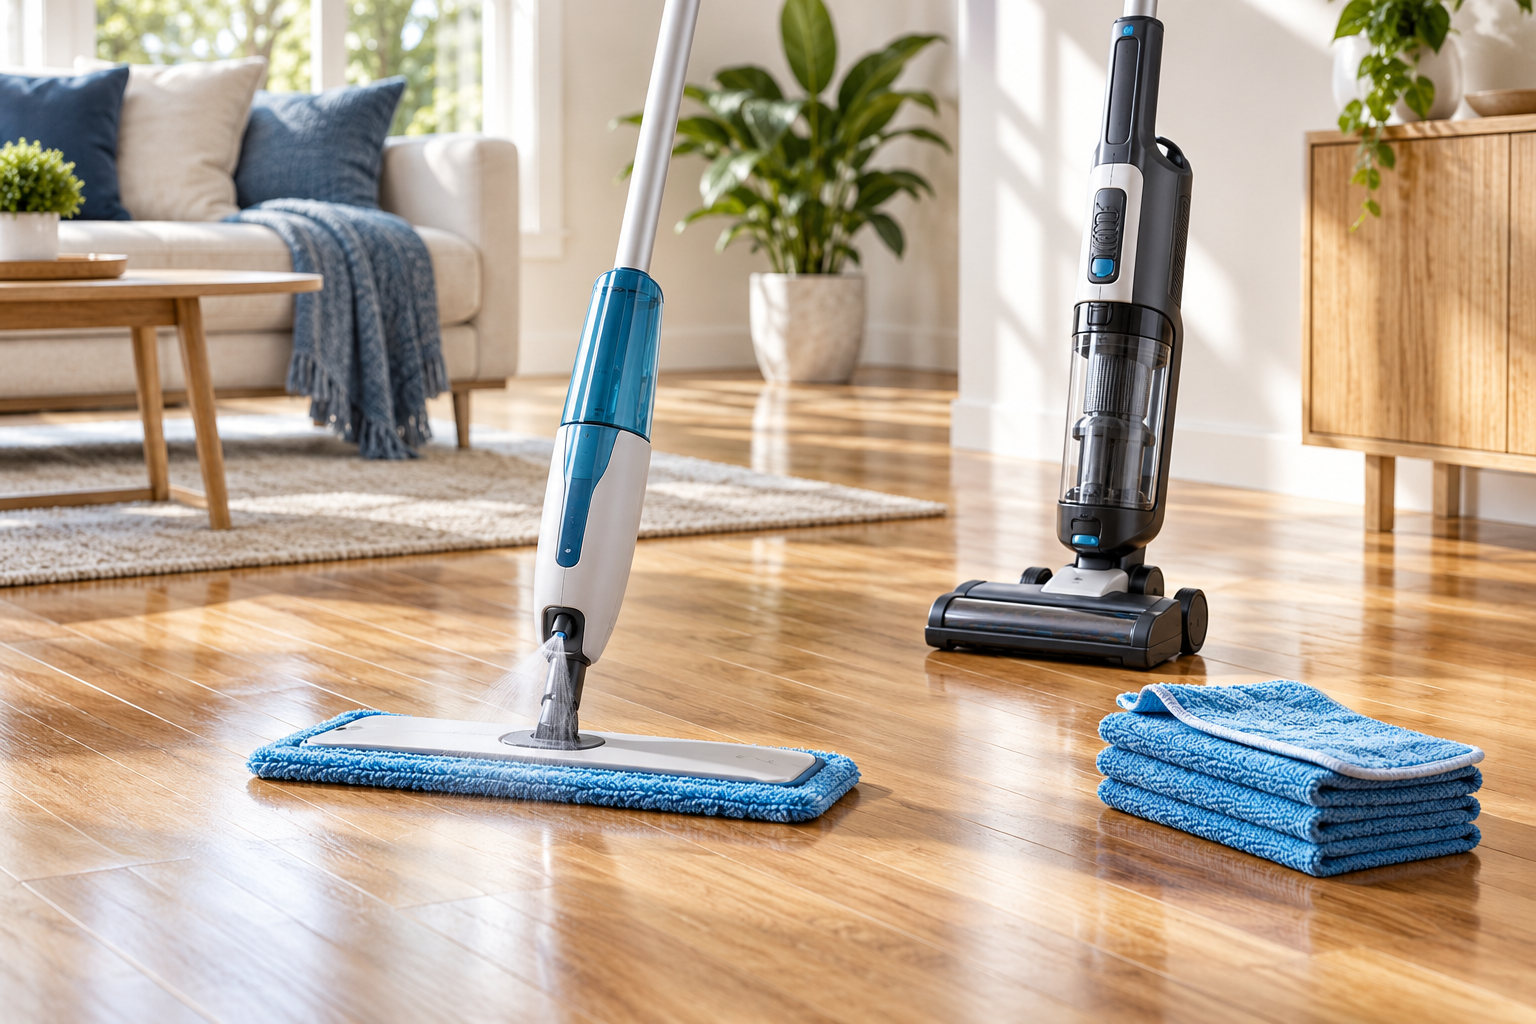
Check the vacuum head before you start. Turn off the rotating beater bar and make sure the attachment and wheels are clean and suitable for your flooring. COREtec’s cleaning guidance permits dry debris removal with a broom, untreated dust mop, or vacuum without rotating beater bars.
A spray mop can be convenient, provided its pad, cleaning solution, and application method match the floor’s instructions. A bucket mop also works when it can be wrung out thoroughly. Choose the tool you can manage comfortably; there is no need to buy a powered machine for an ordinary weekly clean.
Choose the right amount of cleaner
Check whether the bottle is ready to use or concentrated. They need different handling. For example, Bona Professional Series Luxury Vinyl Floor Cleaner is sold ready to use, while Karndean’s floor-care guide gives a dilution for Karndean Clean.
Measure a concentrate according to its current label. Do not add extra cleaner because the floor looks especially dirty, and do not dilute a ready-to-use product unless instructed. Keep the original labeled bottle so the next person cleaning knows what it contains.
When introducing a compatible new product, follow its patch-test instructions. Use an inconspicuous spot or spare plank and check the dry result for changes in color or sheen before cleaning a larger area.
Put spare pads within reach before starting. Changing a dirty pad should be a quick swap, rather than a reason to keep mopping the whole room with the same one.
Clean Vinyl Plank Flooring Step by Step
Use this sequence for an established, intact floor whose care instructions allow damp mopping. Work in one room or one manageable zone at a time.
1. Clear a realistic working area
Pick up toys, shoes, baskets, and loose rugs. Move light chairs carefully if you can do so comfortably, but leave heavy furniture and appliances in place for a routine clean.
Choose an exit route so you finish near the doorway. Keep children and pets out of the working area until the floor is dry. Move the water bowl or toy basket beforehand, so nobody needs to cross the freshly cleaned section.
2. Remove dry dirt thoroughly
Sweep, dust-mop, or vacuum before introducing moisture. Pay attention to the entryway, dining chairs, cabinet edges, and the route from the back door. A slow pass along those busy strips is more useful than repeatedly mopping over grit.
Collect debris into the dustpan or vacuum instead of pushing it into corners. Check beneath the mop or vacuum head if it starts dragging. A little pebble caught there is a good reason to stop and remove it.
3. Give sticky spots their own attention
Look for dried food or drink marks before mopping the entire room. Work on these with a soft cloth and the approved method in the next section. That way, you are not pressing harder on every plank to remove one stubborn patch.
4. Prepare a clean, lightly damp pad
Follow the cleaner’s instructions for application. If your flooring guide says to put solution on the mop rather than directly on the floor, follow that requirement. Keep any spray contained to the area you are about to clean.
For a bucket mop, wring it out well. For a flat mop, use enough moisture for it to glide and lift soil without leaving pools. You should not be pushing a wave of liquid ahead of the mop.
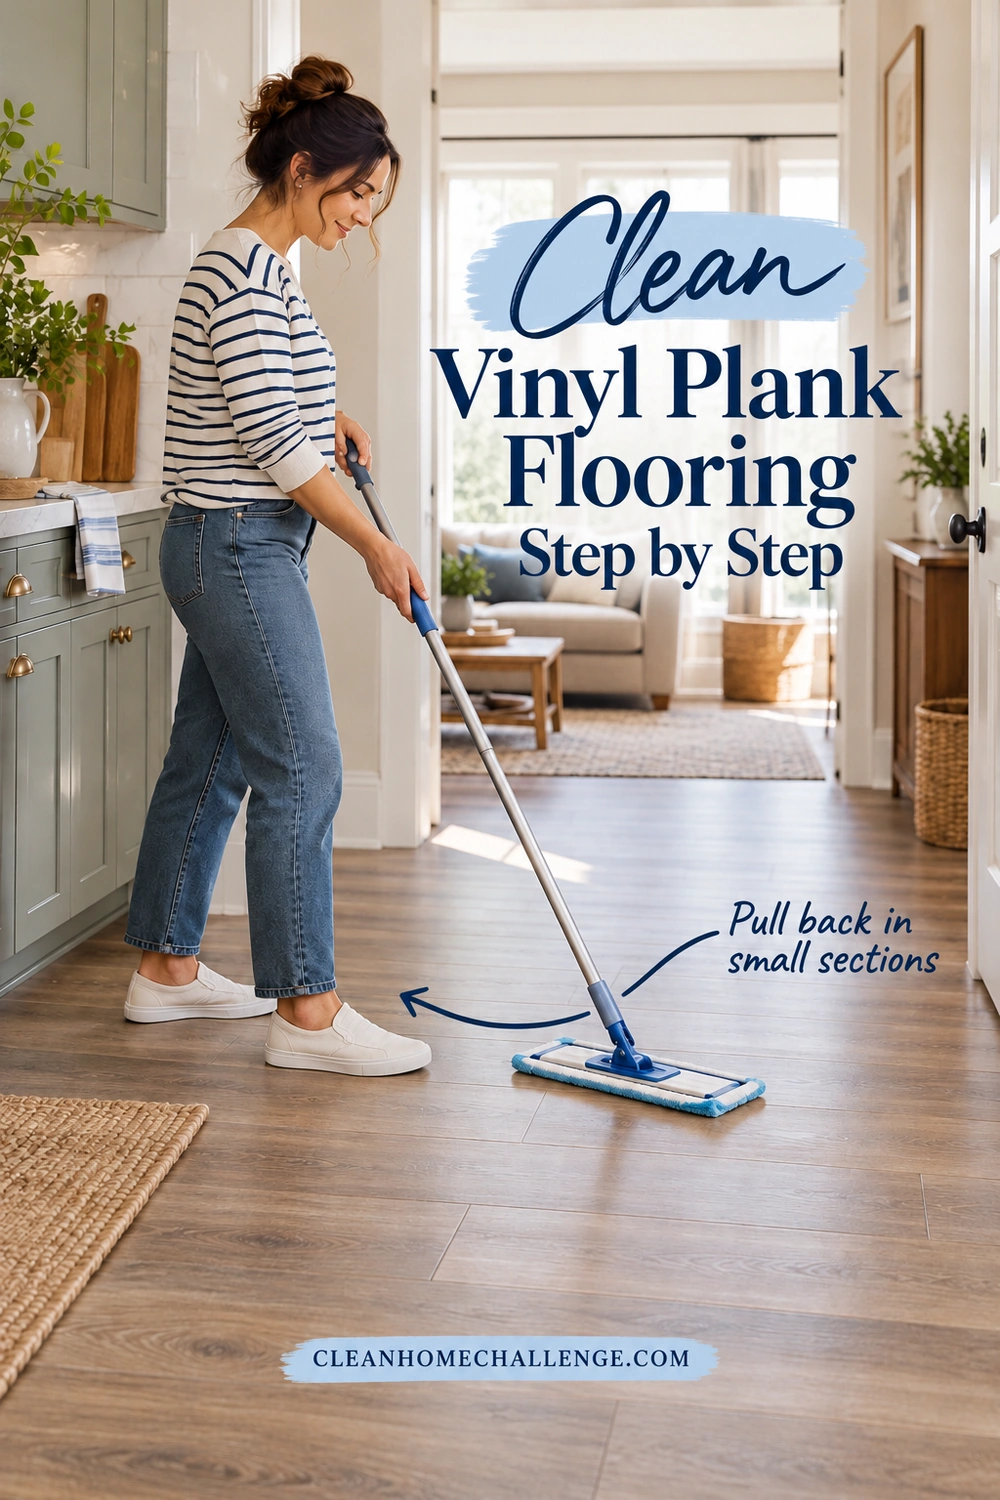
5. Mop in small sections
Start at the far end of the room and work toward your exit. With a flat mop, place the pad ahead of you and pull it back in controlled, overlapping passes. Reposition for the next strip rather than repeatedly chasing the same dirty water around.
Keep the strokes comfortable and the handle close enough that you are not stretching across the room. Follow the plank direction where practical; it makes it easier to see where you have worked. A Lifeproof care guide hosted by Home Depot also recommends cleaning along the planks and changing or rinsing a soiled cloth. Its product-specific instructions should only be used for the matching floor.
Inspect the pad after the entryway or another particularly dirty section. Replace or rinse it when soiled, and change bucket water when dirty. Have a clean pad ready for the final area rather than saving the dirtiest pad for last.
6. Handle rinsing according to the instructions
Some compatible cleaners are designed for no-rinse use at the correct dose; others require a clean-water pass. Follow the label and flooring guide rather than automatically adding another product.
Where rinsing is needed, use a fresh, well-wrung pad and clean water. Pick up remaining moisture. If the surface is still sticky once dry, use the troubleshooting section before adding more cleaner.
7. Let the floor dry fully
Check for drips near baseboards, chair legs, and the last place you wrung or changed the mop. Blot excess moisture with a dry cloth. Keep the route closed until the surface is dry; do not assume every room takes the same number of minutes.
Put rugs and furniture back only when the floor beneath them is dry. Empty the bucket, clean the mop equipment, and wash reusable pads according to their care instructions. Let everything dry before storing it, so your kit is ready for next time.
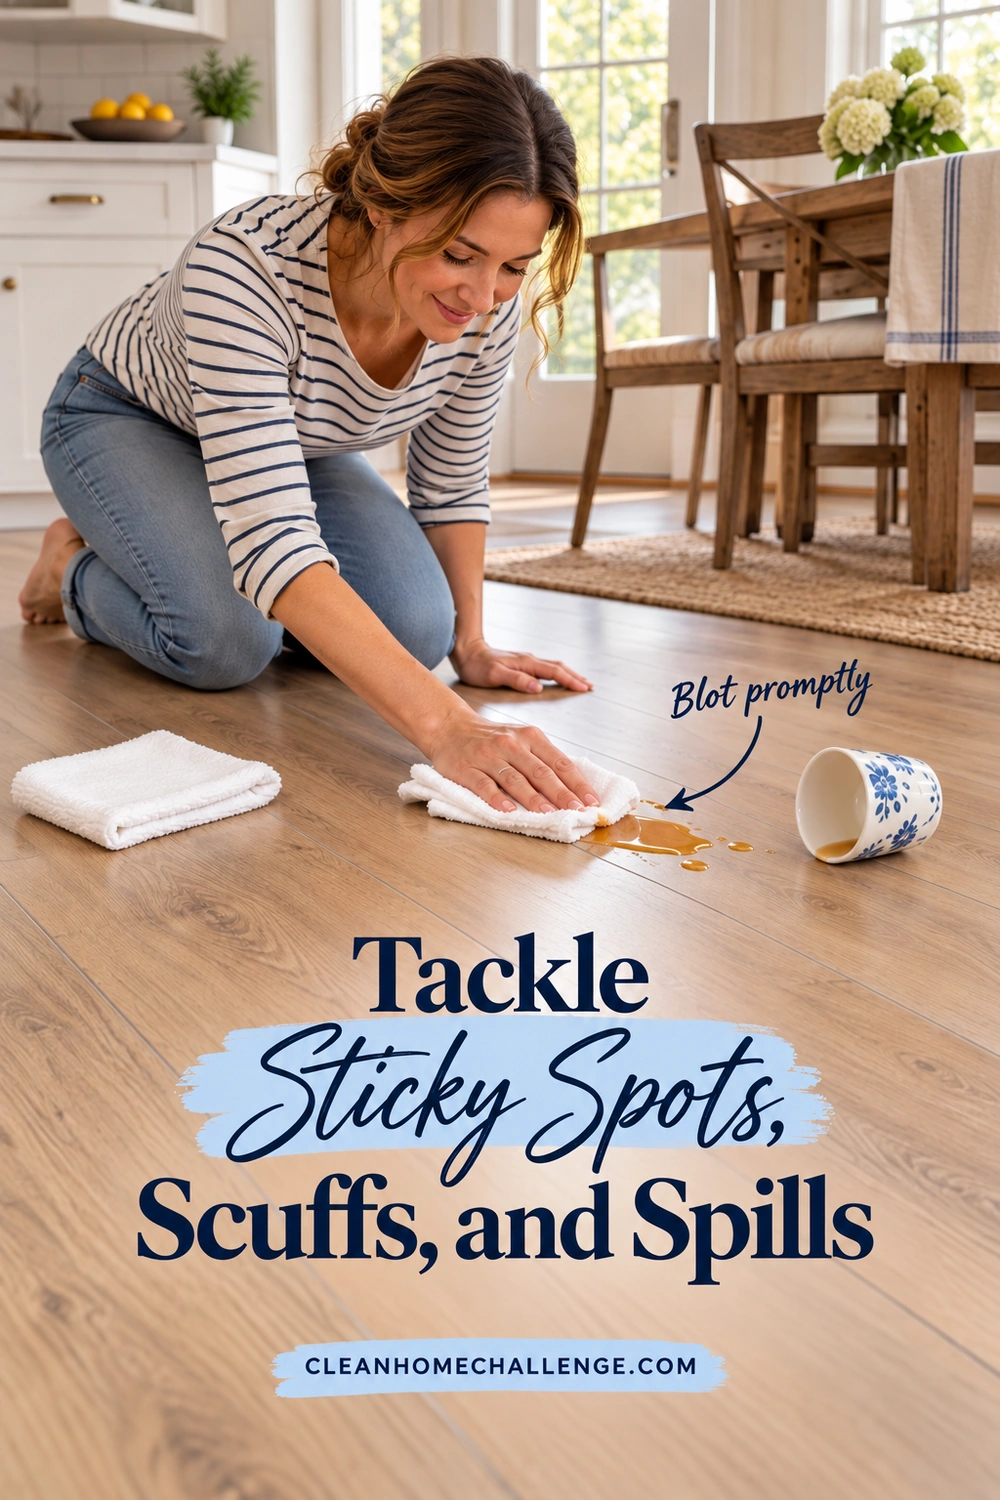
Tackle Sticky Spots, Scuffs, and Spills
Start with the mildest treatment approved for your flooring and stop when the mark is gone. Work on a small area with a clean white cloth so you can see what you are lifting.
Fresh drinks and food spills
Blot up liquid promptly. For a non-water spill, remove the remaining residue with a lightly damp cloth or the floor’s approved cleaner, then dry the spot. COREtec’s spill instructions use this basic blot, damp-wipe, and dry sequence.
For sticky dried juice or food, gently work the affected patch with a damp cloth and compatible cleaner. Give the product only the contact time its label allows. Turn to a fresh part of the cloth as the mess lifts. Do not soak the seams or scrape with a kitchen blade.
Shoe scuffs
Try a soft damp cloth and the recommended cleaner before reaching for anything abrasive. For example, Karndean’s US care FAQ recommends diluted Karndean Clean with a moist cloth or non-abrasive pad for shoe and furniture scuffs.
A mark sitting on the surface may clean off; a cut through the surface will not. If gentle cleaning reveals a groove or changes the sheen, stop. Avoid turning a small mark into a larger rubbed patch.
Grease, ink, paint, or other stubborn marks
Identify the substance and consult the flooring manufacturer’s stain chart. A product approved for one type of stain may be unsuitable for another finish. Shaw, for instance, permits isopropyl alcohol for certain stubborn spots, but that is not a reason to use rubbing alcohol across every vinyl floor.
Only use a solvent when your exact floor’s guide permits it. Follow the named product’s precautions, including ventilation and keeping it away from ignition sources; test in an inconspicuous area as directed. If the instructions are unclear, ask the manufacturer before proceeding. General-purpose adhesive removers and nail-polish remover are poor choices for an improvised experiment.
Pet accidents
Remove solids carefully and absorb liquid right away. Clean the affected area with a product approved for the floor, following its label. An enzyme cleaner needs explicit compatibility with your vinyl finish; “pet cleaner” alone does not establish that.
If an odor returns or liquid seems to have reached beneath the planks, ask the installer or manufacturer about the next step rather than repeatedly saturating the area. Routine floor cleaning should not be described as disinfecting. If disinfection is needed, the product and required use must be compatible with the flooring as well as appropriate for the situation.
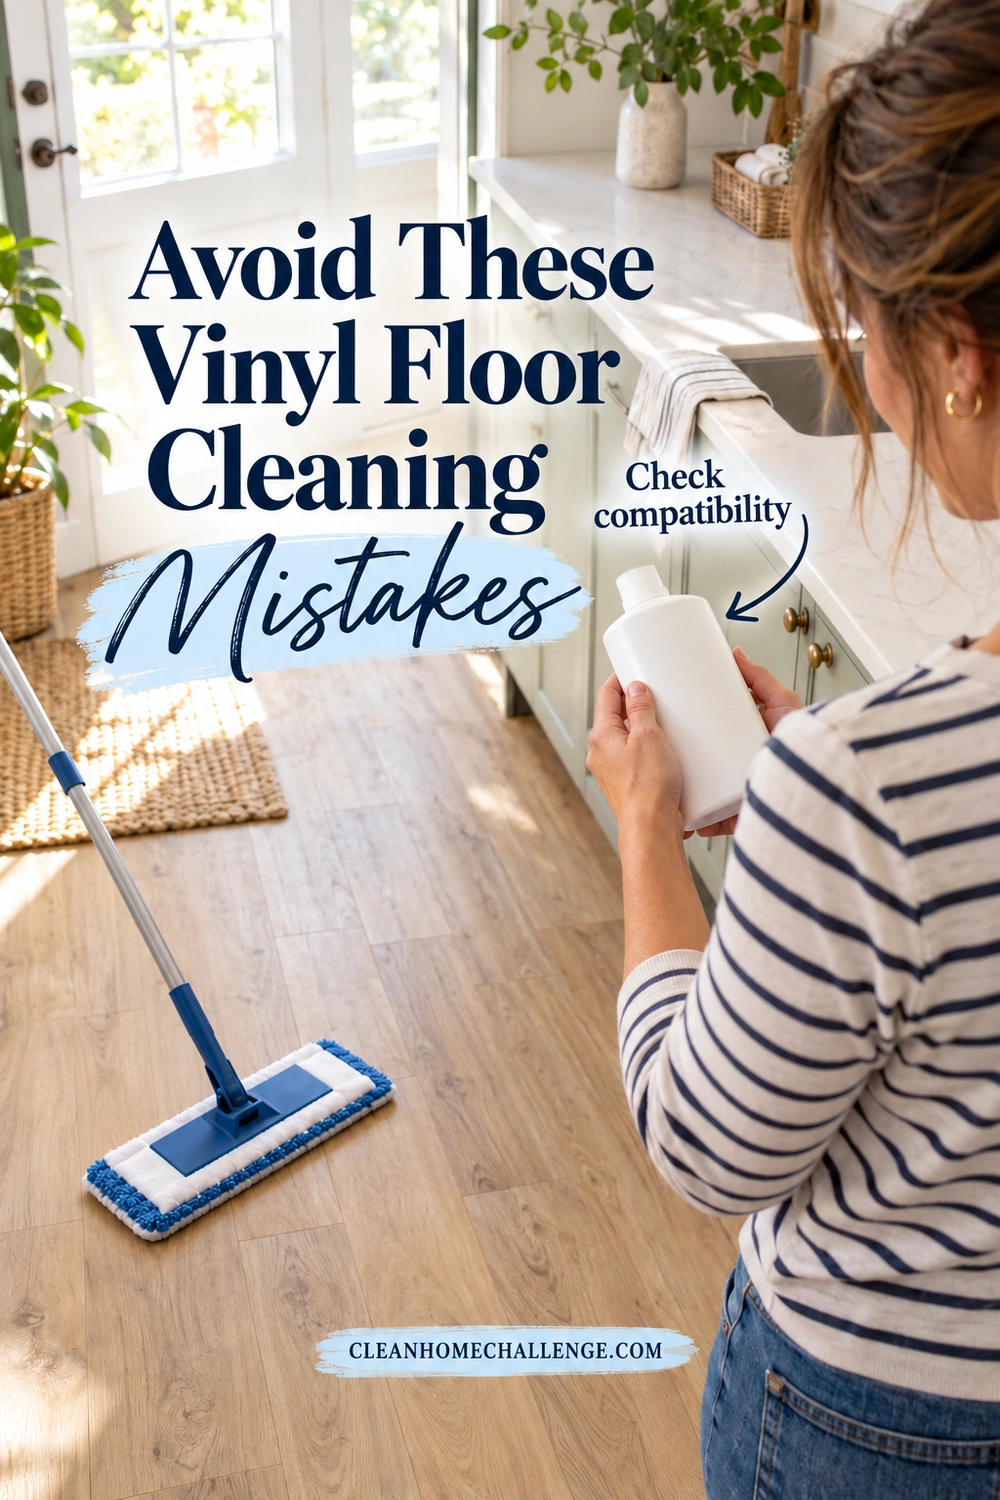
Avoid These Vinyl Floor Cleaning Mistakes
A careful routine leaves fewer decisions to guess. These are the shortcuts worth questioning before they become habits.
Assuming all vinyl planks can be steam-cleaned
There is no reliable brand-wide or material-wide answer. Karndean’s US guidance does not recommend steam mops. In contrast, Mannington’s ADURA Rigid care page approves residential steam-based cleaners designed for hard-surface floors.
Use steam only when the instructions for your exact flooring explicitly allow it, and follow both the flooring and machine requirements. A steam mop’s “vinyl” setting does not override the floor manufacturer’s restrictions. If you cannot confirm permission, use the approved damp-mop method.
Treating vinegar as a universal vinyl cleaner
Shaw advises against vinegar-based products, while Flooret’s Modin care guidance says occasional diluted white vinegar can be used on that product but prefers a purpose-made cleaner for routine care. Those differences are a good reason to skip a one-recipe-fits-all approach.
The same caution applies to dish soap, oil soap, bleach, ammonia, and citrus cleaners: do not substitute them for the recommended product without checking your specific guide. “Natural,” “homemade,” and “hard-floor cleaner” do not tell you whether a formula suits your finish.
Using abrasion or adding shine
Avoid scouring powder, steel wool, stiff scrubbers, and unapproved abrasive pads. Do not assume a melamine eraser is gentle enough just because it feels soft. Shaw’s homeowner care guide specifically warns against Magic Eraser products on its resilient floors.
Do not apply wax, polish, or a “mop and shine” coating unless your floor’s own care system calls for it. A naturally low-sheen plank does not need to become glossy to be clean.
Flooding the floor or mixing cleaners
Waterproof flooring still needs proper care. Flooret notes that standing water trapped beneath its waterproof planks can affect the subfloor. Clean up spills and investigate leaks; do not leave water sitting at seams or around the room’s edges.
Use one cleaning product as directed. Never mix cleaners, particularly bleach with vinegar, ammonia, or other products. Follow label precautions and store supplies out of children’s and pets’ reach. CDC’s home-cleaning guidance covers these basic chemical-safety steps.
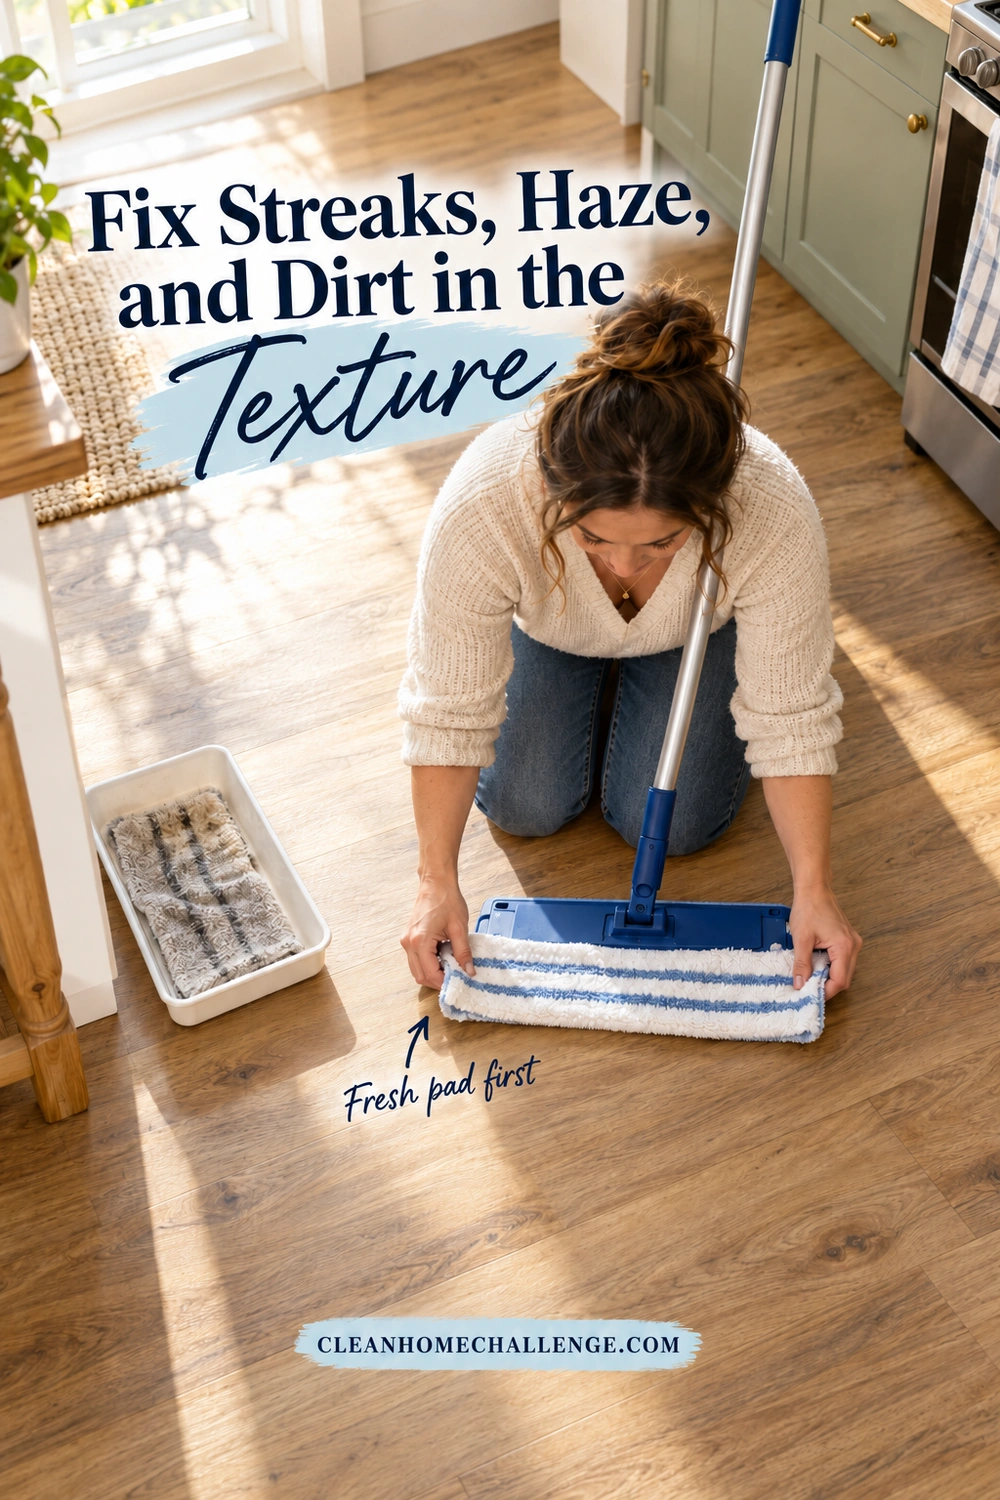
Fix Streaks, Haze, and Dirt in the Texture
If the floor looks worse after mopping, pause before choosing a stronger bottle. Work on a small test area, let it dry, and compare it with the surrounding floor.
Streaks or footprints appear after cleaning
Check the simple things first: Was the pad already dirty? Did you measure a concentrate? Was the previous cleaner suitable? Are people walking through before the floor dries?
Try the approved cleaner with a fresh pad and correct dose. Bona’s current technical instructions specifically advise rinsing the cleaning pad often to avoid streaking. If your care guide allows a damp clean-water rinse, that may be the next test for leftover residue.
Change one variable at a time. Otherwise, it is difficult to tell whether a different pad, dilution, or product actually helped. For the broader residue-checking process, see how to mop floors without leaving sticky residue, while keeping your vinyl manufacturer’s instructions in charge.
The surface has a persistent cloudy film
Check whether a previous product contained wax, polish, or an oil-based additive. Do not improvise with a stripping agent. Ask the manufacturer what removal process is approved for that coating and floor combination. Repeated scrubbing can make it harder to distinguish residue from a changed finish.
Dirt remains in the wood-look texture
Try a second gentle pass with a clean microfiber cloth and approved cleaner on a small patch. Use a soft brush only if your floor-care instructions specifically permit one. Keep moisture controlled and lift the loosened soil rather than leaving dirty solution to dry in the texture.
Stop and seek advice if a mark does not lift, the sheen changes, a seam opens, or an edge curls. Take clear photos in daylight and note the cleaner and method already used. That gives the retailer or installer a more useful starting point than another round of trial and error.
Build a Realistic Weekly Floor Routine
The most useful schedule is one you can repeat through an ordinary week. Match the effort to the room: an entryway shared with muddy paws needs different attention from a rarely used bedroom.
A small daily reset
After dinner or before the evening wind-down, pick one busy zone. Collect crumbs beneath the table, check around the pet bowls, and deal with fresh sticky spots. Leave low-traffic rooms for another day if they do not need attention.
Keep this linked to something that already happens. “Quick floor check after clearing the table” is easier to remember than a separate task floating around your list.
A Friday floor session
In the Clean Home Challenge weekly rhythm, Friday is floor day. Use it as a prompt to check the rooms, rather than an instruction to mop every square inch regardless of need.
- Clear the main walking routes.
- Remove loose dirt from the areas that need it.
- Spot-clean visible marks.
- Damp-mop the rooms due for a clean.
- Finish with clean equipment ready for next time.
Add one small extra when you have the energy, such as cleaning beneath a movable chair or checking the entry mat. You do not have to turn the weekly session into furniture rearranging.
The five-minute, low-energy version
Set a short timer and choose the kitchen walkway or entry. Pick up what is in the way, remove the grit, and wipe one sticky patch. If there is time left, clean another small section with a fresh pad. Leave the rest for your next session.
That is a useful floor reset on its own. For a room-by-room planning companion, use the floor-cleaning checklist for homes with pets and children. Adapt the checklist to your floor’s instructions and your household’s actual traffic.

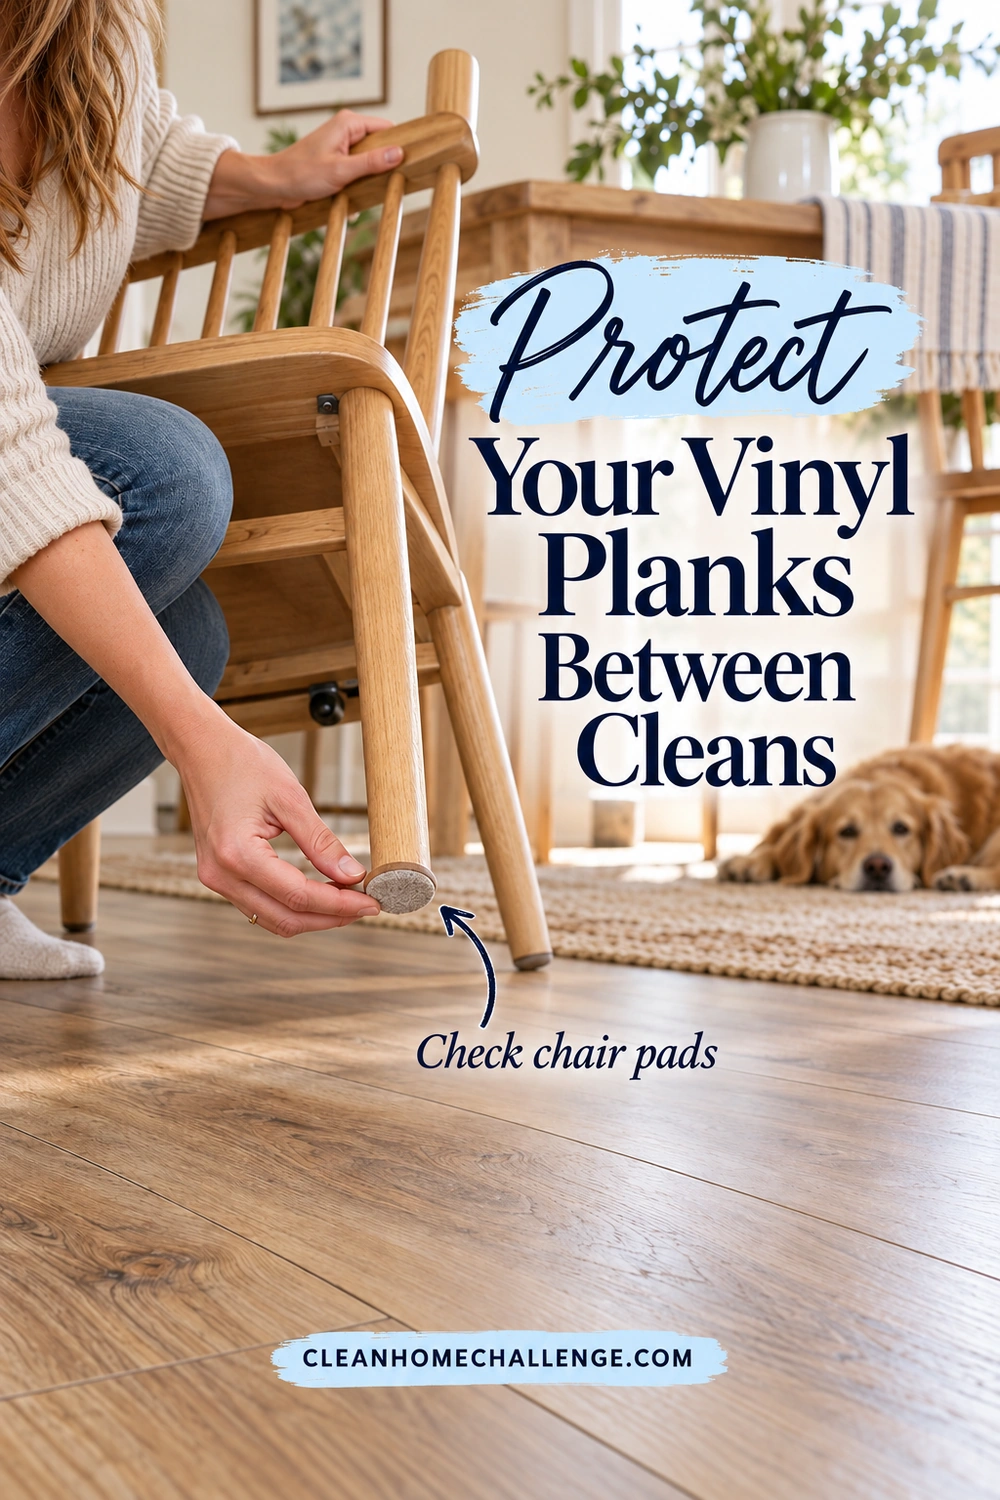
Protect Your Vinyl Planks Between Cleans
A few changes around the room can reduce both cleaning time and avoidable wear.
Catch outdoor grit at the door. Choose mats and rug pads confirmed compatible with your exact vinyl product, and clean beneath them regularly. Rubber and latex backings are restricted by several manufacturers, including Shaw and COREtec; do not assume a backing is suitable because it is sold for hard floors.
Check furniture contact points. Use the non-staining protectors specified for your floor. Inspect chair pads when you clean nearby, replace worn ones, and remove trapped grit. Lift manageable items rather than dragging them. Get help and use the manufacturer’s protection method before moving heavy appliances.
Keep cleaning manageable. Store a dry dust mop somewhere convenient and cleaning products securely. Put an extra clean mop pad with the kit. Small setup changes make a quick spill cleanup less of an undertaking.
Notice changes early. A new leak, lifting plank, or spreading dull patch is worth investigating while it is small. Save spare planks and product details for future questions or repairs rather than relying on a memory of the brand name.
You do not need a permanently spotless floor for this routine to work. Start with the right care instructions, keep grit under control, clean the spots that need attention, and damp-mop with a fresh pad when the room needs it. Those repeatable steps are a sensible way to care for vinyl planks while family life carries on around them.
CLEANERS CLUBHOUSE
Stay on Top of Floors Without Cleaning All Day
Give your floors a focused Friday reset instead of chasing every mark all week. The Cleaners Clubhouse helps you build a realistic routine with practical guidance, printables and monthly challenges.
