

THIS POST MAY CONTAIN AFFILIATE LINKS. PLEASE READ MY DISCLOSURE FOR MORE INFO.
The best shower cleaning tools usually begin with three simple jobs: a soft cloth or surface-approved pad to loosen everyday film, a comfortable brush for places the cloth cannot reach, and a shower squeegee to remove water afterward. Add a long handle when reaching is the problem. Consider an electric spin scrubber when repeated brushing is the problem and you can comfortably control the tool.
You do not need a cupboard full of gadgets to make this work. A brush that suits your shower, cleaner that suits the residue, and a realistic stopping point are more useful than the strongest-looking attachment in a multipack.
This guide helps you choose a small kit for the whole shower: walls, glass, base, fittings, and awkward edges. Named products are examples of verified features, not a hands-on ranking. Manufacturer information was checked in October 2026; confirm the exact model and your shower’s care instructions before buying.
Disclosure: This post may contain affiliate links. As an Amazon Associate, Clean Home Challenge earns from qualifying purchases. If you make a purchase through these links, we may earn a small commission at no extra cost to you. This helps us keep creating practical cleaning tips, routines and resources for busy families! 🧽
Match the Tool to Your Shower Surface
Start with the shower you actually own. One enclosure can contain coated glass, glazed tile, grout, an acrylic base, flexible sealant, and plated metal. A brush or cleaner suitable for one part may damage its neighbor. Look for a model number, installation paperwork, or the manufacturer’s care page before treating everything the same way.
For a first check, wipe a small, inconspicuous area with a clean soft cloth and a compatible cleaner used as directed. Rinse and let it dry. Assess both the remaining residue and the finish before repeating the treatment across the enclosure.
Choose the gentlest useful contact
- Acrylic or fiberglass: begin with the manufacturer’s recommended soft cloth or sponge. Do not assume a scrub pad is suitable because its packaging says bathroom. Delta’s acrylic care guidance recommends soft cleaning materials and warns against abrasive pads and unsuitable chemicals for its specified acrylic products.
- Glass doors: a clean cloth and intact squeegee are useful starting points. Coatings can have their own restrictions. STERLING’s glass-and-metal door guide advises against scouring pads, powders, and sharp instruments on its doors. Check your own model before using anything abrasive.
- Ceramic or porcelain tile: select a pad or brush approved for the tile finish, grout, and nearby fittings. A textured floor may need bristles that reach its shallow recesses; glossy walls may need only a cloth.
- Natural stone: choose stone-compatible tools and a cleaner approved for the specific stone and sealer. The Natural Stone Institute’s care guidance warns that acids, including vinegar, can etch some stone. An ordinary limescale remover is not a universal choice.
- Faucets, frames, and flexible seams: use the finish or sealant manufacturer’s directions. Keep a hard brush backing, rotating head, or metal tool from striking these details.
A small patch that stays cloudy is a reason to investigate, not automatically to scrub harder. Film, mineral deposits, scratches, and damaged coatings can look similar. If a finish turns dull, color transfers, or a seam starts breaking apart, stop and get material-specific advice. For a stone shower, our stone and marble bathroom guide is a useful next read.

Build a Small Shower-Cleaning Kit
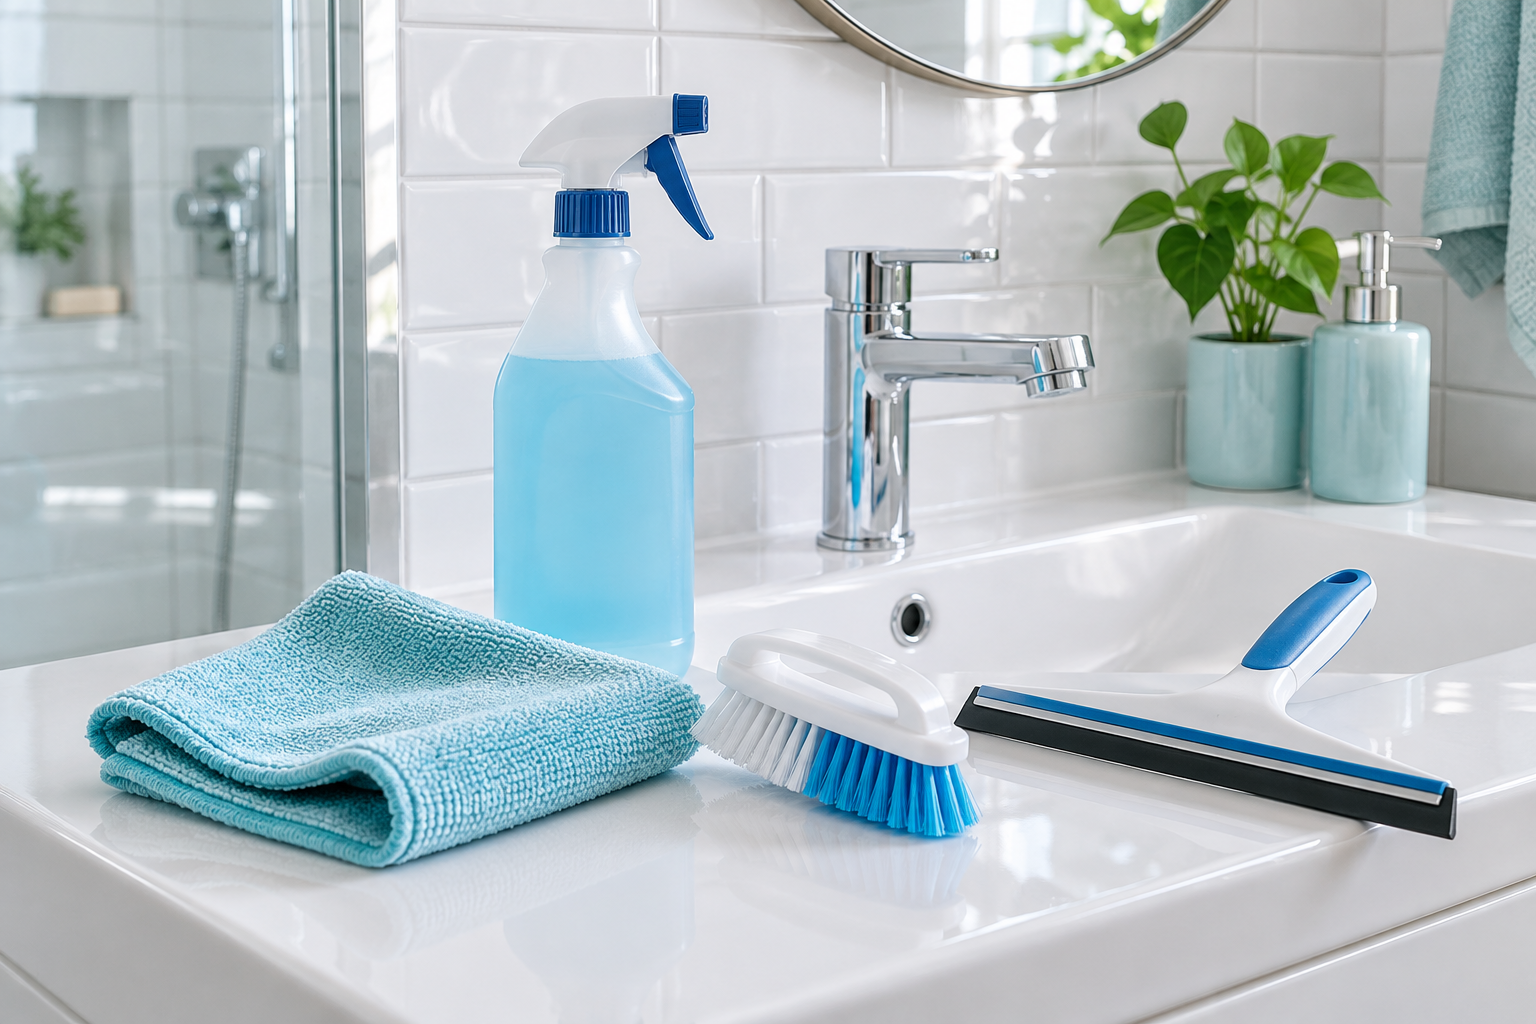
Build around tasks rather than product counts. For many households, a soft washable cloth, one suitable scrubber, and an appropriately sized squeegee cover most maintenance. A second dry cloth is handy for fittings and edges. Keep the cleaner in its original container and use whatever gloves or eye protection its label requires.
Here is a practical comparison to help you choose the missing piece rather than buy everything.
| Tool category | Useful shower job | What to check before buying |
|---|---|---|
| Soft cloth or approved nonabrasive pad | Light film on smooth walls, glass, and fittings | Surface compatibility, washable care, and whether grit is trapped in the fabric |
| Manual long-handle scrubber | Broad walls and the shower base | Comfortable working length, secure lock, controllable head, and suitable replacement pads or bristles |
| Small detail brush | Reachable corners and sound grout lines | Head size, knuckle clearance, bristle suitability, and control near seals |
| Shower squeegee | Removing water from smooth glass after rinsing | Blade width, flexible intact edge, grip, and clearance around door handles |
| Electric spin scrubber | Repeated brush movement on approved surfaces | Working weight, head choice, controls, water restrictions, charging, and replacement parts |
Fit the squeegee to the door
A wide blade covers an open glass panel in fewer passes, but can be awkward around a handle, curved edge, or small enclosure. Measure the tightest useful gap before choosing. Hold the handle as you would during a downward pass; your knuckles should clear the glass and hardware.
For a concrete comparison, the OXO Multi-Use Squeegee with Hook has a 10-inch silicone blade, nonslip grip, and storage hook. Those features illustrate what to look for, rather than establishing that this size suits every shower. Check the available hanging space too.
A squeegee removes water; it does not replace washing away established soap film. Use it after cleaning and rinsing, or for an easy after-shower habit when the surface is already maintained. If it leaves narrow wet lines, rinse the blade and inspect its edge before buying a different cleaner.
Start with tools you already own if they are clean, undamaged, and compatible. Add a detail brush only when a cloth cannot reach the corner. Add powered rotation only when you can name the task it would make more manageable.

Use Long Handles Without Pushing Harder
A long handle is worth considering when the main difficulty is reaching the lower wall or base. It changes where your hands can stay while the head contacts the surface. It does not make every posture comfortable or turn a heavy brush into a lightweight tool.
Look for a head that stays in useful contact without flipping onto its hard edge. A pivot helps it meet different angles, but should not be so loose that you fight it on each stroke. Check the handle lock before getting anything wet. A shaft that slips shorter under light pressure needs fixing or replacing, not a tighter grip during the job.
The OXO Extendable Tub & Tile Brush is one manual example: its listed handle extends from 26 to 42 inches and its bristled head pivots. That range is useful information to compare with your own reach. It is not permission to use its bristles on every coating or acrylic shower base.
Try the movement before adding cleaner
- Clear bottles and movable obstacles from the section you plan to clean. Keep the exit and your footing dry and unobstructed.
- Set the handle to the shortest comfortable length for that section. Try the head against a dry, approved surface without leaning your body weight into it.
- Adjust your position so you can make short, controlled passes. Move your feet when needed rather than twisting and reaching farther from one spot.
- Apply the compatible cleaner as directed. Work a manageable strip, rinse it, and check the result before extending the task.
Keep both the tool and the work within comfortable reach. Do not stand on a tub rim, balance on a loose stool, or use the handle as a support rail. If you cannot reach a high area safely from stable footing, leave it for help or a more suitable setup.
A cloth or pad head may be a better choice than a bristled brush on a smooth surface, if the surface manufacturer approves it. For ongoing difficulties with weight, grip, or reach, our guide to cleaning tools for limited mobility offers more ways to compare the complete task.

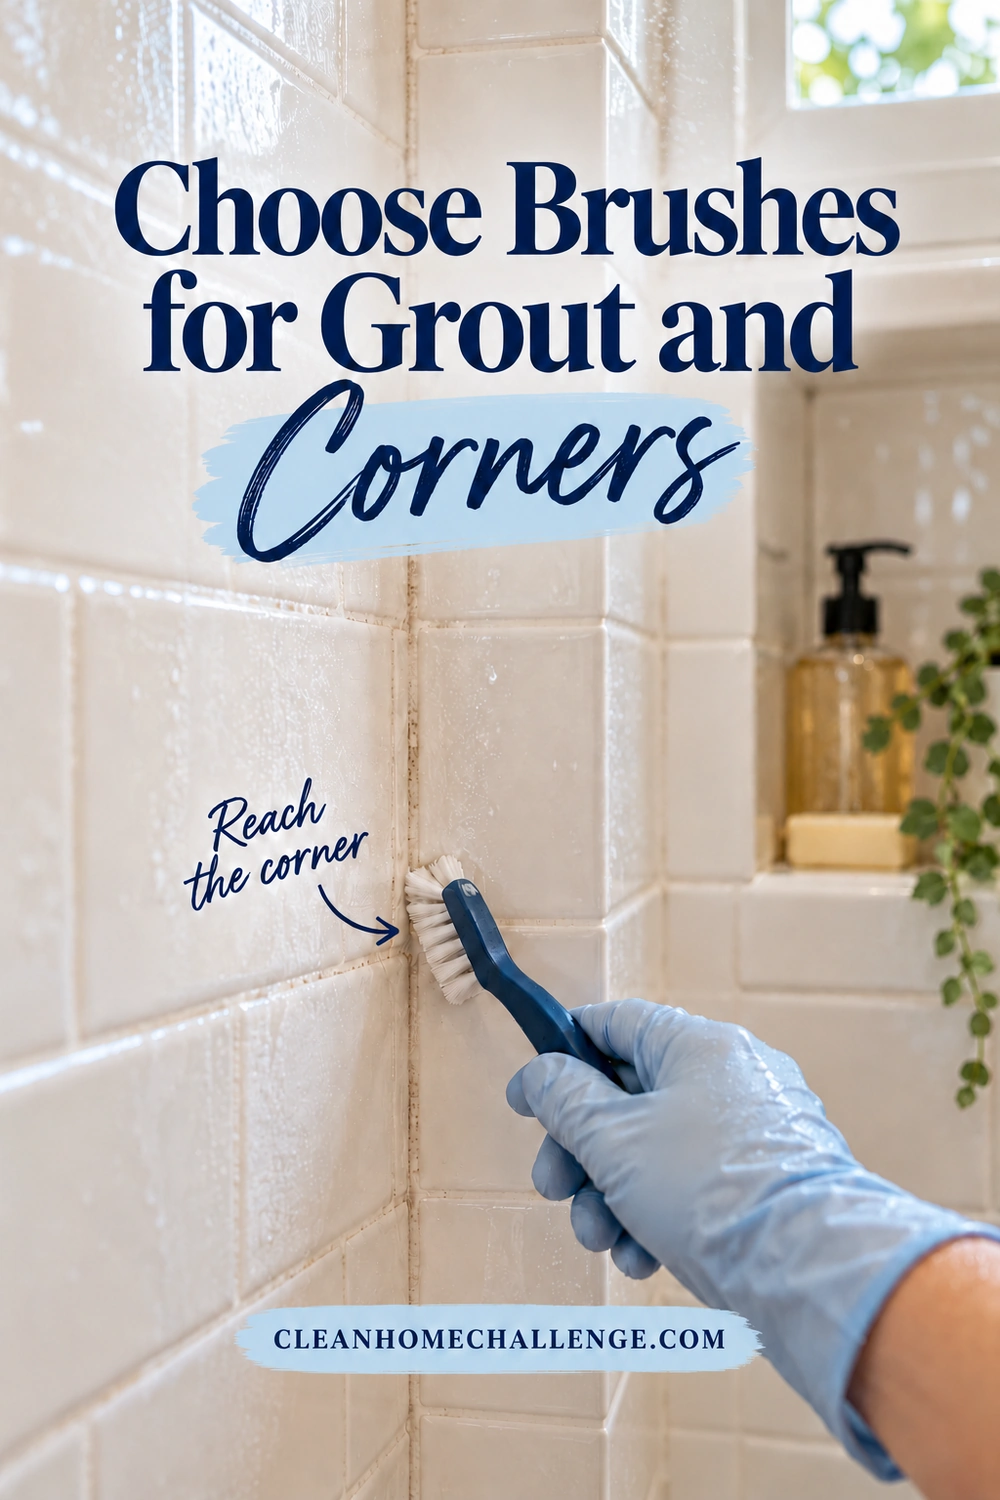
Choose Brushes for Grout and Corners
Use a broad tool for broad surfaces and a small brush for the few places that need precision. Cleaning an entire shower with a tiny brush creates unnecessary work. Pushing a large round head into every corner can be just as frustrating.
A detail brush earns its space around a reachable shower niche, a lower corner, or a short run of sound grout. Choose a narrow, surface-compatible nonmetal head with enough handle clearance for your hand. Inspect it before starting: splayed bristles may leave the hard backing rubbing against tile or fittings.
Make a small detail pass
Wet or apply cleaner to the chosen area only as its instructions require. Brush with short, light strokes along the dirty line, then lift away loosened residue with a clean cloth or rinse it away. Check the result while the area is clean and again when it dries. More foam is not evidence that the joint is getting cleaner.
Treat flexible caulk and silicone separately from grout. Do not dig into them with a pointed brush, scrape their edges, or hold a rotating head against them. A discolored but intact seam and a lifting, cracked seam need different decisions. Cleaning cannot rebuild missing material or fix a leak.
For sliding doors, check the track’s care instructions. Wipe accessible channels gently and leave drainage openings clear. Do not force tools under seals or dismantle a door to chase a small mark. A folded cloth can be easier to control in an open channel than a brush that sprays dirty water onto nearby surfaces.
You also do not have to detail every joint each week. During the main shower wash, note one corner that needs attention and treat that spot. Next time, move to another small area. This keeps the detail brush as a useful supporting tool rather than turning bathroom day into a grout restoration project.
If grout is your main problem, the separate grout-cleaning tool comparison covers head shapes and specialized choices in more depth. Keep this whole-shower kit focused on glass, walls, water removal, and practical reach.
Decide Whether a Spin Scrubber Helps
An electric spin scrubber may suit a shower with broad, compatible surfaces that need repeated brushing. The motor supplies rotation while you steer and support the tool. That trade-off can be useful, but the battery, extended shaft, and head still have weight.
Before buying, ask which part of the job currently stops you. If the problem is reaching the base, a manual long handle might be sufficient. If the problem is gripping a tool, a heavier powered model may be harder to manage. If the problem is the wrong cleaner for mineral deposits, faster brushing may not solve it.
Compare the complete setup
- Hold or check the listed weight of the tool with the battery, extension, and intended head fitted.
- Look for a controllable head size that fits between your shower’s fittings.
- Check whether you can reach the switch without shifting into an awkward grip.
- Verify replacement heads, battery or charger requirements, and what the package actually includes.
- Read the exact water-exposure rules. A wet-use claim does not tell you that every compartment or charger can get wet.
- Consider where the clean tool will dry and where charging can happen away from the wet cleaning area.
The RYOBI P4500 telescoping scrubber is one example with adjustable reach and a six-position head. Its operator’s manual calls for suitable eye protection, secure two-handed control, surface testing, and avoiding downward pressure or staying on one spot. These are model-specific instructions, not a performance comparison with other scrubbers.
Start on a small compatible area, using the specified head and operating method. Keep the brush moving as instructed. Stop if it skips, stalls, damages the finish, or is difficult to control. Turn it off and isolate the battery or power as the manual requires before adjusting it or changing attachments.
A drill brush is not an automatic substitute for a purpose-designed shower tool. It brings a separate drill’s handling and wet-environment restrictions into the bathroom. For most starter kits, there is no need to add that complexity. Our spin scrubber guide offers a fuller buying decision if powered cleaning still looks useful.

Let the Cleaner Do Its Part
Endless scrubbing often starts with a mismatch between the residue, cleaner, and tool. A soft cloth may remove fresh wash-product film. A chalky deposit may need a surface-approved mineral treatment. Neither appearance alone nor a social-media recipe establishes what is safe for your enclosure.
Use one suitable product according to its label. Do not mix cleaners, including bleach with vinegar, ammonia, or other products. Ventilate the room, follow protective-equipment instructions, and keep children and pets away from the working area and stored supplies. CDC’s bleach safety guidance explains why mixing products can release dangerous vapors.
A workable shower-cleaning order
- Remove bottles and loose debris. Check for grit in the cloth or brush and inspect the surface for damaged seams.
- Read the product’s surface list, dilution, application, timing, and rinsing directions. Make sure runoff will not harm the base, frames, or fittings below.
- Apply only to a section you can comfortably finish within the label’s instructions. Avoid spraying above your face or producing unnecessary mist.
- Allow the specified working time, if there is one. Some products must be rinsed promptly; others need time on the surface. Do not invent a universal five- or ten-minute soak or let a product dry contrary to its label.
- Agitate gently with the suitable cloth, pad, or brush. Work from higher reachable areas down toward the base so dirty rinse water does not spoil a finished lower section.
- Rinse or remove the cleaner exactly as directed. Dry the cleaned area before deciding whether more treatment is needed.
If little changes after a correctly performed pass, stop and reassess. Check that the mark is removable residue and that you have identified the surface. Repeated aggressive attempts can create a second problem without fixing the first.
Routine cleaning and disinfection are different tasks. A spinning brush does not itself disinfect. CDC’s home-cleaning guidance distinguishes ordinary cleaning from situations needing disinfection. When a compatible disinfectant is needed, follow its full label, including any required precleaning and wet contact time; a quick brush pass is not a substitute.

Rinse, Dry, and Store Your Tools
Finish the shower and the tools as two small jobs. First remove the cleaning residue from the shower as directed. On compatible smooth glass, pull the squeegee in overlapping passes toward the bottom, keeping its blade in contact without forcing the frame into the surface. Wipe water left around the handle and edges with a suitable clean cloth.
If the blade chatters or leaves trails, rinse off grit and soap, check that the edge is intact, and try a gentler angle. Do not scrape a stubborn deposit with the squeegee’s hard frame. The blade is for moving water, not chipping material from glass.
Then clean each tool according to its instructions. Rinse removable brush heads and pads when permitted, remove trapped hair or debris, and allow them to dry with air around them. Follow cloth-care labels for laundering and drying. Keep shower-cleaning cloths separate from kitchen cloths and personal washcloths so their jobs remain clear.
Give everything a practical home
Hang an appropriate manual brush or place it where its head can drain without the bristles being crushed. Separate wet pads rather than stacking them in the bottom of a closed caddy. Use a washable drip tray where needed and empty and clean it rather than allowing dirty water to collect.
For a powered scrubber, follow the manual’s shutdown, battery-removal, cleaning, and storage steps. Clean only the parts the manufacturer permits to be rinsed. Keep charging equipment in its approved dry location and never improvise by charging beside the shower while cleaning.
Check wear as you put things away. Replace a split blade, damaged pad, loose head, or severely splayed brush when it no longer works properly or its backing contacts the surface. A clean tool with an intact edge can be more useful than another bottle of product.
Store chemicals securely in their original labeled containers, out of children’s and pets’ reach. Leave tools accessible to the adult who uses them without leaving a floor-level obstacle or an inviting collection of cleaning products beside the shower.

Keep Shower Cleaning Manageable
The most useful kit is one you can set up, use, rinse, and put away without turning the bathroom into a project. Keep the routine small enough that it still works during a busy week.
After a shower, an easy option is to remove water from reachable glass with the squeegee and leave the enclosure to dry with the bathroom’s appropriate ventilation. Follow the enclosure’s instructions about door position. This habit can reduce water left on the glass; it does not mean you can skip regular cleaning indefinitely.
Three versions of the same reset
- Lower-energy version: choose one reachable glass panel or one small wall area. Clean, rinse, and dry it properly, then stop. Do not apply cleaner to the whole shower if you may not have the energy to remove it.
- Usual Tuesday bathroom routine: clear the bottles, wash the main reachable surfaces, rinse, squeegee the glass, and clean the tools. Add one detail-brush spot only if it needs attention.
- Longer catch-up session: divide the enclosure into separate zones. Complete one zone before starting another, with breaks between them. Leave damage, unexplained staining, or inaccessible areas for appropriate help rather than escalating force.
As a planning example, you might set aside 10–15 minutes for a lightly soiled shower, plus any product-directed waiting time. A larger enclosure or established buildup will take longer. That is a flexible time box, not a promised cleaning speed or a reason to rush a label’s instructions.
Keep a short note of what made the job awkward. Was the handle too long in the narrow doorway? Did the squeegee miss the space behind the door pull? Was the brush difficult to clean afterward? Use that information to improve one tool choice at a time.
For a wider bathroom reset, use our 10-minute bathroom routine as a starting structure and adjust it to your household. The goal is a usable shower and an easier next clean. A soft cloth, a suitable brush, an intact squeegee, and a manageable routine can take you a long way.

CLEANERS CLUBHOUSE
Take the Guesswork Out of Bathroom Cleaning
Use Tuesday as your bathroom reset day and work through the job in a sensible order. Inside the Cleaners Clubhouse, you’ll find practical routines, printable support and challenges that make deeper cleaning easier to manage.
