

THIS POST MAY CONTAIN AFFILIATE LINKS. PLEASE READ MY DISCLOSURE FOR MORE INFO.
A pantry can look reasonably tidy from the doorway and still hide flour in the corners, sticky rings under bottles, and three half-used bags of rice. Finding those things halfway through dinner is frustrating. A useful pantry reset makes the food easier to find and the shelves easier to keep clean.
This pantry cleaning checklist follows a simple order: clear a work area, empty one section, check the food and packaging, clean the surfaces, dry everything, and put back what your household will use. You can finish one shelf today and continue another time. Matching containers and a completely empty kitchen are optional.
The method below is for ordinary household pantry cleaning. Flood damage, rodent contamination, persistent dampness, and extensive mold need a different response. Stop the routine if you discover one of those problems rather than cleaning around it and covering it with a basket.
Disclosure: This post may contain affiliate links. As an Amazon Associate, Clean Home Challenge earns from qualifying purchases. If you make a purchase through these links, we may earn a small commission at no extra cost to you. This helps us keep creating practical cleaning tips, routines and resources for busy families! 🧽
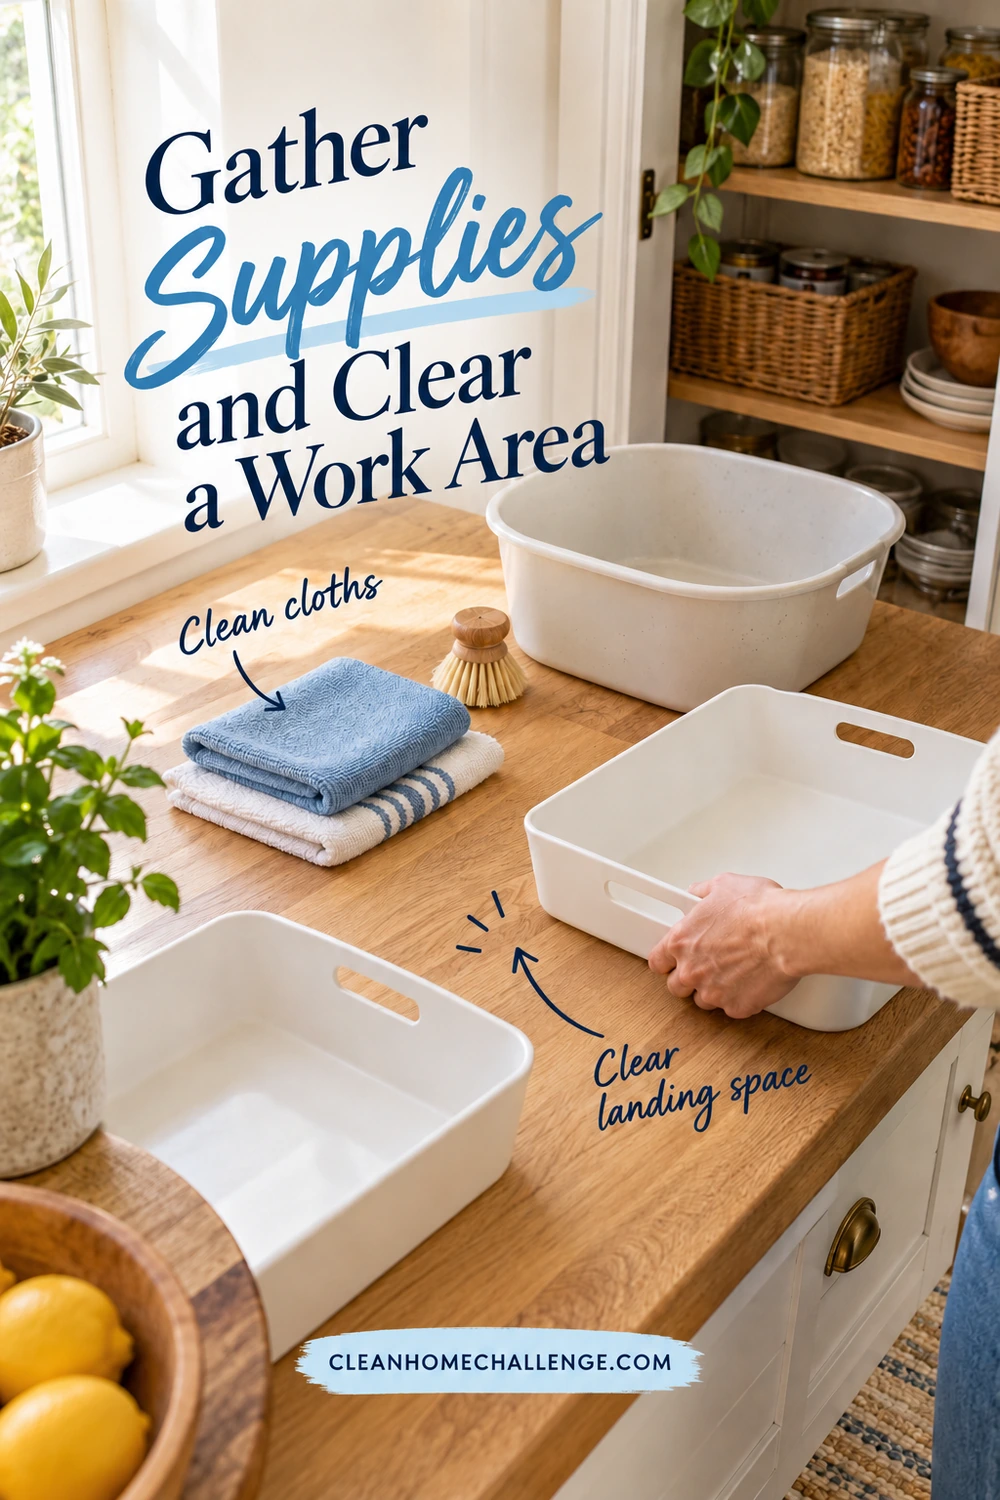
Gather Supplies and Clear a Work Area
Start by choosing a section you can reasonably finish. A single shelf may fit into a short session; a large walk-in pantry can take several sessions once food checks and drying are included. As a planning estimate, allow about 20–30 minutes for a modest shelf or cupboard section, plus any additional drying time. That is a flexible starting point, not a deadline.
Gather the basics
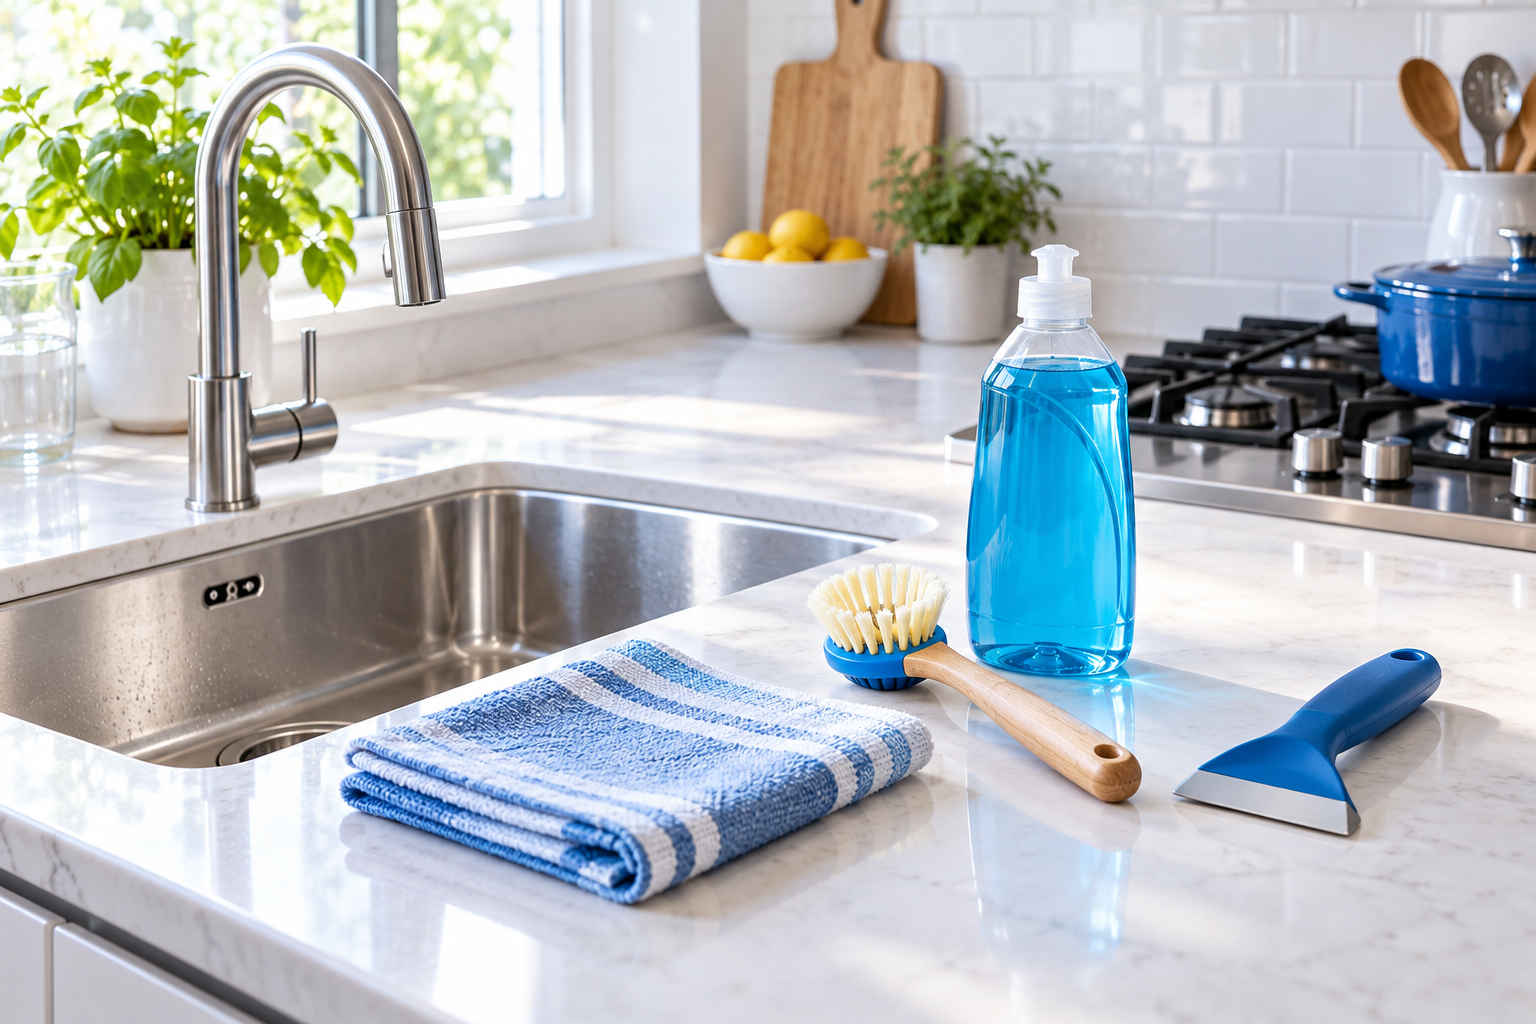
- Two or more clean, soft cloths: one for damp wiping and another for drying
- A soft brush and small dustpan, or a vacuum attachment suitable for ordinary dry crumbs
- Warm water and a cleaner permitted by your shelf or cabinet manufacturer
- Dish soap for washable food containers, when their care instructions allow it
- A basin or access to a clean sink
- A trash bag and a separate recycling container
- A few trays or baskets for sorting sealed food
- A pen, removable labels, and a short shopping list
- A stable step stool if needed, used according to its instructions
You may already own everything you need. Wait to buy organizers until you know which food is staying and have measured the usable shelf space, including the door opening.
Clear enough counter or table space for the food from your chosen section. Wipe it first and let it dry. Keep food away from the cleaning basin, chemicals, pets, and busy walkways. Leave the sink and a small meal-preparation space usable so the project does not take over the kitchen.
Check the cleaner before starting
Read the surface-care instructions and the product label, including dilution, protective equipment, ventilation, and any rinsing requirements. Use one cleaning product at a time. Never mix cleaners, including bleach with vinegar, ammonia, or other products. Store supplies securely away from children and pets. CDC household cleaning guidance
If the counter is already crowded, use the small-area approach in our kitchen decluttering checklist to make a landing space before emptying a shelf.
Empty One Pantry Section at a Time
Choose an upper section first when practical, so crumbs from later work do not fall onto shelves you have already cleaned. Move only what you can handle comfortably. Ask for help with an awkward container instead of stretching over a crowded counter or climbing on a chair.
Place food from the selected shelf onto your clear work area. Keep sealed packages together and close open bags before moving them. Set loose packets upright in a tray so they do not disappear behind larger boxes.
Make four simple groups
- Keep: Food your household uses, with suitable storage history and intact packaging.
- Use first: Suitable food to plan into upcoming meals, including older packages and things already opened.
- Check before deciding: An unfamiliar date label, missing storage directions, or a product that needs a recall check. Keep this group separate until you have an answer.
- Remove: Empty packaging, food that should be discarded, and unopened suitable items you will not use. Keep potential donations separate from trash and check the recipient's acceptance rules first.
Do not let the sorting labels make the decision for you. A package belongs in the use-first group only after it passes the food and packaging checks in the next section. Questionable food does not become a dinner ingredient simply because you would prefer not to waste it.
Group duplicates together. If you find several open packets, resist pouring them into one container immediately. You may lose ingredient information, dates, and the ability to identify a recalled batch. Finish one package first where practical.
Before continuing, look at the bare shelf and take out removable bins or liners. Check underneath them, around the shelf supports, and behind the tallest packages. A phone flashlight can help you see a dark back corner without pulling the entire pantry apart.
Low-energy option: Empty one small basket, check its contents, clean and dry the basket and its shelf space, then reload it. That is a finished piece of the job. Our guide to decluttering without making a bigger mess uses the same manageable approach.

Check Food Dates and Damaged Packages
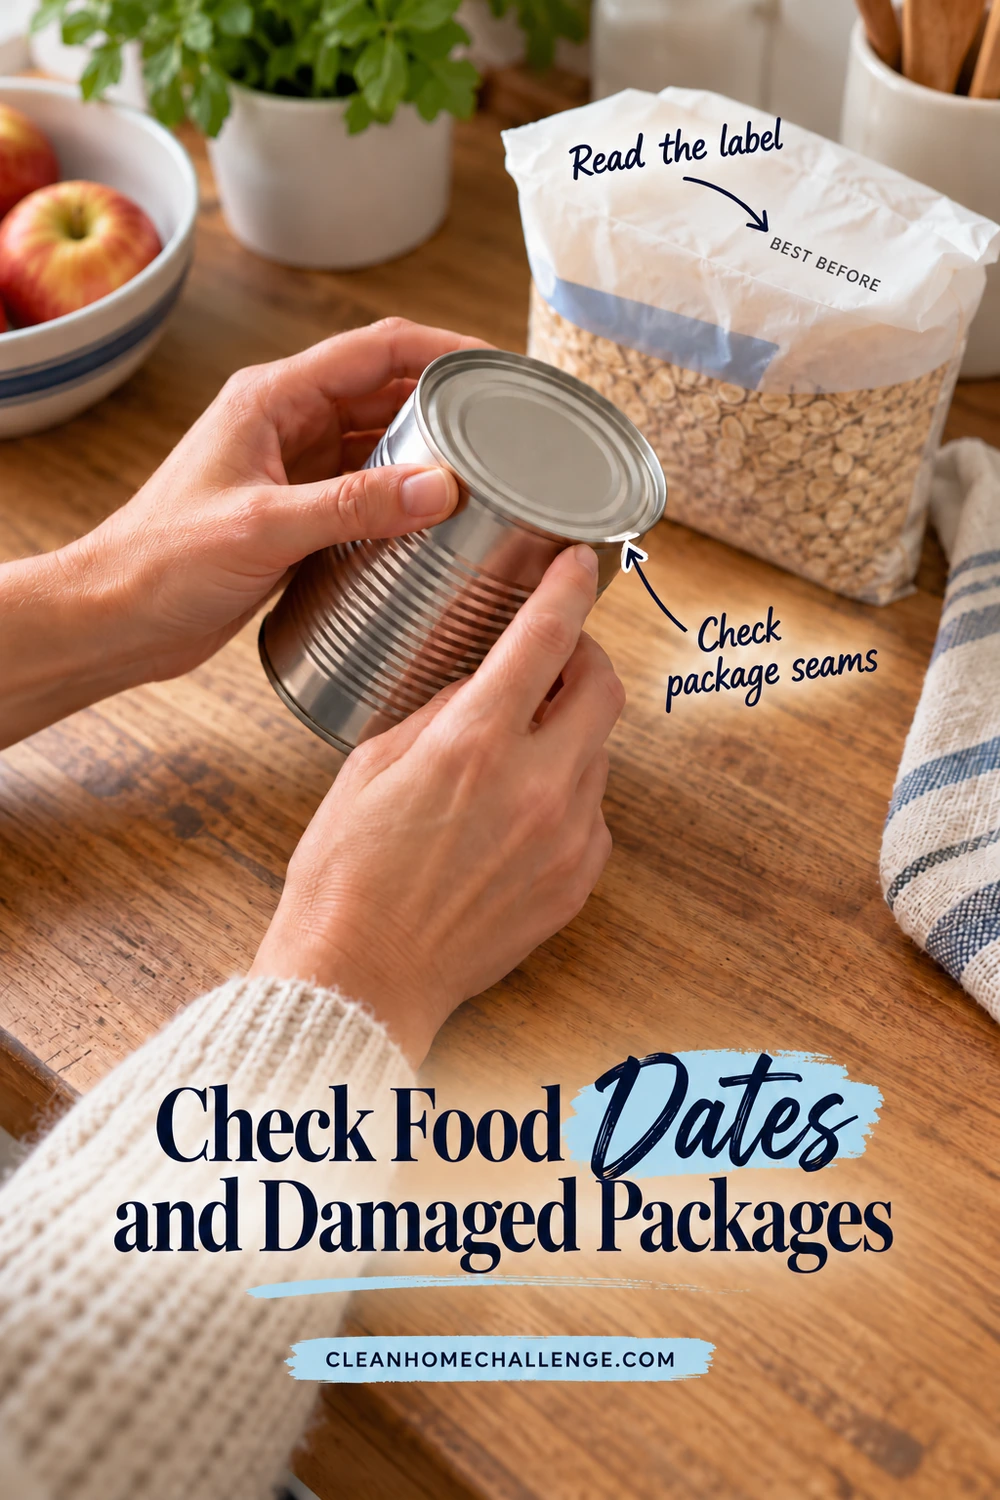
Read the whole label rather than treating every printed date as an automatic instruction to throw food away. The wording, type of food, storage history, package condition, and directions after opening all matter.
Understand what the date tells you
A “Best if Used By” date generally describes expected quality. It does not, by itself, establish whether a food is safe today. USDA explains that several common US date labels concern quality or store inventory rather than a universal food-safety deadline. USDA food product dating
Follow the actual product's storage and use directions. California's current guidance distinguishes “USE by” safety dates from “BEST if Used by” quality dates, so do not assume every use-by instruction is merely a freshness suggestion. CDFA food-date guidance
Infant formula is an important exception: do not use it after its use-by date. Keep its original instructions and follow the separate limits for an opened container or prepared formula. USDA infant-formula date guidance
Check whether an opened sauce, carton, spread, or condiment should have been refrigerated. A sealed shelf-stable product may need different storage once opened. If you do not know how a food has been stored, a reassuring date cannot fill that gap. Consult the manufacturer or the official FoodKeeper resource for product-specific storage guidance.
Inspect the package as well as the food
Look at can ends and seams, jar lids, seals, and the bottom of bags. Set aside for disposal cans that are bulging, leaking, heavily rusted, or deeply dented, especially where a seam is affected. Do not taste-test food from a questionable can or jar, and do not open a visibly suspect container just to smell it. USDA specifically warns against tasting food from badly damaged containers. USDA damaged-can guidance
For dry foods, look for torn packaging, unexplained holes, damp contents, mold, webbing, or insects. Check an oily bottle's cap and base so a continuing leak does not go back onto the clean shelf. If a package has lost essential identification or ingredient information, resolve that before keeping or donating it. An attractive new jar cannot replace a missing allergen label.
Pause for pests or contamination
If you find pantry insects, inspect other susceptible foods nearby, including unopened thin packaging. Remove infested food and clean the storage area; household insecticide sprayed into a food cupboard is not a substitute for removing the source. University of Minnesota Extension recommends tightly closing suitable food containers and checking cracks and corners. UMN pantry-pest guidance
Rodent droppings, urine, or nesting material need a different cleanup method. Do not sweep or vacuum them. Stop, keep people and pets away from the affected area, and follow the CDC's rodent-cleanup precautions or contact a qualified professional. This warning overrides the ordinary crumb-removal steps later in this checklist. CDC rodent-cleanup instructions
Finish decisions before refilling the shelf. If you discover a recalled product, follow that specific recall's instructions rather than donating or using it. Official FDA recall notices and USDA recall notices identify affected products and batches.
Clean Shelves, Corners and Doors
Once food is out of the selected section and there is no sign of rodent contamination, remove ordinary loose crumbs first. A soft brush, dustpan, or suitable vacuum attachment makes this easier than turning dry flour into a wet paste. Work into corners and along the shelf edge without scratching the finish.
Use this shelf-cleaning order
- Check the surface. Identify the shelf material and finish. Painted wood, laminate, unfinished wood, wire shelving, and removable plastic bins may have different care requirements.
- Choose a compatible method. Start with the manufacturer's routine-care directions. Test an unfamiliar product and cloth on an inconspicuous area and let it dry before continuing.
- Dampen the cloth. Apply the permitted cleaner as directed. For moisture-sensitive cabinetry, use a well-wrung cloth and avoid spraying liquid into joints, holes, or shelf-support fittings.
- Wipe a small area. Clean the back, sides, shelf surface, front edge, and accessible supports. Refold the cloth to expose a clean face, and change dirty water rather than spreading residue.
- Remove cleaner residue as directed. If a damp-water follow-up is required, use another well-wrung cloth. Do not flood the shelf.
- Dry promptly. Pay attention to edges, corners, joints, and hardware before moving to the next section.
For example, KraftMaid's cabinet guidance emphasizes gentle wiping, drying, and avoiding abrasive cleaners and scouring pads. That is useful support for a cautious approach, but your own cabinet's instructions take priority. A cleaner suitable for a removable plastic basket may be unsuitable for the wooden shelf below it. KraftMaid cabinet-care guidance
Deal with sticky spots without escalating too quickly
On a compatible finished surface, hold a lightly dampened cloth against the spot briefly to help loosen it, then wipe gently. Keep moisture localized and dry the area. If it remains sticky, recheck the care instructions before using a stronger cleaner. Avoid scraping with a knife, using an abrasive pad, or assuming vinegar is safe on every finish.
Wipe the inside of the door, accessible handles, and the front lip where hands and packages often leave marks. For cooking grease on cabinet exteriors, use our separate guide to cleaning sticky grease from kitchen cabinets alongside the finish manufacturer's advice.
Routine cleaning removes dirt and residue. Sanitizing and disinfecting are separate processes with specific product directions; they are not automatic extra steps for every pantry shelf. If disinfection is warranted, check both surface compatibility and any food-contact rinsing requirement, and follow the labeled contact time. Never improvise a stronger mixture.
Clean a walk-in pantry floor last, after the shelves, using its appropriate floor-care method. Leave a clear route out and let the floor dry before carrying food back in. Persistent dampness, swollen shelving, or recurring mold should be investigated before reloading.

Wash Containers and Let Everything Dry
Remove washable bins, jars, and containers from the section you are working on. There is no need to decant every intact food package just to create more washing. Concentrate on empty containers, spills, dirty exteriors, and storage pieces that need attention.
Check the care instructions for the container body, lid, seal, and any moving mechanism. A dishwasher-safe base does not automatically mean every lid component can go in the dishwasher. Wood or bamboo lids, decorative coatings, and unfamiliar plastics need particular care. If you cannot verify dishwasher suitability, check with the manufacturer before choosing that method.
Clean removable pieces carefully
- Empty the container and retain the food's label information.
- Take apart only the pieces the manufacturer says are removable.
- Wash with the permitted method, reaching corners and lid grooves with a suitable soft brush.
- Rinse as directed and let each component dry fully.
- Reassemble the lid correctly and check that it closes as intended.
Do not pry apart a sealed mechanism or stretch a gasket simply to reach inside. Replace damaged food-storage parts according to the manufacturer's advice rather than relying on a lid that no longer closes properly.
Check for trapped water underneath a rim or seal. A container can look dry on the outside while still holding droplets in the lid. Leave the components separated longer if needed; avoid putting dry ingredients into a damp container or closing it while moisture remains.
Wash removable shelf liners only if their care instructions permit it. Let the liner and shelf dry before replacing them. Skip new adhesive liners until you know they are compatible with the finish and can be removed without damage. A liner should not hide a moisture problem.
Keep the useful label information
If you transfer food, use a clean, dry, food-safe container and identify the contents. Keep the original ingredient and allergen information, preparation instructions, date, and batch or lot details with the food or in an easily retrievable record. Add the opening date where helpful. Avoid repeatedly topping up old food with new batches, which makes rotation and recall checks harder.
For many families, keeping a sealed bag inside a washable basket is the easiest system to maintain. Choose containers because they solve a real storage problem, not because every shelf needs to look the same.

Reload the Pantry for Everyday Use
Before food goes back, check the shelf, bins, liners, and container lids for remaining moisture. Wipe the outside of a sticky sealed container with a suitable method and dry it so you do not carry the same residue straight back in. Keep cleaning chemicals stored separately from food, as FDA advises. FDA food-storage guidance
Plan the arrangement around meals your household actually makes. A small pantry may need only breakfast, snacks, cooking staples, and baking sections. More categories can become harder to maintain than the original jumble.
Give the most useful items the easiest positions
- Place frequently used food where the people who use it can reach comfortably.
- Keep heavier containers low enough to lift safely, within the shelf's load limits.
- Put suitable older stock toward the front and newer purchases behind it.
- Keep one small use-first area visible and include those ingredients in meal plans.
- Stand small packets in a shallow bin so they are easier to see and lift out.
- Leave enough space to remove a package without balancing a stack of jars.
Avoid placing food beside a heat source, under a sink, or in a damp storage area. USDA recommends a cool, dry location for shelf-stable foods. A shelf's convenience does not make it a suitable home for every product; follow refrigeration and other storage directions on the label. USDA shelf-stable storage guidance
Use broad, readable labels if they help everyone return items. A handwritten “Breakfast” label can work perfectly well. Do not obscure ingredients, dates, or opening instructions with a decorative sticker.
Try the arrangement with what you already own for a week before buying extra bins. Notice what keeps falling over, which items disappear at the back, and what feels awkward to lift. Measure for the specific problem before shopping. The best arrangement is one your family can keep using when groceries arrive on a busy evening.

Keep Your Pantry Clean With Small Resets
You do not have to repeat a full deep clean every week. Link a few small checks to things you already do, and use visible conditions to decide when a section needs more attention.
A realistic pantry maintenance rhythm
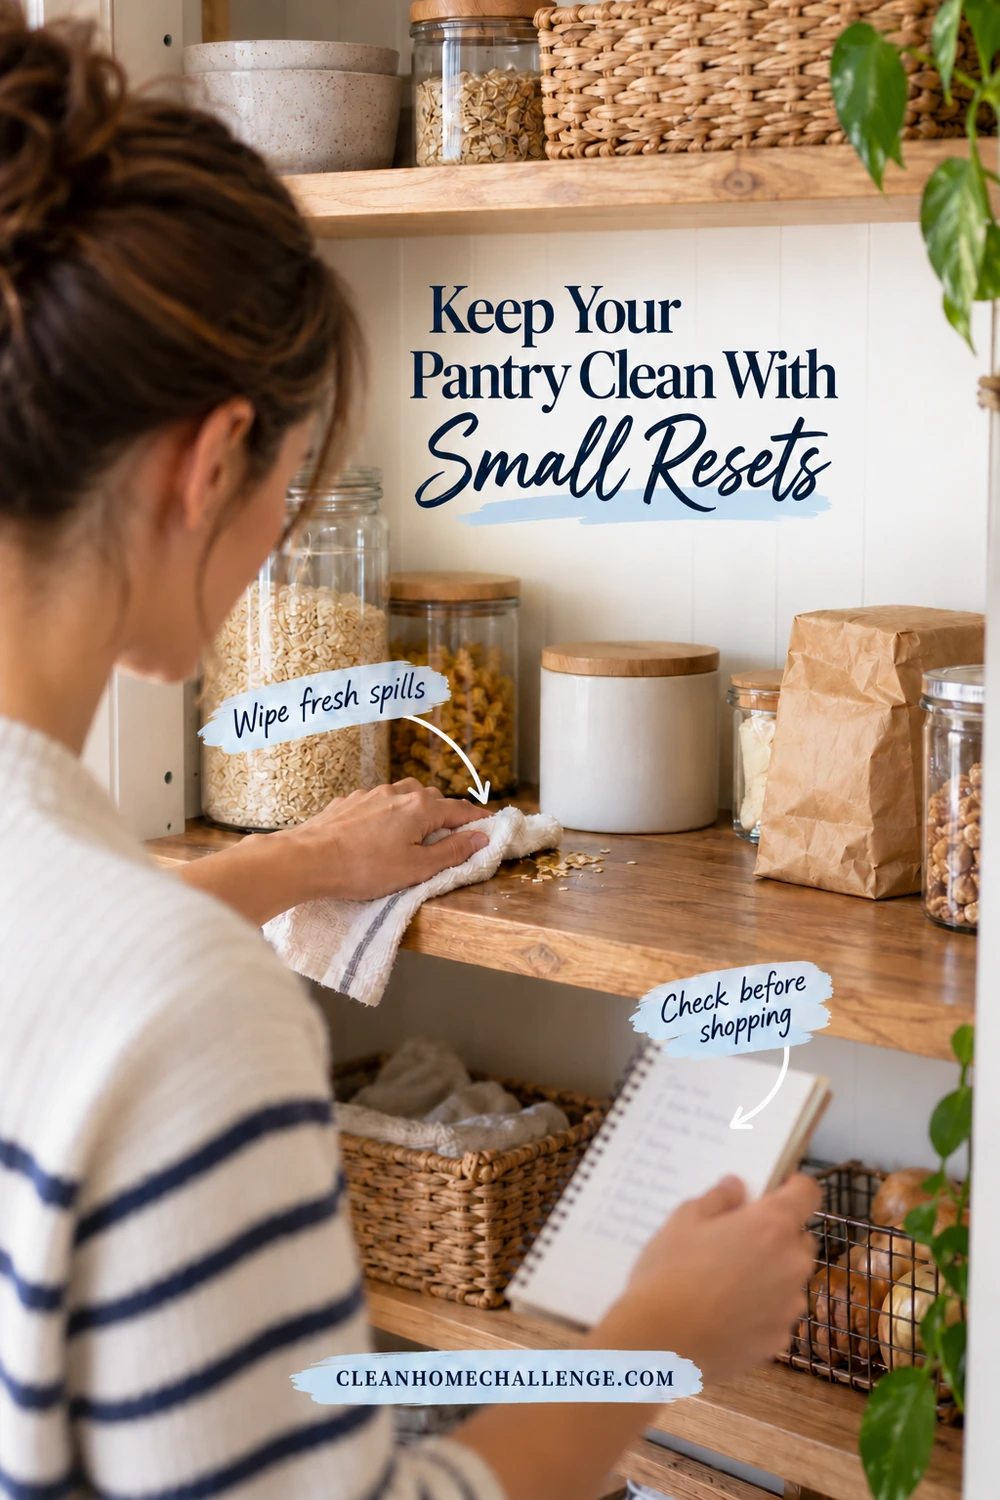
- When a spill happens: Close or replace the leaking package, remove crumbs or sticky residue using the appropriate method, and dry the area.
- Before grocery shopping: Spend a few minutes checking what is already there, bringing suitable older food forward, and adding genuine gaps to your list.
- During the Monday kitchen routine: Choose one small pantry job, such as wiping a handle, checking the use-first tray, or cleaning a basket with visible crumbs.
- Every few months, or sooner when needed: Review a deeper section, inspect packaging, and clean hidden shelf areas. Adjust this starting rhythm for how quickly food moves through your pantry.
A seasonal check can be useful before holiday baking or a change in school routines. If you find repeated spills or damaged packages, deal with the cause sooner rather than waiting for the next calendar reminder. An organizer that is difficult to lift may need fewer items; an overflowing snack basket may need a smaller grocery purchase or a second clearly defined space.
For a quick reset, set a five-minute timer and do only the shopping check. You might discover that dinner is already on the shelf. Save washing containers and deep cleaning another section for a session with enough drying time.
Your pantry cleaning checklist at a glance
- Clear and clean a landing space.
- Gather compatible supplies and check the labels.
- Empty one manageable section.
- Review dates, storage directions, and package condition.
- Pause for contamination that needs a specialist cleanup method.
- Remove ordinary crumbs, then clean shelves, edges, and doors.
- Wash suitable removable containers and liners.
- Let every surface and component dry.
- Reload by everyday use and rotate suitable older stock forward.
- Remove trash, deal with donation candidates, and update the shopping list.
Fit the pantry into your weekly kitchen clean rather than adding another all-day project. A clean shelf, visible food, and one less duplicate purchase are useful results. Finish the section you chose, leave the kitchen workable, and let the next small reset build on it.
CLEANERS CLUBHOUSE
Make Kitchen Cleaning Feel More Manageable
Turn Monday into your kitchen reset day with a clear routine you can follow. The Cleaners Clubhouse gives you practical cleaning guidance, printable support and monthly challenges to help you stay consistent.
